Introduction
Google Photos is a popular app that allows users to store and share their photos and videos. It’s a convenient way to access your media from any device with an internet connection. However, there may be times when you want to download a specific video from your Google Photos library to your iPhone, either to save it for offline viewing or to share it with someone who doesn’t have access to the app. In this article, we will guide you through the steps to download videos from Google Photos on your iPhone.
Downloading videos from Google Photos on your iPhone is a straightforward process that doesn’t require any third-party apps. Whether it’s a special moment captured on camera, a tutorial video, or a funny clip you want to save, you can quickly and easily download it to your device.
This guide will walk you through the simple steps required to download videos from Google Photos. By the end of this article, you will have all the knowledge you need to successfully download videos from your Google Photos library to your iPhone.
Step 1: Open the Google Photos app
To begin downloading videos from Google Photos on your iPhone, you need to ensure that you have the Google Photos app installed on your device. If you don’t have it yet, you can download it from the App Store and sign in with your Google account.
Once you have the Google Photos app installed and signed in, locate the app icon on your home screen and tap on it to open it.
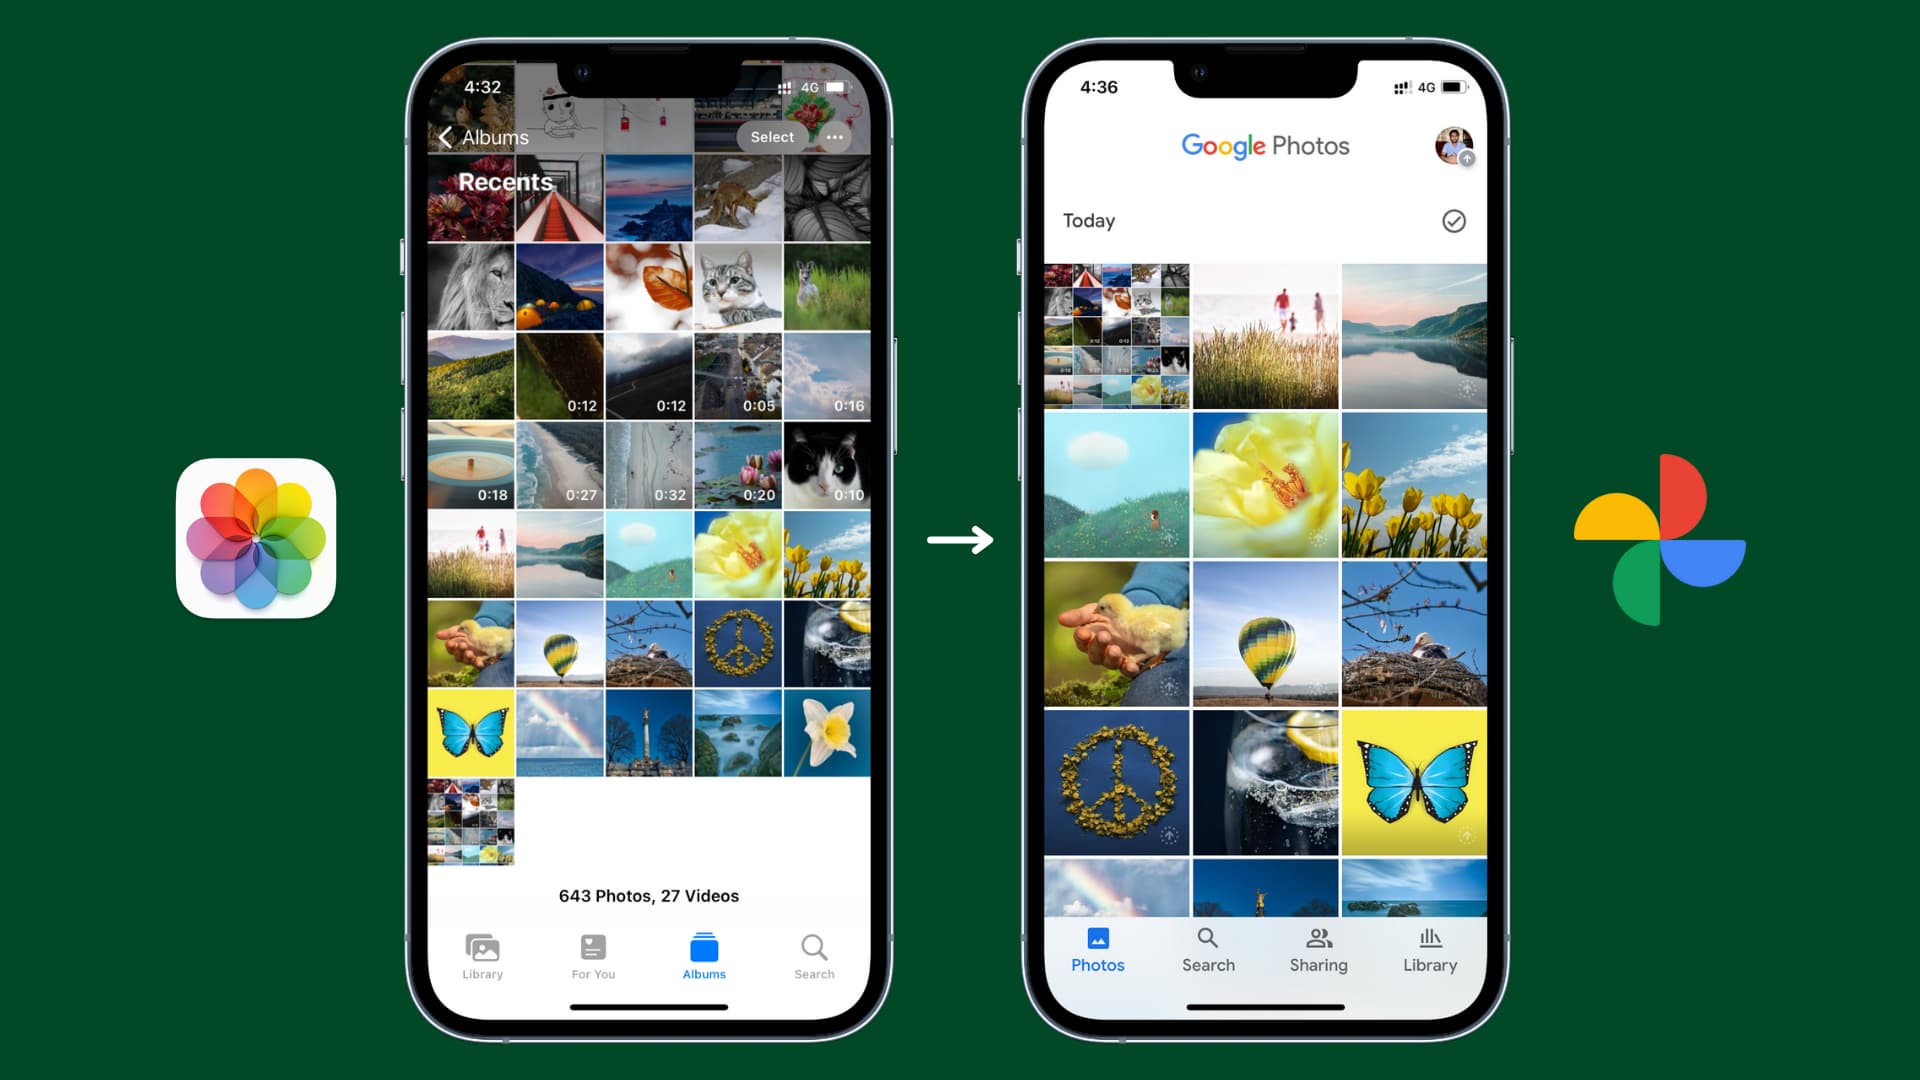
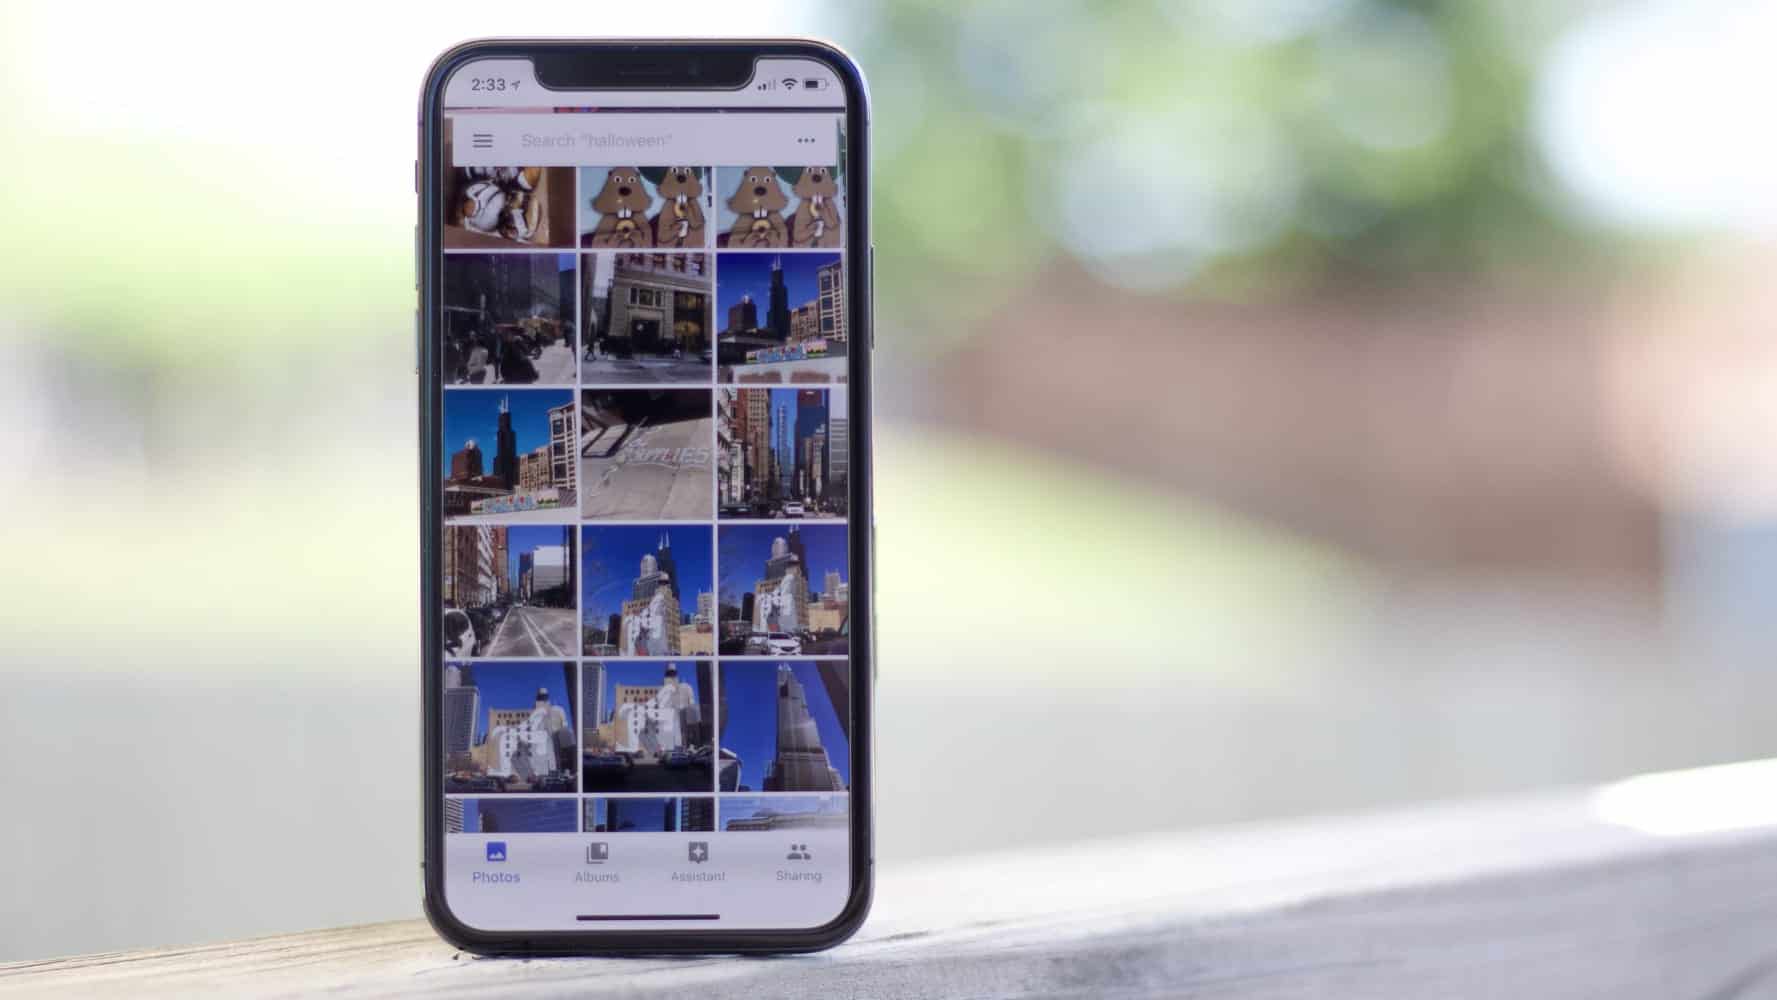
Upon opening the app, you will be greeted with the main screen, which displays all your photos and videos organized by date. The intuitive and user-friendly interface of the app makes it easy to navigate through your media library.
Ensure that you are connected to the internet, either through Wi-Fi or mobile data, as you will need an active internet connection to access and download your videos.
Note: It’s important to make sure that you have sufficient storage space on your iPhone before downloading any videos from Google Photos. Videos can take up a significant amount of storage, so it’s a good idea to check your available free space before proceeding with the download.
Now that you have opened the Google Photos app on your iPhone and made sure you have a stable internet connection, you’re ready to move on to the next step and select the video you want to download.
Step 2: Select the video you want to download
Once you have opened the Google Photos app on your iPhone, it’s time to select the video you want to download. With your extensive collection of photos and videos, finding the specific video may seem daunting, but fear not – Google Photos offers a smart search feature and intuitive navigation to help you locate your desired video quickly.
To begin, swipe or scroll through the main screen to browse through your videos. They are typically organized by date, with the most recent videos displayed first. You can also use the search bar at the top of the screen to search for a specific video by entering relevant keywords or the video’s title.
Once you have located the video you want to download, tap on it to open and view it in full screen. You can play the video to ensure it is the correct one before proceeding with the download.
If you have numerous videos and are struggling to find the one you want, you can use the filtering options provided. Tap on the three horizontal lines (hamburger menu) at the top left corner of the screen, then select “Videos” from the menu. This will display only your videos, making it easier to locate the specific one you want to download.
Pro tip: If you regularly download videos or want faster access to frequently downloaded videos, you can mark them as favorites by tapping the star icon displayed when you view the video in full screen. Favorited videos can be quickly accessed from the “Favorites” album, saving you time and effort in finding them.
Once you have selected the video you want to download and verified its correctness, you’re ready to proceed to the next step and learn how to save the video onto your iPhone.
Step 3: Tap the Share button
After selecting the video you want to download from Google Photos on your iPhone, it’s time to initiate the download process. To do this, you’ll need to tap the Share button, which is a standard feature available in many apps on iOS devices.
Located at the bottom left corner of the screen, the Share button is represented by a square with an upward-pointing arrow. It’s a versatile tool that allows you to perform various actions with your selected video, including downloading, sharing, and editing.
Simply tap the Share button, and a menu of sharing options will appear on the screen. This menu provides numerous options for sharing the video, such as sending it via Messages, Mail, AirDrop, or various social media platforms. However, to download the video to your iPhone, we will need to access additional options by swiping left on the menu.
Swiping left on the sharing menu will reveal a list of additional actions. Scroll through this list until you find the “Save Video” option. Once you locate it, tap on it to initiate the download process.
It’s important to note that the options available in the sharing menu may vary depending on the apps you have installed on your iPhone. However, the “Save Video” option should be present by default as it is a built-in functionality of the Google Photos app.
By tapping the Share button and selecting the “Save Video” option, you have successfully triggered the download process for the selected video. The video will now be saved onto your iPhone’s internal storage, ready to be accessed and viewed offline.
Now that you have tapped the Share button and chosen the “Save Video” option, proceed to the next step to learn how to wait for the video to finish downloading.
Step 4: Choose the Save Video option
After tapping the Share button and accessing the sharing menu in the Google Photos app on your iPhone, it’s time to select the “Save Video” option to initiate the download process.
Once you have swiped left on the sharing menu to reveal the additional actions, scroll through the list until you find the “Save Video” option. This option is specifically designed to allow you to save the selected video onto your iPhone’s internal storage.
To choose the “Save Video” option, simply tap on it, and the app will start the download process. You may notice a progress indicator or a circular loading icon, indicating that the video is being downloaded to your device.
It’s important to note that the download time may vary depending on factors such as the size of the video file and the speed of your internet connection. Larger videos or slower connections may take longer to download. You can monitor the progress of the download by observing the progress indicator or loading icon.
During the download process, it’s recommended to keep the Google Photos app open, as closing the app or switching to a different app may interrupt or cancel the download. If you need to use your iPhone for something else, it’s advisable to wait until the download is complete before switching to another app.
Once the video has finished downloading, you will receive a notification indicating that the download is complete. You can also check the status of the video by navigating to your iPhone’s Photos app and locating the video in your camera roll or Videos album.
By choosing the “Save Video” option, you have successfully initiated the download process for the selected video in the Google Photos app. Now, all that’s left is to wait for the download to complete so that you can access and enjoy the video on your iPhone.
Now that you have chosen the “Save Video” option and started the download process, proceed to the next step to learn how to wait for the video to finish downloading.
Step 5: Wait for the video to download
Once you have chosen the “Save Video” option in the Google Photos app on your iPhone, it’s time to patiently wait for the video to finish downloading. The time it takes for the video to download will depend on factors such as the size of the video file and the speed of your internet connection.
During the download process, it’s crucial to ensure that your iPhone remains connected to the internet and that you have a stable connection. If the download gets interrupted due to a loss of internet connection or other factors, you may need to restart the download from the beginning.
While waiting for the video to finish downloading, you can monitor the progress by observing the progress indicator or loading icon in the Google Photos app. This will give you an idea of how much longer it will take for the download to complete.
It’s important to refrain from closing the Google Photos app or switching to a different app during the download process. Interrupting the download by exiting the app can lead to an incomplete or failed download.
Once the video has finished downloading, you will receive a notification on your iPhone indicating that the download is complete. Depending on your device settings, you may also hear a sound or feel a vibration to alert you of the finished download.
After the download is complete, you can access the video by navigating to the Photos app on your iPhone. The downloaded video will be stored in either your camera roll or the Videos album, depending on your device’s settings.
Now that you have successfully waited for the video to finish downloading, you can enjoy the downloaded video on your iPhone anytime, even without an internet connection. Whether it’s a memorable moment or an entertaining clip, you can rewatch and share the video at your convenience.
Congratulations! You have now completed all the necessary steps to download videos from Google Photos on your iPhone.
Conclusion
Downloading videos from Google Photos on your iPhone is a simple and convenient process that allows you to save your favorite videos for offline viewing or easily share them with others who may not have access to the Google Photos app. By following the step-by-step guide in this article, you can download videos with ease and enjoy them whenever and wherever you want.
We began by opening the Google Photos app on our iPhone and ensuring that we had a stable internet connection. Then, we selected the video we wanted to download from our library by browsing through the app or using the search feature. Next, by tapping the Share button and selecting the “Save Video” option, we initiated the download process.
After choosing the “Save Video” option, we patiently waited for the video to download, making sure not to close the app or interrupt the download process. Once the download was complete, we received a notification indicating the successful download, and the video was accessible in the Photos app.
Now, you can enjoy your downloaded videos on your iPhone even without an internet connection. Whether it’s reliving a precious moment or sharing a funny clip with friends and family, you have the flexibility to watch and share your videos whenever you want.
Remember to regularly check your iPhone’s available storage space and manage your videos to ensure you have enough room for new downloads. You can also delete videos from your device once you no longer need them to free up space.
By following the steps outlined in this guide, you can confidently download videos from Google Photos on your iPhone and take full control of your media collection. Keep exploring and capturing new memories, knowing that you have the ability to save and cherish them on your device.