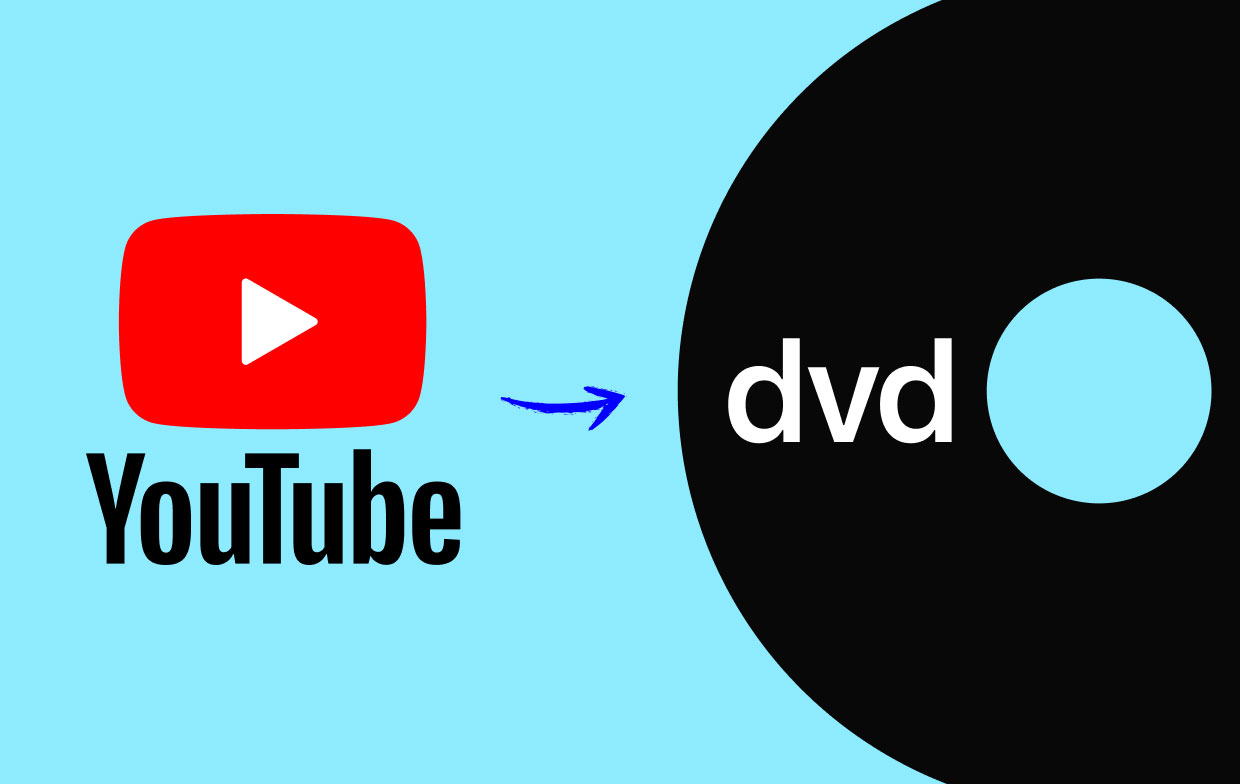
Introduction
YouTube is an incredible platform that offers a vast array of videos, ranging from educational content to music videos, entertainment shows, and much more. While it’s easy to access these videos online, you might want the convenience of having them on a DVD for offline viewing, sharing with friends, or archiving purposes. In this article, we will guide you through the process of downloading YouTube videos and burning them onto a DVD.
Downloading YouTube videos and transferring them to a DVD involves a few simple steps. First, you need to find the YouTube video you want to download. Then, you’ll need a reliable YouTube video downloader to save the video to your computer. Once downloaded, you’ll need to convert the video into a compatible DVD format and burn it onto a blank DVD disc. Finally, you can play the DVD on your DVD player or computer.
Before diving into the step-by-step process, it’s important to note that YouTube’s terms of service strictly prohibit the downloading of videos unless you have obtained permission from the content creator or own the rights to the video. It is essential to respect copyright laws and only download videos that are allowed for personal use or with proper authorization.
Now that we’ve covered the necessary disclaimer let’s start exploring how to download YouTube videos to a DVD!
What you’ll need
Before you begin the process of downloading YouTube videos to a DVD, there are a few things you’ll need to ensure a smooth and successful experience. Here’s a list of essentials:
- A computer or laptop with an internet connection: This is necessary for finding the YouTube videos you want to download and for the downloading process itself.
- A blank DVD disc: You’ll need a DVD-R or DVD+R disc to burn the downloaded video onto. Make sure the disc has enough storage capacity to accommodate the video file.
- A DVD burner: Most computers and laptops come with built-in DVD burners. If your computer doesn’t have one, you can purchase an external DVD burner and connect it to your computer via USB.
- A YouTube video downloader: You’ll need a reliable YouTube video downloader software or website to save the videos to your computer. There are many options available, both free and paid.
- A video converter: Depending on the format of the downloaded video, you may need a video converter to convert it into a compatible format for burning onto a DVD.
Once you have all these essential tools, you’ll be ready to start the process of downloading YouTube videos and transferring them onto a DVD. It’s important to double-check that your computer meets the system requirements for the video downloader and converter software you choose to ensure seamless operation.
Now that you have everything you need, let’s move on to the step-by-step process of downloading YouTube videos to a DVD!
Step 1: Find the YouTube video you want to download
The first step in downloading a YouTube video to a DVD is finding the video you want to download. YouTube offers a vast array of videos, so the options are virtually limitless. Here’s how to find the video you’re looking for:
- Open your web browser and go to the YouTube website (www.youtube.com).
- Use the search bar at the top of the page to enter keywords related to the video you’re looking for. You can search for a specific video title, artist, topic, or any other relevant keywords.
- Click on the search icon or press Enter to begin the search.
- Browse through the search results and click on the video you want to download.
- Once you’re on the video’s page, take note of the video’s title and duration. This information will be helpful when you’re organizing and naming the downloaded video file later.
Alternatively, if you already have a specific YouTube video URL in mind, you can enter it directly into your web browser’s address bar to go directly to the video’s page.
It’s essential to remember that not all YouTube videos are available for download due to copyright restrictions. If you encounter a video that does not allow downloads, it’s best to respect the content creator’s rights and find an alternative video or obtain proper authorization if necessary.
Now that you’ve found the YouTube video you want to download, you’re ready to move on to the next step of choosing a reliable YouTube video downloader.
Step 2: Choose a reliable YouTube video downloader
Once you’ve found the YouTube video you want to download, the next step is to select a reliable YouTube video downloader. There are various options available, both in the form of software programs and online platforms. Here’s how to choose the right one:
- Research and read reviews: Take the time to research different YouTube video downloaders and read reviews from trusted sources. Look for feedback on their ease of use, download speed, and reliability.
- Consider your needs and preferences: Think about what features are important to you. Do you prefer a downloadable software program or an online platform? Do you need additional features like batch downloading or video format conversion?
- Check for compatibility: Ensure that the YouTube video downloader you choose is compatible with your computer’s operating system. Most downloaders work on both Windows and Mac systems, but it’s always good to double-check.
- Ensure safety and security: Downloading software or using online platforms always carries a risk of malware or viruses. Choose a trusted YouTube video downloader that is known for its safety and security measures to protect your computer.
- Consider user-friendliness: Opt for a YouTube video downloader that is user-friendly and easy to navigate. A simple and intuitive interface will make the downloading process much smoother and more enjoyable.
Popular YouTube video downloader options include software programs like 4K Video Downloader, WinX YouTube Downloader, or online platforms such as SaveFrom.net, Y2Mate, or Keepvid. Take your time to evaluate different options and choose the one that best suits your needs.
Once you’ve selected a suitable YouTube video downloader, you’re ready to proceed to the next step: downloading the YouTube video to your computer!
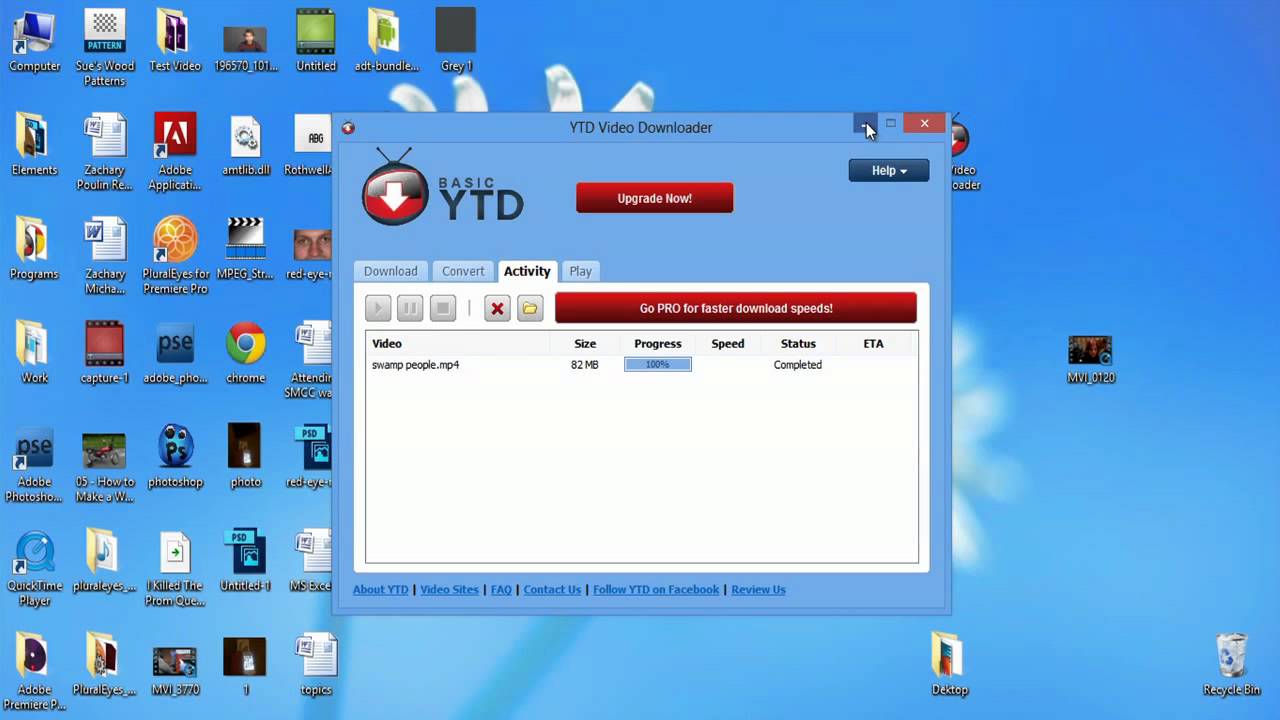
Step 3: Download the YouTube video to your computer
Now that you have chosen a reliable YouTube video downloader, it’s time to download the YouTube video to your computer. The process will vary slightly depending on the downloader you have selected, but here are the general steps:
- Open the YouTube video downloader software or website.
- Copy the URL of the YouTube video you want to download. You can find the video’s URL in the address bar of your web browser or by right-clicking on the video and selecting “Copy video URL.”
- Paste the video’s URL into the appropriate field in the YouTube video downloader.
- Choose the desired video quality and format for the download. Some downloaders offer various options for video quality, ranging from standard definition to high definition.
- Click on the download button to initiate the download process.
- Wait for the download to complete. The duration will depend on the size of the video and your internet connection speed.
The downloaded YouTube video will typically be saved in your computer’s default download folder. However, some YouTube video downloaders allow you to choose a specific folder for saving the downloaded videos. Make sure to take note of where the video is saved for easy access during the next steps.
It’s important to mention that downloading copyrighted content without proper authorization or permission is illegal and unethical. Ensure that you are only downloading videos that you have the rights to or that are available for download from the content creator.
Now that the YouTube video is successfully downloaded to your computer, you are ready to proceed with the next step: converting the video to a compatible DVD format.
Step 4: Convert the video to a compatible DVD format
Once you have downloaded the YouTube video to your computer, the next step is to convert it to a compatible DVD format. DVD players have specific requirements for the video format, so conversion is necessary to ensure the video plays correctly on a DVD player. Follow these steps to convert the video:
- Open a video conversion software program on your computer. There are numerous software options available for converting video formats, such as HandBrake, Freemake Video Converter, or Format Factory.
- Import the downloaded YouTube video into the conversion software. You can usually do this by clicking on the “Add File” or “Import” button and navigating to the location where the video is saved.
- Select the output format for the DVD conversion. Look for options like MPEG-2 or DVD-Video as these are typically compatible with DVD players.
- Choose any additional settings or preferences you might need, such as video resolution, aspect ratio, or audio quality.
- Specify the output folder where you want the converted video to be saved.
- Click on the “Convert” or “Start” button to begin the conversion process.
- Wait for the software to convert the video. The duration will depend on the size of the video and the processing power of your computer.
Once the conversion is complete, you will have a video file in the compatible DVD format ready for burning onto a DVD. Remember to keep track of where the converted video is saved for easy access during the next steps.
While converting the video, it’s important to maintain the original quality as much as possible to ensure a pleasant viewing experience on the DVD. Adjust the settings in the conversion software accordingly, but be aware that higher quality settings may result in larger file sizes, requiring more space on the DVD.
With the video successfully converted to a compatible DVD format, you’re now ready for the final step: burning the video onto a blank DVD disc.
Step 5: Burn the video onto a blank DVD disc
Now that you have the video converted to a compatible DVD format, it’s time to burn it onto a blank DVD disc. Follow these steps to complete the burning process:
- Make sure you have a blank DVD-R or DVD+R disc ready for burning. These are the most commonly used disc formats for DVD burning.
- Open DVD burning software on your computer. Some popular options include Nero Burning ROM, ImgBurn, or Windows DVD Maker (for Windows users).
- Select the option to create a new video or DVD project.
- Import the converted video file into the DVD burning software. This can usually be done by clicking on the “Add” or “Import” button and selecting the video file from its location on your computer.
- Arrange the video file and customize any additional settings, such as DVD menu templates, chapters, or subtitles. These options may vary depending on the specific DVD burning software you are using.
- Insert a blank DVD disc into your computer’s DVD burner.
- Choose the burning speed, usually recommended as the maximum speed for better compatibility.
- Click on the “Burn” or “Start” button to begin the DVD burning process.
- Wait for the DVD creation process to complete. This may take some time depending on the size of the video file, the speed of your computer, and the burning speed selected.
- Once the burning process is finished, you will have a DVD containing the YouTube video ready to be played on any DVD player.
It’s important to note that the burning process may vary slightly depending on the DVD burning software you are using. Make sure to follow the instructions provided with your specific software for the most accurate guidance.
With the video successfully burned onto the DVD, you’re almost done! The final step is to test the DVD and ensure that it plays correctly on a DVD player or computer.
Step 6: Play the DVD on your DVD player or computer
Congratulations! You have successfully burned the YouTube video onto a DVD. Now, it’s time to test the DVD and enjoy your favorite video on a DVD player or computer. Here’s how you can do it:
- Eject the DVD burning drive on your computer and remove the burned DVD.
- Insert the burned DVD into a DVD player or DVD drive on your computer.
- Turn on the DVD player or computer and wait for it to recognize the inserted DVD.
- Navigate to the video playback option on the DVD player or computer. This might involve going to the DVD menu or selecting the video directly from the DVD drive.
- Select the YouTube video you burned onto the DVD from the list of available videos.
- Click on the play button or follow the on-screen instructions to start playing the video.
- Adjust the playback settings, if necessary, such as volume, subtitles, or video quality.
Enjoy watching the YouTube video on your chosen playback device! Make sure to check that the video plays smoothly and without any issues. If you encounter any problems, ensure that the DVD player or computer supports the DVD format and that the video file was correctly burned onto the DVD.
If you want to play the DVD on your computer and encounter any playback issues, you may need to use media player software that supports DVD playback, such as VLC Media Player or Windows Media Player. Download and install the necessary software if needed.
With the video playing successfully on your DVD player or computer, you have completed the process of downloading a YouTube video and transferring it to a DVD. You can now enjoy your favorite videos offline, share them with friends, or keep them for future viewing.
Conclusion
Downloading YouTube videos and transferring them to a DVD allows you to enjoy your favorite content offline, share it with others, or keep it for future reference. While the process may seem daunting at first, following the step-by-step guide provided in this article will ensure a smooth and successful experience.
Remember to always respect copyright laws and only download videos that you have the rights to or that are available for personal use with proper authorization. Be cautious when using third-party software or websites for downloading and converting videos, and ensure that the tools you choose are safe, reliable, and user-friendly.
Throughout this guide, we’ve covered the essential steps involved in downloading YouTube videos to a DVD. From finding the desired video and choosing a reliable downloader to downloading the video, converting it to a compatible DVD format, burning it onto a blank DVD disc, and finally playing the DVD on a DVD player or computer, each step is crucial for a successful outcome.
By following these steps, you can create a collection of your favorite YouTube videos on DVDs, making them easily accessible for offline viewing and sharing. Whether it’s educational content, music videos, or entertainment shows, having these videos on a physical DVD provides convenience and flexibility.
With the knowledge and understanding gained from this guide, you can now confidently embark on the journey of downloading YouTube videos to a DVD. Enjoy the freedom to watch your favorite videos anytime, anywhere, and share your newfound expertise with others who may be interested in the same process.
Remember to stay up to date with any changes in YouTube’s terms of service and copyright laws to ensure that you’re always acting within legal boundaries. Happy downloading and DVD burning!