Introduction
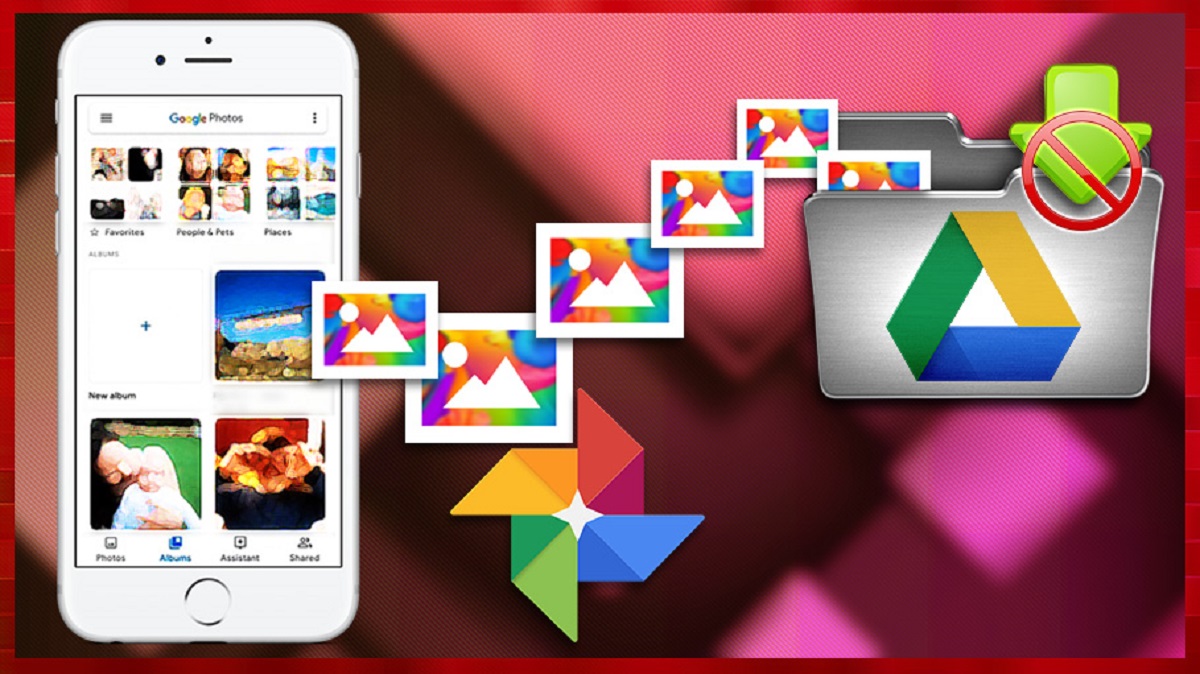
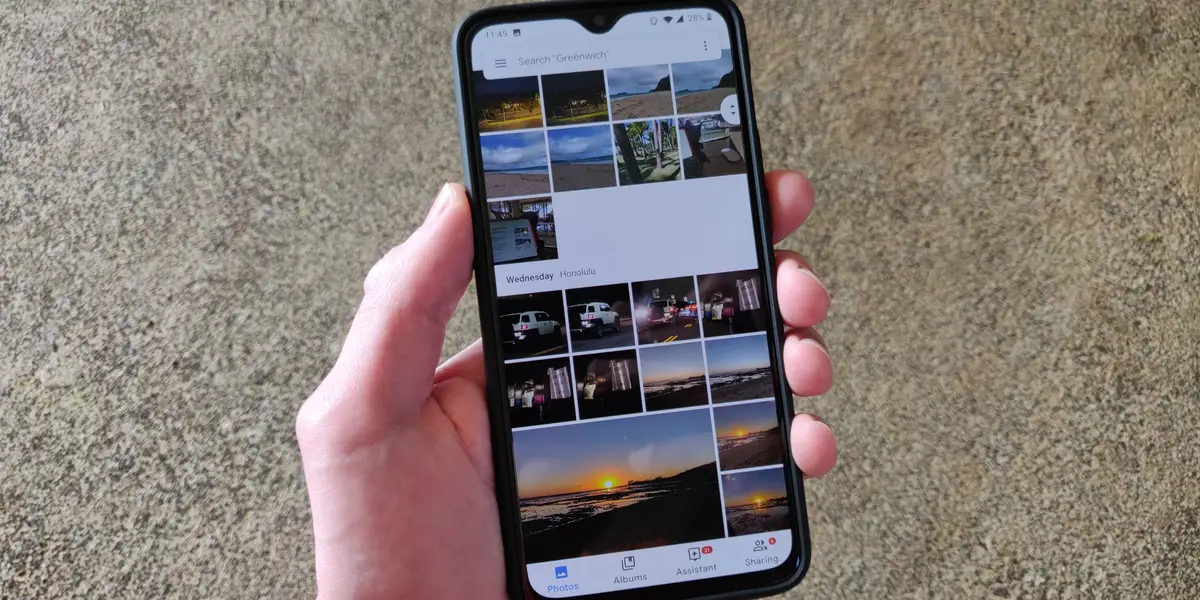
Google Photos is a popular cloud-based storage service that allows users to backup and synchronize their photos and videos across multiple devices. While this feature can be convenient for many users, some may prefer to disable the automatic syncing between Google Photos and their iPhone.
There could be several reasons why you might want to stop Google Photos from syncing with your iPhone. It could be to conserve cellular data, save storage space, or simply have more control over your photo library. Fortunately, disabling auto-syncing is a straightforward process, and in this article, we will guide you through the steps to stop Google Photos from syncing with your iPhone.
Before we begin, it’s important to note that disabling the sync feature will only prevent new photos and videos from being automatically uploaded to Google Photos. Existing photos and videos already uploaded to the cloud will remain unaffected.
Now, let’s explore the different methods you can use to disable Google Photos syncing on your iPhone.
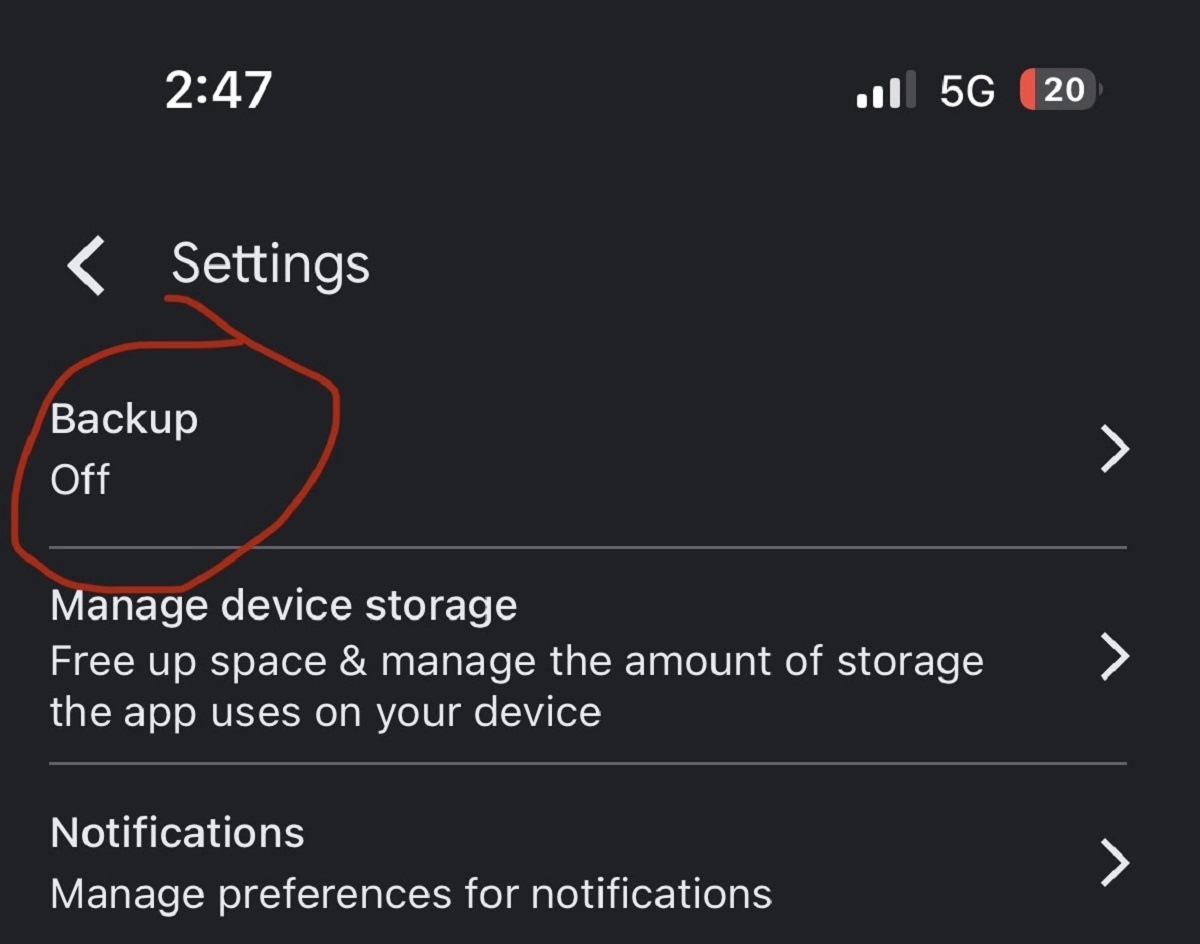
Disabling Google Photos Syncing
To stop Google Photos from syncing with your iPhone, follow these steps:
- Open the Google Photos app on your iPhone. If you don’t have it installed, you can download it from the App Store.
- Sign in to your Google account if you’re not already signed in.
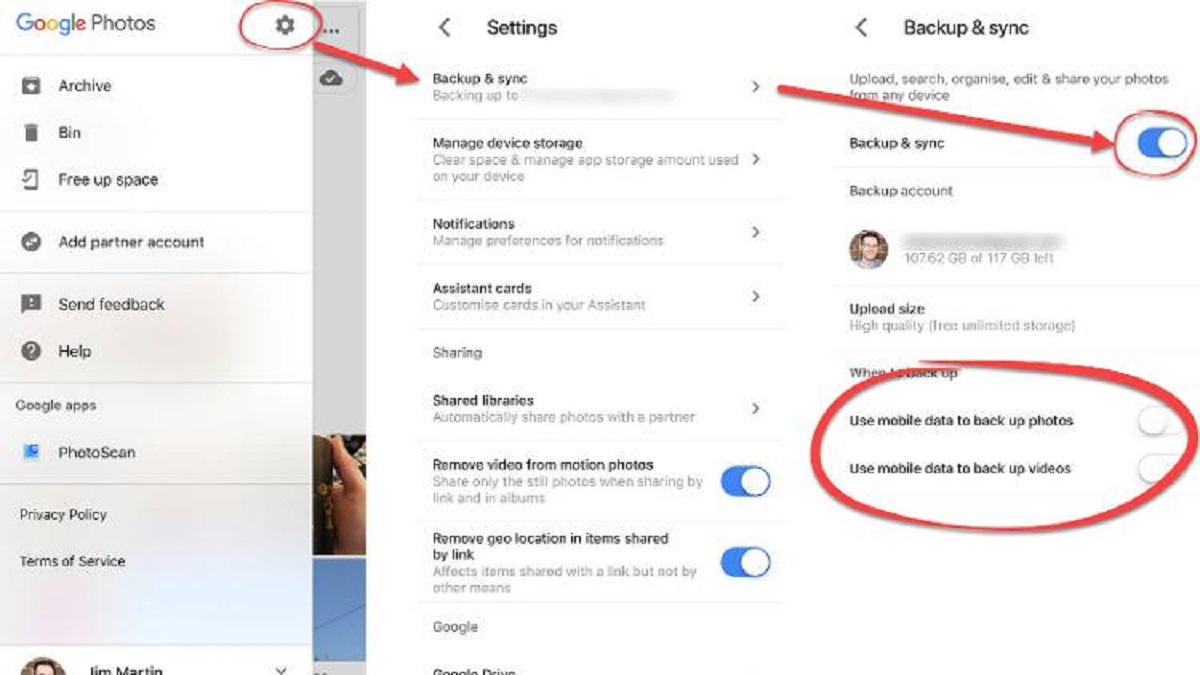
- Tap on the menu icon, usually located in the top-left corner of the screen. It looks like three horizontal lines or bars.
- From the menu, select “Settings”.
- In the settings menu, tap on “Backup & sync”.
- Toggle the switch next to “Backup & sync” to disable it.
- A confirmation prompt will appear asking if you want to turn off backup and syncing. Tap “Turn off” to confirm.
By following these steps, you have successfully disabled Google Photos syncing on your iPhone. From now on, any new photos or videos you capture with your iPhone will not automatically be uploaded to your Google Photos account.
It’s worth noting that even with syncing turned off, you can still manually upload photos and videos to Google Photos whenever you want. Simply open the Google Photos app and select the photos or videos you want to upload, then tap on the “Upload” button.
Now that you have disabled the sync feature, let’s explore some additional steps you can take to further optimize your Google Photos usage on your iPhone.
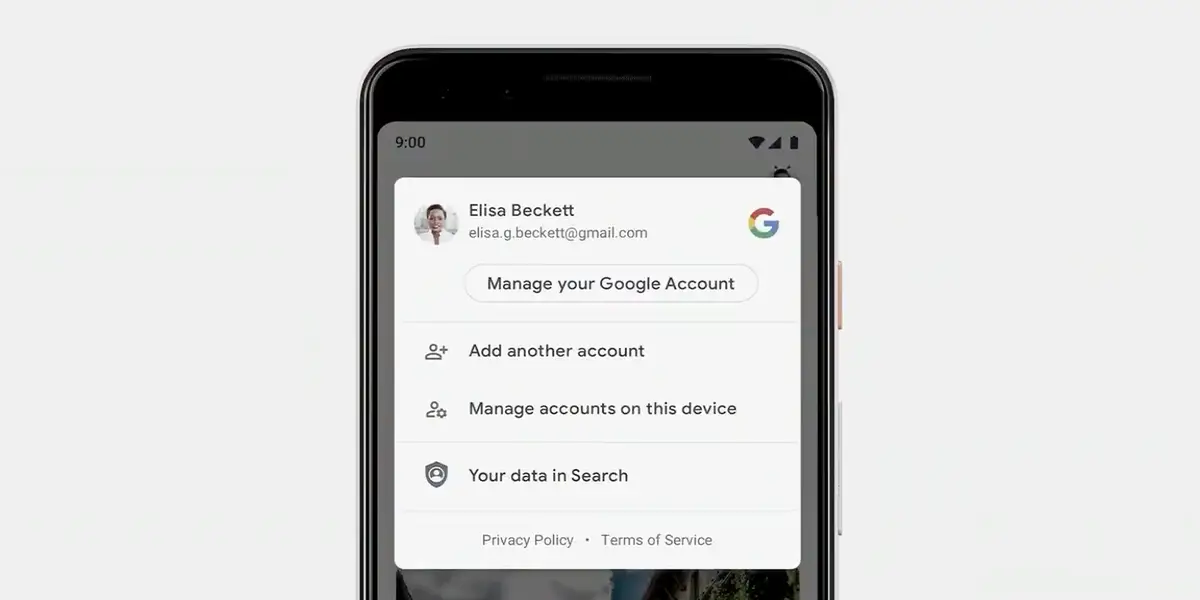
Sign Out of Google Photos
If you want to completely disconnect your Google account from the Google Photos app on your iPhone, you can sign out. This will not only stop syncing but also remove any associated photos and videos from your device. Here’s how you can sign out of Google Photos:
- Open the Google Photos app on your iPhone.
- Tap on the menu icon in the top-left corner of the screen.
- Scroll down and tap on “Settings”.
- Under the “Account” section, tap on your Google account.
- In the account settings, tap on “Sign Out”.
- A confirmation prompt will appear. Tap on “Sign Out” again to confirm.
After signing out, you will no longer be able to access your Google Photos library through the app. However, your photos and videos will still be available on the Google Photos website or other devices where you have signed in with the same Google account.
If you decide to sign back in to Google Photos on your iPhone, you can do so by opening the app, tapping on the menu icon, selecting “Settings”, and choosing “Sign In”. Enter your Google account credentials to sign back in.
Signing out of Google Photos provides an additional level of control and privacy, especially if you no longer wish to use the service on your iPhone.
Now that you know how to sign out of Google Photos, let’s explore more ways to disable automatic syncing on your iPhone.
Turn Off Auto Backup on Google Photos
If you prefer to keep the Google Photos app on your iPhone for manual uploads and access to your photo library, but want to disable the automatic backup feature, you can do so by following these steps:
- Open the Google Photos app on your iPhone.
- Tap on the menu icon in the top-left corner of the screen.
- Select “Settings” from the menu.
- In the settings menu, tap on “Backup & sync”.
- Toggle the switch next to “Backup & sync” to the off position.
Disabling auto backup will ensure that new photos and videos you capture with your iPhone are not automatically uploaded to your Google Photos account. However, you can still manually upload them to Google Photos if needed.
Keep in mind that turning off auto backup will not affect the photos and videos already backed up in your Google Photos account. They will remain accessible through the app or the Google Photos website.
If you decide to enable auto backup in the future, simply follow the same steps outlined above and toggle the switch to the on position.
Now that you know how to disable auto backup on Google Photos, let’s explore another method to further optimize your photo syncing on your iPhone.
Disable Background App Refresh for Google Photos
Another way to prevent Google Photos from syncing in the background and consuming valuable resources on your iPhone is by disabling the Background App Refresh feature specifically for the Google Photos app. This will ensure that the app doesn’t refresh or sync in the background, reducing its impact on your device’s battery life and data usage. Here’s how you can disable Background App Refresh for Google Photos:
- On your iPhone, go to the “Settings” app.
- Scroll down and tap on “General”.
- Tap on “Background App Refresh”.
- Scroll through the list of apps and find “Google Photos”.
- Toggle the switch next to “Google Photos” to the off position.
By disabling Background App Refresh for Google Photos, the app will not be able to sync or update in the background automatically. Instead, it will only refresh when you open the app manually.
Keep in mind that disabling Background App Refresh for Google Photos may slightly affect the app’s overall functionality and may cause a slight delay when opening the app, as it will not have the latest updates until you manually refresh it.
If you decide to enable Background App Refresh for Google Photos again in the future, simply follow the same steps outlined above and toggle the switch to the on position.
Now that you know how to disable Background App Refresh for Google Photos, let’s explore another method to further optimize your photo syncing on your iPhone.
Restrict Cellular Data Usage for Google Photos
If you’re concerned about your cellular data usage and want to limit it while using Google Photos on your iPhone, you can set restrictions to ensure that the app only transfers data while connected to a Wi-Fi network. This will help you avoid unexpected data charges and conserve your data plan. Here’s how you can restrict cellular data usage for Google Photos:
- Open the “Settings” app on your iPhone.
- Scroll down and tap on “Cellular” or “Mobile Data”.
- Scroll through the list of apps and find “Google Photos”.
- Toggle the switch next to “Google Photos” to the off position.
By disabling cellular data usage for Google Photos, the app will only be able to transfer data when your iPhone is connected to a Wi-Fi network. This means that uploads and downloads will not occur while you are using your cellular data plan.
Keep in mind that with this restriction in place, you will need to be connected to a Wi-Fi network to upload or download photos and videos using the Google Photos app. If you attempt to perform these actions without Wi-Fi, the app will not transfer any data until you are connected to a Wi-Fi network.
If you decide to allow Google Photos to use cellular data again in the future, simply follow the same steps outlined above and toggle the switch to the on position.
Now that you know how to restrict cellular data usage for Google Photos, let’s explore another method to further optimize your photo syncing on your iPhone.
Clear Cache for Google Photos
Over time, the Google Photos app on your iPhone may accumulate a significant amount of cache, which can take up storage space and potentially impact the app’s performance. Clearing the cache can help free up storage and ensure that the app runs smoothly. Here’s how you can clear the cache for Google Photos:
- Open the Google Photos app on your iPhone.
- Tap on the menu icon in the top-left corner of the screen.
- Select “Settings” from the menu.
- Scroll down and tap on “Clear cache”.
- A confirmation prompt will appear. Tap on “Clear” to confirm.
By clearing the cache, you are removing temporary files and data that have been stored by the Google Photos app. This can help improve the performance of the app and free up valuable storage space on your iPhone.
It’s important to note that clearing the cache will not delete your actual photos and videos. It will only remove temporary files and data that are not essential for the functioning of the app.
After clearing the cache, you may notice that the app takes a little longer to load or refresh certain sections initially, as it needs to rebuild the cache. However, this should only be a temporary effect and the app’s performance should improve thereafter.
If you want to free up even more storage space on your iPhone, you can also consider deleting redundant or unwanted photos and videos directly from the Google Photos app.
Now that you know how to clear the cache for Google Photos, let’s explore another method to further optimize your photo syncing on your iPhone.
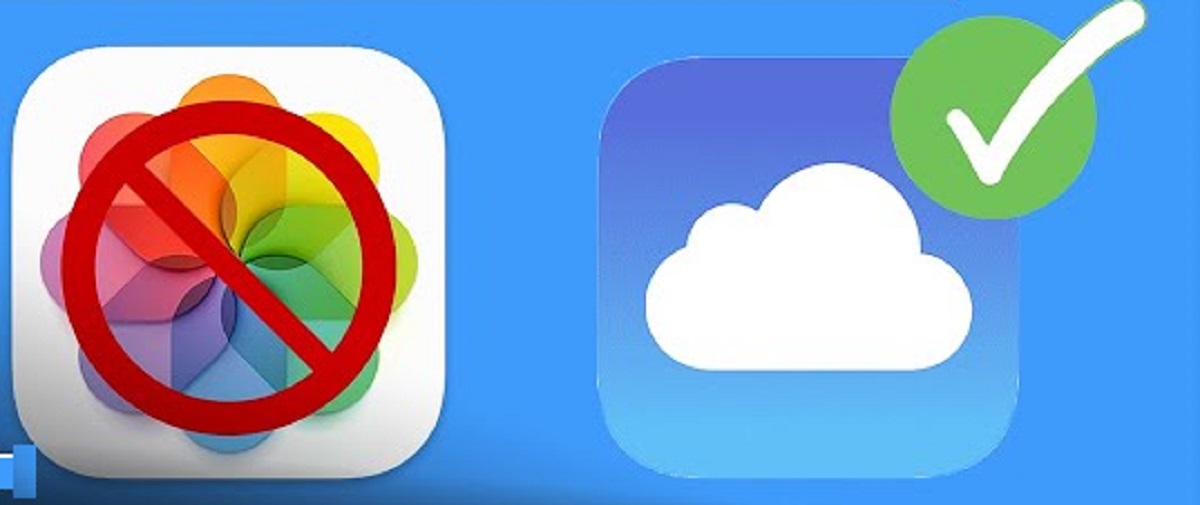
Disable iCloud Photo Library
If you have enabled iCloud Photo Library on your iPhone, it may be conflicting with Google Photos syncing. Disabling iCloud Photo Library can help ensure that your photos and videos are not being synced to both Google Photos and iCloud simultaneously. Here’s how you can disable iCloud Photo Library:
- Open the “Settings” app on your iPhone.
- Tap on your name at the top of the settings menu to access your Apple ID settings.
- Tap on “iCloud”.
- Scroll down and tap on “Photos”.
- Toggle the switch next to “iCloud Photo Library” to the off position.
- A confirmation prompt will appear. Tap on “Disable and Delete” to confirm.
By disabling iCloud Photo Library, your photos and videos will no longer be automatically uploaded to iCloud. Instead, they will only be stored locally on your iPhone and will not be synced with other devices through iCloud.
It’s important to note that disabling iCloud Photo Library will not delete your existing iCloud photos and videos. They will remain accessible through the iCloud website or other devices where you have signed in with the same iCloud account.
If you decide to enable iCloud Photo Library again in the future, you can follow the same steps outlined above and toggle the switch to the on position.
Now that you know how to disable iCloud Photo Library, let’s move on to the concluding section.
Conclusion
Disabling Google Photos syncing with your iPhone can provide you with more control over your photo library, save storage space, and conserve cellular data. Throughout this article, we explored various methods to achieve this, including signing out of Google Photos, turning off auto backup, disabling background app refresh, restricting cellular data usage, clearing the cache, and disabling iCloud Photo Library.
By following the steps outlined in each section, you can customize the syncing behavior of Google Photos to align with your preferences. Whether you want to completely disconnect your Google account, manually upload photos and videos, or restrict certain app functionalities, you have the flexibility to tailor the Google Photos experience to suit your needs.
Remember that while these methods are effective in disabling Google Photos syncing on your iPhone, they do not affect the photos and videos already backed up in your Google Photos account. Your existing media will remain accessible through the Google Photos app or website.
Take the time to explore each method and choose the options that align with your personal preferences and requirements. Don’t hesitate to experiment and adjust the settings to find the ideal configuration for your photo management needs.
Now that you have learned how to stop Google Photos from syncing with your iPhone, you can enjoy more control over your photo library and enhance your overall smartphone experience.