Introduction
Google Photos is a popular app that allows you to store and manage your photos and videos in a convenient and secure way. It automatically backs up your media files to your Google account, ensuring that your precious memories are safely stored in the cloud. However, there may come a time when you need to disconnect Google Photos from your phone, either to free up space or switch to a different backup solution.
In this step-by-step guide, we will walk you through the process of disconnecting Google Photos from your phone. Whether you’re using an Android device or an iPhone, the steps are relatively straightforward and can be completed in just a few minutes.
Please note that disconnecting Google Photos from your phone will disable the automatic backup and sync feature. This means that any new photos or videos you capture will not be uploaded to your Google account unless you manually upload them. It’s important to keep this in mind before proceeding.
By following these steps, you can disconnect Google Photos from your phone and stop the automatic backup and sync of your media files. Let’s get started!
Step 1: Open Google Photos app on your phone
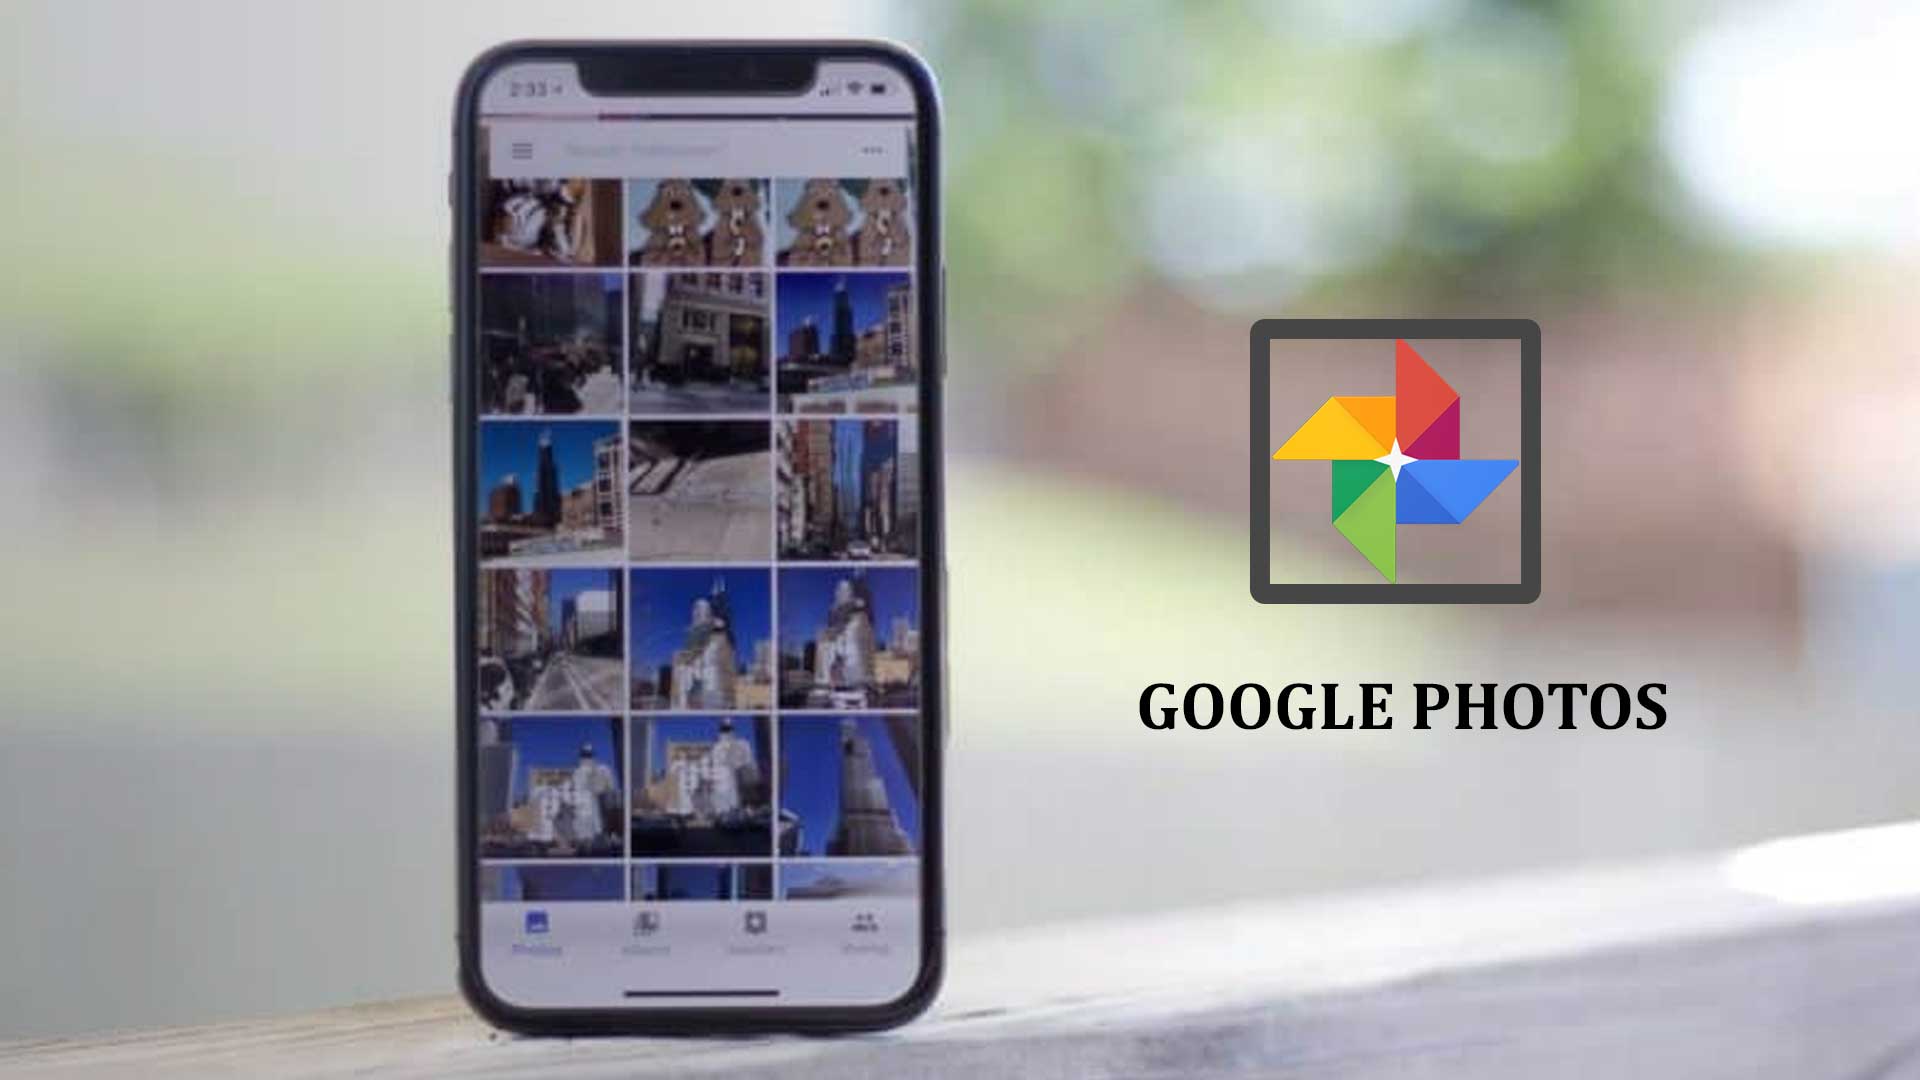
The first step to disconnect Google Photos from your phone is to open the Google Photos app. Locate the app icon on your home screen or in the app drawer and tap on it to launch the application.
If you are using an Android device, chances are Google Photos is pre-installed, so you should be able to find it easily. For iPhone users, you can download Google Photos from the App Store if you haven’t already done so.
Upon opening the app, you will be greeted with the main interface, which displays your saved photos and videos in a grid layout. Take a moment to familiarize yourself with the app’s features and navigation options.
It’s worth mentioning that Google Photos provides a comprehensive range of tools for organizing and editing your media files. Whether you want to create albums, apply filters, or enhance your photos, this app offers a multitude of functions to cater to your needs.
Once you have successfully opened the Google Photos app on your phone, you’re ready to proceed to the next step.
Step 2: Access Settings
To disconnect Google Photos from your phone, you need to access the app’s settings. In order to do so, look for the three horizontal lines, also known as the “hamburger” or “menu” icon, usually located in the top left or top right corner of the app’s interface.
Tap on the menu icon, and a side menu will slide out, revealing various options and settings. From here, you can access different features and customize your Google Photos experience.
Scroll through the menu until you find the “Settings” option. The exact placement and appearance may vary slightly depending on your device and the version of the Google Photos app you are using.
Once you have located the “Settings” option, tap on it to proceed.
Accessing the settings menu gives you more control over how Google Photos functions on your phone. You can configure various aspects of the app, such as backup settings, image quality, and notifications. Additionally, you can manage your account, storage, and other preferences.
Now that you have successfully accessed the settings menu, you’re one step closer to disconnecting Google Photos from your phone. Let’s move on to the next step and take a look at how to disable the backup and sync feature.
Step 3: Tap on ‘Back up & sync’ option
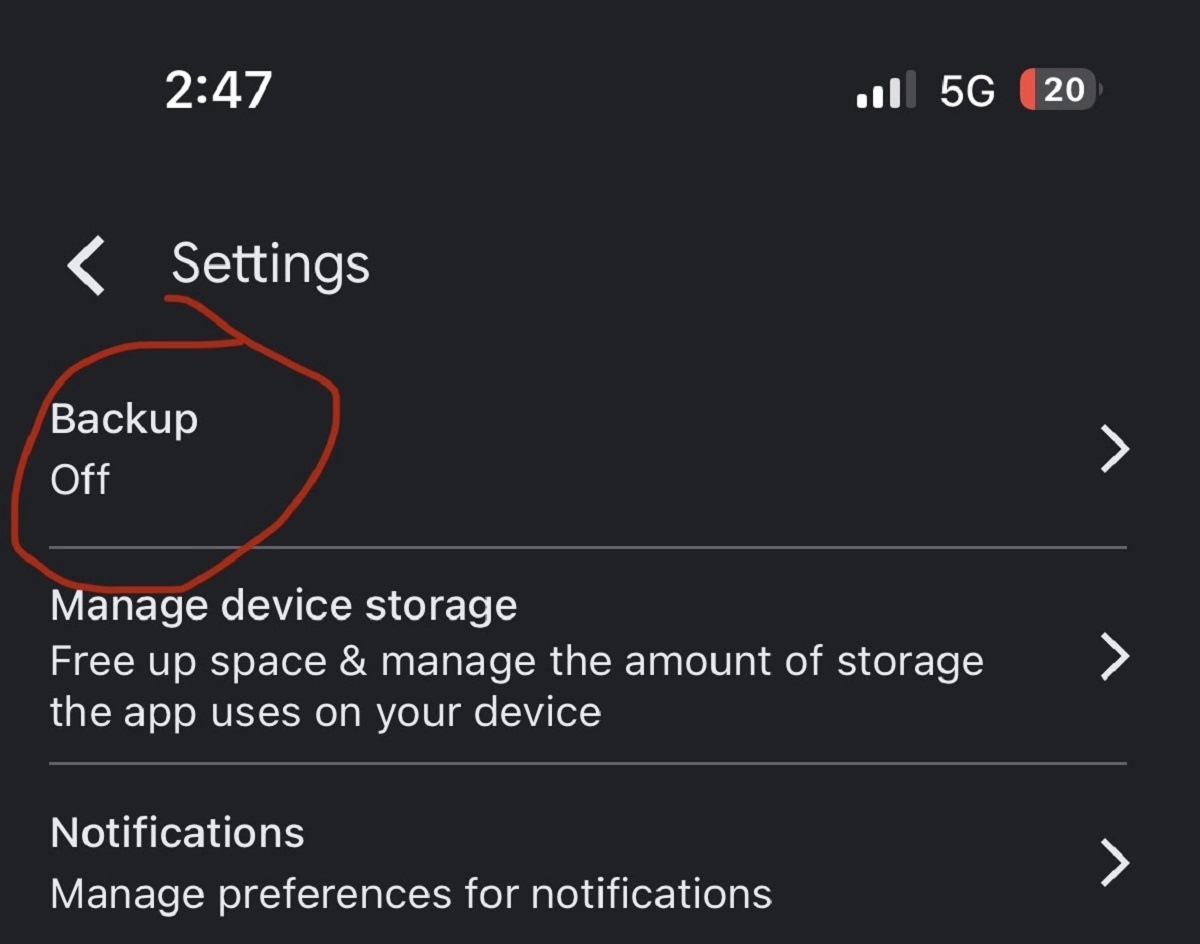
After accessing the settings menu in the Google Photos app, you need to locate and tap on the “Back up & sync” option. This option allows you to manage the automatic backup and synchronization of your photos and videos to your Google account.
Scroll down through the settings menu until you find the “Back up & sync” option. It is often located under the “Account & privacy” or “Device folders” section.
Once you have found the “Back up & sync” option, tap on it to proceed.
By tapping on the “Back up & sync” option, you will be directed to a new screen that displays various backup and synchronization settings.
This screen provides you with the ability to customize how Google Photos handles your media files. You can toggle the backup and sync feature on or off, choose the upload size and quality, and specify additional folders to include in the backup process.
For the purpose of disconnecting Google Photos from your phone, you will need to disable the backup and sync feature. This will prevent the app from automatically uploading new photos and videos to your Google account.
Now that you have located the “Back up & sync” option and accessed the corresponding settings screen, you’re ready to take the next step and turn off the backup and sync toggle.
Step 4: Turn off ‘Back up & sync’ toggle
Once you are in the “Back up & sync” settings screen of the Google Photos app, you will see a toggle switch next to the “Back up & sync” option.
To disconnect Google Photos from your phone, you need to turn off this toggle switch. Simply tap on the switch to disable the backup and sync feature.
By turning off the “Back up & sync” toggle, you are effectively disconnecting Google Photos from your phone’s automatic backup and synchronization process.
Please note that disabling this feature will prevent any new photos or videos on your phone from being uploaded to your Google account. However, your existing backup will remain intact, and you can still access your previously uploaded media files through the Google Photos app or the web interface.
Keep in mind that your backed-up photos and videos will still be accessible on other devices where you are signed in with the same Google account.
Now that you have successfully turned off the “Back up & sync” toggle, you have effectively disconnected Google Photos from your phone’s automatic backup process.
However, if you want to ensure that your Google Photos app is completely disconnected from your phone, there is an additional step you can take in the next section. Let’s proceed.
Step 5: Confirm disabling backup and sync
After turning off the “Back up & sync” toggle in the previous step, it is important to confirm that the backup and sync feature has been successfully disabled.
To do this, simply exit the settings menu of the Google Photos app and return to the main interface. Take a moment to ensure that there are no ongoing upload or synchronization processes.
You can check this by looking for any upload indicators or notifications that may appear at the top or bottom of the app’s interface. If you don’t see any indication of active uploads, then you can be confident that the backup and sync feature is now disabled.
It is recommended to double-check your device’s notification panel or pull-down menu as well, just in case there are any background processes still running. You should not see any notifications related to Google Photos backup or sync.
By confirming the disabling of the backup and sync feature, you can ensure that Google Photos will no longer automatically upload any new photos or videos from your phone to your Google account.
Now that you have confirmed the successful disabling of the backup and sync feature, you have successfully disconnected Google Photos from your phone. However, if you want to remove any remaining traces of Google Photos from your device, you can consider the optional step in the next section. Let’s explore this final step.
Step 6: Clear app data (optional)
As a final optional step, you can choose to clear the app data for Google Photos on your phone. Clearing the app data will remove any remaining cache, temporary files, and preferences associated with the Google Photos app.
Clearing the app data can be helpful if you want to completely remove any traces of Google Photos from your device or if you are experiencing any issues with the app.
Here’s how to clear app data for Google Photos:
- Go to your phone’s settings and find the “Apps” or “Applications” section.
- Locate and tap on “Google Photos” in the list of installed apps.
- In the app details screen, you will find options like “Storage” or “Storage & cache”. Tap on it.
- From the storage options, look for the “Clear data” or “Clear storage” button and tap on it.
- A confirmation dialog may appear, asking if you want to delete app data. Proceed with the confirmation to clear the data.
Please note that clearing the app data will also remove any local albums or edited photos that are only stored on your device. However, your original photos and videos that were backed up to Google Photos will remain intact in your Google account.
Once the app data is cleared, the Google Photos app on your phone will essentially be reset to its initial state.
It’s important to mention that this step is optional and should only be performed if you are sure you want to remove all app data associated with Google Photos.
With this optional step, you have completed the process of disconnecting Google Photos from your phone and, if desired, clearing the app data.
Now you can enjoy the peace of mind knowing that your photos and videos are no longer automatically backed up to your Google account, giving you more control over your media files.
Conclusion
Disconnecting Google Photos from your phone is a straightforward process that gives you control over your photos and videos. By following the steps outlined in this guide, you can easily disable the automatic backup and sync feature.
Starting with opening the Google Photos app and accessing the settings, you can then turn off the “Back up & sync” toggle to stop the app from automatically uploading your media files. Confirming the disabling of backup and sync ensures that the feature is indeed turned off.
If you want to remove any remaining traces of Google Photos from your device, you can choose to clear the app data, although this step is optional.
By disconnecting Google Photos from your phone, you have the freedom to choose alternative backup solutions or simply manage your media files manually.
Remember, it’s important to regularly back up your photos and videos to ensure their safety. While Google Photos offers a convenient and reliable backup option, it’s always a good idea to have multiple backup methods in place, such as using cloud storage services or external hard drives.
Now that you’re familiar with how to disconnect Google Photos from your phone, you can make an informed decision about your media management and backup preferences.
Take control of your photos and videos and enjoy a seamless and personalized experience with Google Photos!