Introduction
When it comes time to part ways with your old Android phone and ensure all your personal data is properly wiped, it’s important to follow a few essential steps. Simply performing a factory reset might not be enough to completely erase your data, as some residual information could still remain on the device. To ensure complete data privacy, it is crucial to follow a thorough and secure process.
In this guide, we will walk you through the steps to completely wipe your Android phone and leave no trace of your personal information behind. By following these steps, you can safeguard your sensitive data and protect yourself from potential identity theft or unauthorized access to your personal information.
Please note that the instructions provided may vary slightly depending on which Android device and version you are using. It is always a good idea to consult your device’s user manual or the manufacturer’s support website for any device-specific instructions.
Without further ado, let’s dive into the step-by-step process of how to completely wipe an Android phone, ensuring that your personal data is securely erased and your privacy is protected.
Step 1: Backup Your Data
The first and most crucial step before wiping your Android phone is to ensure you have a backup of all your important data. This includes your contacts, messages, photos, videos, documents, and any other files or data that you want to keep.
There are several ways to backup your data:
- Cloud backup: Use cloud storage services such as Google Drive, Dropbox, or OneDrive to automatically sync and backup your data. Enable the backup settings on your Android phone to upload your data to the cloud.
- External storage: Connect your phone to a computer via USB cable and manually copy your files to your computer’s hard drive or an external storage device, such as a USB flash drive or an external hard drive.
- Google account: Ensure that your contacts, calendars, and other data associated with your Google account are synced. You can check these settings under the “Accounts” section in your phone’s settings.
Take the time to carefully backup your data to ensure that you don’t lose any important information during the wiping process. Double-check that all your files and data are successfully backed up before proceeding to the next steps.
By taking this precautionary measure, you can rest assured that even after wiping your Android phone, you will still have access to all your important data on another device or through cloud services.
Step 2: Disconnect Your Google Account
Before proceeding with the wiping process, it is important to disconnect your Google account from your Android phone. This ensures that your device is no longer linked to your Google account and prevents any potential access to your personal information.
Follow these steps to disconnect your Google account:
- Open the Settings app on your Android phone.
- Scroll down and select the “Accounts” or “Users & accounts” option.
- Select your Google account from the list.
- Tap on the three-dot menu icon in the top-right corner and choose “Remove account” or “Remove from device”.
- Confirm your selection by tapping “Remove” or “OK”.
By disconnecting your Google account, you ensure that your personal data, such as contacts, calendars, app data, and email, will no longer be synced with your device. This step is crucial in maintaining your privacy and protecting your sensitive information.
It is worth mentioning that disconnecting your Google account will also deactivate features like Google Play Store, Gmail, and other Google services on your Android phone. However, you can still proceed with wiping your device even without an active Google account.
After disconnecting your Google account, you can proceed to the next steps in ensuring a complete wipe of your Android phone, leaving no trace of your personal information or data behind.
Step 3: Encrypt Your Phone
Encrypting your Android phone adds an extra layer of security to your data by encoding it in an unreadable format. This step is essential before wiping your device to ensure that even if someone were to gain unauthorized access to your data, they would not be able to retrieve any sensitive information.
Here’s how to encrypt your Android phone:
- Open the Settings app on your Android phone.
- Scroll down and select the “Security” or “Biometrics and security” option.
- Choose “Encrypt phone” or “Encrypt device”.
- Follow the on-screen instructions to set a strong password or PIN for your device.
- Wait for the encryption process to complete. This may take some time.
It’s important to note that encrypting your phone will require you to enter the password or PIN every time you power on your device. This added security measure ensures that your data remains protected, even if your phone falls into the wrong hands.
Before proceeding to the next steps, make sure that your phone is fully encrypted. You can verify this by going to the Security settings and confirming that the phone is encrypted.
By encrypting your Android phone, you ensure that all your personal data, including photos, videos, messages, and app data, is securely protected. This step is crucial in maintaining the privacy and security of your information.
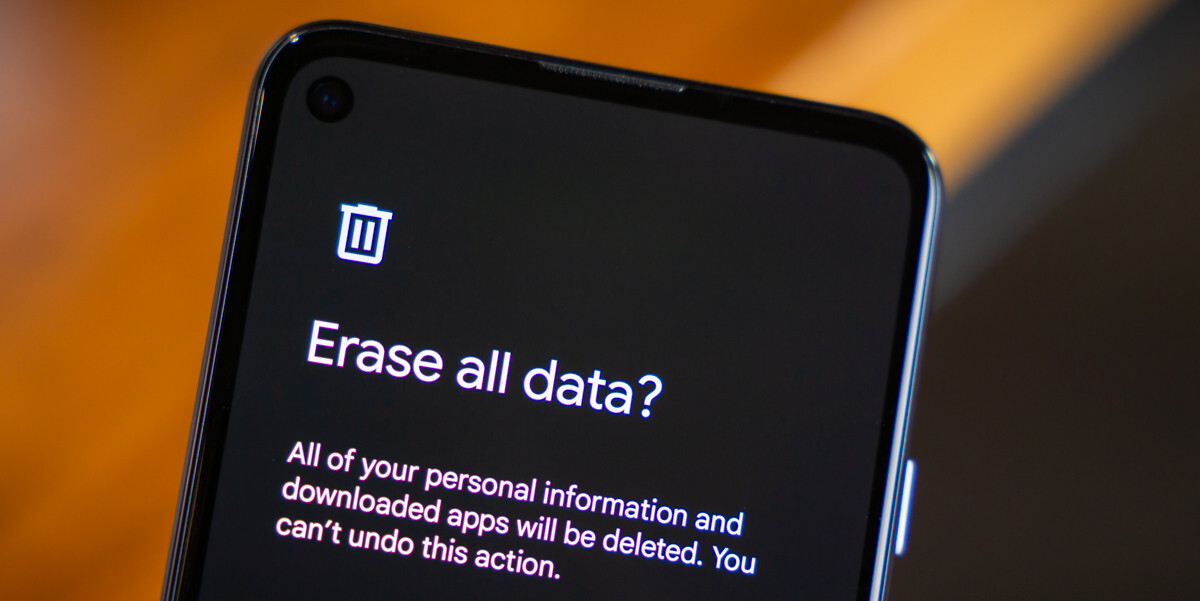
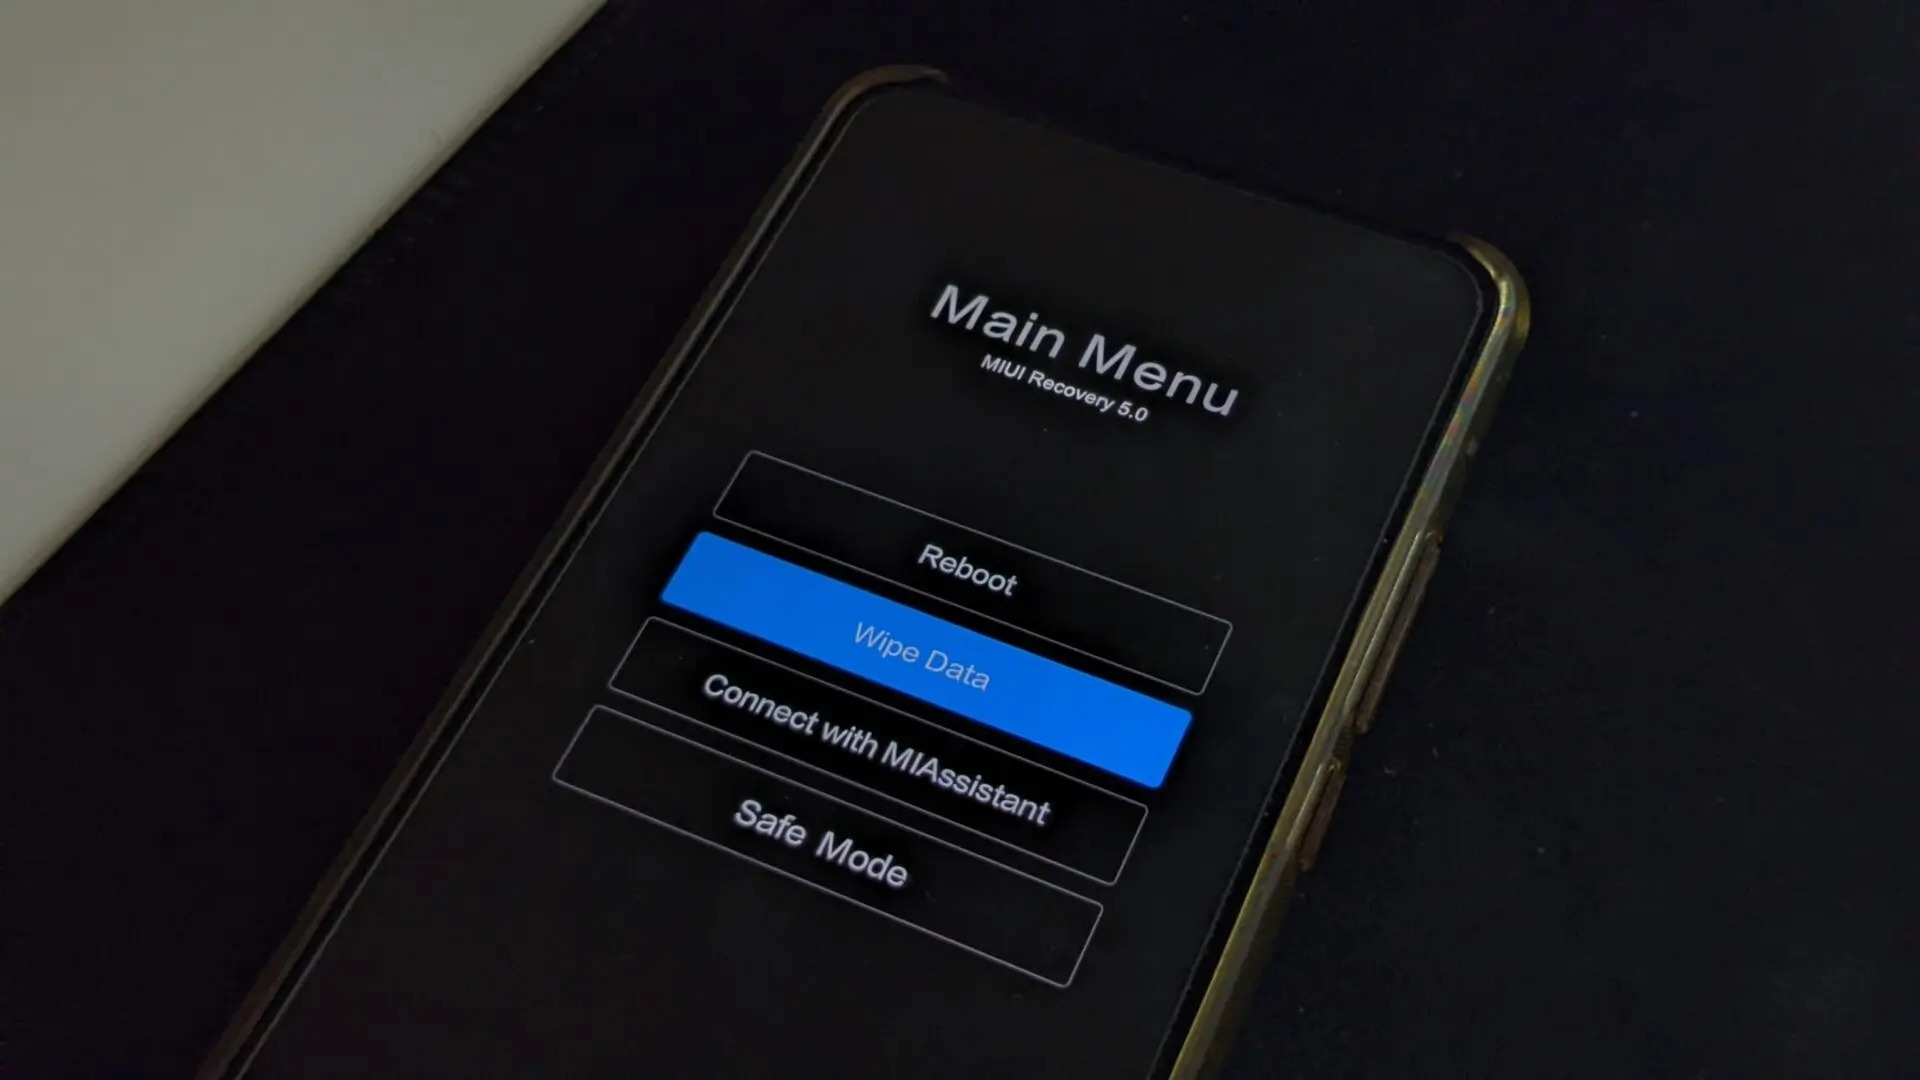
Step 4: Factory Reset Your Android Phone
A factory reset is the most effective way to wipe all the data from your Android phone and return it to its original factory settings. This process ensures that all your personal information, settings, and apps are permanently erased from the device.
Follow these steps to perform a factory reset:
- Open the Settings app on your Android phone.
- Scroll down and select the “System” or “System and Updates” option.
- Choose “Reset” or “Reset options”.
- Click on “Erase all data (factory reset)” or a similar option.
- Enter your device’s password or PIN to confirm the action.
- Select “Delete all” or “Reset phone” and wait for the process to complete.
It’s important to note that performing a factory reset will permanently erase all the data on your Android phone, including apps, photos, videos, contacts, messages, and any other personal information. Therefore, it is crucial to have a backup of your data before proceeding with this step.
After the factory reset is complete, your Android phone will restart as if it were brand new. You will need to go through the initial setup process, including signing in with your Google account and configuring your preferences.
By performing a factory reset, you can ensure that your Android phone is completely wiped, leaving no trace of your personal information or data behind. This step is vital to protect your privacy and keep your information secure.
Step 5: Remove SD Card and SIM Card
Before proceeding with the further steps to wipe your Android phone, it is important to remove the SD card and SIM card from the device. This ensures that no additional data or personal information is left behind on these removable storage devices.
Follow these instructions to remove the SD card and SIM card from your Android phone:
- Power off your Android phone.
- Locate the SIM card tray on the side or top of your device.
- Use a SIM card removal tool, a paperclip, or a small pin to gently eject the SIM card tray.
- Once the SIM card tray is ejected, carefully remove the SIM card from the tray.
- If your Android phone has an SD card slot, locate it on the side or top of your device.
- Use your fingernail or a small pin to gently push the SD card in until it pops out.
- Remove the SD card from the slot.
By removing the SD card and SIM card from your Android phone, you ensure that no data or personal information stored on these external devices is left behind. This step is important, especially if you plan on selling, donating, or recycling your device.
Make sure to safely store the SD card and SIM card in a secure place or use them on another device if needed.
Once the SD card and SIM card are removed, you can proceed to the next steps to ensure a complete wipe of your Android phone, leaving no trace of your personal information or data behind.
Step 6: Erase Your SD Card
If your Android phone has an SD card, it’s important to erase the data on it separately to ensure that no personal information remains on the card. This step is crucial, especially if you plan on selling, donating, or recycling your SD card.
Here’s how to erase your SD card:
- Insert the SD card into a card reader or adapter.
- Connect the card reader or adapter to a computer.
- Open File Explorer (Windows) or Finder (Mac) on your computer.
- Locate the SD card in the list of available drives or devices.
- Right-click on the SD card and select “Format” or “Erase”.
- Choose the file system format (FAT32 or exFAT) and click “Start” or “Erase”.
- Wait for the formatting or erasing process to complete.
- Eject the SD card safely from your computer.
It’s important to note that erasing the SD card will permanently delete all data on it. Make sure to double-check that you have backed up any important files before proceeding with the erasing process.
By erasing your SD card, you ensure that all personal information, photos, videos, and other data stored on the card are permanently removed. This step is crucial in maintaining your privacy and protecting your sensitive information.
If you no longer have a use for the SD card, it is recommended to physically destroy it to prevent any potential data recovery.
After erasing the SD card, you can proceed with the next steps to complete the wiping process of your Android phone.
Step 7: Unlink Social Media Accounts
If you have linked any social media accounts to your Android phone, it’s important to unlink them before wiping the device. This step ensures that your social media accounts are not accessible from your phone and that no personal information or data is left behind.
Here’s how to unlink social media accounts from your Android phone:
- Open the Settings app on your Android phone.
- Scroll down and select the “Accounts” or “Users & accounts” option.
- Choose the specific social media account that you want to unlink.
- Tap on the three-dot menu icon in the top-right corner and select “Remove account” or “Remove from device”.
- Confirm your selection by tapping “Remove” or “OK”.
By unlinking your social media accounts, you ensure that your personal information, messages, posts, and other data associated with these accounts are not accessible from your Android phone. This step is crucial in maintaining your privacy and protecting your social media account information.
It’s important to note that unlinking social media accounts from your Android phone does not delete the accounts themselves. You will still be able to access and manage your social media accounts from other devices or through web browsers.
Before proceeding with the next steps to complete the wiping process, ensure that all your social media accounts are successfully unlinked from your Android phone.
By taking this precautionary step, you can rest assured that your social media accounts are secure and not accessible from your Android phone after the wiping process is completed.
Step 8: Remove Third-Party Apps
Removing third-party apps from your Android phone is an important step in wiping your device and ensuring that no personal data or sensitive information is left behind. This step allows you to delete any apps that may have access to your personal data or accounts.
Follow these instructions to remove third-party apps from your Android phone:
- Open the Settings app on your Android phone.
- Scroll down and select the “Apps” or “Applications” option.
- Tap on the app that you want to remove.
- Select the “Uninstall” or “Remove” button.
- Confirm the action by tapping “OK” or “Uninstall”.
- Repeat the above steps for each third-party app that you want to remove.
It’s important to note that built-in system apps cannot be uninstalled, but they can be disabled if desired.
By removing third-party apps, you ensure that no additional software or apps with potential access to your personal data remain on your Android phone. This step is crucial in protecting your privacy and preventing unauthorized access to your information.
Before proceeding to the next steps, thoroughly review the list of installed apps on your Android phone and remove any unnecessary or unused third-party apps. This will help streamline the wiping process and ensure a more thorough removal of your personal information.
By removing third-party apps from your Android phone, you are taking an important step in safeguarding your data and maintaining your privacy.
Step 9: Clear Cache and Browser History
To ensure a complete wipe of your Android phone, it is important to clear the cache and browser history. These temporary files and browsing data can contain sensitive information and should be removed to protect your privacy.
Follow these instructions to clear the cache and browser history on your Android phone:
- Open the Settings app on your Android phone.
- Scroll down and select the “Storage” or “Device care” option.
- Tap on “Internal storage” or a similar option.
- Choose “Cached data” or “Cached files”.
- Confirm the action by tapping “OK” or “Delete”.
- Return to the Settings app and select the “Apps” or “Applications” option.
- Tap on your preferred browser (e.g., Chrome, Firefox).
- Select “Clear cache” or “Clear browsing data”.
- Choose the data types you want to clear, such as browsing history, cookies, and cached images.
- Confirm the action and wait for the clearing process to complete.
By clearing the cache and browser history, you ensure that no temporary files or data from your browsing activities remain on your Android phone. This step is crucial in protecting your privacy and preventing unauthorized access to your browsing history and stored information.
It is important to note that clearing the cache and browser history may sign you out of websites and remove saved login credentials. Make sure you have the necessary information to log back in to your accounts and websites after completing this step.
After clearing the cache and browser history, you can proceed with the final steps to securely wipe your Android phone, leaving no trace of your personal information behind.
Step 10: Reset App Preferences
Resetting the app preferences on your Android phone is an important step in the wiping process. This step ensures that any customized settings or permissions granted to individual apps are reset to their default state.
Follow these instructions to reset app preferences on your Android phone:
- Open the Settings app on your Android phone.
- Scroll down and select the “Apps” or “Applications” option.
- Tap on the three-dot menu icon in the top-right corner and choose “Reset app preferences”.
- Read the warning message and select “Reset apps” or “Reset”.
Resetting app preferences will not delete any app data or personal information but will reset various app settings, including default apps, app permissions, background data restrictions, and notification settings.
This step is particularly helpful if you have granted certain permissions to apps that you no longer want or if you want to start with a clean slate when it comes to app preferences.
After resetting app preferences, you may need to reconfigure certain settings and permissions for individual apps. This ensures that you have full control over how apps access your data and function on your Android phone.
By resetting your app preferences, you are taking an important step to ensure the complete wipe of your Android phone and maintaining your privacy.
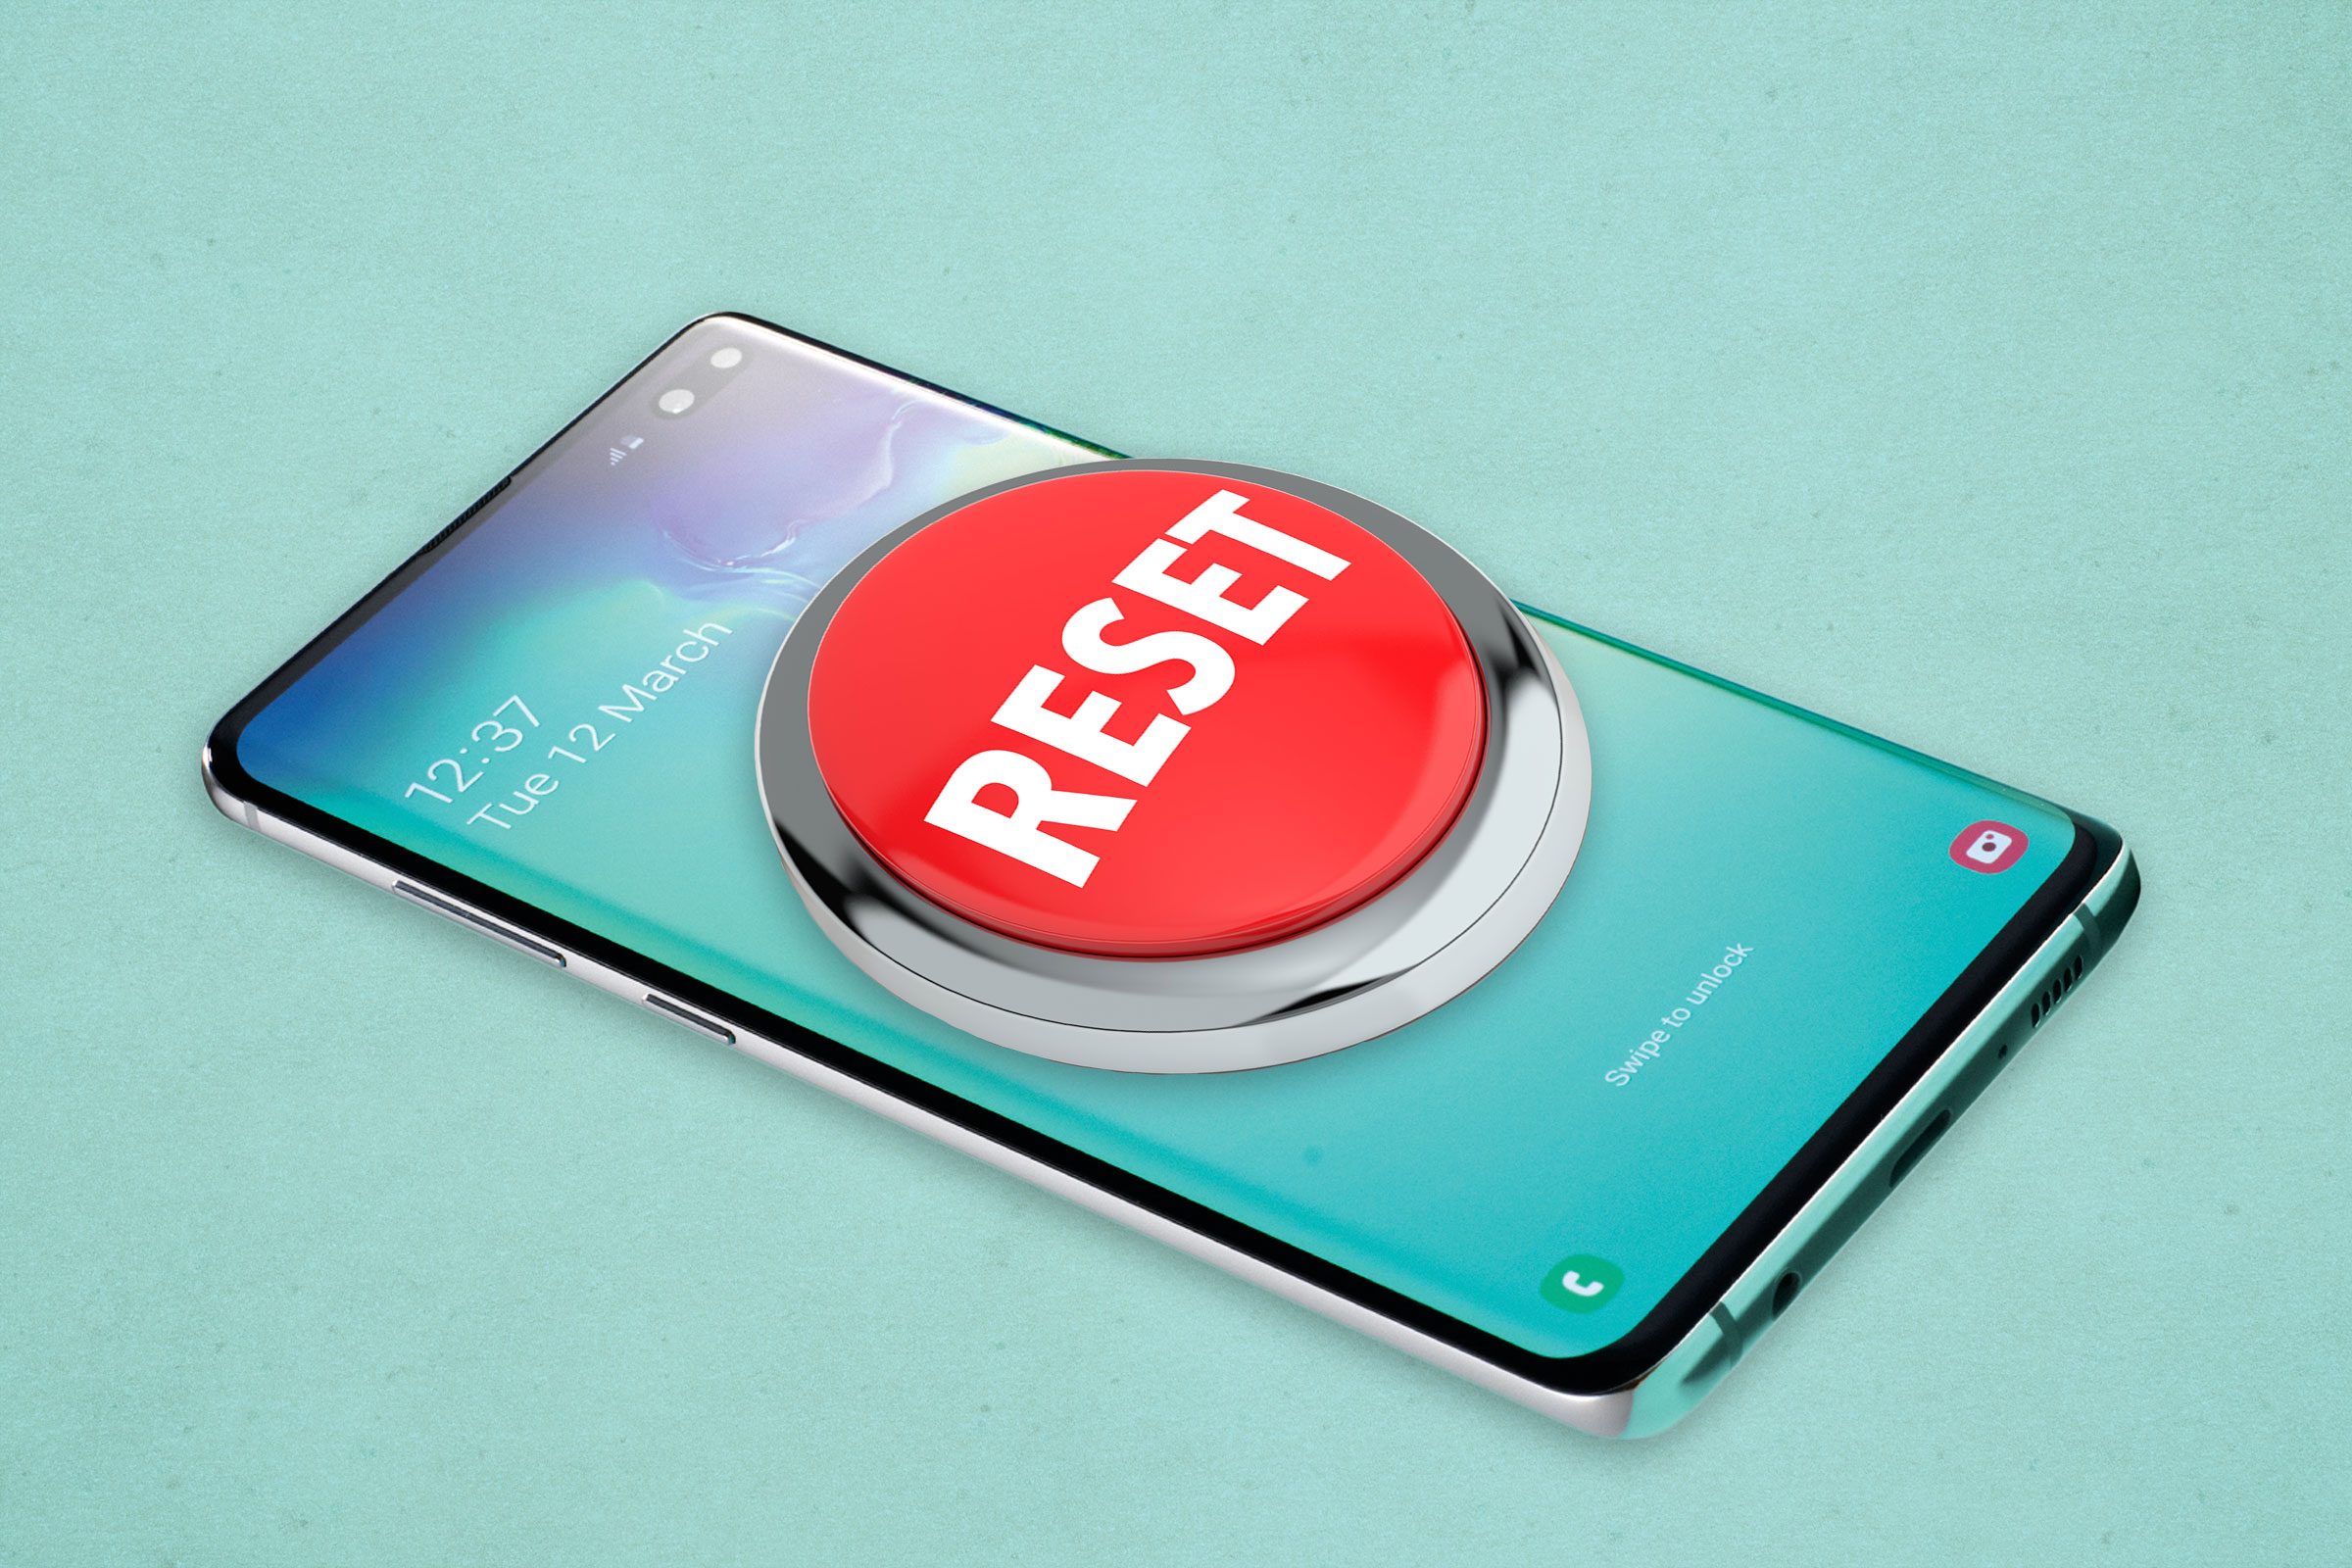
Step 11: Securely Wipe Your Android Phone
Once you have completed all the previous steps to backup your data, disconnect your Google account, encrypt your phone, factory reset the device, remove the SD card and SIM card, unlink social media accounts, remove third-party apps, clear cache and browser history, and reset app preferences, you are now ready to securely wipe your Android phone.
Follow these instructions to securely wipe your Android phone:
- Make sure your phone is fully charged or connected to a power source.
- Ensure that your phone is still disconnected from any accounts or networks.
- Open the Settings app on your Android phone.
- Scroll down and select the “System” or “System and Updates” option.
- Choose “Reset” or “Reset options”.
- Select “Erase all data (factory reset)” or a similar option.
- Enter your device’s password or PIN to confirm the action.
- Tap on “Delete all” or “Reset phone” and wait for the process to complete.
During the wiping process, your Android phone will erase all data and restore it to its original factory settings. This includes deleting all apps, files, settings, and accounts from the device, ensuring that no personal information remains on the phone.
It’s crucial to note that this step is irreversible, and once the wiping process is complete, it cannot be undone. Therefore, double-check that you have backed up all your important data and that you are ready to proceed with the wipe.
After the wiping process is complete, your Android phone will restart as if it were brand new. You can now proceed with setting up your device from scratch, including connecting your Google account and configuring your preferences.
By securely wiping your Android phone, you can have peace of mind knowing that all your personal information and data have been permanently removed from the device, maintaining your privacy and protecting your sensitive information from unauthorized access.
Conclusion
Wiping your Android phone and ensuring the complete removal of your personal information is essential to protect your privacy and prevent unauthorized access to your data. By following the step-by-step process outlined in this guide, you can securely wipe your Android phone and leave no trace of your personal information behind.
From backing up your data to disconnecting your Google account, encrypting your phone, and performing a factory reset, each step plays a crucial role in ensuring the thorough wiping of your device. Removing the SD card and SIM card, unlinking social media accounts, removing third-party apps, clearing cache and browser history, and resetting app preferences further enhance the privacy and security of your data.
Finally, the last step of securely wiping your Android phone completes the process, ensuring that all personal information, settings, and data are permanently erased from the device. It is important to note that this step is irreversible, so it is vital to back up any important data beforehand.
By following these steps, you can have confidence that your Android phone is thoroughly wiped, protecting your privacy and preventing any potential misuse of your personal information.
Remember, always consult your device’s user manual or the manufacturer’s support website for any device-specific instructions. Additionally, it’s advisable to keep your phone’s software up to date and be cautious when installing apps or granting permissions to maintain the security of your device.
With your Android phone securely wiped and ready for a fresh start, you can now use it with peace of mind, knowing that your personal information is protected.

![[Full Guide] How to Bypass Google Account Verification After Reset](https://robots.net/wp-content/uploads/2023/11/How-to-Bypass-Google-Account-Verification-After-Reset-300x180.png)