Losing access to your own phone can be a total nightmare. You wake up one morning, and your Android asks you to sign in with your Google account after a random reset overnight, but uh oh – you can’t remember your password anymore!
We’ve all been there, right? Suddenly you’re locked out with no way to access any of your apps or contacts, as if the phone has turned against you without warning.
I’ve been through this frustration myself back when my nephew did a mischievous factory reset prank on my Samsung. With this guide, I’ll show you the ins and outs of Google’s Factory Reset Protection and how to conquer it when you get locked out.
What is Google Account Verification?
Google Account Verification, also known as Factory Reset Protection (FRP), is a security feature implemented on all Android devices running 5.1 and higher.
It links your Google account credentials to your phone during the initial setup process. The main purpose of FRP is to deter theft by preventing unauthorized users from accessing your phone if it gets reset to factory default settings without your permission.
Now if someone tries to steal your phone and wipe it completely, they won’t get far because Android requires entering the previously linked Google account to finish setting up the reset device. Pretty clever on Google’s part!
Here’s where the problem comes in. If you’re the actual owner but somehow your registered Google account gets lost after a factory reset, you’ll be locked out just like any phone thief would be. Not an ideal situation at all!
Time to learn how to take back control.
When You Need to Bypass Google Account Verification
Speaking from my own painful experience, here are some common reasons you might suddenly need to bypass FRP:
- You forgot the password to your main Gmail ID that’s linked to the phone. Happened to me when I was overwhelmed with so many new app logins to remember!
- Your Google account was hacked or compromised by someone else. I heard from my friend whose ex-boyfriend broke into her account and changed recovery options out of spite.
- Bought a used phone and the previous owner’s account is still linked. My cousin ran into this when he didn’t factory reset a used Pixel before trying to set it up.
- Want to wipe your personal data before selling your old phone? I always make sure to bypass FRP before listing my older devices on eBay. Don’t want new users accessing my stuff!
As you can see, there are good reasons to legitimately bypass Google verification even if you’re the rightful owner. Now let’s get into how to actually do it.
How to Bypass Google Account Verification with Computer
The easiest way I’ve found to bypass FRP is using a Windows PC or Mac. You can try much quicker specialized tools made just for this job. I’ll cover a foolproof professional solution as well as built-in recovery options.
Use a Pro FRP Removal Tool
When my Samsung got stuck asking for my Google password after a prank factory reset, I tried finding an easy toolkit to fix it. After some searching online, I came across a program called Tenorshare 4uKey for Android that stood out from the rest.
Here’s an overview of what Tenorshare 4uKey for Android can do:
- Removes FRP off all models – Samsung, Motorola, Huawei, LG, ZTE, Nokia, just about anything out there running Android 5 to 11.
- Bypasses verification without messing with your actual data or system files. This was a big relief for me!
- Supports newer Android 10 & 11 with special accessibility service restoration to defeat latest FRP versions. Nice they stay updated.
- No need to root or teach complex ADB commands. I’m not a coder so this helped me out a lot!
- Available on both Windows and Mac operating systems. I personally used it on Windows 10 but Mac users can run it too.
I know this sounds like an ad, but I’m just sharing what worked phenomenally for me. I couldn’t believe I bypassed FRP and regained access to my phone in less than 5 minutes thanks to this tool.
Let me quickly walk through the main steps I took:
- Downloaded Tenorshare 4uKey for Android on my laptop and installed it.
- Launched the program, plugged in my locked Samsung via USB cable, and clicked the “Remove Google Lock” button.
- The software automatically detected my phone model and Android OS version. Hit confirm to prep for bypass.
- On the last screen, I clicked the “Remove” button and waited a minute for it to finish.
After a reboot, my Samsung was unlocked! I successfully set it up like new without entering the Google account password I had forgotten. Such a lifesaver.
So, if you find yourself locked out just like I did, definitely give Tenorshare 4uKey for Android a shot before losing all hope. The free trial let me test it out first too.
Reset From Recovery Mode
If you can’t or don’t want to install third-party software, most Android devices actually let you bypass Google verification right from the stock recovery environment.
Here are the basic steps I’ve used to remove FRP using recovery mode:
- Power off your phone completely.
- Boot into Recovery Mode – usually by pressing the Volume Up + Power buttons together.
- Use the volume keys to scroll and select the “Wipe data/factory reset” option.
- On the next confirmation screen, “No” out of the option to keep user data.
- Select “Yes — delete all user data” to confirm wiping it. This removes FRP too!
- Finally, choose “Reboot system now” to restart your phone and finish bypassing the old Google account.
While a bit more tedious, I was able to use this recovery mode method successfully on an older Huawei phone at one point. If you don’t have access to a computer, it’s worth a shot.
Bypass with FRP Unlock APK
Here’s another handy trick that works for bypassing FRP on many Samsung, LG, and other devices – using a dedicated unlock APK file.
The steps are pretty straightforward:
- Download an appropriate FRP Bypass APK on your computer specifically for your phone’s model.
- Connect the locked phone via USB and transfer the APK file into internal storage.
- Boot into recovery and wipe/factory reset the phone.
- The phone will automatically get past Google verification and you can start fresh!
I’ve found APK tools for Samsung, LG, Huawei, and some other brands during my searches online. Definitely look around for an unlocker file specific to your device.
Bypassing Google Verification without Computer
Alright, what if you don’t have access to a PC right now and need to unstick your phone quickly? Turns out there are still a couple of decent options to bypass FRP directly on the phone itself.
Use Android Device Manager
If you can borrow someone else’s computer or tablet for a few minutes, here’s an easy trick:
- Visit android.com/find and sign into the Google account that’s linked to your locked device.
- Locate your phone in the list of registered devices. Click to select it.
- Choose the “Erase device” option. This will remotely reset it while bypassing FRP.
Pretty neat right? I was able to use my sister’s laptop to remotely wipe and unlock my old Nexus phone this way in just a few clicks. Definitely handy if you have another internet device on hand!
Enter Previous PIN/Pattern/Password
If you still remember your old unlock password:
- On the Google verification screen, tap Forgot Password?
- Choose the Enter PIN or Pattern option and enter your credentials.
- This will let you into your phone’s home screen.
- Now go erase all data under Settings which removes FRP as well.
Thankfully I vaguely remembered an old PIN I had set up on an LG phone, or else I would’ve been totally out of luck in this situation!
Removing Google Account before Factory Reset
Here’s a quick pro tip – if you’re wiping your phone before selling it or passing it along to someone, always unlink your Google account first!
This properly prepares the device and prevents your personal info from sticking around. Just follow these fast steps:
- Go to Settings > Accounts > Google and select your account.
- Choose Remove Account and confirm again on the next prompt.
- Repeat this process to remove any other Google accounts.
- Finally, factory reset the phone from Settings > System > Reset options.
Now your phone can be transferred without your annoying Google account getting in the way of the next user! Remember this before resetting your old devices.
FAQs
Here I’ll summarize answers to some frequently asked questions about bypassing FRP:
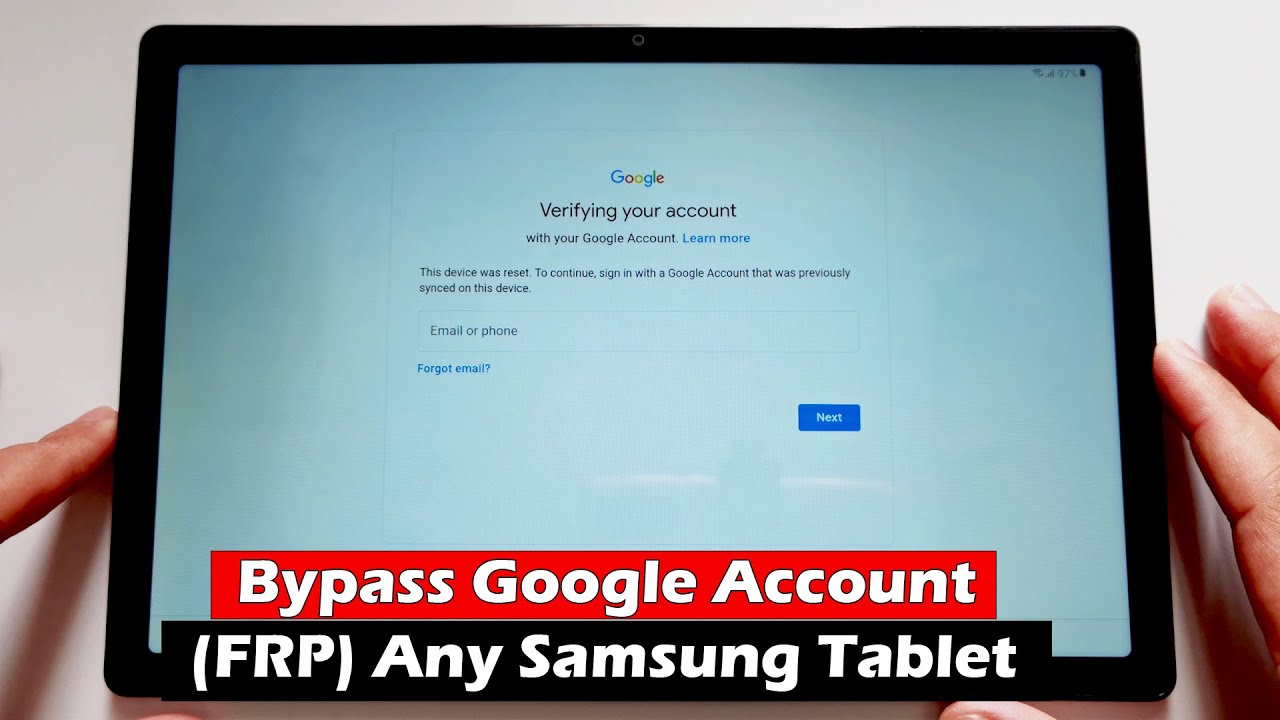
How do I get past the previous owner’s account prompt after a reset?
Use a dedicated FRP removal tool to cleanly bypass verification. The recovery mode method works too.
Is it possible to remove the Google lock for free?
Yes, you can bypass it without any paid software using stock recovery options or certain free APK tools. But specialized programs like Tenorshare provide a smoother overall experience.
What if I can’t recover my Gmail password or change it?
Without access to the associated recovery phone/email, it becomes very difficult to regain entry to a lost Google account. Creating a new account may be necessary.
Final Thoughts
Alright, let’s wrap this up. I know from experience how frustrating a post-reset Google account lockout can be. But with the techniques covered in this guide, you can take back control of your device.
I highly recommend starting with a specialized FRP removal tool like Tenorshare 4ukey for Android if possible. Just follow the steps and your phone will be unlocked in minutes! The other recovery mode options aren’t as fast but can work in a pinch too.
Wishing you the best of luck!