Introduction
Welcome to the world of Google Photos, where memories are stored and cherished. With the ever-increasing digitalization of our lives, preserving our precious photos has never been more important. Google Photos offers a convenient and secure way to store and organize your photos in the cloud. However, relying solely on the cloud may make you nervous about potential data loss or account compromise. This is where backing up Google Photos to an external hard drive comes in handy.
Backing up your Google Photos to an external hard drive provides an additional layer of protection and peace of mind. By creating a physical copy of your photos and videos, you minimize the risk of losing them in the event of accidental deletion, system crashes, or online security breaches. Moreover, having a local backup ensures that you have easy access to your photos, even when an internet connection is not available.
In this guide, we will walk you through the step-by-step process of backing up your Google Photos to an external hard drive. Whether you have just started using Google Photos or have an extensive collection that you want to safeguard, this tutorial will empower you to take control of your digital memories.
Before we dive into the details, it’s important to note that to complete this backup process, you will need a reliable external hard drive with sufficient storage capacity. Additionally, you will need to install and set up the Google Backup and Sync software on your computer. Don’t worry; we’ll cover the installation and setup process in the upcoming steps.
So, grab your external hard drive, make sure your computer is connected to the internet, and let’s get started with backing up your Google Photos!
Why Backing Up Google Photos to an External Hard Drive is Important
While Google Photos provides a secure and convenient way to store and access your photos, relying solely on cloud storage can have its drawbacks. Here are a few reasons why backing up your Google Photos to an external hard drive is important:
- Data Protection: By creating a local copy of your photos, you ensure that they are not solely dependent on the availability and reliability of the internet or Google’s cloud storage. This protects you against any potential data loss from accidental deletion, system failures, or even account compromise.
- Additional Security: Despite the robust security measures implemented by Google, there is always a slight risk of data breaches or hacking incidents. By having a backup of your photos on an external hard drive, you add an extra layer of security to protect your personal memories from unauthorized access.
- Access Anytime, Anywhere: While Google Photos offers easy access to your photos from any device with an internet connection, having a local backup on an external hard drive allows access to your photos even when you are offline or in areas with limited connectivity. This is particularly useful when traveling or in situations where internet access may be unreliable.
- Preserve Original Quality: When you upload photos to Google Photos, they may undergo compression to optimize storage space. However, by backing up your photos to an external hard drive, you can preserve the original quality of your images without any reduction in resolution or quality.
- Organize and Archive: Having a physical copy of your photos enables you to organize them in your preferred folder structure and naming conventions. This can be especially helpful if you have a large photo collection or need to categorize them for specific projects or purposes.
By creating a backup of your Google Photos on an external hard drive, you have full control over the protection, accessibility, and organization of your cherished memories. It offers peace of mind knowing that your photos are safe and can be easily accessed whenever and wherever you need them.
Now that we understand the importance of backing up Google Photos to an external hard drive, let’s move on to the practical steps you need to take to make that backup a reality.
Step 1: Install and Set Up Google Backup and Sync
The first step in backing up your Google Photos to an external hard drive is to install and set up Google Backup and Sync on your computer. This software allows you to synchronize your Google Photos with a specific folder on your computer, which will later be connected to the external hard drive for backup.
Follow these steps to install and set up Google Backup and Sync:
- Download and Install: Open your preferred web browser and visit the Google Backup and Sync download page. Click on the “Download” button to download the installer file. Once the file is downloaded, locate it on your computer and double-click to run the installation process. Follow the on-screen prompts to complete the installation.
- Sign In to Your Google Account: After the installation is complete, the software will prompt you to sign in to your Google account. Enter your Google account credentials and click “Next” to proceed.
- Select Photos to Sync: On the next screen, you will be given the option to select which folders you want to sync with Google Photos. To ensure that all your photos are backed up, make sure the “Google Drive” and “Google Photos” options are checked. You can also choose to sync other folders on your computer if desired. Click “Next” to continue.
- Choose Sync Settings: In the next step, you will have the opportunity to customize your sync settings. You can choose to automatically sync photos and videos from external devices such as cameras or SD cards, whether to upload photos in their original quality or in a compressed format, and whether to upload videos to Google Photos. Adjust the settings according to your preferences and click “Next” to proceed.
- Choose Folder Location: Now, you need to specify the folder location on your computer where the synced files will be stored. By default, the software will create a new folder named “Google Drive” in your user directory. If you prefer a different location, you can click “Choose Folder” and select a different destination. Once you’re satisfied with the folder location, click “Start” to begin the initial synchronization process.
- Wait for Synchronization: The initial synchronization may take some time depending on the size of your Google Photos library and the speed of your internet connection. Allow the software to complete the synchronization process, ensuring that all your Google Photos are downloaded to the designated folder on your computer.
Once the synchronization is complete, you have successfully installed and set up Google Backup and Sync on your computer. In the next step, we will explore how to select specific folders to sync with Google Photos and connect the external hard drive for backup. Stay tuned!
Step 2: Select Folders to Sync
Now that you have successfully installed and set up Google Backup and Sync on your computer, it’s time to select the folders you want to sync with Google Photos. This step ensures that all your photos and videos are included in the backup process.
Follow these steps to select the folders to sync:
- Open Google Backup and Sync: Locate the Google Backup and Sync icon in your system tray (Windows) or menu bar (Mac). It is typically represented by a cloud icon with an arrow. Click on the icon to open the application.
- Access Preferences: In the Google Backup and Sync window, click on the three-dot menu icon in the top-right corner and select “Preferences” from the dropdown menu. This will open the preferences window where you can manage the sync settings.
- Select Google Photos: In the preferences window, select the “Google Photos” tab. Here, you will see a list of folders that are currently being synced to Google Photos. By default, the software syncs the main Google Photos folder and subfolders within it.
- Add or Remove Folders: To add additional folders to the sync list, click on the “Choose Folder” button. A file browser window will appear, allowing you to navigate to and select the folder(s) you want to include. You can select folders from any location on your computer, such as your Pictures or Documents folder.
- Manage Sync Preferences: Once you have added all the desired folders, you can manage their sync preferences. You can choose to sync items in their original quality or in a compressed format, enable or disable syncing of videos, and configure other advanced options according to your preferences.
- Click “OK” to Save: After selecting and configuring the desired folders for synchronization, click the “OK” button to save your changes. The Google Backup and Sync software will start syncing the added folders to Google Photos.
It’s important to note that any changes you make to the synced folders will be reflected in both Google Photos and your local backup. This means that if you delete a photo from one location, it will be deleted from the other as well. Exercise caution when managing your photos to prevent unintended deletions from both locations.
Now that you have selected the folders to sync with Google Photos, the next step is to connect and prepare the external hard drive for the backup process. Let’s move on!
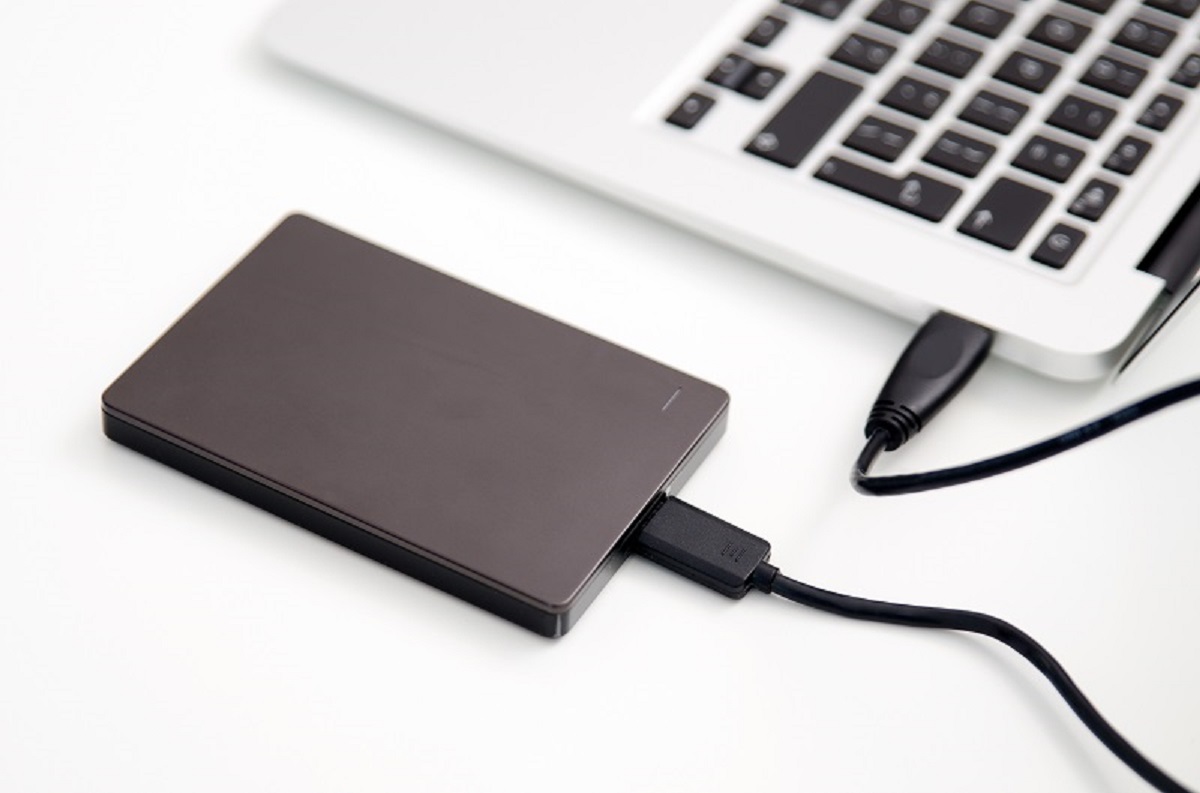
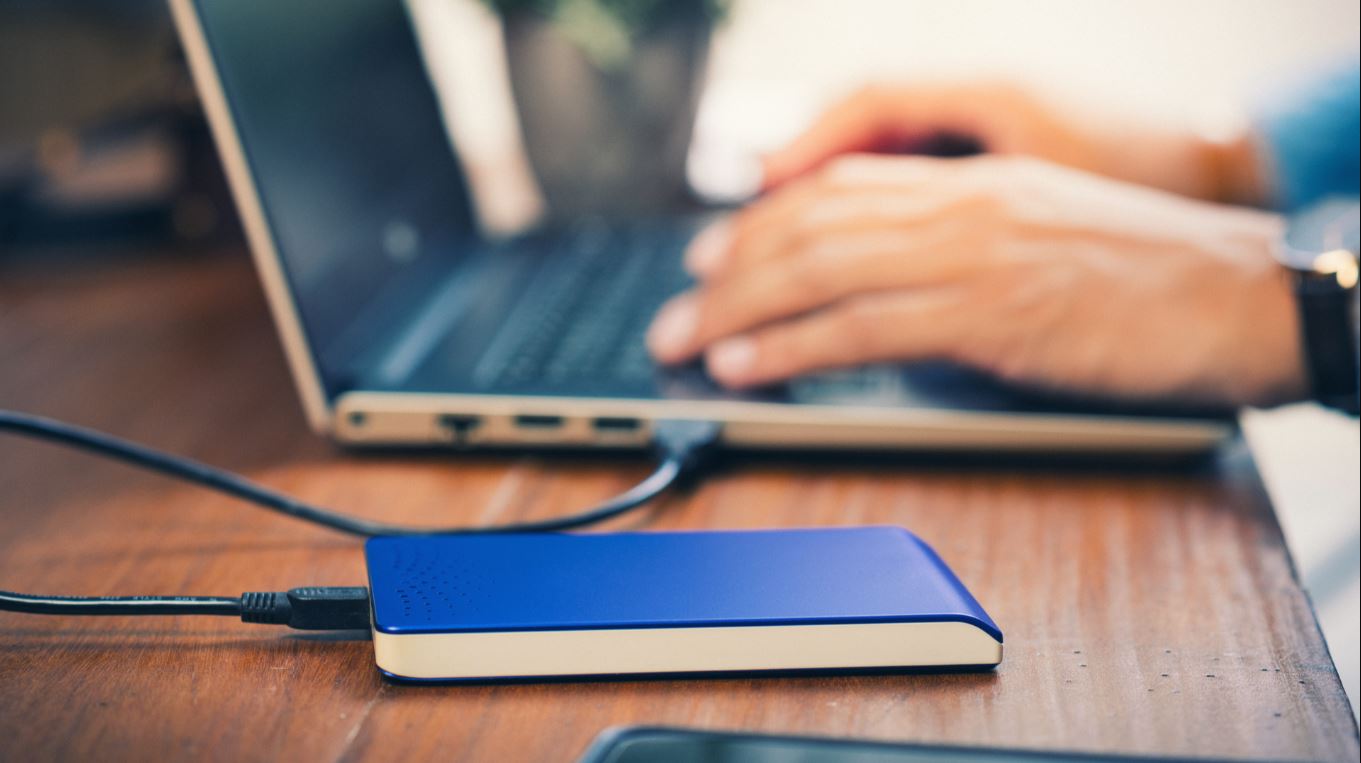
Step 3: Connect and Prepare the External Hard Drive
Now that you have selected the folders to sync with Google Photos, it’s time to connect and prepare the external hard drive that will be used for backing up your photos. Follow these steps to ensure a smooth backup process:
- Locate the External Hard Drive: Connect your external hard drive to your computer using the appropriate USB or Thunderbolt cable. Ensure that the drive is properly connected and recognized by your computer.
- Initialize and Format the Drive (if needed): If the external hard drive is brand new or has not been formatted, you may need to initialize and format it before you can use it. This process will prepare the drive for storing your backup files. Instructions for initializing and formatting the drive can vary depending on your operating system. On Windows, you can use the Disk Management tool, while on Mac, you can use the Disk Utility application. Refer to the manufacturer’s instructions or online resources for detailed guidance on initializing and formatting your specific external hard drive model.
- Assign a Drive Letter or Mount Point (if needed): In some cases, you may need to assign a drive letter or mount point to the external hard drive for easy access and identification. This step is typically required on Windows systems. To assign a drive letter, open the Disk Management tool, right-click on the external hard drive, and choose “Change Drive Letter and Paths.” Follow the on-screen instructions to assign a letter of your choice.
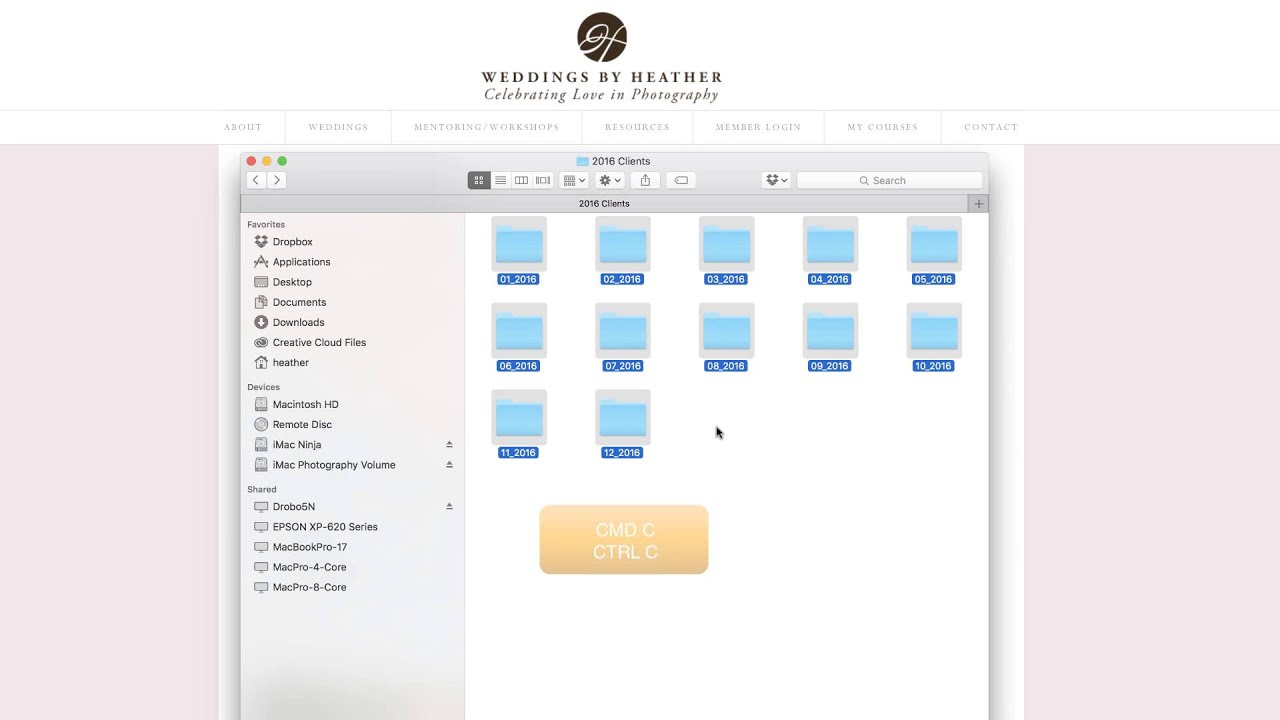
- Create a New Folder: On the external hard drive, create a new folder specifically for storing your Google Photos backup. Right-click inside the drive, select “New,” and choose “Folder.” Give the folder a meaningful name to easily identify it, such as “Google Photos Backup.”
- Note the Drive Letter or Mount Point: Take note of the drive letter assigned to the external hard drive or the mount point (if applicable). You will need this information in the next step when configuring the backup preferences.
- Eject the External Hard Drive: After setting up the folder on the external hard drive, safely eject the drive from your computer. On Windows, you can right-click on the drive icon in the File Explorer and choose “Eject.” On Mac, you can drag the drive icon to the trash or use the “Eject” option in the Finder sidebar.
Now that the external hard drive is connected, formatted, and ready to go, the next step is to configure the backup and sync preferences in Google Backup and Sync. In the upcoming section, we will discuss how to select the backup and sync preferences to ensure a seamless backup process. Keep reading!
Step 4: Select Backup and Sync Preferences
Once the external hard drive is connected and prepared, it’s time to configure the backup and sync preferences in Google Backup and Sync. These preferences will determine how your Google Photos are backed up and synced with the external hard drive. Follow these steps to select the appropriate preferences:
- Open Google Backup and Sync: Locate the Google Backup and Sync icon in your system tray (Windows) or menu bar (Mac). Click on the icon to open the application.
- Access Preferences: In the Google Backup and Sync window, click on the three-dot menu icon in the top-right corner and select “Preferences” from the dropdown menu. This will open the preferences window where you can manage the backup and sync settings.
- Select the Google Photos Tab: In the preferences window, click on the “Google Photos” tab. This tab allows you to configure the backup and sync settings specifically for your Google Photos.
- Choose Backup Options: In this section, you can specify the backup options for your Google Photos. You can choose to back up all photos and videos, only selected albums, or only photos and videos from specific folders on your computer. Select the desired option based on your preferences.
- Select Folder Location: In the “Folder” section, click the “Choose Folder” button to specify the location on your external hard drive where the backup of your Google Photos will be stored. Navigate to the folder you created earlier and select it as the destination folder.
- Configure Advanced Options: If you want more control over the backup and sync process, you can click on the “Advanced settings” link. Here, you can choose whether to delete photos and videos from your Google Photos when they are deleted locally, and whether to prevent duplicates by skipping files with the same name and size.
- Save the Preferences: After selecting the backup options and configuring any advanced settings, click the “OK” button to save your preferences. The Google Backup and Sync software will now start backing up your Google Photos to the specified folder on your external hard drive.
It’s important to note that the backup process may take some time, depending on the size of your Google Photos library and the speed of your internet connection. You can monitor the progress of the backup from the Google Backup and Sync window.
With the backup and sync preferences set, your Google Photos will now be automatically backed up to your external hard drive. In the next step, we will discuss how to monitor and manage the backup process. Stay tuned!
Step 5: Start the Backup Process
With the backup and sync preferences configured, it’s time to start the backup process for your Google Photos. Follow these steps to initiate the backup:
- Ensure Google Backup and Sync is Running: Make sure that the Google Backup and Sync software is running on your computer. You can find its icon in the system tray (Windows) or menu bar (Mac). If it’s not running, double-click the icon to open the application.
- Monitor the Backup Progress: Once the Google Backup and Sync software is running, it will automatically start the backup process for your Google Photos. You can monitor the progress of the backup from the application’s window. It will display the number of files being synced, the estimated time remaining, and any errors or warnings that may arise.
- Internet Connection: Ensure that your computer is connected to the internet throughout the backup process. The software requires internet connectivity to synchronize your Google Photos with the external hard drive.
- Allow Sufficient Time: Depending on the size of your Google Photos library and the speed of your internet connection, the backup process may take a while. Larger libraries and slower connections will require more time. Be patient and allow the software to complete the backup before interrupting the process.
- Minimize interruptions: To ensure an uninterrupted backup process, avoid interrupting the software by closing the Google Backup and Sync application or shutting down your computer. Interruptions may lead to incomplete or corrupted backups.
- Manage Power and Energy Settings: Adjust your computer’s power and energy settings to prevent it from entering sleep mode or standby during the backup process. This will ensure that the backup continues uninterrupted until it is completed.
During the backup process, the software will continuously synchronize your Google Photos with the folders on your external hard drive. Any new photos or videos added to your Google Photos library will be automatically backed up to the designated location on the external hard drive.
By starting the backup process, you are taking a proactive step to protect your cherished memories and ensure that they are safely stored on the external hard drive. In the next step, we will discuss how to monitor and manage the backup to ensure its successful completion. Stay tuned!
Step 6: Monitor and Manage the Backup
Once the backup process is underway, it is crucial to monitor and manage it to ensure its successful completion. Follow these steps to effectively monitor and manage your Google Photos backup:
- Regularly Check the Backup Status: Open the Google Backup and Sync application on your computer to check the status of the backup. The application will display the number of files that have been synced and any errors or warnings that may have occurred. Monitoring the backup status regularly allows you to stay informed about the progress and address any issues promptly.
- Address Errors and Warnings: If you encounter any errors or warnings during the backup process, it is important to address them promptly. These could be related to connectivity issues, file conflicts, or insufficient storage space on the external hard drive. Investigate the error or warning message and take appropriate steps to resolve the issue. This may involve troubleshooting internet connection problems, freeing up space on the external hard drive, or resolving any conflicts in file names.
- Consider Scheduling Regular Backups: To ensure that your Google Photos library is continuously backed up, consider scheduling regular automatic backups. Google Backup and Sync allows you to configure automatic backups based on a specific time or frequency. This reduces the risk of data loss and ensures that your backup is always up to date.
- Review and Manage Storage Space: Regularly review the available storage space on your external hard drive. If it starts to run low, consider removing any unnecessary files or folders to make room for new backups. Additionally, you can consider upgrading to a larger capacity external hard drive if needed. Managing the storage space ensures that the backup process can continue smoothly without any interruptions due to insufficient space.
- Be Mindful of Modifications: Remember that any modifications made to the synced folders on your computer will be reflected in both Google Photos and your backup on the external hard drive. When organizing or deleting photos in either location, ensure that you are mindful of the changes and their impact on the backup. Exercise caution to prevent unintentional deletion or loss of data.
- Regularly Test the Backup: It is important to periodically test the backup to ensure its integrity and accessibility. This can be done by randomly selecting a few backed-up photos and verifying that you can access and open them from the external hard drive. Testing the backup helps identify any potential issues early on and ensures that your backup is reliable when you need to recover your photos.
By diligently monitoring and managing the backup process, you can maintain the reliability and effectiveness of your Google Photos backup on the external hard drive. In the next step, we will discuss how to access and retrieve your backup from the external hard drive. Stay tuned!
Step 7: Accessing the Backup on the External Hard Drive
Now that you have successfully backed up your Google Photos to the external hard drive, accessing and retrieving your backup is a breeze. Follow these steps to access your backup on the external hard drive:
- Connect the External Hard Drive: Connect the external hard drive to your computer using the appropriate USB or Thunderbolt cable. Ensure that the drive is properly connected and recognized by your computer.
- Open File Explorer (Windows) or Finder (Mac): Open the respective file management application on your computer. On Windows, open File Explorer. On Mac, open Finder.
- Navigate to the External Hard Drive: In the file management application, locate the external hard drive in the list of available drives or in the sidebar. Click on the drive’s name to access its contents.
- Locate Your Google Photos Backup Folder: Within the external hard drive, navigate to the folder where your Google Photos backup is stored. This is the folder you designated during the setup process.
- Browse and Retrieve Your Photos: Once you have located the backup folder, you can browse through its contents to find your backed-up Google Photos. The folder structure should mirror the organization of your Google Photos library, making it easy to find specific albums or individual photos. Simply double-click on a photo to open and view it.
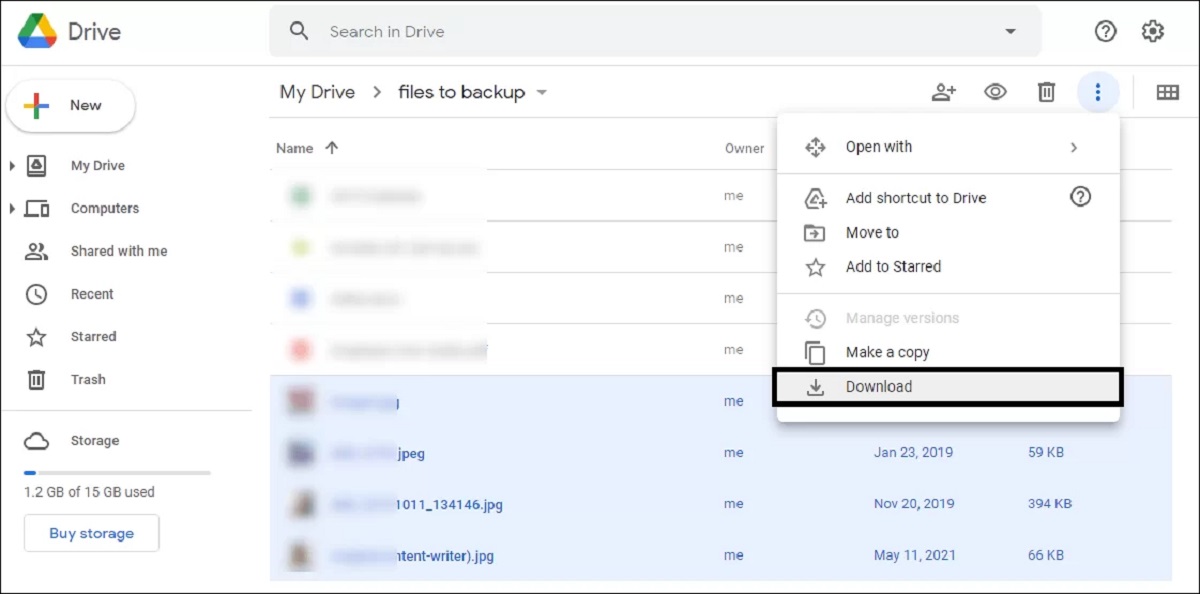
- Copy or Transfer Photos as Needed: If you want to retrieve or use your backed-up photos, you can copy them from the external hard drive to your computer or any other storage medium. Simply select the photos or folders you wish to copy, right-click, and choose the “Copy” option. Then, navigate to the desired destination on your computer or external storage device and choose the “Paste” option to transfer the photos.
- Safely Eject the External Hard Drive: After accessing and retrieving your backup, it is important to safely eject the external hard drive from your computer to prevent data loss or corruption. Right-click on the drive’s icon in the file management application and select the “Eject” or “Safely Remove” option. Wait for the confirmation message before physically disconnecting the drive from your computer.
By following these steps, you can easily access and retrieve your Google Photos backup from the external hard drive whenever you need it. With your backup stored locally, you have peace of mind knowing that your precious memories are safe and accessible at any time.
Congratulations! By completing these seven steps, you have successfully backed up your Google Photos to an external hard drive and learned how to access and retrieve your backup. Remember to periodically update your backup to include any new photos or modifications in your Google Photos library.
By taking the time to back up your Google Photos, you have ensured that your cherished memories are protected and can be preserved for years to come. Enjoy peace of mind knowing that your valuable photos are safe and accessible in case of any unforeseen events.
Conclusion
Backing up your Google Photos to an external hard drive is a smart and proactive step to protect your precious memories. With the potential risks of data loss, account compromise, and limited internet access, creating a local backup ensures that your photos are safe and easily accessible at all times.
In this guide, we’ve walked you through the seven essential steps to back up your Google Photos to an external hard drive. We started by installing and setting up Google Backup and Sync, selecting the folders to sync, and connecting and preparing the external hard drive. Then, we discussed how to select the backup and sync preferences, start the backup process, and monitor and manage the backup effectively. Finally, we explored how to access and retrieve your backup from the external hard drive.
By following these steps, you have taken control of your digital memories and protected them from potential data loss or online security risks. Your backup on the external hard drive provides a reliable and easily accessible copy of your Google Photos, ensuring that you can relive and enjoy those moments even without an internet connection.
Remember to regularly monitor and manage your backup, addressing any errors or warnings promptly, and periodically testing the backup to verify its integrity. Additionally, keep in mind that any modifications made to your synced folders may affect both Google Photos and the backup on the external hard drive, so exercise caution to avoid unintended changes or deletions.
Now that you have successfully backed up your Google Photos to an external hard drive, treasure your memories, knowing that they are safeguarded and ready to be cherished for years to come. Enjoy peace of mind and the convenience of having your treasured moments at your fingertips, no matter where you are.
Thank you for choosing to follow this guide. We hope it has been helpful in assisting you with backing up your Google Photos. Remember to regularly update your backup and keep your photos secure. Happy preserving!