Introduction
Google Photos is a popular cloud-based service that allows you to store, organize, and share your photos and videos online. With its user-friendly interface and seamless integration with Google accounts, it has become a go-to platform for many users to backup and access their media files. However, there may be instances where you want to download all your photos from Google Photos to an external hard drive for various reasons. Whether it’s to free up space on your devices, create a physical backup, or simply have offline access to your memories, this guide will walk you through the step-by-step process.
Downloading photos from Google Photos is a straightforward process, and you don’t need any special technical skills to accomplish it. By following a few simple steps, you can effortlessly transfer all your photos from Google Photos to an external hard drive. In this article, we will provide you with a detailed guide on how to download all photos from your Google Photos account to an external hard drive.
We will cover the entire process from signing into your Google Photos account to selecting and exporting your photos. We will also provide tips on choosing the right export options and selecting the external hard drive as the destination for your downloaded files. So, whether you’re a novice user or have limited experience with Google Photos, don’t worry – we’ve got you covered!
Before we dive into the step-by-step process, it’s important to note that the availability of certain features may vary based on the device you’re using and the version of Google Photos. However, the fundamental steps outlined in this guide should apply to most devices and versions of the application. Now, let’s get started with downloading all your precious photos from Google Photos to an external hard drive!
Step 1: Sign in to your Google Photos account
The first step in downloading all your photos from Google Photos to an external hard drive is to sign in to your Google Photos account. To do this, follow the steps below:
- Open a web browser and go to the Google Photos website.
- If you’re not already signed in, click on the “Sign in” button and enter your Google account credentials.
- Once signed in, you will be redirected to your Google Photos library.
Alternatively, if you have the Google Photos app installed on your mobile device, you can open the app and sign in using your Google account credentials. The process is similar to signing in via the website, but you’ll be using the app interface instead.
It’s important to ensure that you sign in to the correct Google Photos account that contains the photos you wish to download. If you have multiple Google accounts, double-check that you’re signed in with the correct one. This will ensure that you have access to all the photos you want to download.
Once you’re signed in to your Google Photos account, you’re ready to move on to the next step. Make sure you have a stable internet connection throughout the download process to avoid any interruptions or incomplete downloads.
Step 2: Select the album or photos you want to download
After signing in to your Google Photos account, you need to choose the album or individual photos that you want to download. Follow these steps to select the desired items:
- On the Google Photos website, navigate to the “Albums” tab located on the left-hand side of the screen. If you want to download photos from a specific album, click on that album to open it.
If you prefer to download individual photos from across different albums, you can skip this step. - Once you’re in the desired album, you’ll see all the photos it contains. You can scroll through the album to locate the photos you want to download, or you can use the search bar at the top to search for specific photos by their file names or metadata.
- To select a single photo, click on it once. To select multiple photos, hold down the Ctrl (Windows) or Command (Mac) key while clicking on the photos you want to download.
- If you want to select all the photos in the album, click on the three-dot menu icon located at the top-right corner of the album page and choose “Select all”.
If you’re using the Google Photos app on your mobile device, the process is similar. Open the app, navigate to the desired album or individual photos, and tap on the photos to select them. You can also use the search bar at the top to find specific photos.
Take your time to review your selection and make sure you’ve chosen all the photos you want to download. Once you’re satisfied with your selection, proceed to the next step to start the download process.
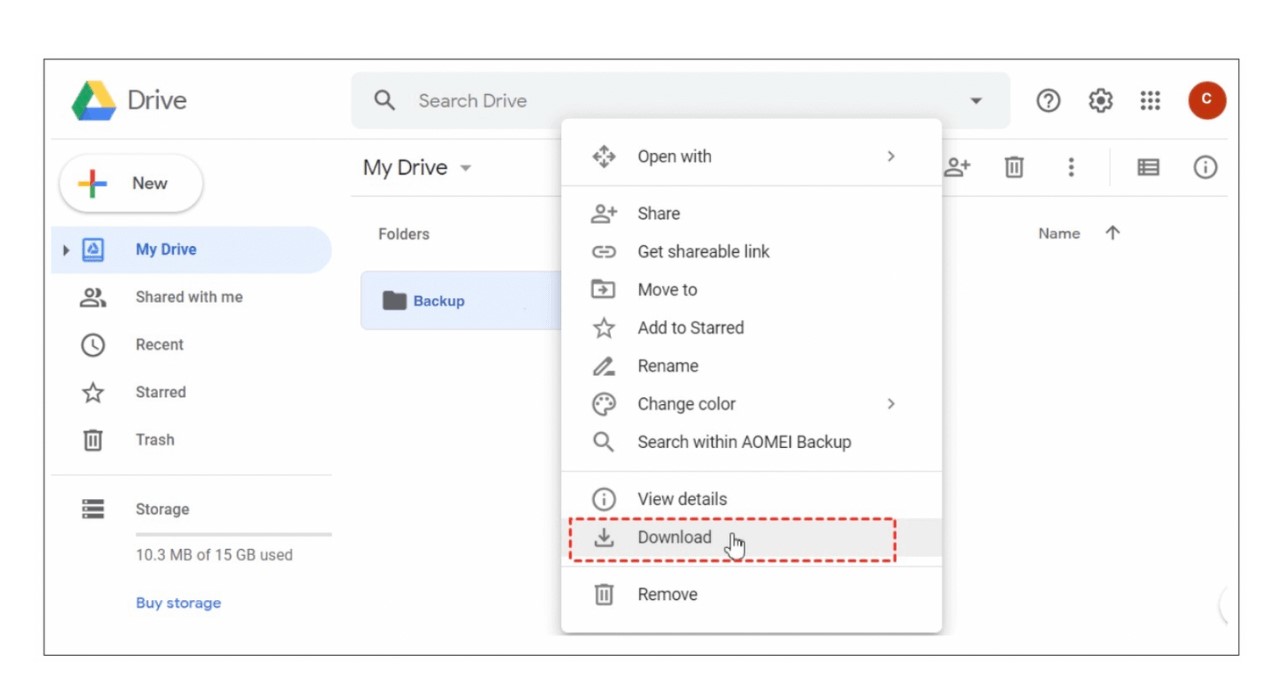
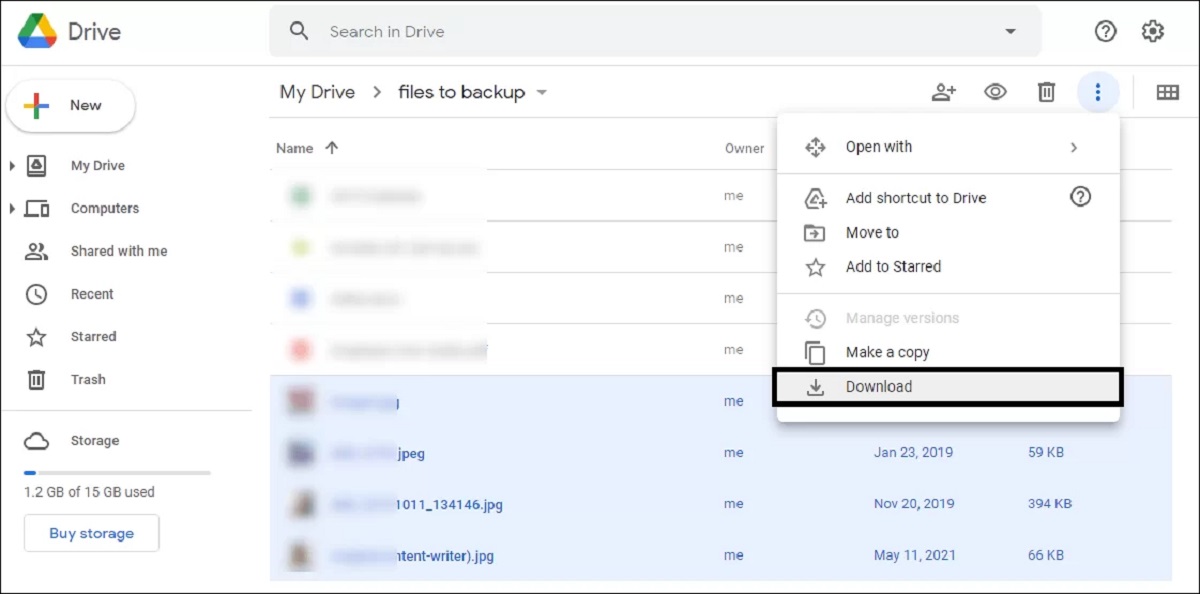
Step 3: Click on the three-dot menu and choose “Download”
Once you have selected the album or photos that you want to download from Google Photos, it’s time to initiate the download process. Follow the steps below to proceed:
- In the Google Photos web interface or app, locate the three-dot menu icon. On the web interface, it is usually located in the upper-right corner of the screen, while in the app, it can be found in the top-right or bottom-right corner, depending on your device.
- Click or tap on the three-dot menu icon to open the menu options.
- From the menu options that appear, look for and select the “Download” option. In some versions of Google Photos, this option may be labeled as “Save to device” or a similar variation.
By choosing the “Download” option, you are instructing Google Photos to prepare the selected album or photos for download. This step generates a compressed zip file containing all the selected items, making it easier to download and transfer them to your external hard drive.
It’s important to note that the time it takes to prepare the download may vary depending on the number and size of the selected items. Google Photos will display a progress indicator or notification to inform you when the download is ready.
Once the download is prepared, you’re ready to move on to the next step, where you’ll choose the export options for your downloaded photos.
Step 4: Choose the export options
After initiating the download process for your selected photos or album in Google Photos, you will be presented with export options to customize the format and quality of the downloaded files. Follow these steps to choose the export options:
- When the download is prepared, Google Photos will prompt you to choose the desired export options. The available options may vary depending on the device and version of the application you are using.
- First, decide on the file format for your downloaded photos. Typically, you can choose between the popular JPEG format, which is widely supported, and the higher-quality RAW format, which is suitable for professional photographers or advanced editing purposes.
- Next, you may have the option to specify the quality or resolution of the exported photos. This allows you to control the file size and image quality based on your preference and usage requirements. Keep in mind that higher quality settings result in larger file sizes.
- Additionally, you might see advanced options such as preserving the metadata (such as location, date, and camera information) and maintaining the original file names. Select these options if you want to retain additional information associated with each photo.
Take your time to review and choose the export options that best suit your needs. Consider factors such as the intended use of the downloaded photos, available storage space on your external hard drive, and the level of compatibility required with different devices and software.
Once you have selected the desired export options, you’re ready to proceed to the next step and choose your external hard drive as the destination for the downloaded files.
Step 5: Select your external hard drive as the destination
After selecting the export options for your downloaded photos in Google Photos, it’s time to choose your external hard drive as the destination where the files will be saved. Follow these steps to select your external hard drive:
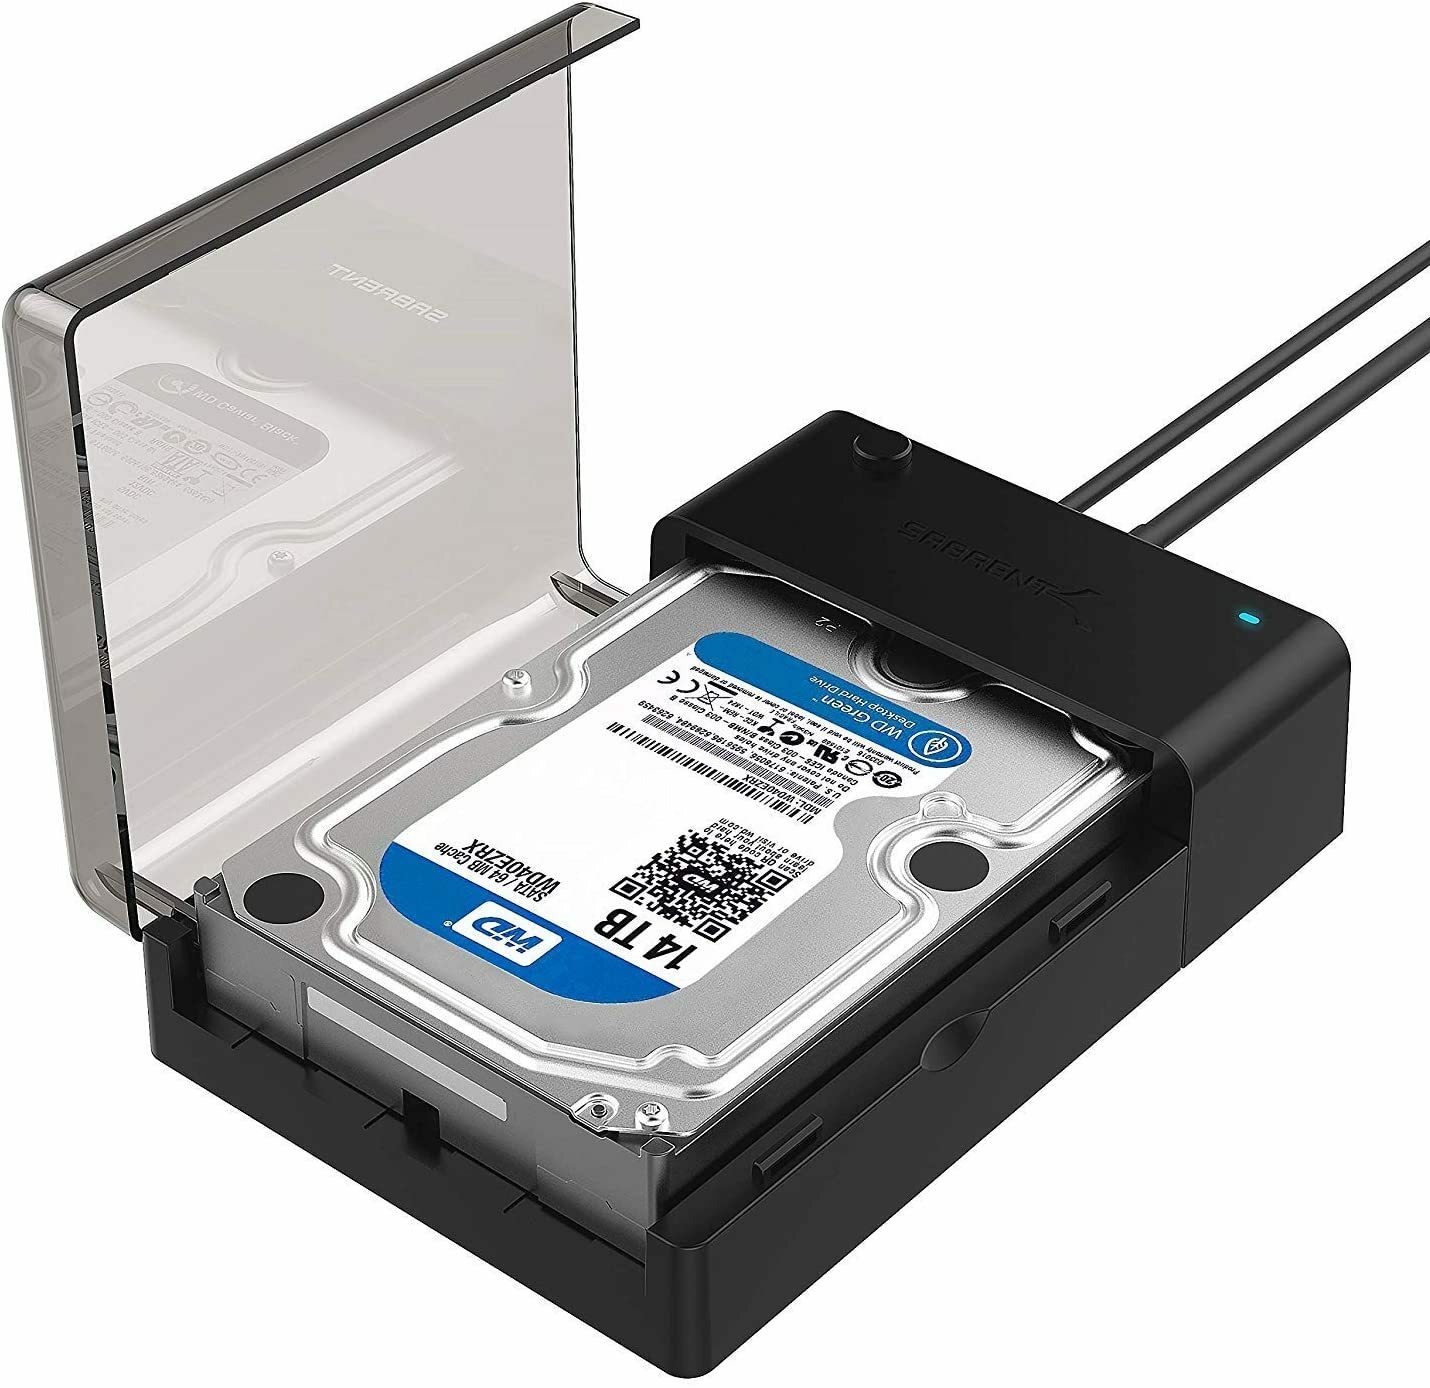
- Connect your external hard drive to your computer or make sure it is properly recognized and accessible on your device.
- In the export options or download settings, look for the location or destination field. This is where you specify where the downloaded files should be saved.
- Click or tap on the field and select your external hard drive from the available options. It may be represented by the name or label you assigned to it, such as “My External Drive” or “Backup Drive”.
By choosing your external hard drive as the destination, you are ensuring that the downloaded files will be saved directly onto the external storage device rather than your computer’s internal storage.
It’s important to make sure that your external hard drive has enough free space to accommodate the downloaded files. Consider the size of the selected photos or album and ensure that the external hard drive has ample storage capacity.
Once you have successfully selected your external hard drive as the destination, you’re ready to move on to the next step and start the download process for your photos.
Step 6: Start the download process
With your export options and destination set, you are now ready to start the download process for your selected photos from Google Photos to your external hard drive. Follow these steps to initiate the download:
- In the Google Photos interface, look for the “Download” or “Start download” button. This button may be labeled differently based on the version of Google Photos you are using.
- Click or tap on the download button to begin the process.
Google Photos will now start downloading the selected photos as a compressed zip file to your specified destination, which is your external hard drive. The time it takes to complete the download will depend on the number and size of the selected photos, as well as the speed of your internet connection.
During the download process, it’s important to avoid interrupting or cancelling the download. Doing so may result in incomplete or corrupted files. Ensure that your computer or device remains powered on and connected to the internet until the download is complete.
Once the download is finished, you will have all your selected photos from Google Photos safely stored on your external hard drive. You can verify the successful completion of the download by checking the designated folder or location on your external hard drive.
With the download process completed, you can now proceed to the final step and conclude the process of downloading all your photos from Google Photos.
Step 7: Wait for the download to complete
Once you have started the download process of your selected photos from Google Photos to your external hard drive, it’s important to exercise patience and wait for the process to complete. Follow these guidelines while waiting for the download:
- Keep an eye on the progress indicator provided by Google Photos. This may be in the form of a progress bar, percentage, or estimated time remaining.
- Do not interrupt or cancel the download while it is in progress. Interrupting the download may result in incomplete or corrupted files.
- Ensure that your computer or device remains powered on and connected to the internet throughout the download. Disruptions in the internet connection or a sudden power loss can disrupt the download process.
- Avoid performing resource-intensive tasks on your computer or device while the download is in progress. This includes tasks like running intensive software programs or large file transfers, as they can slow down the download process.
The time it takes for the download to complete will depend on various factors, including the size and number of selected photos, as well as the speed of your internet connection. It’s important to be patient and allow the process to finish without interruptions.
Once the download is complete, you can verify the presence of the downloaded files on your external hard drive. Navigate to the designated folder or location and ensure that all your selected photos are successfully stored on your external hard drive.
With the download process completed, you have successfully transferred all your photos from Google Photos to your external hard drive. You can now safely disconnect your external hard drive from your computer or device.
Conclusion
Downloading all your photos from Google Photos to an external hard drive is a practical solution for creating backups, freeing up device storage, or ensuring offline access to your precious memories. By following the step-by-step process outlined in this guide, you can easily accomplish this task without the need for any technical expertise.
We started by signing in to your Google Photos account and selecting the album or individual photos you wanted to download. Then, we clicked on the three-dot menu and chose the “Download” option to initiate the download process. We also discussed the importance of selecting the appropriate export options based on your preferences and requirements.
In step 5, we selected your external hard drive as the destination for the downloaded files, ensuring that the photos are saved directly onto the external storage device. Finally, in step 6, we started the download process and emphasized the importance of allowing the process to complete without interruption.
By following all the steps and patiently waiting for the download process to finish, you have successfully transferred all your photos from Google Photos to your external hard drive. Now, you can enjoy the convenience of having your memories stored offline and backed up in a separate storage device.
Remember to disconnect your external hard drive safely and store it in a secure location for future use. Regularly backing up your photos and keeping them in multiple storage locations can provide added peace of mind and protection against any unexpected data loss.
We hope this guide has been helpful in assisting you with downloading all your photos from Google Photos to an external hard drive. Enjoy your preserved memories and the peace of mind that comes with having a secure backup of your valuable photos!