Introduction
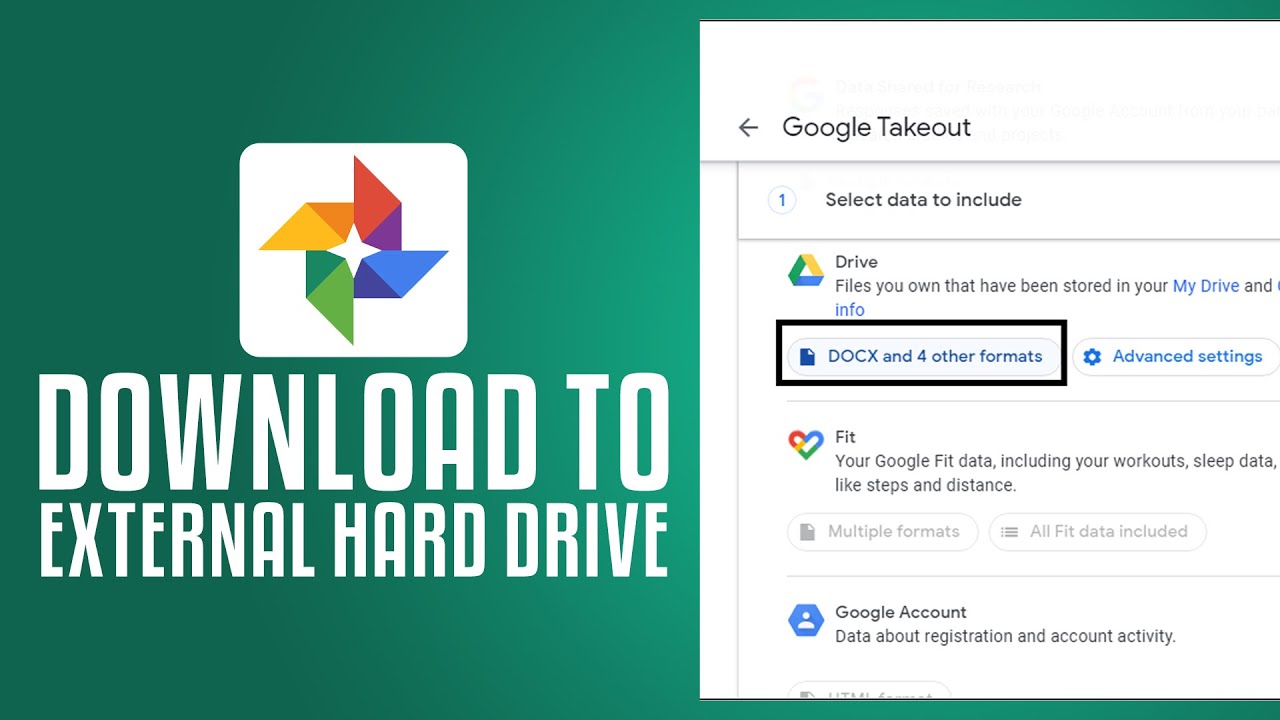
Welcome to our guide on how to download Google Photos to an external hard drive. Google Photos is a popular cloud storage service that allows users to upload, store, and share their photos and videos. While it offers convenient access to your media from any device with an internet connection, you may also want to have a local backup of your precious memories.
By downloading your Google Photos to an external hard drive, you can ensure that your files are safely stored offline and easily accessible without relying on an internet connection. This can be particularly useful for those who have limited cloud storage space or want to have an additional backup to protect against data loss.
In this comprehensive guide, we will walk you through the step-by-step process of downloading your Google Photos to an external hard drive. Whether you’re using Windows, macOS, or Linux, the steps we’ll outline are applicable across different platforms.
Before we begin, make sure you have a compatible external hard drive with enough available storage space. Additionally, ensure that you have a stable internet connection to prevent any interruptions during the download process.
Now, let’s dive in and learn how to download your Google Photos to an external hard drive!
Step 1: Connect the External Hard Drive to Your Computer
The first step in downloading your Google Photos to an external hard drive is to connect the external hard drive to your computer. This can typically be done by plugging the USB cable of the external hard drive into an available USB port on your computer.
Once connected, your computer should recognize the external hard drive and assign it a drive letter or mount it as a storage device. You can verify this by checking the “File Explorer” in Windows, or the “Finder” on macOS, where you should see the external hard drive listed.
If you’re using a laptop, ensure that it is plugged into a power source to prevent any interruptions during the download process. It’s also recommended to have your computer connected to a stable internet connection to ensure a smooth and uninterrupted download.
Before proceeding to the next step, double-check that your external hard drive has enough free space to accommodate the size of your Google Photos library. You can check the storage capacity of your external hard drive by right-clicking on its icon and selecting “Properties” or “Get Info.”
Once you have successfully connected your external hard drive and ensured its compatibility and available storage space, you’re ready to move on to the next step.
Step 2: Open Google Photos on Your Web Browser
After connecting your external hard drive to your computer, the next step is to access Google Photos on your web browser. Launch your preferred web browser (such as Google Chrome, Mozilla Firefox, or Safari) and go to the Google Photos website.
If you’re using Google Chrome or Firefox, you can simply type “photos.google.com” in the address bar and press Enter. For Safari users, navigate to “www.google.com” and click on the grid icon in the top right corner, then select “Photos” from the drop-down menu.
Once you’re on the Google Photos website, you will be prompted to sign in with your Google account. Enter your email or phone number associated with your Google account and click “Next.” Then, enter your password and click “Next” again to log in.
If you’re already signed in to your Google account, the website may automatically redirect you to the Google Photos homepage. If not, you may need to click on the menu icon (three horizontal lines) in the top left corner and select “Photos” from the list of Google services.
Once you’re logged in to Google Photos, you’ll have access to your entire photo and video library. You can view your images in the “Photos” tab, organize them into albums, and apply various filters and editing options.
Now that you’ve successfully opened Google Photos on your web browser, you’re ready to proceed to the next step and start selecting the photos or albums you want to download.
Step 3: Select Photos or Albums to Download
Once you have accessed Google Photos on your web browser, it’s time to select the photos or albums that you want to download to your external hard drive. Google Photos provides various options for selecting and downloading your media.
If you want to download all of your photos and videos, you can simply skip this step and proceed directly to Step 4. However, if you prefer to download specific photos or albums, follow these steps:
1. Navigate to the “Photos” tab on the left-hand side of the screen. Here, you’ll find all your uploaded photos and videos.
2. To select individual photos or videos, hover your mouse over the thumbnail of each item and click the small circle that appears in the top left corner. A blue checkmark will indicate that the item is selected.
3. If you want to select multiple items at once, hold down the Ctrl key (Windows) or the Command key (Mac) and click on each item you want to download. Again, the selected items will be marked with a blue checkmark.
4. Alternatively, you can create an album to organize the photos you want to download. To do this, click on the “Albums” tab on the left-hand side, then click the “+” icon to create a new album. Give your album a name and click “Create.” Once the album is created, you can click on it to open it and add photos by selecting them individually or in bulk.
By selectively choosing which photos or albums to download, you can save time and storage space on your external hard drive. Take your time to curate your selection before proceeding to the next step.
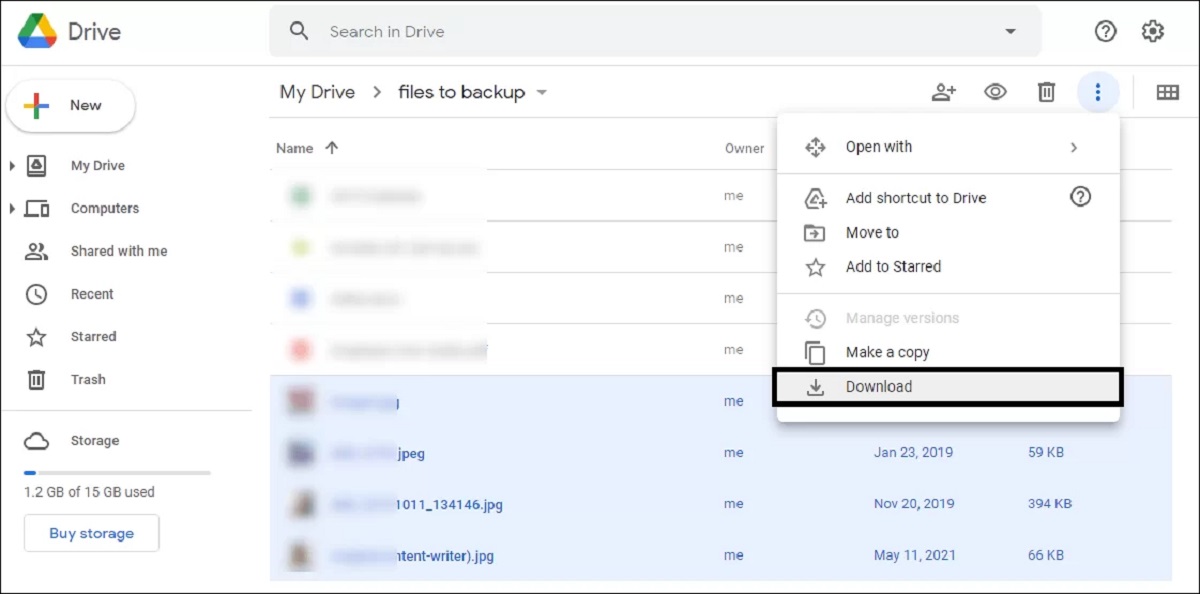
Step 4: Click on the Download Button
After selecting the photos or albums you want to download from Google Photos, the next step is to click on the download button to initiate the download process. Google Photos provides a straightforward way to download your chosen media.
Here’s how you can proceed:
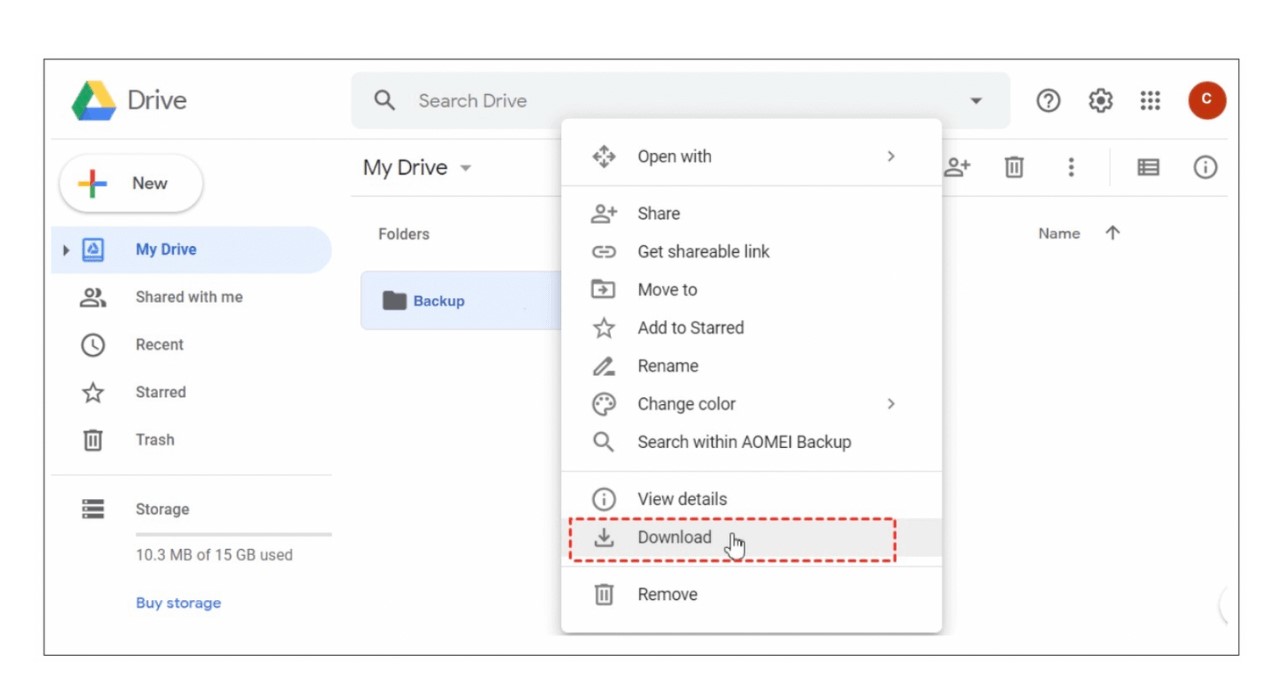
1. Once you have selected the desired photos or albums, look for the download button. On the Google Photos interface, this button is represented by a downward arrow icon.
2. The download button can usually be found in the top-right corner of the screen, next to other action buttons such as the trash bin or share button. It may also appear in a dropdown menu when you click on the three vertical dots icon.
3. Click on the download button to start the download process. A prompt window will appear, asking for confirmation.
4. In some cases, you may have the option to choose the download format and quality. For example, you can download photos as individual image files or as a zip file, and videos in their original quality or a compressed format.
5. Select the desired download format and quality, or leave it as the default settings, depending on your preferences.
6. Once you have confirmed your choices, the download process will begin. The time it takes to complete the download will depend on the number and size of the files you selected, as well as your internet connection speed.
Note that if you’re downloading a large number of files or albums, the download process may take some time. It’s recommended to keep your computer connected to a power source and ensure a stable internet connection throughout the download process.
Once the download is complete, you can proceed to the next step to choose the destination folder on your external hard drive.
Step 5: Choose the Destination Folder on Your External Hard Drive
After clicking on the download button and initiating the download process from Google Photos, the next step is to choose the destination folder on your external hard drive where you want to save the downloaded files. This step allows you to specify the location where your Google Photos will be stored.
Follow these steps to select the destination folder:
1. After initiating the download, a file explorer window will appear on your screen, prompting you to choose the location where you want to save the files.
2. In the file explorer window, navigate to your external hard drive. This can usually be found under the “Devices and Drives” section in Windows, or on the desktop or sidebar on macOS.
3. Click on the external hard drive to select it as the destination for your Google Photos download.
4. If you have specific folders created on your external hard drive and want to save the photos and albums in a particular location, navigate to the desired folder within the external hard drive.
5. Once you are inside the desired folder, click on the “Save” or “OK” button in the file explorer window to confirm the selection of the destination folder.
By choosing the destination folder on your external hard drive, you have specified the location where your downloaded Google Photos will be saved. This ensures that the files are stored in the right place and can be easily accessed in the future.
Now that you have selected the destination folder, you’re ready to move on to the next step and start the download process of your Google Photos to the external hard drive.
Step 6: Start the Download Process
With the destination folder on your external hard drive selected, it’s time to start the download process of your Google Photos. This step involves initiating the transfer of your selected photos or albums from Google Photos to the external hard drive.
Here’s how you can start the download process:
1. Once you have chosen the destination folder on your external hard drive, click on the “Save” or “OK” button in the file explorer window to confirm your selection.
2. The download process will begin, and you will be able to monitor the progress on your screen. Depending on the size and number of files you selected, the download may take some time. The speed of your internet connection will also play a role in the duration of the download.
3. To ensure a successful download, it’s important to keep your computer connected to a stable internet connection and avoid any interruptions during the download process. If your connection is lost or disrupted, the download may be paused or canceled, requiring you to restart the process.
4. While the download is in progress, it’s generally recommended to avoid using bandwidth-intensive applications or performing tasks that may slow down or interfere with the download speed. This will help ensure a smoother and faster transfer of your Google Photos to the external hard drive.
5. Depending on the file size and the number of files being downloaded, you may want to take breaks or let the download process run overnight or during a time when you don’t need to use your computer extensively.
By actively starting the download process, you are taking the necessary steps to transfer your selected Google Photos to the designated folder on your external hard drive. This ensures that your photos and albums are safely saved and accessible even without an internet connection.
Once the download is complete, you can proceed to the next step to monitor the progress and verify the files on your external hard drive.
Step 7: Monitor the Progress of the Download
As you initiate the download process of your Google Photos to the external hard drive, it’s important to monitor the progress to ensure a successful transfer. Monitoring the download allows you to keep track of the status and estimate the remaining time for completion.
Here are some tips to help you monitor the progress of the download:
1. Keep an eye on the download window or progress bar that may appear on your screen. This will indicate the percentage of files that have been downloaded and provide an estimate of the time remaining until completion.
2. If the download window or progress bar doesn’t appear automatically, you can check the file explorer window that shows the files being downloaded. Look for the files with the download status and monitor the file sizes increasing as the transfer progresses.
3. Depending on the platform and browser you are using, there may be additional options to monitor the progress. For example, in Google Chrome, you can access the “Downloads” tab in the browser to see the ongoing download and the estimated time remaining.
4. During the download process, refrain from closing the browser or shutting down your computer. Interrupting the process may lead to incomplete downloads or corrupted files.
5. If the download seems to be taking an unusually long time or appears to be stuck, you can try refreshing the page, restarting the browser, or restarting your computer. However, only do this as a last resort, as it may disrupt the download progress.
By actively monitoring the progress of the download, you can ensure a smooth and efficient transfer of your Google Photos to the external hard drive. It also allows you to have a sense of how much longer you need to wait until the download is complete.
Once the download is finished, proceed to the next step to verify the files on your external hard drive.
Step 8: Verify Your Files on the External Hard Drive
After the download process of your Google Photos is complete, it’s essential to verify that the files have been successfully transferred to your external hard drive. Verifying your files ensures that they are intact and accessible for future use.
Follow these steps to verify your files on the external hard drive:
1. Open the file explorer on your computer and navigate to the destination folder on the external hard drive where you chose to save your Google Photos.
2. Browse through the folders and subfolders to locate the downloaded files. Depending on the structure you chose during the download process, the files may be organized in albums or stored directly in the selected folder.
3. Open a few randomly selected photos or videos to check if they can be viewed or played without any issues. Ensure that the file sizes match the original sizes on Google Photos.
4. If you downloaded albums, check that all the files within the albums are properly grouped and located in their respective folders.
5. Make sure to check the overall storage space utilized on the external hard drive. Verify that it corresponds to the size of the downloaded files and reflects the expected increase in capacity.
6. In case you encounter any errors or missing files, double-check your internet connection and the download process to ensure that it was not interrupted or compromised. If necessary, re-initiate the download for any missing or corrupted files.
By verifying your files on the external hard drive, you can have peace of mind knowing that your Google Photos have been successfully downloaded and stored securely on the external storage device. This step ensures that you have local access to your precious memories and serves as an additional backup option.
Congratulations! You have completed all the necessary steps to download your Google Photos to an external hard drive. Your files are now safely stored offline and accessible whenever you need them.
Conclusion
Downloading your Google Photos to an external hard drive is a smart and practical way to have a local backup of your precious memories. By following the step-by-step guide outlined in this article, you have learned how to transfer your Google Photos to an external storage device, ensuring their accessibility even without an internet connection.
We started by connecting the external hard drive to your computer and then opened Google Photos on your web browser. We then proceeded to select the photos or albums you wanted to download and clicked on the download button to initiate the transfer.
After choosing the destination folder on the external hard drive, you monitored the progress of the download to ensure a successful transfer. Finally, you verified the files on the external hard drive to confirm their integrity.
Having a local backup of your Google Photos provides an extra layer of protection against accidental deletion, data loss, or platform changes. It also allows for easier sharing of your photos and videos with friends or family members.
Remember to periodically update your backup by repeating these steps to ensure that your newest photos and albums are safely stored on your external hard drive.
We hope this guide has been helpful in assisting you in downloading your Google Photos to an external hard drive. By taking the time to safeguard your memories, you can cherish them for years to come.