Introduction
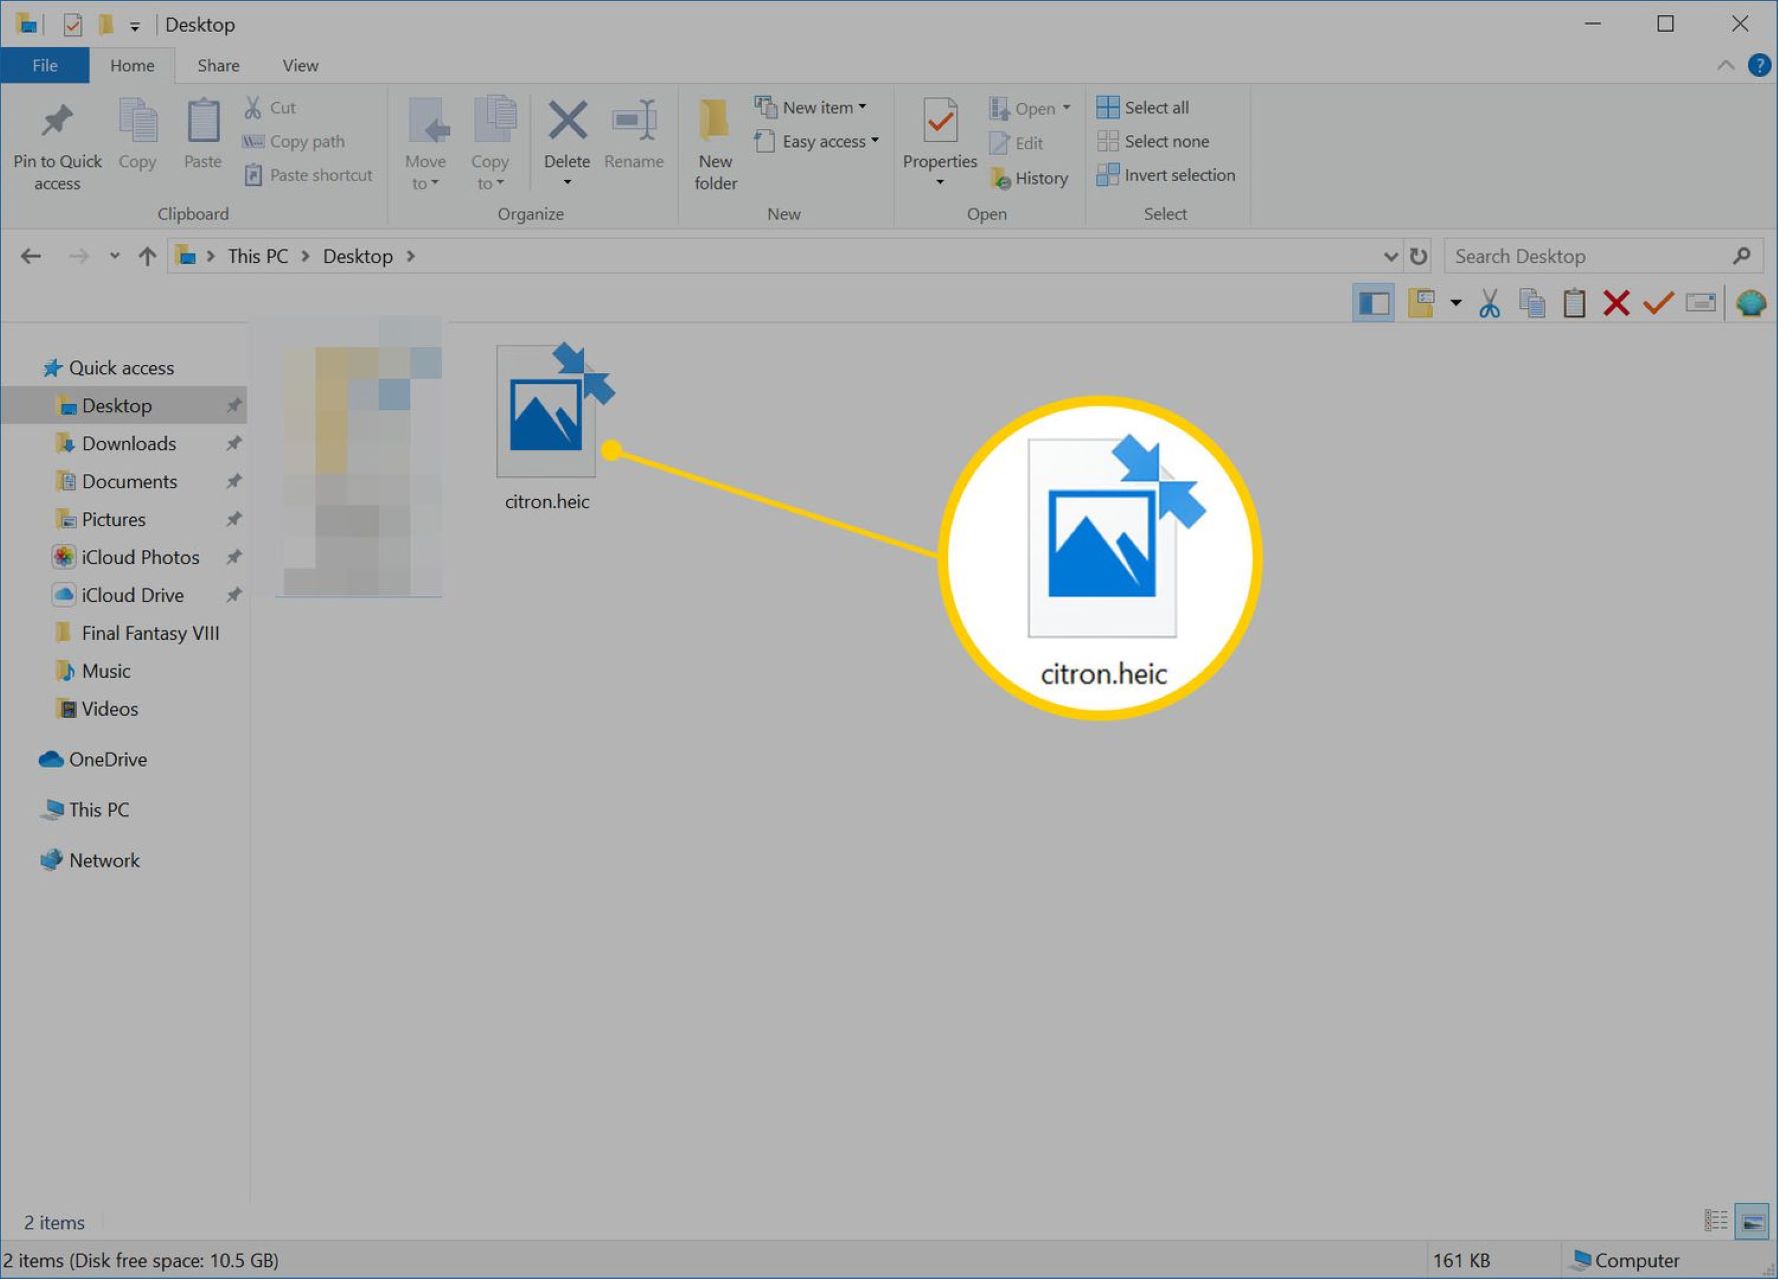
Welcome to the world of digital files and formats. In this age of smartphones and high-resolution cameras, we are constantly capturing and storing memories in various file formats. One such format that has gained popularity in recent years is HEIC (High Efficiency Image Format).
HEIC is a file format introduced by Apple in iOS 11, designed to reduce the file size of images while maintaining high image quality. It offers superior compression compared to conventional formats like JPEG, resulting in smaller file sizes. This makes it an ideal format for saving storage space on our devices.
However, the downside of the HEIC format is that it is not widely supported across all platforms and devices. This can cause compatibility issues when trying to access or share HEIC files. Most image editing software and online platforms may not support this format, making it a challenge to work with these files.
So, what do you do when you need to convert HEIC files to a more universally supported format like JPG? Fear not! In this article, we will explore different methods to easily convert HEIC files to JPG format, specifically when using Google Drive.
Google Drive is a widely used cloud storage platform that offers seamless integration with various devices and operating systems. Whether you’re on a Mac, PC, iOS, or Android device, Google Drive provides multiple options to convert HEIC files to JPG, ensuring compatibility and ease of access.
In the following sections, we will discuss different methods to convert HEIC to JPG using Google Drive, covering both desktop and mobile options. So, let’s dive in and discover how you can effortlessly convert your HEIC files to JPG format!
Understanding HEIC Format
Before we dive into the methods of converting HEIC files to JPG, let’s take a moment to understand what the HEIC format is all about.
HEIC, also known as High Efficiency Image Format, was introduced by Apple with the release of iOS 11. It is a file format specifically designed to optimize image storage on iOS devices. The HEIC format uses advanced compression algorithms to reduce the file size without compromising image quality.
Compared to the traditional JPEG format, HEIC files can achieve higher compression rates, resulting in significantly smaller file sizes. This is particularly beneficial for users who have limited storage capacity on their devices or prefer to save space for other purposes.
One of the key advantages of HEIC is its support for storing multiple images in a single file. This is known as the HEIC container format, which allows you to store a collection of images, also known as a “burst,” or even a combination of images and videos. This makes it easier to organize and manage your media files.
While HEIC files offer superior compression and flexibility, they do have one major drawback – limited compatibility. Not all devices and software applications support the HEIC format, which can pose challenges when it comes to viewing or editing these files.
However, with the increasing popularity of HEIC, many platforms and applications are gradually adding support for this format. That being said, it is still essential to be able to convert HEIC files to more widely supported formats like JPG, especially when sharing files with others or working with various image editing tools.
Now that we have a basic understanding of the HEIC format and its benefits, let’s move on to the next section, where we will explore the reasons why you might want to convert HEIC to JPG.
Why Convert HEIC to JPG?
While the HEIC format offers many advantages, there are compelling reasons why you might want to convert HEIC files to the more widely supported JPG format. Here are a few key reasons:
- Compatibility: Not all devices, operating systems, and software applications support the HEIC format. Converting HEIC to JPG ensures that your files can be easily accessed and viewed on a broader range of devices and platforms.
- Editing Flexibility: Although the HEIC format is gaining popularity, many image editing tools may not fully support it yet. By converting HEIC to JPG, you can have more flexibility when it comes to editing your images using various software applications.
- Sharing with Others: When sharing photos with others who may not have devices or software that support HEIC, converting to JPG makes it easier for them to view and use the images without any compatibility issues.
- Web Compatibility: HEIC files may not be universally supported by web browsers and online platforms. Converting to JPG ensures that your images can be easily uploaded and displayed correctly on websites and social media platforms.
- Avoiding Conversion on the Go: When you have a collection of HEIC files on your mobile device and need to share or use them immediately, converting them to JPG eliminates the need for real-time conversion, saving time and effort on the go.
By converting HEIC files to JPG, you overcome the compatibility challenges associated with the HEIC format, allowing for seamless sharing, editing, and display of your images across different devices and platforms.
Now that we understand the reasons for converting HEIC to JPG, let’s explore the different methods you can use to perform this conversion using Google Drive in the following sections.
Method 1: Using Google Drive App on Mac or PC
If you’re using Google Drive on your Mac or PC, converting HEIC files to JPG is a straightforward process. Here’s how you can do it:
- Upload HEIC files to Google Drive: Start by uploading your HEIC files to your Google Drive account. You can do this by opening the Google Drive app on your computer, navigating to the desired folder, and dragging and dropping the HEIC files into the folder. Alternatively, you can click on the “+” button within the Google Drive app to upload the files.
- Open Google Drive settings: Once the files are uploaded, open the Google Drive app’s settings by clicking on the gear icon in the top-right corner of the app window.
- Enable “Convert uploaded files to Google Docs editor format”: In the settings menu, look for the “Conversions” tab and click on it. Here, you will find the option to enable “Convert uploaded files to Google Docs editor format.” Ensure that this option is enabled, as it will automatically convert the HEIC files to JPG format during the upload process.
- Wait for conversion process to complete: Now, Google Drive will start the conversion process, converting your HEIC files to JPG format. The time taken for the conversion may vary depending on the number and size of the files being converted. You can monitor the progress of the conversion process in the status bar displayed in the Google Drive app.
- Access the converted JPG files: Once the conversion process is complete, you will find the converted JPG files in the same folder where you initially uploaded the HEIC files. You can now access, view, and download the JPG files from your Google Drive.
By using the Google Drive app on your Mac or PC, you can easily convert your HEIC files to JPG format without the need for any additional software or online conversion tools. This method ensures a smooth and efficient conversion process, allowing you to access and share your images with ease.
Now that we’ve covered using Google Drive on desktop, let’s move on to the next method, which involves using the Google Drive mobile app on iOS or Android devices.
Method 2: Using Google Drive Mobile App on iOS or Android
If you prefer to use the Google Drive mobile app on your iOS or Android device, converting HEIC files to JPG format is still a breeze. Follow these steps to convert your HEIC files using the Google Drive mobile app:
- Install and open the Google Drive mobile app: Start by installing the Google Drive app from the App Store (iOS) or Play Store (Android) if you haven’t already. Once installed, open the app on your device.
- Sign in to your Google account: Sign in to your Google account using your credentials to access your Google Drive.
- Upload HEIC files to Google Drive: Tap the “+” icon or the “Upload” button within the Google Drive app to select and upload your HEIC files from your device’s storage or photo gallery. You can select multiple files at once by tapping and holding on one file and then selecting the others.
- Wait for the upload to complete: Google Drive will start uploading your HEIC files to your account. The time taken will depend on the number and size of the files being uploaded. You can monitor the progress of the upload in the app interface.
- Access the uploaded HEIC files: Once the files are uploaded, navigate to the folder where you uploaded the HEIC files. You should see the uploaded files listed within the folder.
- Select the HEIC files to convert: Tap and hold on one of the uploaded HEIC files to activate the selection mode. Then, tap on the other HEIC files that you want to convert to JPG format. You can select as many files as you want.
- Tap the “More” or “Options” button: Look for the “More” (iOS) or “Options” (Android) button, typically represented by three vertical dots or lines, depending on your device. Tap on it to access additional options.
- Select the “Make a Copy” option: In the additional options menu, look for the “Make a Copy” or similar option. This will prompt Google Drive to create a copy of the selected HEIC files and convert them to the default format, which is usually JPG.
- Wait for the conversion process to complete: Google Drive will create copies of the selected HEIC files and convert them to JPG format. The time taken will depend on the number and size of the files being converted.
- Access the converted JPG files: Once the conversion process is complete, you will find the converted JPG copies of your HEIC files within the same folder. You can now view, download, or share these JPG files as needed.
By using the Google Drive mobile app on your iOS or Android device, you can easily convert your HEIC files to JPG format without the need for any additional software or online conversion tools. This method provides convenience and flexibility while managing and converting your images.
Now that we’ve covered using the Google Drive mobile app, let’s explore an alternative method that involves using online conversion tools.
Method 3: Using Website Conversion Tools
If you prefer not to use the Google Drive app or if you have multiple file formats that need to be converted, using online conversion tools can be a convenient option. Here’s how you can convert HEIC files to JPG using website conversion tools:
- Find a reliable online conversion tool: Start by researching and finding a reputable website that offers HEIC to JPG conversion. There are various online tools available, many of which are free to use.
- Upload your HEIC files: Once you have identified a suitable online conversion tool, visit the website and look for the file upload feature. Click on the “Upload” or “Choose files” button to select and upload your HEIC files from your device’s storage.
- Start the conversion process: After uploading the HEIC files, initiate the conversion process by clicking on the “Convert” or “Start Conversion” button. The website’s server will begin converting the HEIC files to JPG format.
- Wait for the conversion to complete: The time taken for the conversion process will depend on the size and number of the HEIC files being converted. The website may display a progress bar or percentage indicator to keep you informed of the conversion progress.
- Download the converted JPG files: Once the conversion is finished, the website will provide a download link or the converted JPG files directly. Click on the download link to save the converted JPG files to your device.
- Verify the downloaded files: After downloading the converted JPG files, it’s always a good practice to verify that the files are in the desired format and open correctly. Take a moment to view the files and ensure that they meet your expectations.
Using online conversion tools allows you to convert HEIC files to JPG format without the need for specific software installations. These tools are typically user-friendly and provide a quick and efficient way to convert your files from HEIC to JPG.
However, it’s important to note that when using online conversion tools, you should be cautious about the privacy and security of your files. Ensure that you are using a reputable website and take necessary precautions to protect your data during the conversion process.
Now that we’ve explored various methods for converting HEIC to JPG using Google Drive and online conversion tools, let’s recap the options and conclude the article.
Conclusion
In this article, we have explored different methods to convert HEIC files to JPG format using Google Drive. Whether you’re using the Google Drive app on your computer or mobile device or utilizing online conversion tools, you can easily convert your HEIC files for improved compatibility and flexibility.
By converting HEIC to JPG, you ensure that your files are accessible on a wider range of devices and platforms. This allows for easy sharing, editing, and display of your images, whether it’s for personal use or professional purposes.
Using the Google Drive app on your Mac or PC provides a seamless conversion process, as HEIC files are automatically converted to JPG upon upload. The mobile app on iOS or Android devices allows you to convert HEIC files by creating copies in the JPG format. And if you prefer online conversion tools, there are reliable websites available that offer quick and hassle-free HEIC to JPG conversion.
It’s important to consider your specific needs and preferences when choosing the method that works best for you. Whether it’s convenience, speed, or privacy, each method has its advantages, and you can choose the one that suits your requirements.
Remember to always verify the converted files after the conversion process to ensure they meet your expectations. Additionally, be mindful of privacy and security when using online conversion tools, and choose reputable websites to protect your files.
With the information provided in this article, you now have the knowledge and tools to convert your HEIC files to JPG format using Google Drive and online conversion methods. Enjoy the flexibility and compatibility that comes with converting your files, and easily share and work with your images across various devices and platforms.