Introduction
With the growing popularity of high-resolution cameras on smartphones, the file sizes of images have also increased. One such file format is HEIC (High-Efficiency Image Format), which offers better image quality and smaller file sizes compared to the traditional JPG format. However, HEIC files may not be compatible with all devices and platforms, making it necessary to convert them to JPG for better compatibility.
In this article, we will explore a few methods to convert HEIC to JPG on Windows. Whether you prefer using built-in software, online tools, or third-party applications, we have you covered. Let’s dive in and find the method that suits you best.
Please note that the methods discussed in this article are specifically for Windows users. If you are using a different operating system, such as macOS or Linux, the steps or tools may be different.
Before we begin, it is important to ensure that you have the necessary permissions to install new software or make changes to the system settings on your Windows computer. If you are using a work computer or a computer under restricted access, it is recommended to reach out to your system administrator for assistance.
Now that we have covered the prerequisites, let’s explore the various methods to convert HEIC to JPG on Windows.
Method 1: Using Windows Photos App
If you’re looking for a simple and built-in solution to convert HEIC to JPG on Windows, the Windows Photos app can get the job done. Here’s how to do it:
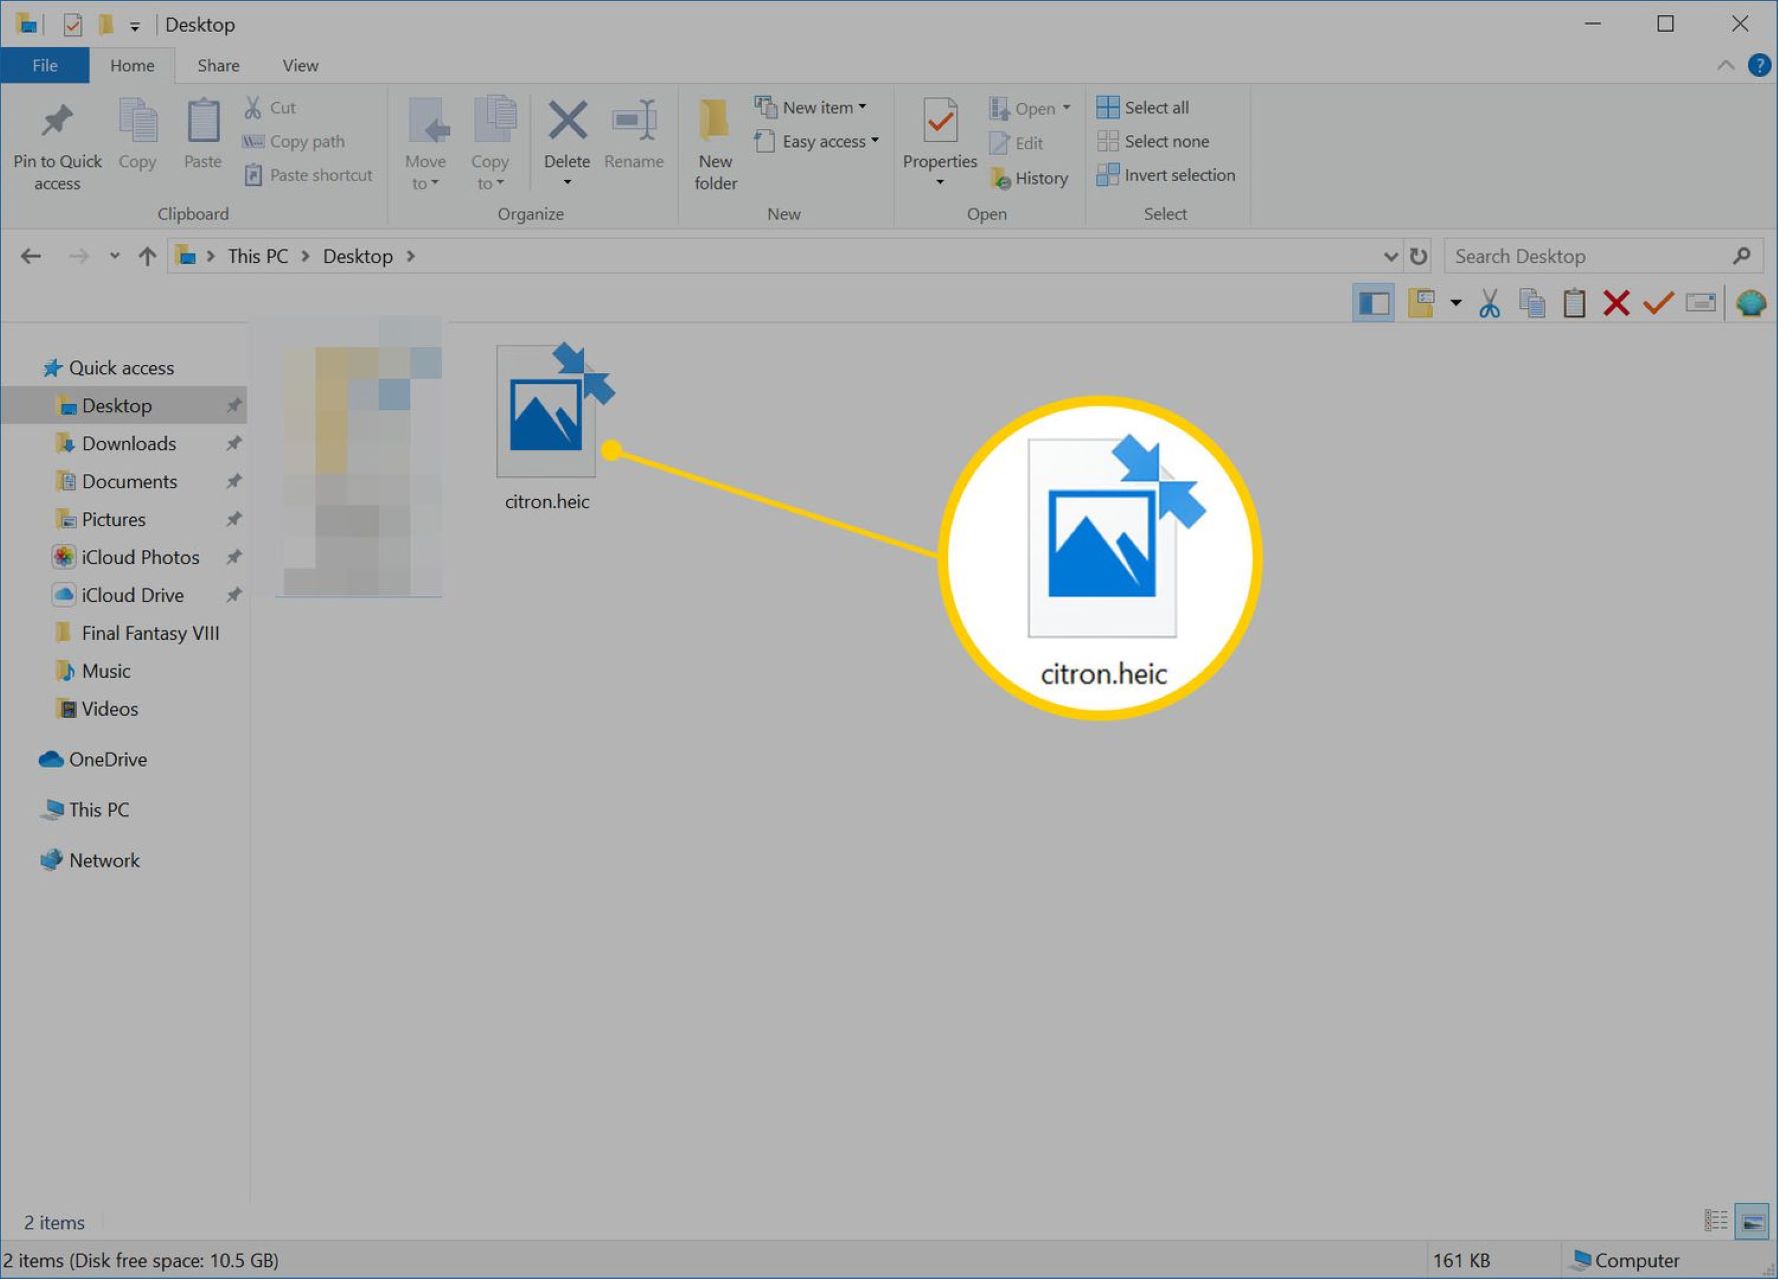
- First, locate the HEIC files that you want to convert to JPG. You can do this by navigating to the folder where the files are saved.
- Select the HEIC files that you want to convert. You can either select multiple files by holding down the Ctrl key while clicking on the files, or you can select all the files in a folder by pressing Ctrl + A.
- Once you have selected the files, right-click on any of the selected files and choose “Open with” from the context menu. Then, select “Photos” from the list of available apps.
- The Windows Photos app will open with the selected HEIC files. To convert them to JPG, click on the “…” (More options) button in the top-right corner of the window.
- In the drop-down menu, click on the “Save as” option. This will open a new window where you can choose the format and location for the converted files.
- In the “Save as” window, choose “JPEG” from the “Save as type” drop-down menu.
- Next, select the folder where you want to save the converted JPG files. You can also rename the files if desired.
- Finally, click on the “Save” button to start the conversion process. The Windows Photos app will convert the selected HEIC files to JPG and save them in the specified folder.
Once the conversion is complete, you can open the folder you selected to find the newly converted JPG files. You can now easily use and share these files with any device or platform that supports the JPG format.
Using the Windows Photos app is a convenient method for converting HEIC to JPG, especially if you prefer using built-in software. However, it may not provide advanced options or batch conversion capabilities. If you need more flexibility or have a large number of files to convert, you may consider other methods discussed in this article.
Method 2: Using Online Converters
If you prefer a quick and hassle-free way to convert HEIC to JPG without installing any additional software, online converters can be a great option. Here’s how you can use online converters to convert your HEIC files:
- Start by opening your preferred web browser and searching for “HEIC to JPG online converter”. You will find various online converter websites that offer this service.
- Select a reliable and trusted converter from the search results. Ensure that the website is secure and does not require any personal information to convert your files.
- Once you have chosen a converter website, look for the “Upload” or “Choose File” button on the homepage. Click on it to browse and select the HEIC files you want to convert from your computer.
- After selecting the files, click on the “Convert” or “Start” button to begin the conversion process. The converter will upload and convert your HEIC files to JPG format.
- Once the conversion is complete, the website will provide a download link or button for you to download the converted JPG files. Click on the link or button to save the files to your computer.
- Some online converters may also offer additional options such as resizing, adjusting image quality, or converting multiple files at once. Explore these options if available and customize the settings according to your preferences.
It is important to note that online converters may have file size limitations, and the conversion speed will depend on your internet connection and the size of the files you are converting. Additionally, keep in mind that your files will be uploaded to a third-party server for conversion, so ensure you are comfortable with the privacy and security measures of the converter website you choose.
Using online converters can be a convenient method, especially when you need a quick one-time conversion or if you don’t want to install any software on your computer. However, if you have a large number of files to convert or require more advanced options, you may consider the next method using third-party software.
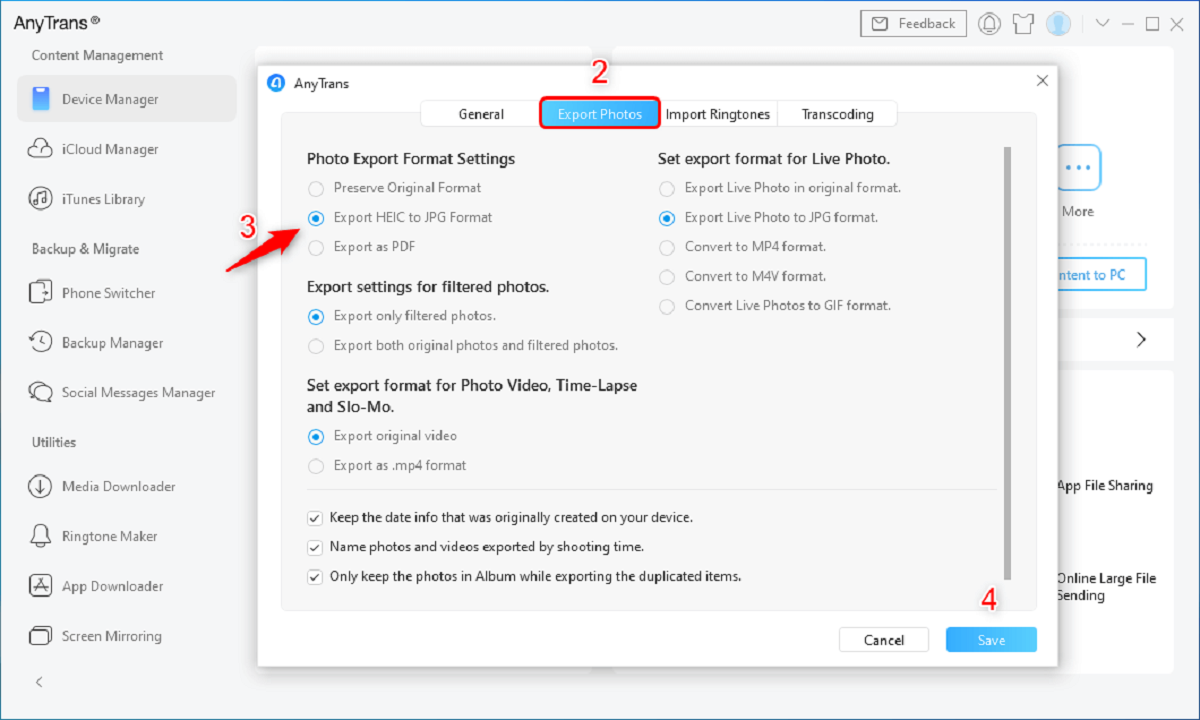
Method 3: Using Third-Party Software
If you’re looking for more advanced features and greater flexibility in converting HEIC to JPG on Windows, using third-party software is an excellent option. There are several dedicated software programs available that offer comprehensive conversion capabilities. Here’s how you can convert HEIC to JPG using third-party software:
- Start by searching for reputable and reliable HEIC to JPG converter software for Windows. Several options are available, such as “CopyTrans HEIC for Windows,” “iMazing HEIC Converter,” or “FonePaw HEIC Converter.”
- Download and install the chosen software program on your Windows computer. Ensure that you download it from a trusted source to avoid any potential malware or viruses.
- Open the software after installation and locate the option to add your HEIC files. Most programs have a simple drag-and-drop feature, allowing you to add individual files or entire folders for batch conversion.
- Once you have added the HEIC files, choose the output format as JPG or JPEG. Some software programs may offer additional options such as adjusting the image quality, resizing, or renaming the files.
- Specify the destination folder where you want the converted JPG files to be saved. This can be done by browsing your computer or choosing a default folder set by the software.
- After configuring the settings, click on the “Convert” or “Start” button to initiate the conversion process. The software will process the HEIC files and convert them to JPG format.
- Once the conversion is complete, you can locate the converted JPG files in the specified destination folder. They are now ready to be used and shared on any device or platform that supports JPG format.
The advantage of using third-party software is the additional features and customization options they offer. You can have more control over the conversion process and optimize the resulting JPG files according to your preferences. However, keep in mind that these software programs may have different user interfaces and functionalities, so it’s recommended to explore the specific documentation or tutorials provided by the software developers for guidance.
Now that you have explored different methods to convert HEIC to JPG on Windows – using the Windows Photos app, online converters, and third-party software – choose the method that suits your needs best and start converting your HEIC files to JPG effortlessly.
Conclusion
Converting HEIC to JPG on Windows is essential to ensure compatibility and easy sharing of image files across various devices and platforms. In this article, we explored three different methods to accomplish this task.
The first method involved using the built-in Windows Photos app, which provides a simple and convenient way to convert HEIC files to JPG. This method is ideal for users who prefer using native software and want a straightforward conversion process.
In the second method, we discussed using online converters. Online converters offer a quick and hassle-free solution, allowing you to convert HEIC files to JPG without the need to install any additional software. However, it is important to choose a reliable and secure converter and consider any file size limitations.
The third method involved using third-party software. This method provides more advanced features and customization options for converting HEIC to JPG. Users who require greater flexibility and control over the conversion process may find this method more suitable.
Ultimately, the choice of method depends on your personal preference, the number of files you need to convert, and the level of customization you require. It is recommended to evaluate your specific needs and assess the advantages and limitations of each method before making a decision.
Remember to always ensure the safety and security of your files by using trusted software and converters, and be cautious when sharing sensitive information or uploading files to online platforms.
With the methods discussed in this article, you can easily convert your HEIC files to the universally compatible JPG format on your Windows computer. Enjoy seamless sharing and accessibility of your images across different devices and platforms.