Introduction
Welcome to our guide on how to connect AirPods to a Windows 10 PC. With the rise in popularity of AirPods, many users are wondering how they can use their wireless earbuds with a Windows computer. Fortunately, connecting AirPods to a Windows 10 PC is a straightforward process that can be completed in just a few simple steps.
Connecting your AirPods to your Windows 10 PC opens up a world of convenience and versatility. You can use your AirPods to listen to music, watch videos, make video calls, or simply have a seamless audio experience while working or studying. Whether you use AirPods for leisure or productivity, being able to connect them to your PC allows you to enjoy their advanced features and excellent sound quality.
In this guide, we will walk you through the step-by-step process of connecting your AirPods to your Windows 10 PC. We will also highlight some troubleshooting tips to help you overcome any potential difficulties along the way.
Before we dive into the steps, it’s important to note that the procedure may vary slightly depending on the specific version of Windows 10 you are using. However, the overall process should remain fairly consistent.
So, whether you have the latest AirPods Pro, AirPods 2nd Generation, or the original AirPods, let’s get started and learn how to connect them to your Windows 10 PC!
Checking Compatibility
Before attempting to connect your AirPods to your Windows 10 PC, it’s important to ensure that they are compatible with your computer. While AirPods are primarily designed for use with Apple devices, they can also be used with Windows computers that have built-in Bluetooth capabilities.
To check if your AirPods are compatible with your PC, follow these steps:
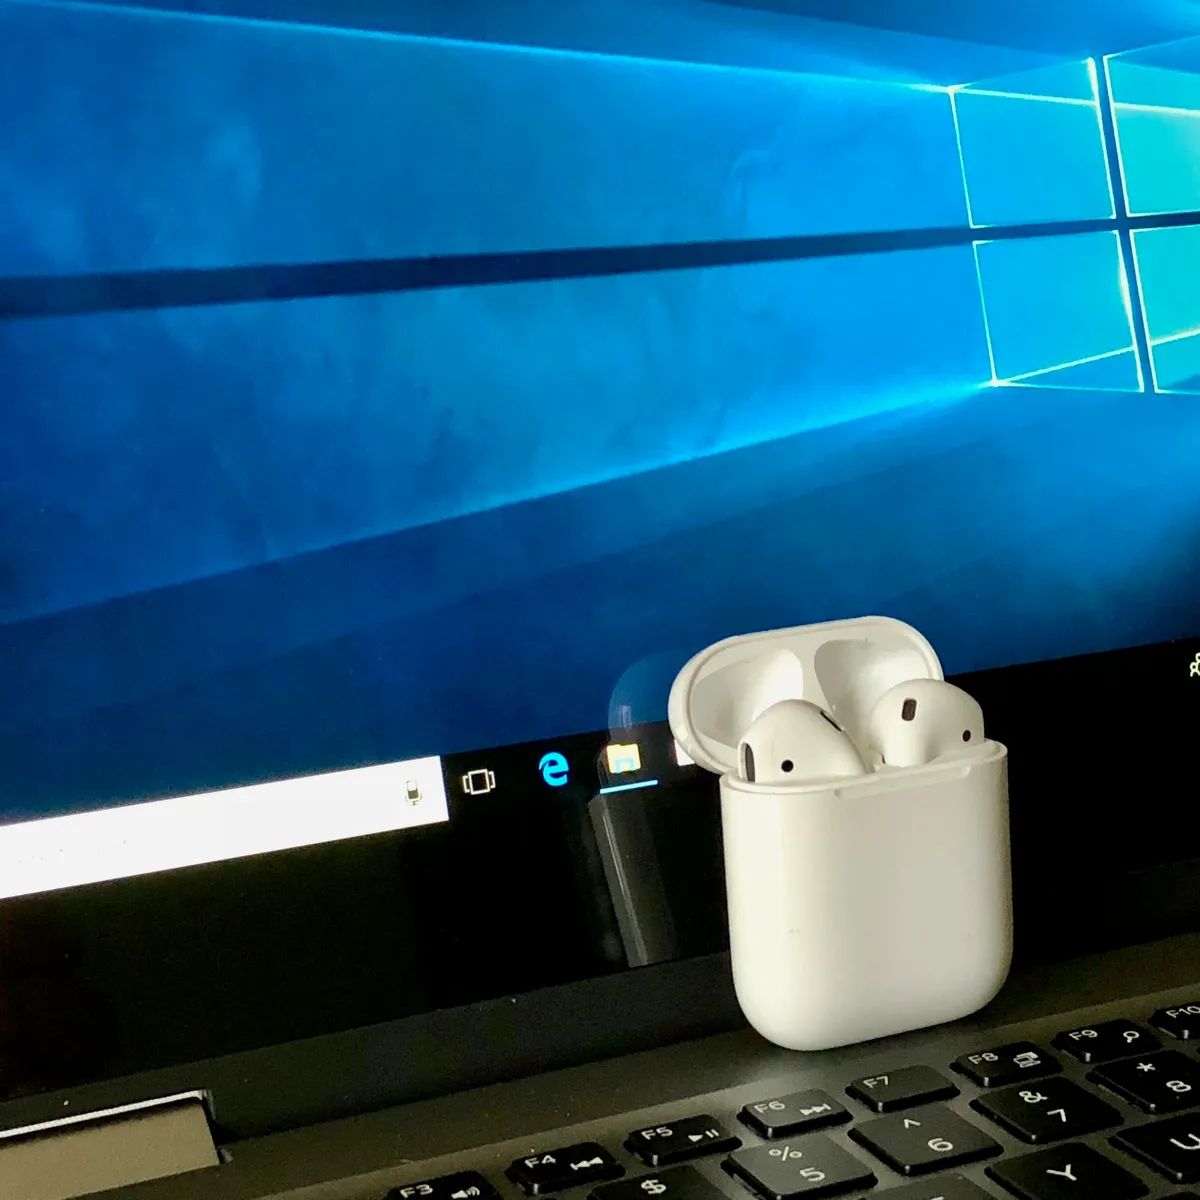
- Make sure your AirPods are fully charged and in their charging case.
- Open the lid of the AirPods case and bring them close to your Windows 10 PC.
- On your PC, click on the Start button and go to “Settings.”
- In the Settings menu, click on “Devices.”
- Look for the “Bluetooth & other devices” option and click on it.
- In the Bluetooth settings window, make sure the Bluetooth toggle switch is turned on.
- Now, on your AirPods case, press and hold the pairing button on the back until the LED light starts flashing white.
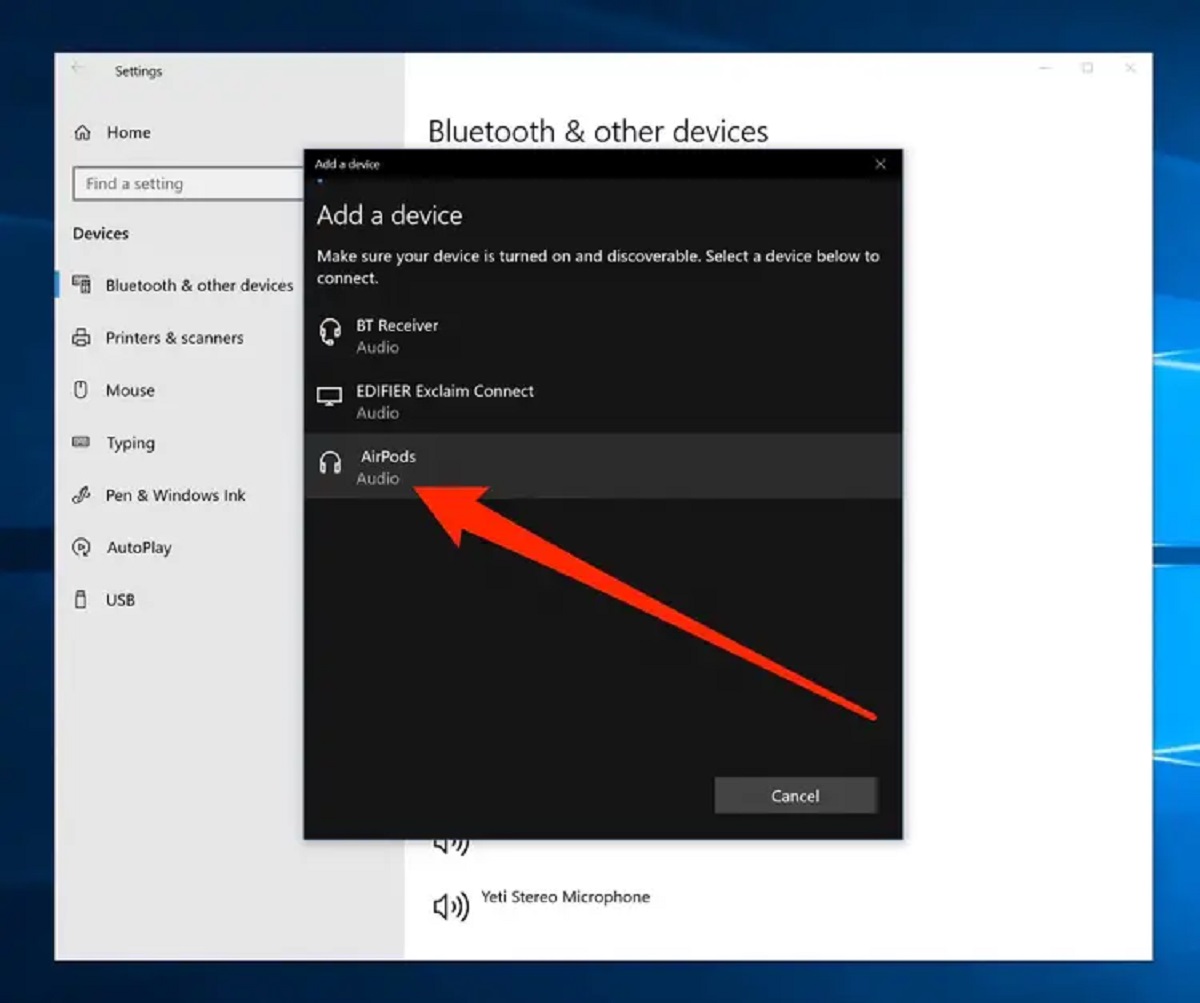
- Back on your PC, under the “Bluetooth & other devices” settings, click on the “Add Bluetooth or other device” button.
- A new window will appear with different device options. Select “Bluetooth” and wait for your PC to search for available devices.
- Once the AirPods appear in the list of devices, click on them to begin the pairing process.
If your AirPods are compatible with your PC, you will see a notification indicating that they have been successfully connected.
It’s worth mentioning that some older Windows 10 PCs may not have built-in Bluetooth support. In such cases, you will need to purchase an external Bluetooth adapter to connect your AirPods.
Now that you have checked compatibility and ensured that your AirPods can be connected to your Windows 10 PC, let’s move on to the next steps of the process.
Step 1: Prepare your AirPods
Before you can connect your AirPods to your Windows 10 PC, it’s important to prepare them for pairing. Here’s what you need to do:
- Open the lid of your AirPods charging case. This will activate the pairing mode.
- Make sure your AirPods are charged and have sufficient battery power.
- Ensure that Bluetooth is enabled on the device you want to pair your AirPods with.
By following these simple steps, you can ensure that your AirPods are ready to pair with your Windows 10 PC.
It’s important to note that the pairing mode of the AirPods is time-limited. If you don’t connect them to a device within a certain timeframe, they will automatically exit the pairing mode. If this happens, simply close the lid of the charging case and open it again to reactivate the pairing mode.
Now that your AirPods are prepared, let’s move on to the next step: enabling Bluetooth on your Windows 10 PC.
Step 2: Enable Bluetooth on your Windows 10 PC
Before you can connect your AirPods to your Windows 10 PC, you need to make sure that Bluetooth is enabled on your computer. Here’s how to do it:
- Click on the Start button in the bottom left corner of your screen to open the Start menu.
- Click on the “Settings” gear icon to open the Windows 10 Settings menu.
- In the Settings menu, click on “Devices” to open the devices settings.
- In the left-hand menu of the Devices settings, click on “Bluetooth & other devices”.
- In the Bluetooth settings, make sure the toggle switch for “Bluetooth” is turned on. It should appear as blue when enabled.
Once you have enabled Bluetooth on your Windows 10 PC, your computer is ready to detect and connect to nearby Bluetooth devices, including your AirPods.
Please note that the exact steps to enable Bluetooth may vary slightly depending on your specific version of Windows 10. However, the general process remains the same across different versions.
Now that Bluetooth is enabled on your Windows 10 PC, let’s move on to the next step: pairing your AirPods with your PC.
Step 3: Pair your AirPods with your PC
Once you have prepared your AirPods and enabled Bluetooth on your Windows 10 PC, it’s time to pair your AirPods with your computer. Follow these steps to complete the pairing process:
- On your Windows 10 PC, go to the Bluetooth settings by clicking on the Start button, selecting “Settings,” and then clicking on “Devices.”
- In the “Bluetooth & other devices” settings, click on the “Add Bluetooth or other device” button.
- A new window will appear with different device options. Select “Bluetooth” from the list.
- After selecting Bluetooth, your PC will start searching for available devices. Make sure your AirPods are in the pairing mode.
- Once your AirPods appear in the list of available devices, click on them to begin the pairing process.
- Wait for your PC to complete the pairing process. You may be prompted to confirm the pairing on both your AirPods and your PC.
- Once the pairing is successful, you will see a notification indicating that your AirPods are connected to your Windows 10 PC.
The pairing process may take a few seconds to complete, so be patient. Once the process is finished, you can start using your AirPods with your Windows 10 PC for audio playback, video calls, and more.
If the pairing process fails, make sure that your AirPods are properly charged and in the pairing mode. You may need to repeat the steps or restart your PC in some cases.
Now that your AirPods are successfully paired with your Windows 10 PC, let’s move on to the next step: verifying the connection.
Step 4: Verify the connection
After pairing your AirPods with your Windows 10 PC, it’s important to verify the connection to ensure that your AirPods are working properly. Follow these steps to verify the connection:
- Ensure that your AirPods are fully charged and in the “connected” state.
- Play some audio or a video on your Windows 10 PC.
- Put on your AirPods and make sure the audio is playing through them. You can check by listening for the sound or looking for the “Connected” status in the Bluetooth settings on your PC.
- Adjust the volume on your AirPods using the controls on the earbuds or through the volume settings on your PC.
- Try pausing and resuming the audio playback to ensure that the connection is stable and the AirPods respond correctly.
- If the audio is not playing through your AirPods, double-check the connection by going to the Bluetooth settings on your PC and ensuring that the AirPods are selected as the audio output device.
If you encounter any issues during the verification process, such as poor audio quality or disconnection, try the following troubleshooting tips:
- Move closer to your PC to improve the Bluetooth signal strength.
- Make sure there are no obstacles between your AirPods and your PC that may interfere with the Bluetooth connection.
- Restart your Windows 10 PC and try connecting your AirPods again.
- Reset your AirPods by placing them back in the charging case and holding the button on the back of the case until the LED light flashes.
- Update the Bluetooth driver on your PC to ensure compatibility and stability.
By following these steps and troubleshooting tips, you can verify and ensure a solid connection between your AirPods and your Windows 10 PC.
Now that you have verified the connection, let’s move on to the next step: adjusting AirPods settings on your PC.
Step 5: Adjust AirPods settings on your PC
Once you have successfully connected your AirPods to your Windows 10 PC, you have the option to adjust various settings to personalize your audio experience. Here’s how you can adjust AirPods settings on your PC:
- Click on the Start button and go to “Settings” on your Windows 10 PC.
- In the Settings menu, click on “Devices” to open the devices settings.
- In the left-hand menu of the Devices settings, click on “Bluetooth & other devices”.
- Under the “Audio” section, you will find your connected AirPods listed as an audio device.
- Click on your AirPods to access the available settings.
- You can adjust various settings, such as sound quality, audio balance, microphone settings, and more, depending on the capabilities of your AirPods model.
- Explore the different settings and customize them according to your preferences.
Some AirPods models, such as AirPods Pro, have additional features like noise cancellation and transparency mode. You can enable or disable these features through the settings on your Windows 10 PC.
By adjusting the AirPods settings on your PC, you can optimize the audio output, enhance the microphone performance, and customize the overall audio experience to suit your needs.
Keep in mind that the available settings may vary depending on the specific model of your AirPods and the version of Windows 10 you are using. However, most settings can be accessed through the Bluetooth & other devices settings menu.
Now that you have adjusted the AirPods settings on your Windows 10 PC, you can enjoy a personalized and optimized audio experience.
With these five steps, you can easily connect and use your AirPods with your Windows 10 PC. Enjoy the wireless freedom and superior audio quality that AirPods offer while working, studying, or simply enjoying your favorite content.
Should you encounter any issues during the process, don’t hesitate to refer back to the troubleshooting tips mentioned earlier. Happy listening!
Troubleshooting Tips
While connecting your AirPods to your Windows 10 PC is generally a smooth process, you may encounter some common issues. Here are some troubleshooting tips to help you resolve any problems you may face:
- Make sure your AirPods are charged and in the pairing mode before attempting to connect them.
- Ensure that Bluetooth is enabled on your Windows 10 PC and that it is discoverable.
- If your AirPods are not appearing in the list of available devices, try restarting both your AirPods and your PC.
- Move closer to your PC to improve the Bluetooth signal strength, as obstacles or distance can affect the connection.
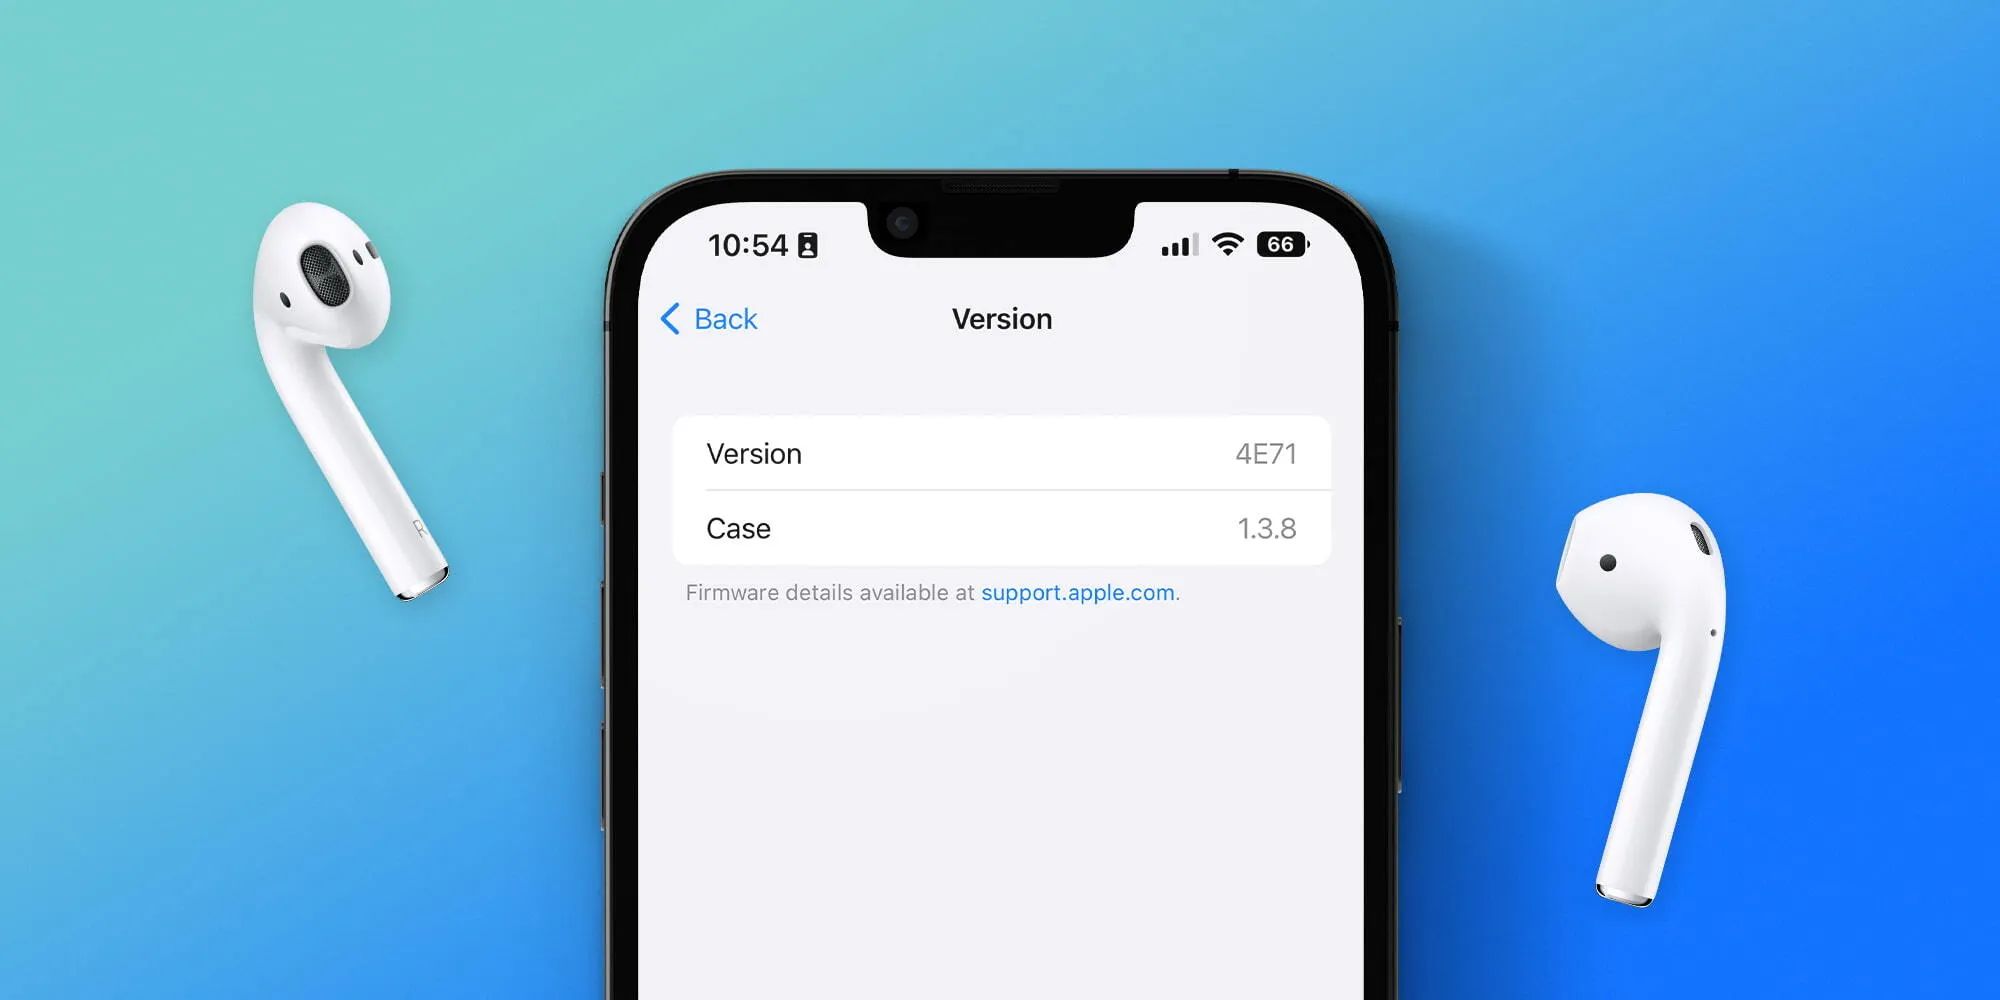
- Check for any firmware updates for your AirPods and install them if available. This can improve compatibility and resolve connectivity issues.
- Try forgetting the AirPods from your PC’s Bluetooth settings and then re-pairing them from scratch.
- If you experience poor audio quality or stuttering during playback, try adjusting the position of your PC or moving away from any potential sources of interference, such as other electronic devices.
- If the issue persists, try resetting your AirPods by placing them in the charging case and holding the setup button until the LED light starts flashing amber.
- Update the Bluetooth driver on your Windows 10 PC to ensure compatibility and stability.
- If you’re still experiencing issues, consult the support documentation provided by Apple or contact their customer support for further assistance.
By following these troubleshooting tips, you can overcome common issues and ensure a seamless and uninterrupted experience when using your AirPods with your Windows 10 PC.
Remember that technical issues can vary depending on the specific model of your AirPods and the version of Windows 10 you are using. It’s always a good idea to check for any additional troubleshooting resources provided by Apple or Microsoft for specific guidance.
Now that you are armed with these troubleshooting tips, you can troubleshoot and resolve any potential issues that may arise during the connection process.
Conclusion
Connecting your AirPods to a Windows 10 PC opens up a world of convenience and flexibility, allowing you to enjoy the seamless wireless experience and excellent sound quality that AirPods offer. By following the step-by-step process outlined in this guide, you can easily connect your AirPods to your Windows 10 PC and begin using them for various audio tasks.
From preparing your AirPods and enabling Bluetooth on your PC to pairing and verifying the connection, each step is essential to ensure a successful connection. By adjusting the AirPods settings on your PC, you can further personalize your audio experience and optimize the performance of your AirPods.
Should you encounter any issues during the process, the troubleshooting tips provided can help you overcome common problems and ensure a smooth connection. Remember to refer back to the specific troubleshooting tips mentioned to address any issues you may face.
With your AirPods successfully connected to your Windows 10 PC, you can now enjoy wireless audio playback, video calls, and more with ease. Whether you use your AirPods for work, entertainment, or communication, the ability to connect them to your PC provides a seamless and enjoyable audio experience.
Keep in mind that the connection process may vary slightly depending on the specific version of Windows 10 you are using and the model of your AirPods. It’s always a good idea to consult the official documentation provided by Apple and Microsoft for any specific instructions or troubleshooting steps.
Now that you are equipped with the knowledge and steps to connect your AirPods to your Windows 10 PC, go ahead and enjoy the freedom of wireless audio with the impressive performance of your AirPods!