Introduction
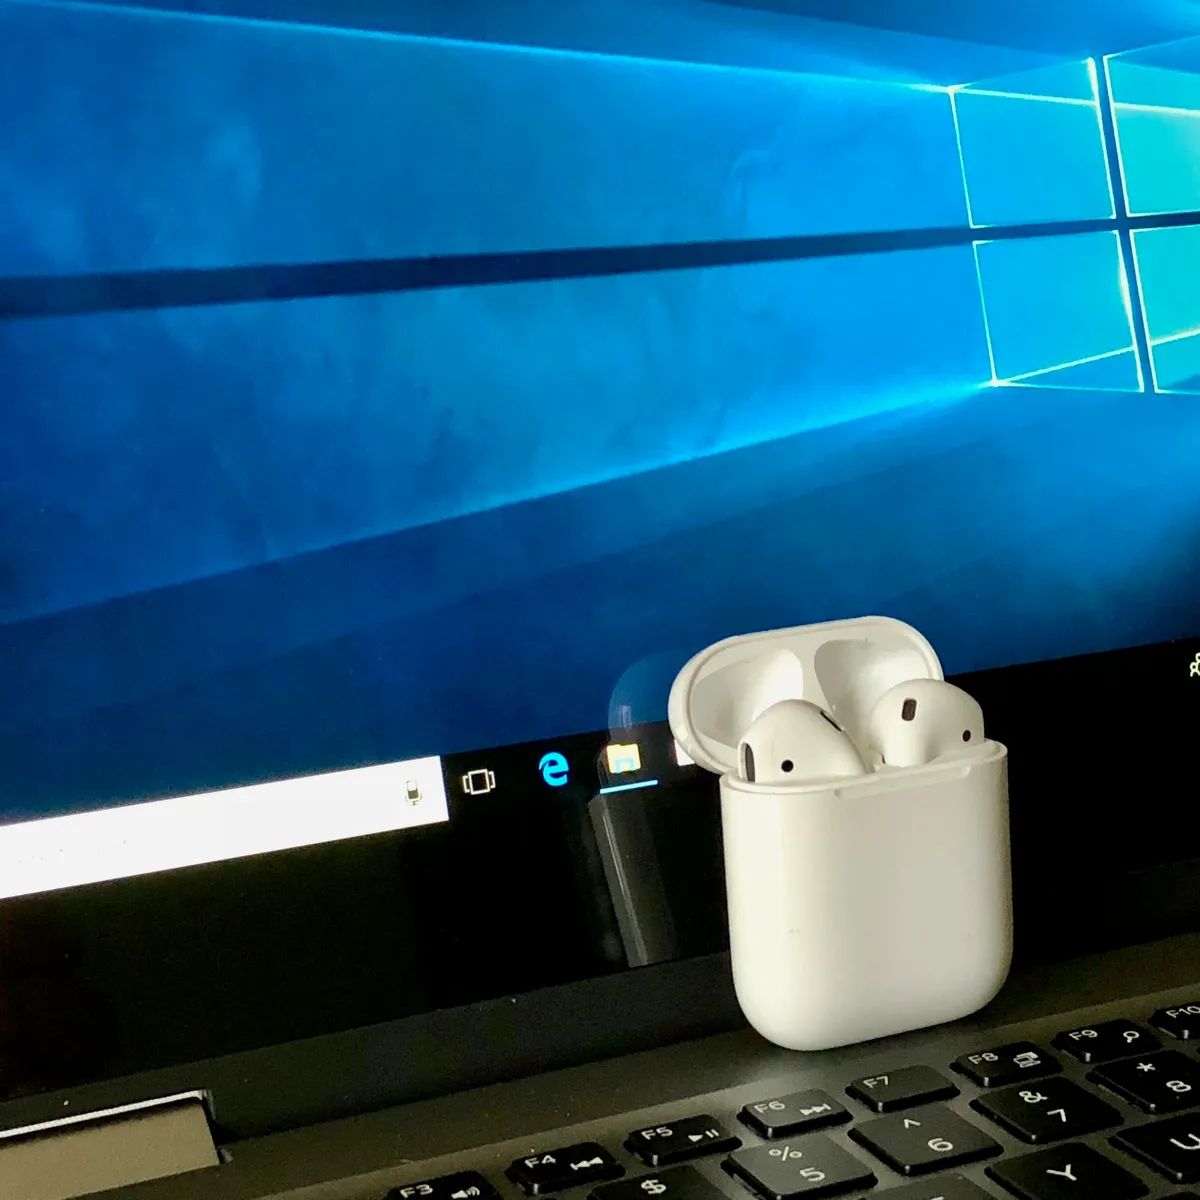
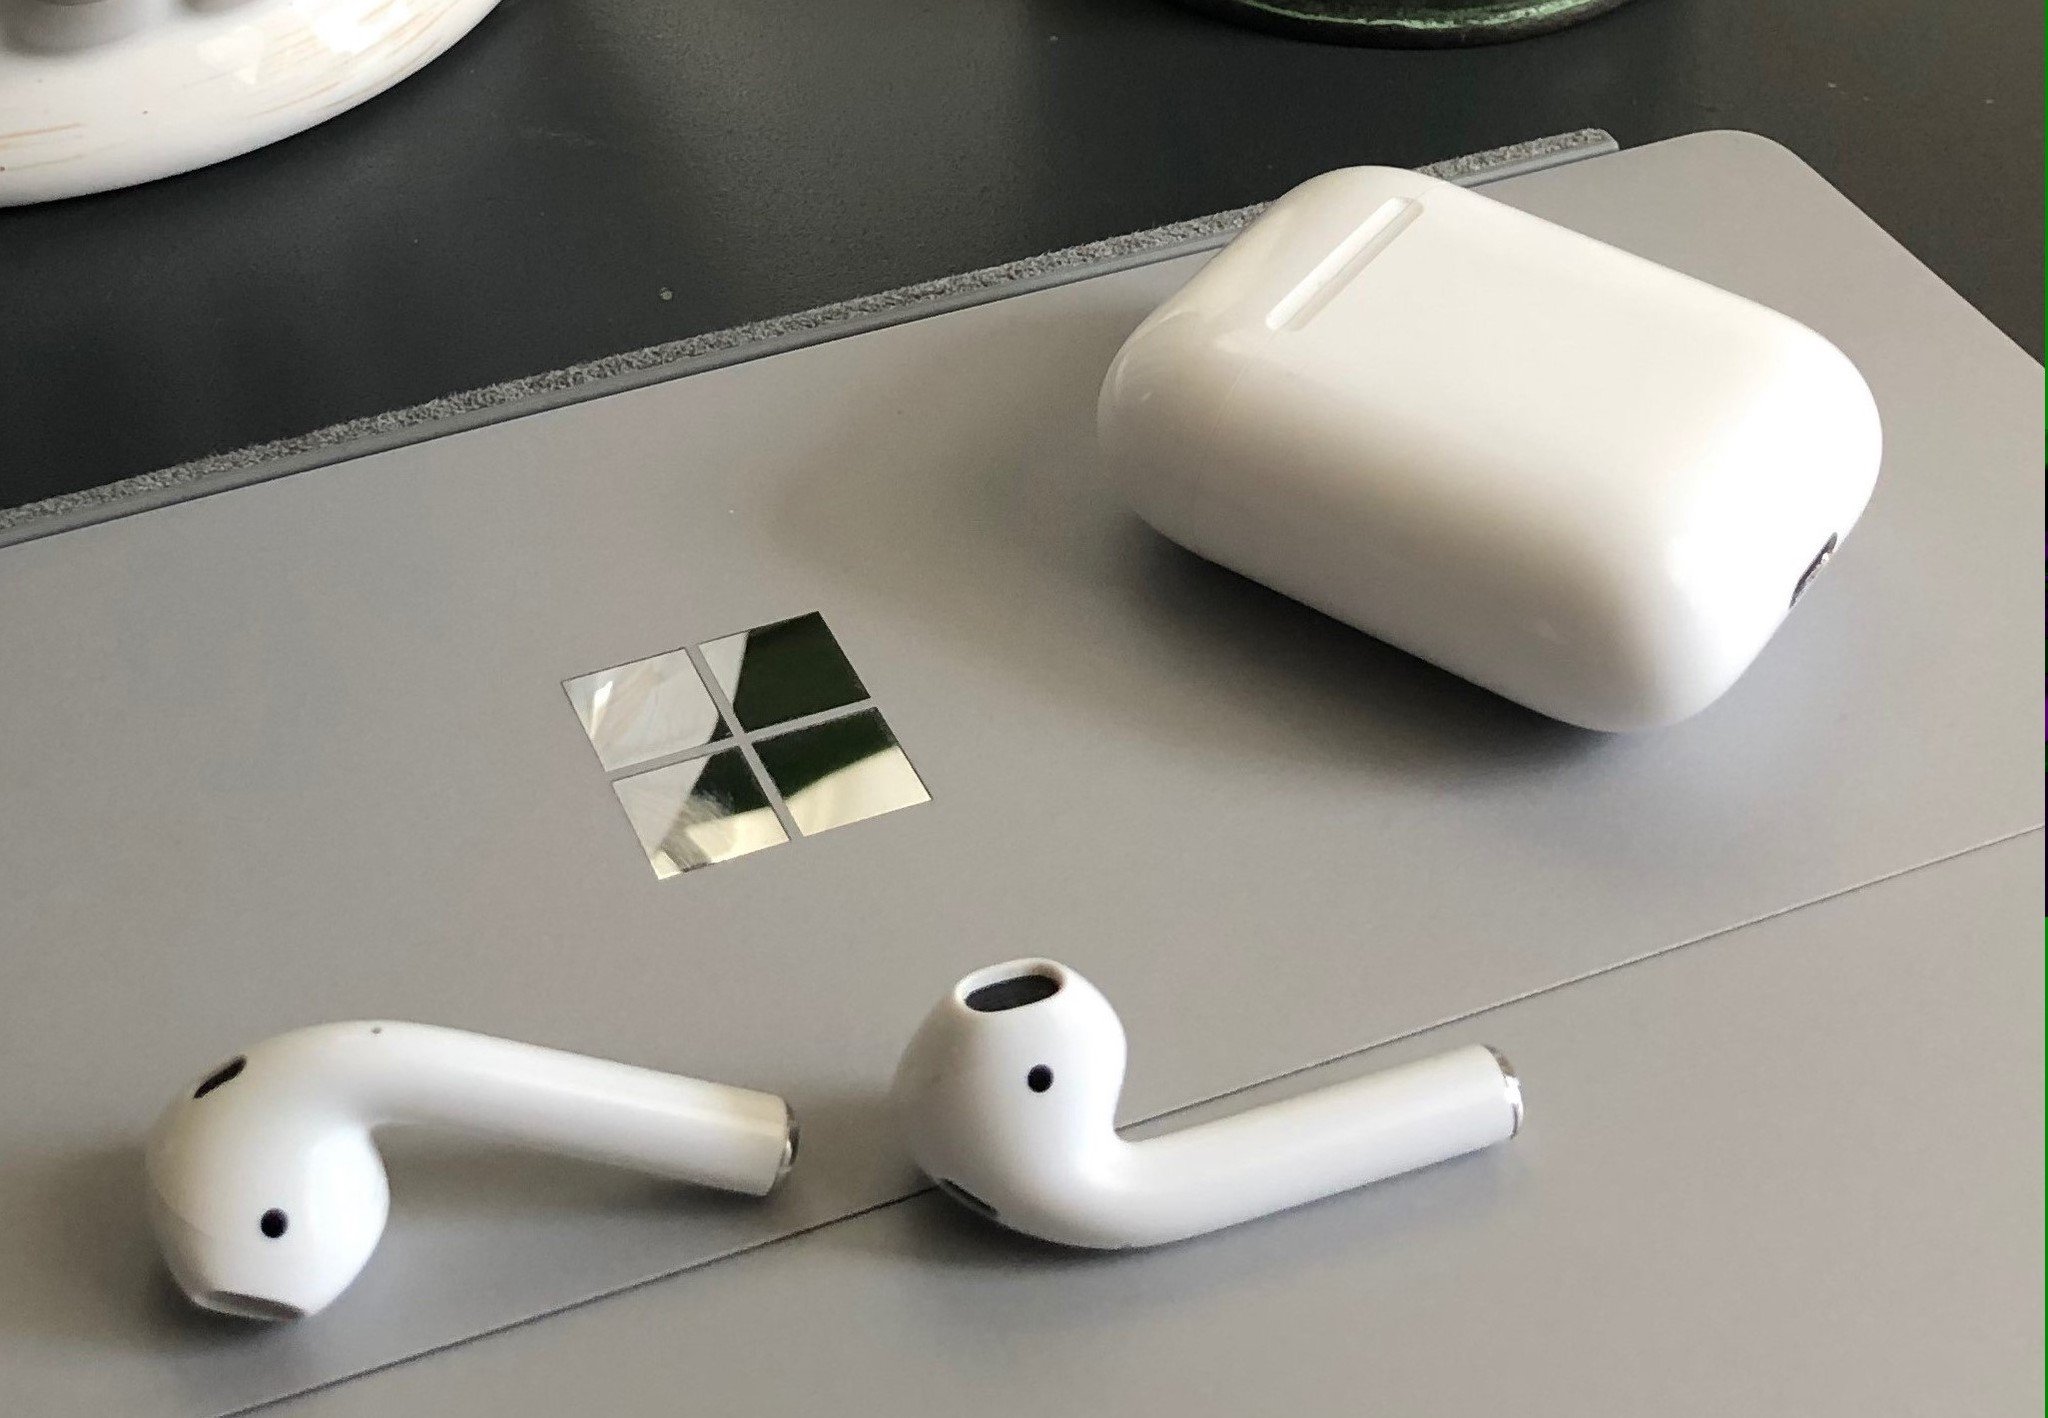
Welcome to this guide on how to connect AirPods to Windows 10! AirPods are immensely popular wireless earbuds developed by Apple, offering a seamless audio experience for users. While they are primarily designed for use with Apple devices, you can also connect them to a Windows 10 computer and enjoy the convenience they offer.
Whether you want to listen to your favorite music or make hands-free calls, connecting your AirPods to your Windows 10 PC allows you to enjoy the wireless audio experience. In this guide, we will walk you through the simple steps to connect AirPods to your Windows 10 computer. In addition, we will provide troubleshooting tips to help you resolve any potential issues you may encounter along the way.
Before getting started, it’s important to note that connecting AirPods to Windows 10 requires Bluetooth functionality. Make sure your Windows 10 computer has Bluetooth capabilities. If not, you may need to purchase a Bluetooth adapter or use an alternative method to connect your AirPods to your computer.
Now, let’s dive into the step-by-step process of connecting AirPods to Windows 10 and start enjoying the wireless audio experience on your computer!
Step 1: Check for Compatibility
Before attempting to connect your AirPods to Windows 10, it’s important to ensure compatibility between the two devices. While AirPods are primarily designed for use with Apple devices, they can also be used with Windows 10 computers that support Bluetooth connectivity. Follow these steps to check for compatibility:
- Make sure your AirPods are the second generation (AirPods 2) or later. These models have the necessary Bluetooth capabilities to connect to Windows 10.
- Confirm that your Windows 10 computer has Bluetooth functionality. You can do this by navigating to the Start menu, clicking on the Settings icon, and selecting “Devices”. If you see a Bluetooth option in the left-hand panel, then your computer has Bluetooth capabilities.
- If your computer does not have built-in Bluetooth, you will need to use a Bluetooth adapter. Purchase a compatible Bluetooth adapter and connect it to your computer’s USB port.
- Ensure that your Windows 10 computer is running the latest version of the operating system. Updates often include bug fixes and improvements, including better compatibility with devices like AirPods.
By confirming the compatibility between your AirPods and Windows 10 computer, you can ensure a smooth connection process without any compatibility issues. Once you have determined that your devices are compatible, you can proceed to the next steps of the connection process.
Step 2: Enable Bluetooth on Windows 10
Before you can connect your AirPods to your Windows 10 computer, you need to make sure that Bluetooth is enabled. Follow these steps to enable Bluetooth on your Windows 10 computer:
- Click on the Start menu in the bottom-left corner of your screen and select “Settings”.
- In the Settings window, click on the “Devices” option.
- In the left-hand panel of the Devices settings, select “Bluetooth & other devices”.
- Toggle the switch to turn on Bluetooth. You should see a message indicating that Bluetooth is now on.
With Bluetooth enabled on your Windows 10 computer, you are now ready to put your AirPods in pairing mode and establish the connection. Make sure you keep your AirPods nearby and ready for the next step.
Step 3: Put AirPods in Pairing Mode
To connect your AirPods to your Windows 10 computer, you need to put your AirPods in pairing mode. Follow these steps to put your AirPods in pairing mode:
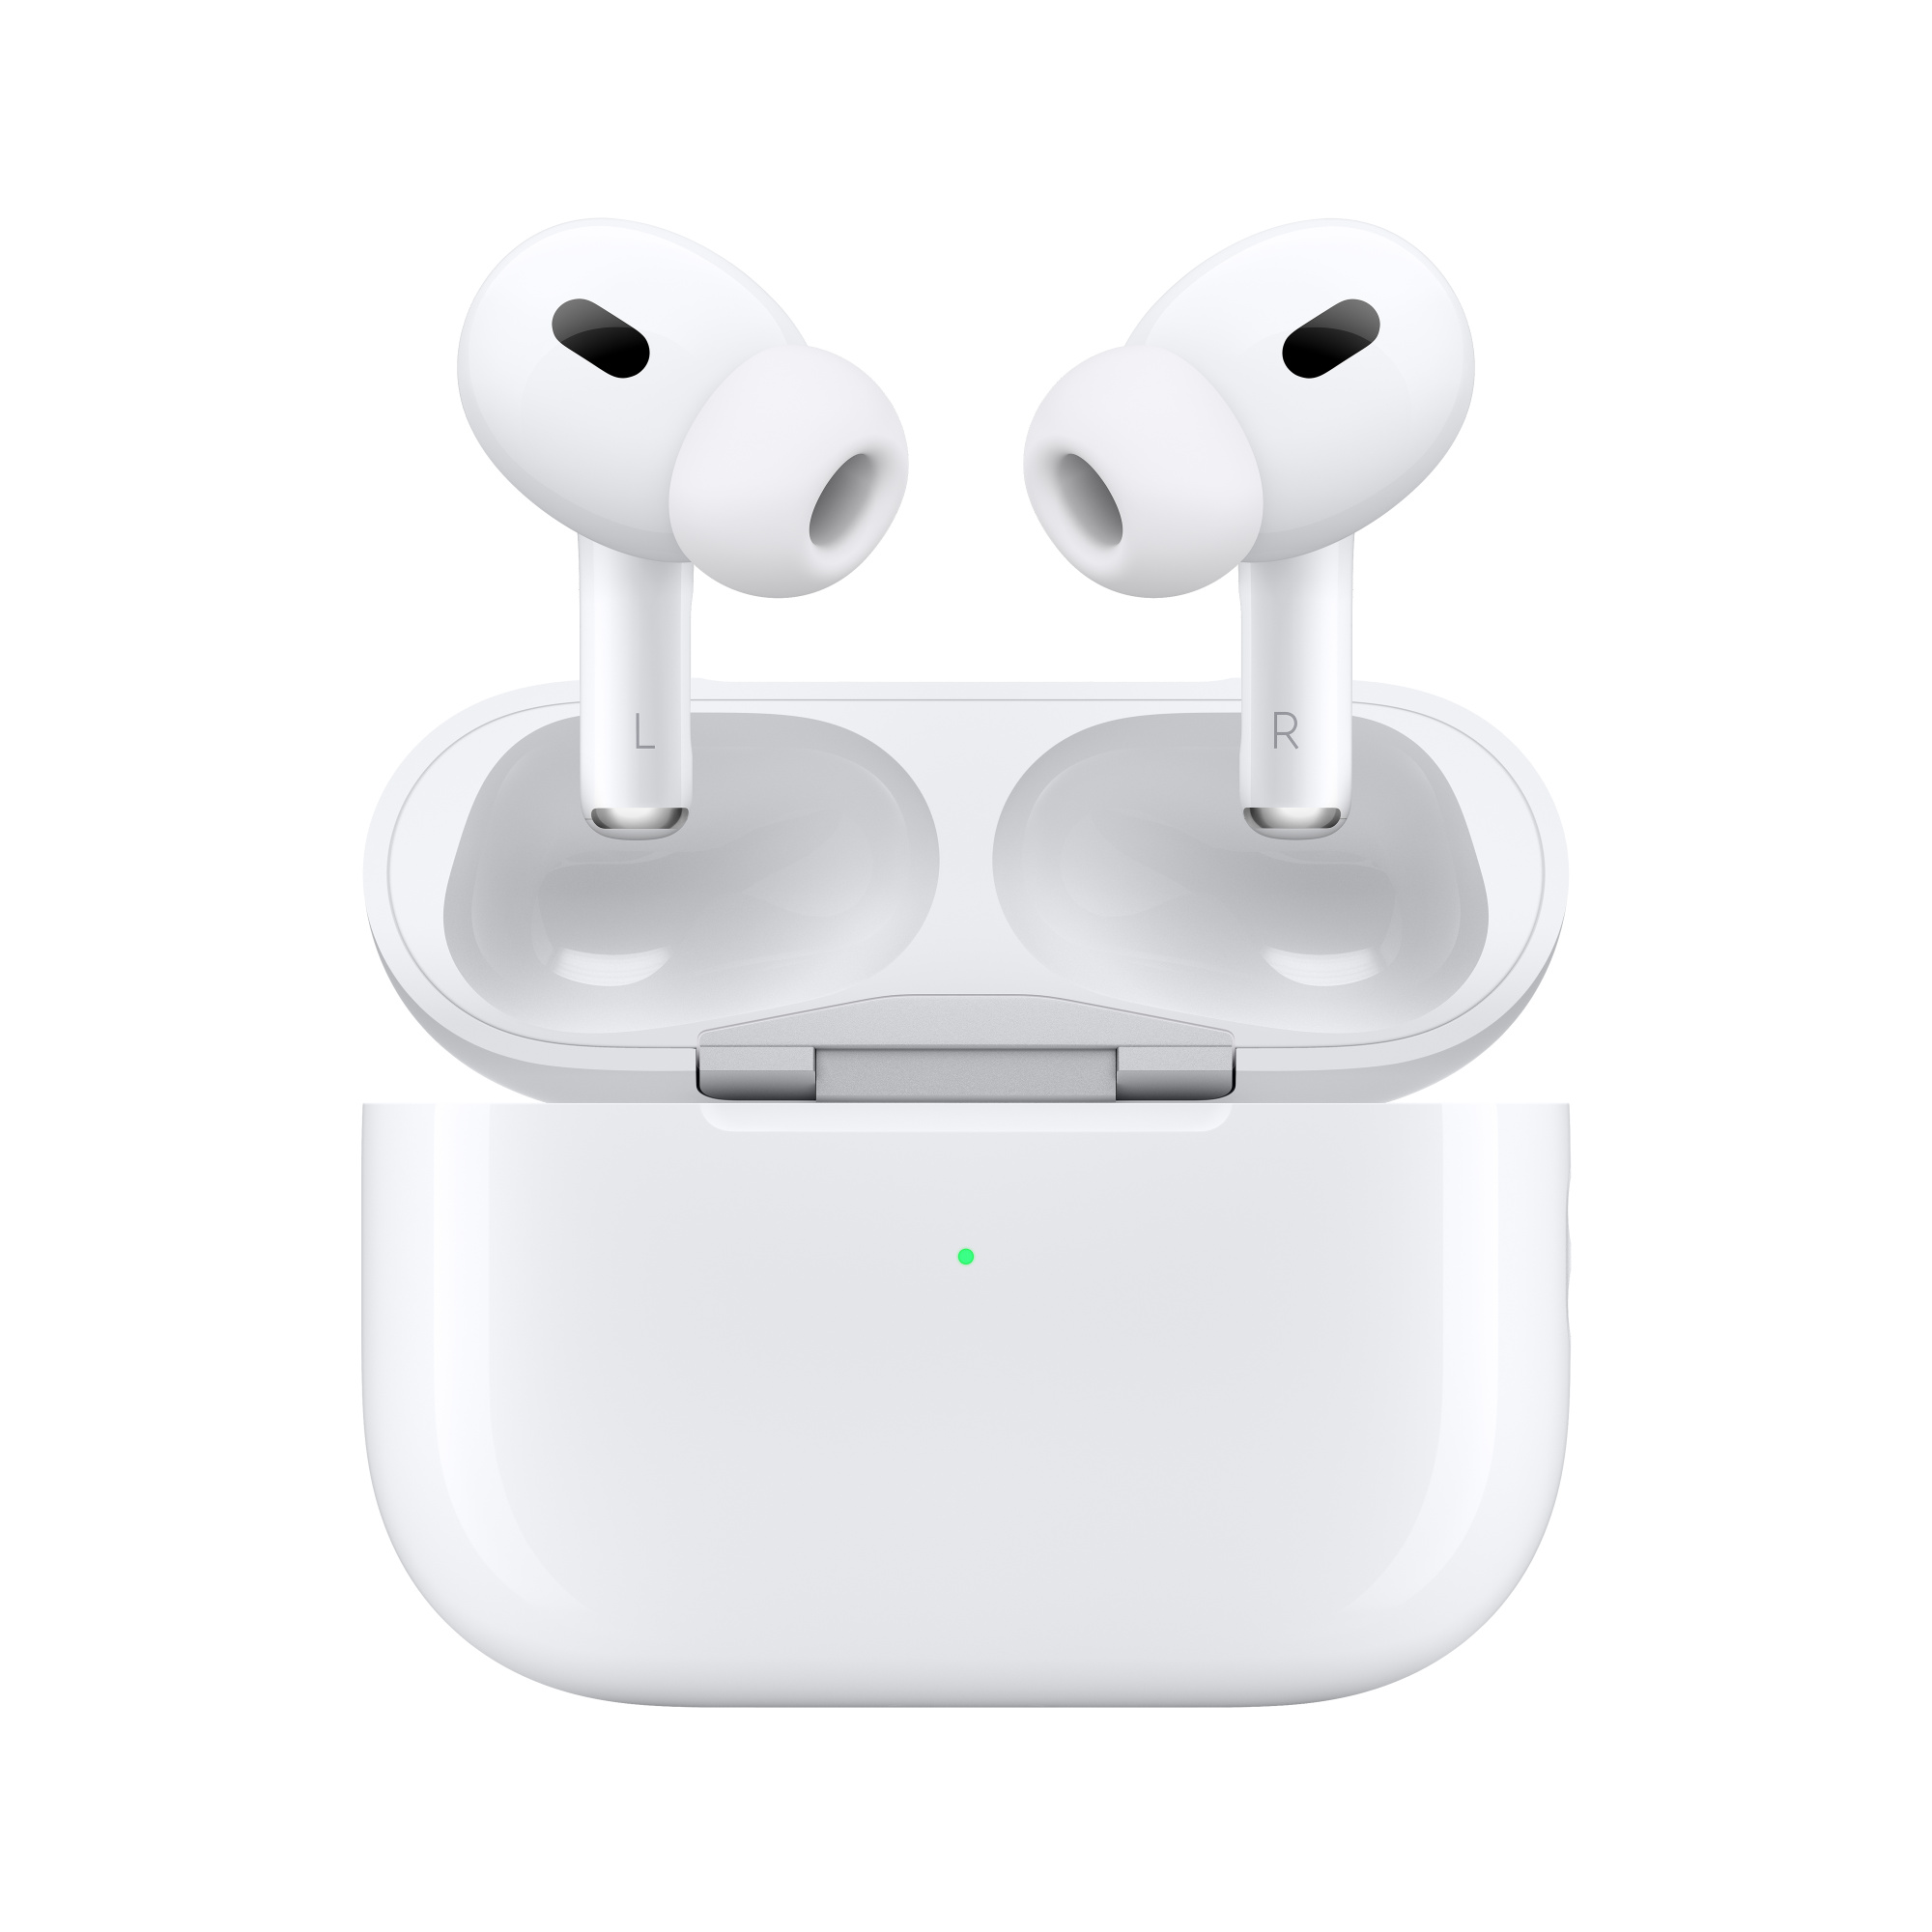
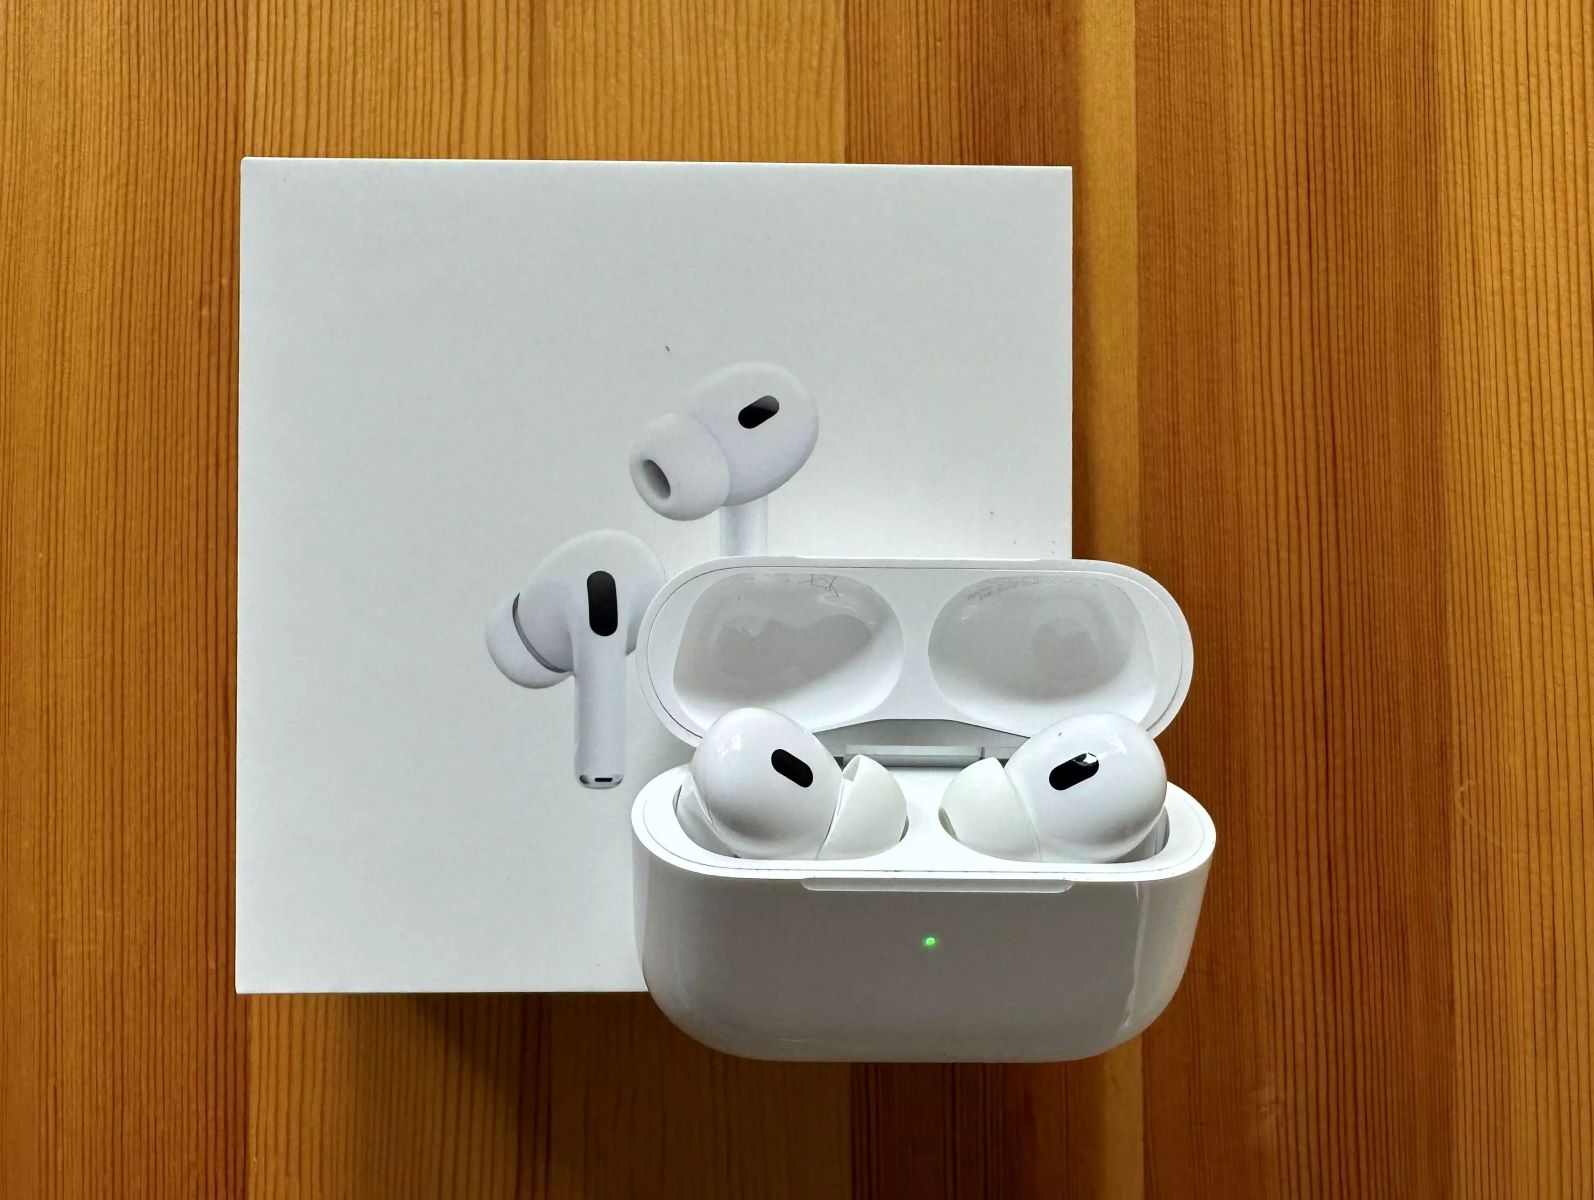
- Open the lid of your AirPods case.
- On the back of the AirPods case, you will find a small button. Press and hold this button until the status light on the front of the case starts flashing white.
- Your AirPods are now in pairing mode. Keep the lid of the case open and your AirPods nearby for the next step.
By putting your AirPods in pairing mode, you allow them to be discoverable by your Windows 10 computer. This is necessary to establish the initial connection between the devices.
Step 4: Connect AirPods to Windows 10
Now that you have enabled Bluetooth on your Windows 10 computer and put your AirPods in pairing mode, it’s time to establish the connection between the two devices. Follow these steps to connect your AirPods to your Windows 10 computer:
- On your Windows 10 computer, go back to the “Bluetooth & other devices” settings (refer to Step 2 if needed).
- Click on the “Add Bluetooth or other device” button.
- In the Add a device window, select the “Bluetooth” option.
- Your Windows 10 computer will now search for available Bluetooth devices. Look for your AirPods in the list of available devices and click on them to select.
- Click on the “Connect” button to establish the connection between your AirPods and your Windows 10 computer.
- Windows 10 will now attempt to pair with your AirPods. Wait for the pairing process to complete. You may be prompted to enter a passkey or confirm a pairing code, depending on your AirPods model.
- Once the pairing is successful, you will see a notification confirming the connection.
Congratulations! Your AirPods are now connected to your Windows 10 computer. You can now enjoy wireless audio and use your AirPods for various activities such as listening to music, watching videos, or making internet calls.
Remember, when you want to use your AirPods with your Windows 10 computer in the future, simply turn on Bluetooth on your computer, put your AirPods in your ears, and they should automatically connect.
Step 5: Adjust AirPods Settings on Windows 10
Once you have successfully connected your AirPods to your Windows 10 computer, you may want to customize the settings to enhance your audio experience. Windows 10 provides several options for adjusting the AirPods settings. Follow these steps to access and adjust the settings:
- Click on the Start menu in the bottom-left corner of your screen and select “Settings”.
- In the Settings window, click on the “Devices” option.
- In the left-hand panel of the Devices settings, select “Bluetooth & other devices”.
- Under the “Audio” section, you will see your connected AirPods listed. Click on them to access the settings.
- Here, you can manage the volume and microphone settings for your AirPods. Adjust the volume slider to control the audio level, and toggle the microphone on or off as needed.
- You can also click on the “Device properties” link to access additional settings specific to your AirPods model. This may include options for controlling the automatic ear detection feature or changing the double-tap functionality.
- Explore the available settings and make any desired adjustments to tailor your AirPods experience on your Windows 10 computer.
- Once you have made the necessary adjustments, close the Settings window.
By adjusting the AirPods settings on your Windows 10 computer, you can optimize the audio quality and microphone performance according to your preferences and needs.
It’s worth noting that some settings may vary depending on the AirPods model you have. Make sure to refer to the documentation or support resources provided by Apple for your specific AirPods model to learn more about the available settings and customization options.
Troubleshooting Tips
Sometimes, you may encounter difficulties when connecting your AirPods to your Windows 10 computer. Here are a few troubleshooting tips to help you overcome common issues:
- Ensure Bluetooth is turned on: Double-check that Bluetooth is enabled on your Windows 10 computer by following the steps outlined in Step 2.
- Restart Bluetooth: If you’re experiencing connectivity issues, try turning off Bluetooth on your computer and turning it back on again. This can help refresh the connection.
- Reset AirPods: If your AirPods are not showing up in the available devices list, you can try resetting them. Place your AirPods in the charging case, open the lid, and press and hold the setup button on the back of the case until the status light starts flashing amber. Then, follow the steps in Step 4 to connect them again.
- Update AirPods firmware: Make sure that your AirPods are running the latest firmware. You can do this by connecting them to an Apple device and checking for updates in the Settings app. Keeping the firmware up to date can help resolve compatibility issues.
- Check AirPods battery: Ensure that your AirPods have sufficient battery power. Low battery levels may affect the connectivity. Place them in the charging case and make sure they are charged before attempting to connect them.
- Try a different USB port: If you are using a Bluetooth adapter, try connecting it to a different USB port on your computer. Sometimes, USB ports can have connectivity issues, and switching to another port can help.
- Restart your computer: A simple restart of your Windows 10 computer can help resolve temporary connection problems. Give it a try if all else fails.
If you are still experiencing issues after trying these troubleshooting tips, it may be helpful to consult the official support documentation provided by Apple or seek assistance from their customer support team for further assistance with connecting AirPods to Windows 10.
Conclusion
Connecting your AirPods to your Windows 10 computer opens up a world of wireless audio convenience. By following the step-by-step guide provided in this article, you can easily establish the connection and start enjoying your AirPods’ seamless audio experience on your Windows 10 PC.
Remember to check for compatibility between your AirPods and Windows 10, enable Bluetooth on your computer, and put your AirPods in pairing mode. Through the settings on your Windows 10 computer, you can customize the audio volume and microphone settings to suit your preferences.
In case you face any issues, the troubleshooting tips provided can help you overcome common obstacles. Don’t hesitate to reach out to official support channels or consult Apple’s support documentation for further assistance.
Now that you know how to connect your AirPods to Windows 10, go ahead and enjoy the freedom of wireless audio on your computer. Whether you’re listening to music, watching videos, or having online meetings, your AirPods will enhance your overall audio experience.
Thank you for reading, and we hope you found this guide helpful. Happy AirPods pairing and enjoy the seamless audio experience on your Windows 10 PC!


