Introduction
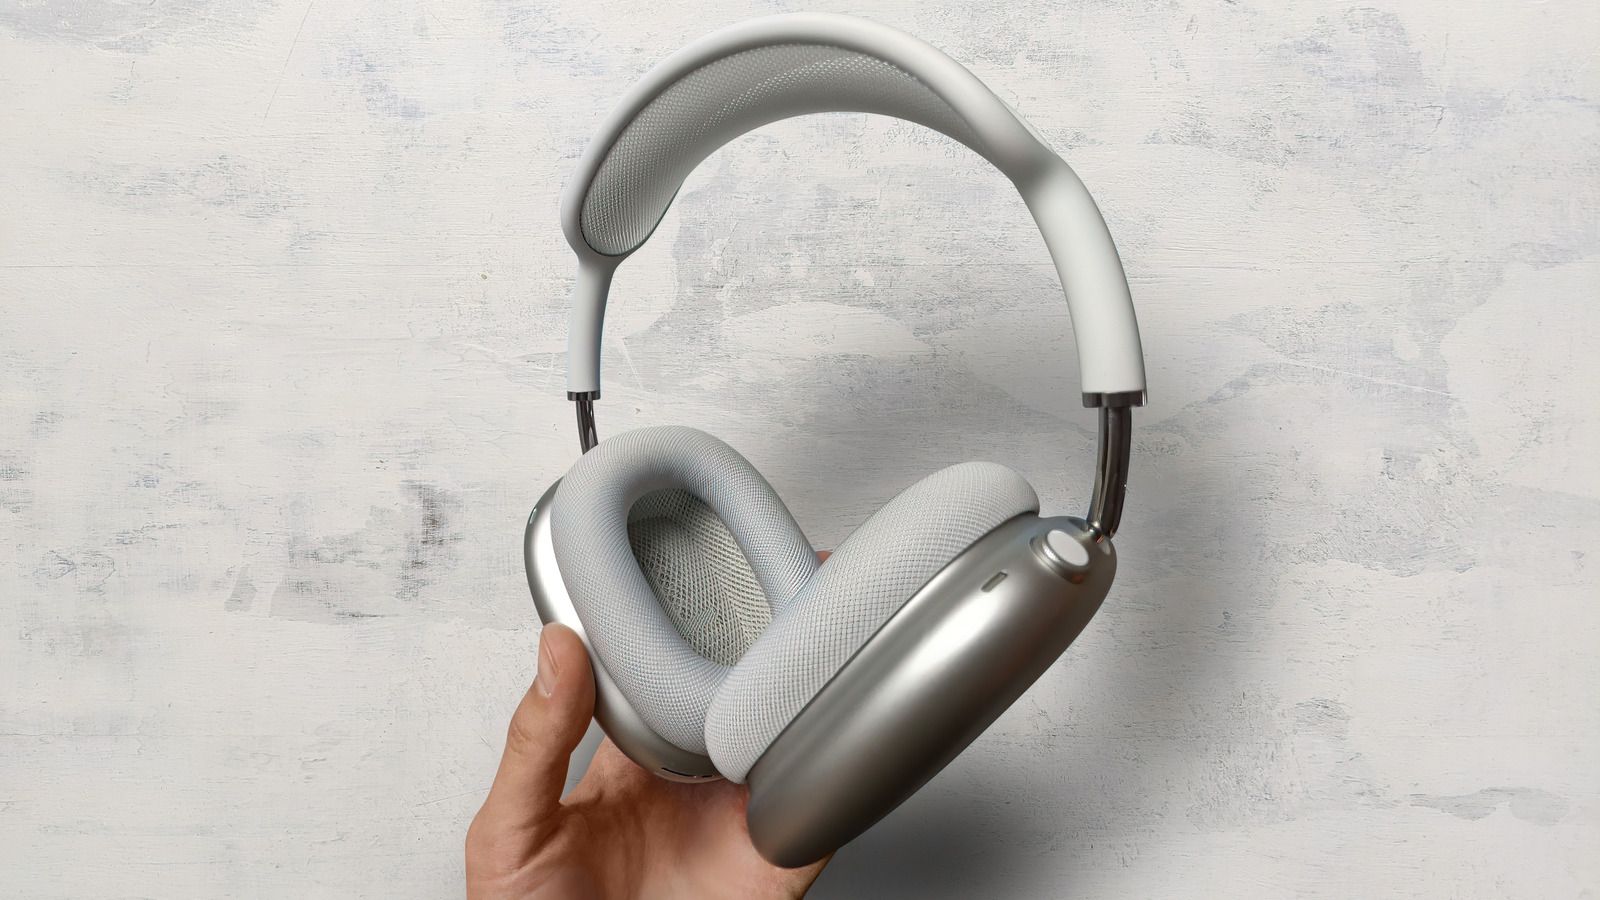
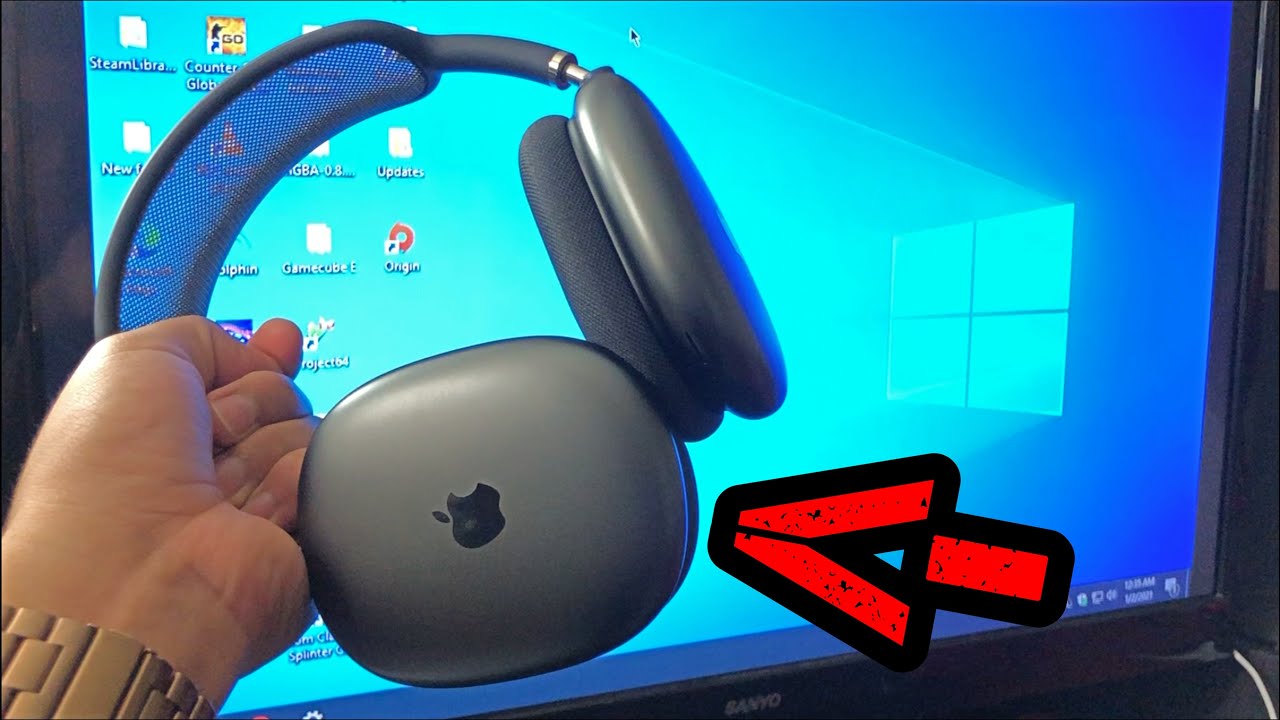
Are you the proud owner of the Apple AirPods Max and wondering how to connect them to your PC? Look no further! In this guide, we will walk you through the step-by-step process of connecting your AirPods Max to your PC, ensuring that you can enjoy your favorite music, podcasts, and videos with high-quality sound.
The AirPods Max offers a seamless wireless experience, designed to work seamlessly with Apple devices. However, connecting them to a PC requires a few additional steps. Whether you want to use your AirPods Max for video conferencing, gaming, or simply to enjoy your favorite music while working, we’ve got you covered.
Before we dive into the process, it’s important to note that the AirPods Max are compatible with PCs running Windows 10 or later versions. If you are using an older version of Windows or a different operating system, connecting AirPods Max may not be possible. However, if you meet the compatibility requirements, let’s get started!
In the following sections, we will guide you through the necessary steps to connect your AirPods Max to your PC. We will cover everything from checking compatibility to pairing your devices and adjusting settings. So, grab your AirPods Max and let’s begin the journey to PC connectivity!
Step 1: Check Compatibility
Before attempting to connect your AirPods Max to your PC, it’s essential to ensure that your PC meets the necessary compatibility requirements. Here’s what you need to check:
- Operating System: Confirm that your PC is running Windows 10 or a later version. Compatibility may vary with older versions of Windows or different operating systems.
- Bluetooth Capability: Check whether your PC has built-in Bluetooth functionality. Most modern PCs come equipped with Bluetooth, but if yours doesn’t, you will need to purchase a Bluetooth adapter separately.
If your PC satisfies both of these requirements, you are ready to proceed to the next step. However, if your PC is not running the appropriate operating system or lacks Bluetooth capability, you may need to consider alternative methods for audio connectivity.
It’s important to note that while AirPods Max is designed to work seamlessly with Apple devices, it can still be paired with non-Apple devices such as PCs. However, some features may be limited, and you may not have access to certain functionalities that are exclusive to Apple devices.
Once you’ve verified the compatibility of your PC, you can move on to the next step: installing a Bluetooth adapter (if necessary).
Step 2: Installation of Bluetooth Adapter (If Required)
If your PC does not have built-in Bluetooth capability, don’t worry! You can still connect your AirPods Max by installing a Bluetooth adapter. Follow these steps to get started:
- Check for an available USB port: Examine your PC for accessible USB ports. Most Bluetooth adapters connect via USB, so make sure you have a spare USB port available.
- Purchase a compatible Bluetooth adapter: Visit an electronics store or browse online for a Bluetooth adapter that is compatible with your PC. Look for one that supports Bluetooth 4.0 or higher for optimal performance.
- Insert the Bluetooth adapter: Once you have obtained a Bluetooth adapter, carefully insert it into an available USB port on your PC. Ensure a secure connection is made.
- Install device drivers (if necessary): In some cases, you may need to install device drivers for the Bluetooth adapter to function correctly. Check the instructions provided with the adapter for any driver installation requirements.
- Restart your PC: After the adapter is inserted and any necessary drivers have been installed, restart your PC to ensure that the changes take effect and the adapter is recognized.
Now that you have successfully installed the Bluetooth adapter (if required), you are ready to proceed to the next step: putting your AirPods Max into pairing mode.
Step 3: Put AirPods Max in Pairing Mode
Before you can connect your AirPods Max to your PC, you need to put them into pairing mode. Follow these simple steps to put your AirPods Max into pairing mode:
- Ensure your AirPods Max are charged: Make sure your AirPods Max have sufficient battery power by charging them with the included Lightning cable.
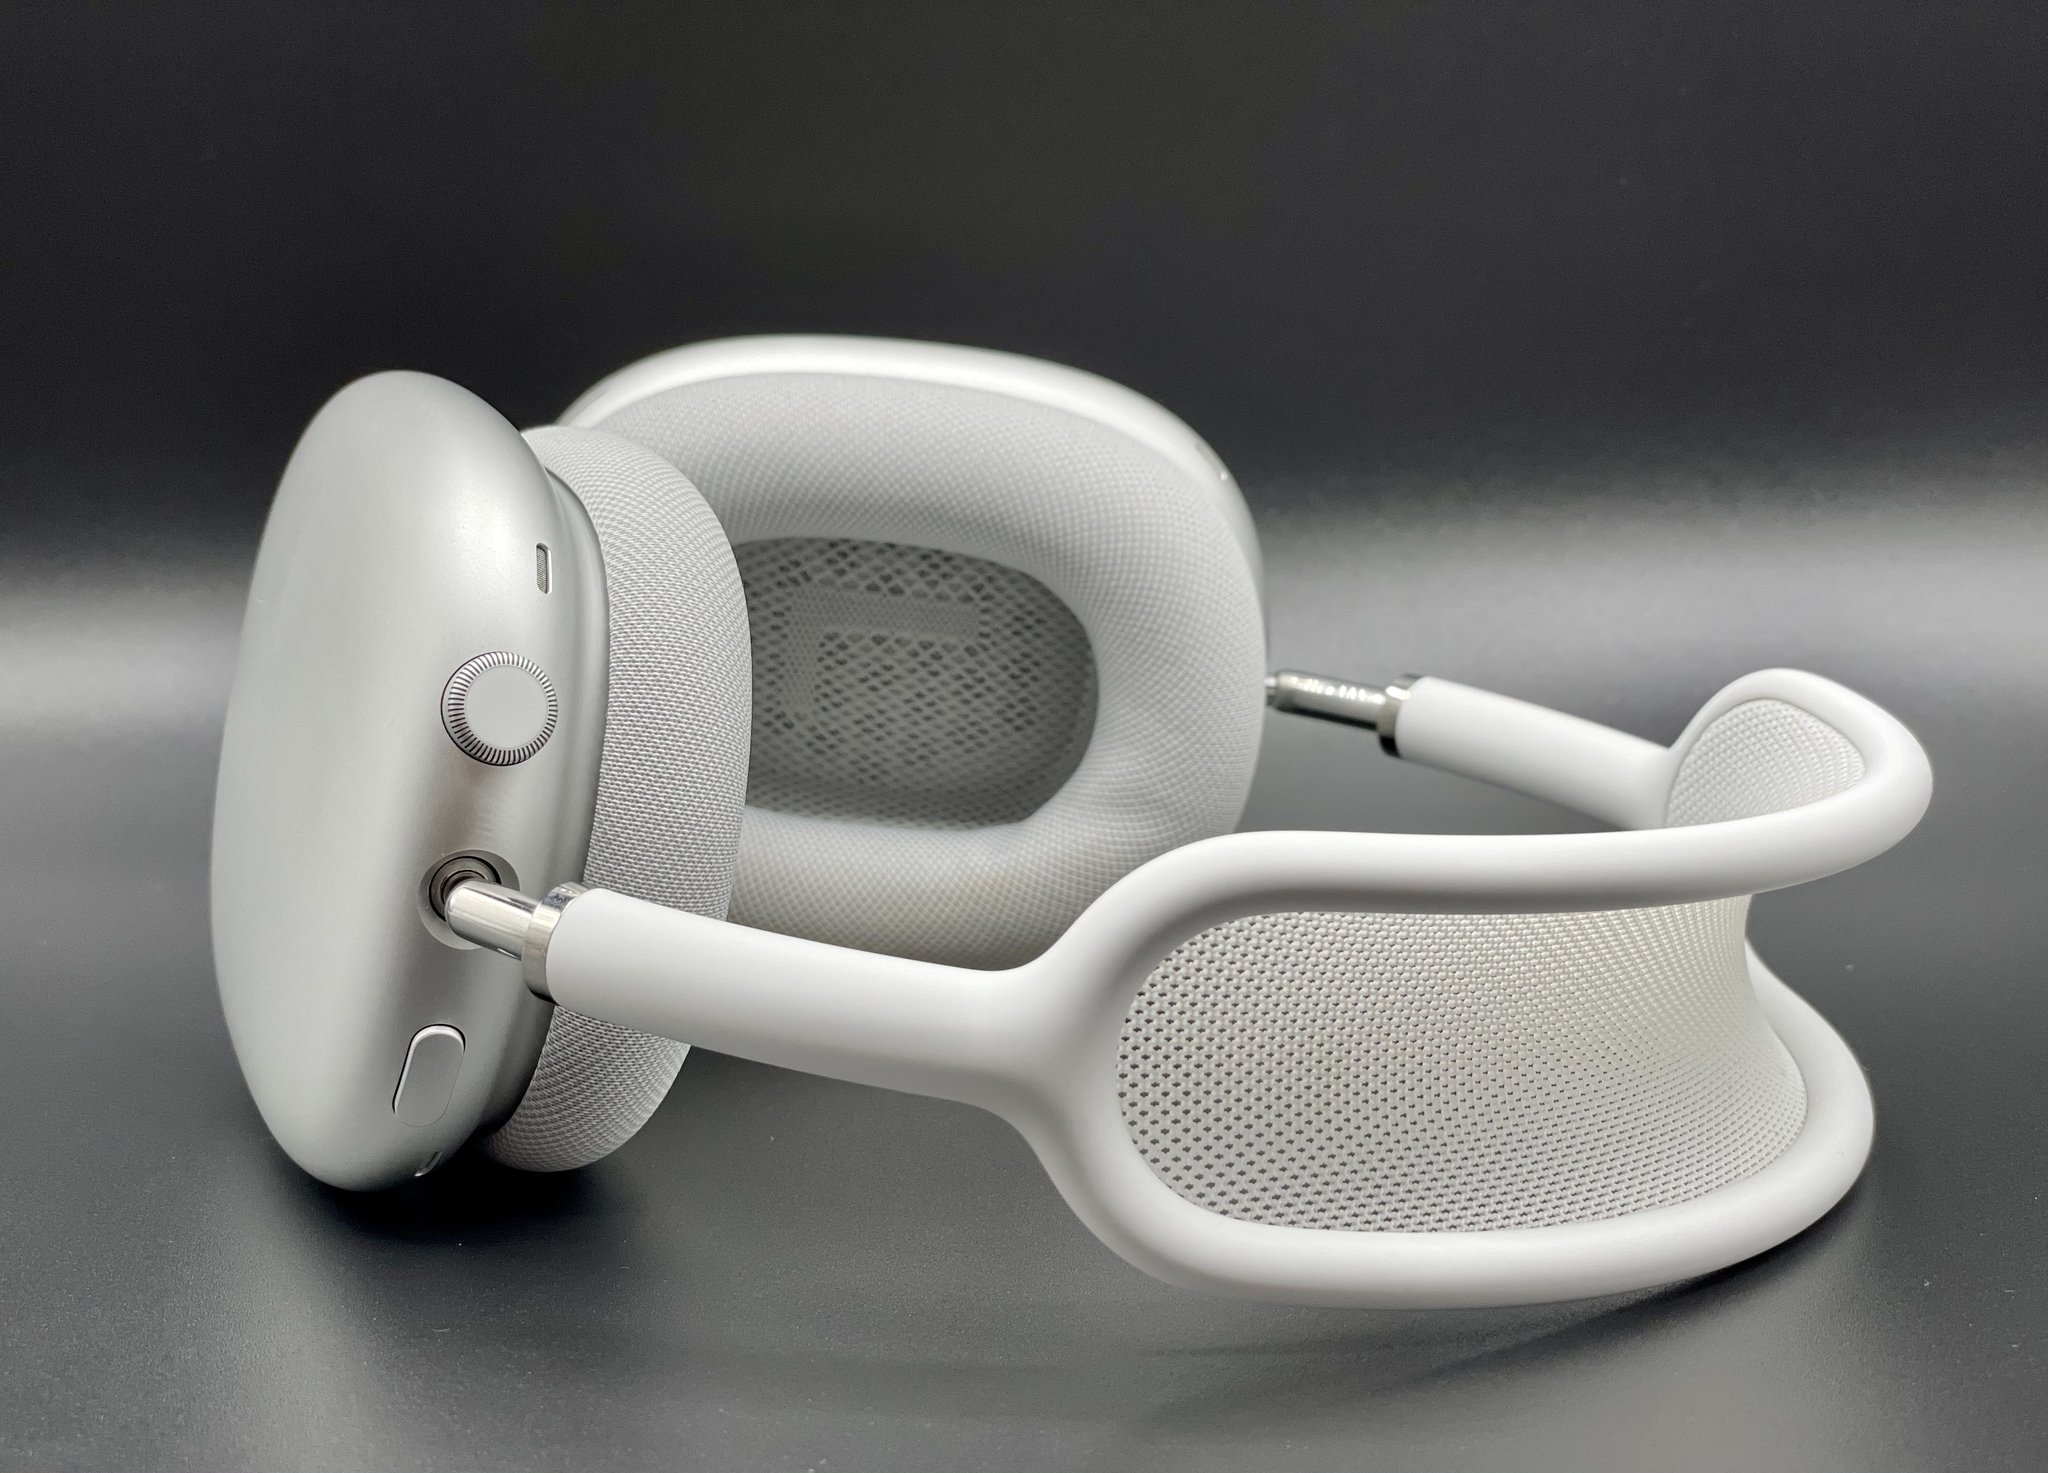
- Locate the noise control button: On your AirPods Max, locate the noise control button. This button is located on the top of the right ear cup.
- Press and hold the noise control button: Press and hold the noise control button until the LED indicator on the bottom of the right ear cup starts flashing white.
By following these steps, you have successfully put your AirPods Max into pairing mode. The flashing white light indicates that your AirPods Max are now discoverable and ready to be paired with your PC.
Note that after a certain period of inactivity, your AirPods Max will automatically exit pairing mode to save battery power. In such cases, you will need to repeat these steps to put them back into pairing mode.
Now that your AirPods Max are in pairing mode, proceed to the next step: opening your PC’s Bluetooth settings.
Step 4: Open PC’s Bluetooth Settings
Now that your AirPods Max are in pairing mode, it’s time to open your PC’s Bluetooth settings to establish a connection. Follow these steps to open the Bluetooth settings on your PC:
- Click on the Windows Start button: Located on the bottom left corner of your screen, click on the Windows Start button to open the Start menu.
- Search for “Bluetooth settings”: In the search bar within the Start menu, type “Bluetooth settings” and select the corresponding result.
- Open Bluetooth settings: The Bluetooth settings window will open, displaying available Bluetooth devices in your vicinity.
Once you have successfully reached the Bluetooth settings window on your PC, you are ready to proceed to the next step: pairing your AirPods Max with your PC.
Note that the steps to open Bluetooth settings may vary slightly depending on the version of Windows you are using. If you encounter any difficulties, refer to your PC’s user manual or search online for specific instructions based on your operating system.
With the Bluetooth settings window open, let’s move on to the next step: pairing your AirPods Max with your PC.
Step 5: Pair AirPods Max with PC
Now that you have opened your PC’s Bluetooth settings, it’s time to pair your AirPods Max with your PC. Follow these steps to establish a connection:
- Click on “Add Bluetooth or other device”: Within the Bluetooth settings window, click on the “Add Bluetooth or other device” button. This will initiate the pairing process.
- Select “Bluetooth”: In the “Add a device” window, choose the option to add a Bluetooth device.
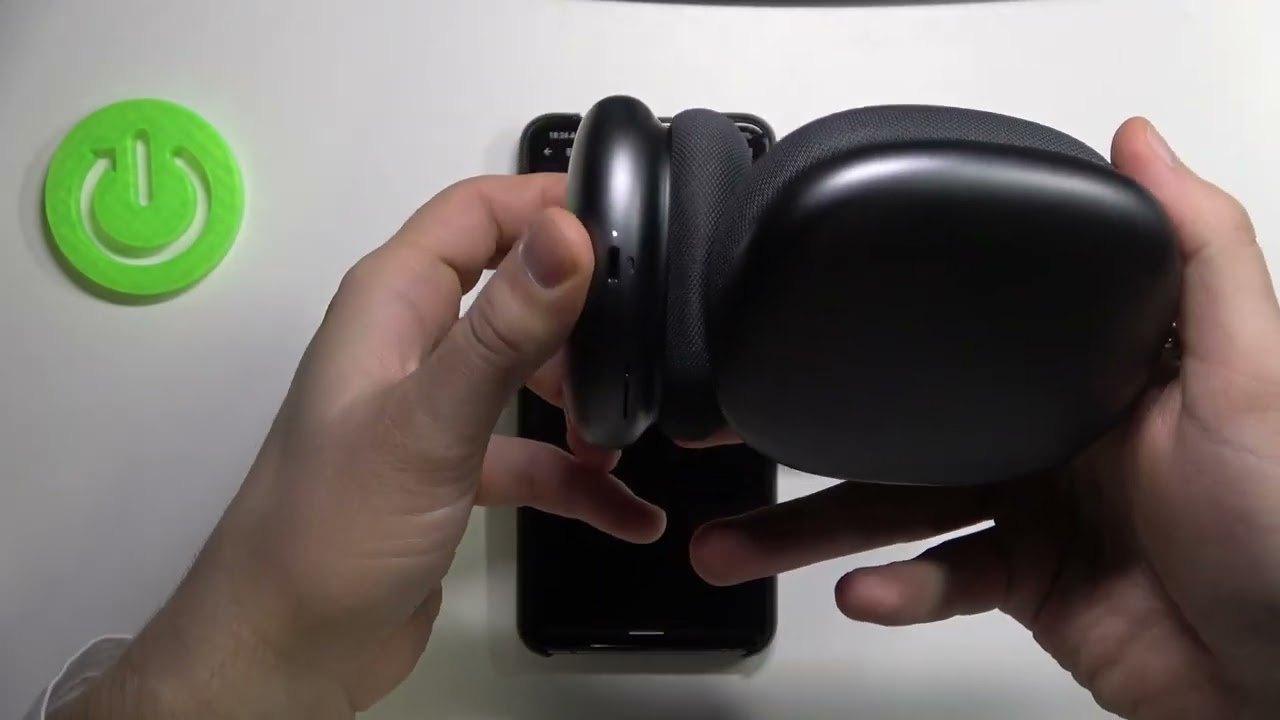
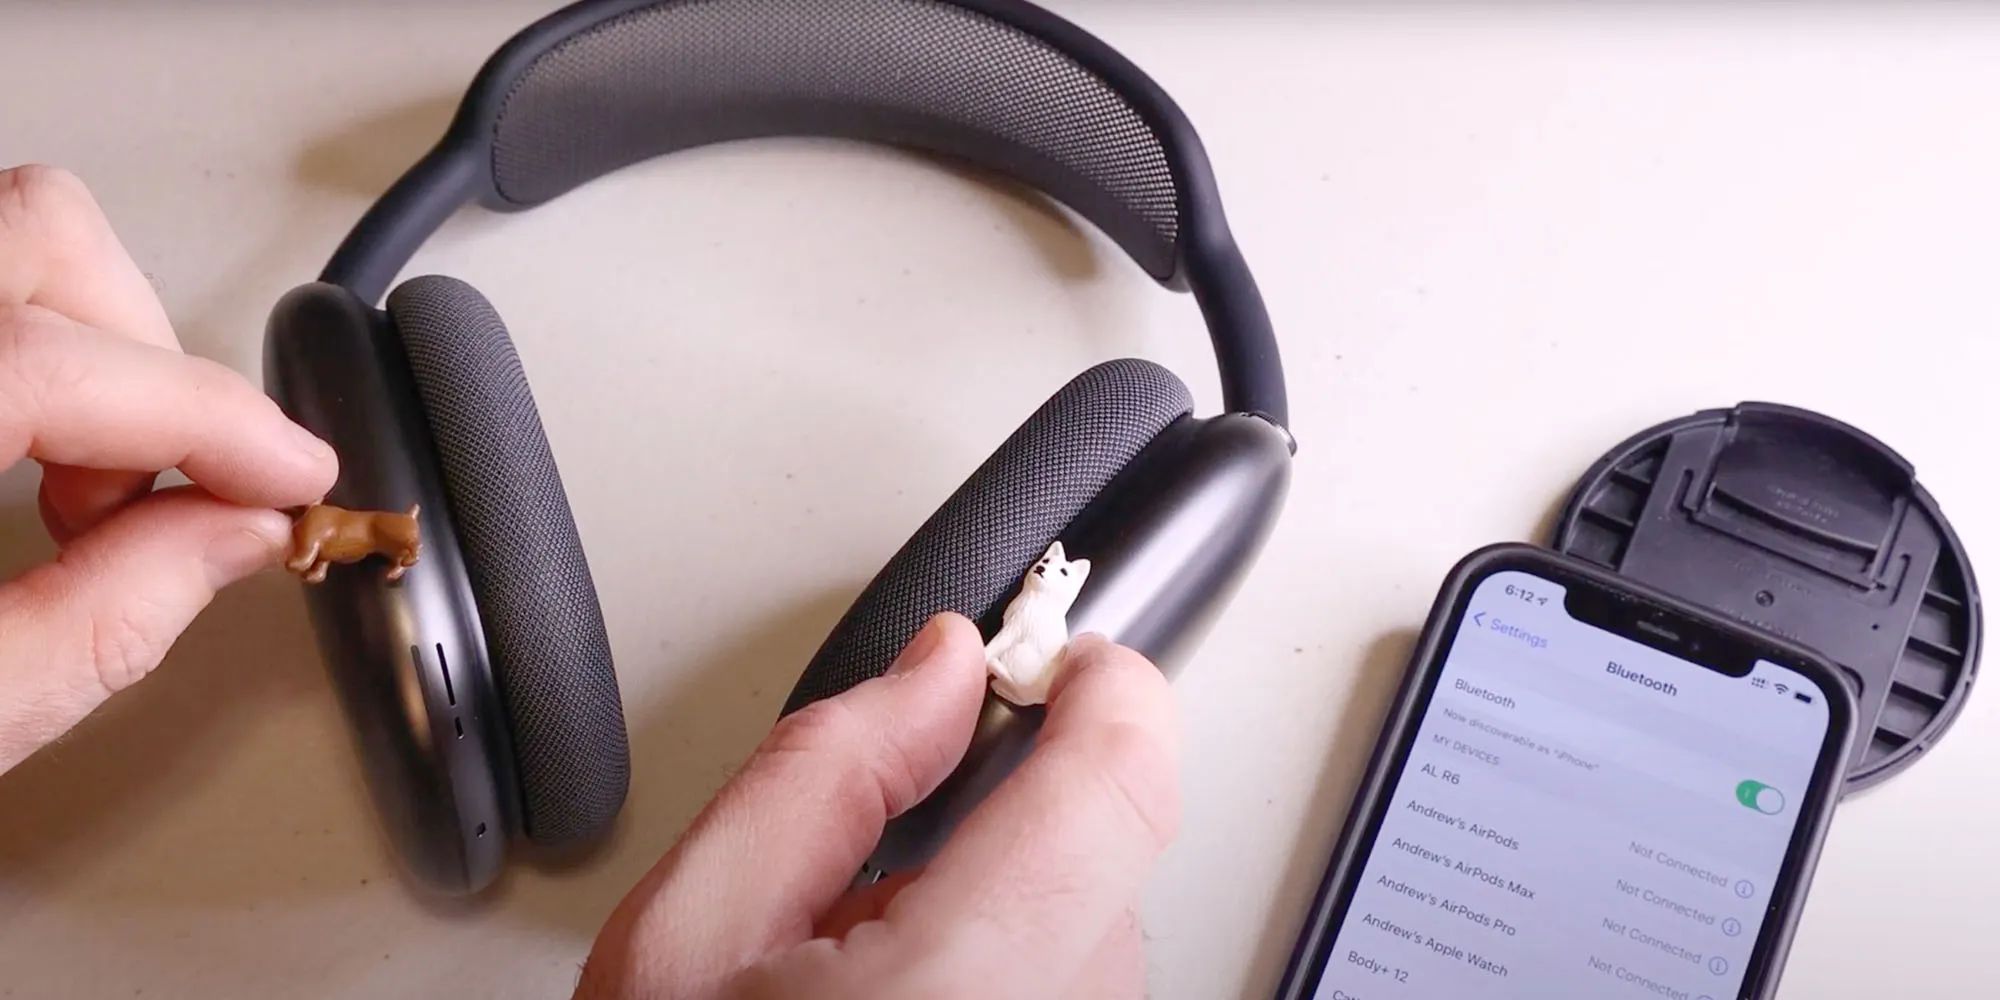
- Wait for the PC to detect your AirPods Max: Your PC will begin scanning for available Bluetooth devices. Wait for your AirPods Max to appear in the list of devices. It should be displayed as “AirPods Max” or a similar name.
- Select your AirPods Max: Once your AirPods Max is detected, click on it to select it as the device you want to connect to your PC.
- Complete the pairing process: Follow any additional on-screen prompts to complete the pairing process. This may include confirming a passcode or accepting a pairing request on both your PC and your AirPods Max.
Once the pairing process is completed successfully, your AirPods Max will be connected to your PC. You can now enjoy high-quality audio wirelessly from your AirPods Max while using your PC.
It’s worth noting that the exact steps and prompts may vary slightly depending on your PC’s operating system and version of Windows. If you encounter any difficulties or if the pairing process fails, refer to your PC’s user manual or search online for specific troubleshooting steps.
Now that your AirPods Max are successfully paired with your PC, let’s move on to the final step: testing the connection and adjusting settings.
Step 6: Test Connection and Adjust Settings
With your AirPods Max now connected to your PC, it’s important to test the connection and adjust any necessary settings to ensure optimal performance. Follow these steps to test the connection and make any desired adjustments:
- Play audio on your PC: Open your preferred media player or streaming service on your PC and play some audio content, such as music or a video.
- Verify audio output: Check that the audio is playing through your AirPods Max. You can do this by listening to the audio output and confirming that it is coming from your AirPods Max instead of the PC’s speakers.
- Adjust volume: Use the volume controls on your AirPods Max or your PC to adjust the volume level to your preference.
- Explore additional settings: Depending on your PC’s operating system and Bluetooth settings, you may have the option to customize additional settings for your AirPods Max. This can include features such as equalizer presets, microphone input, and more. Take some time to explore these settings and make any desired adjustments.
By following these steps, you can ensure that your AirPods Max are functioning properly and that you have the best audio experience while using your PC.
If you encounter any issues during the testing process, such as audio cutting out or connectivity problems, try the following actions:
- Ensure proximity to your PC: Make sure your AirPods Max are within a reasonable range of your PC to maintain a good Bluetooth connection.
- Check for software updates: Ensure that both your PC’s operating system and your AirPods Max have the latest software updates installed.
- Restart your devices: Sometimes, a simple restart can resolve connectivity issues. Try restarting your PC and AirPods Max to see if it improves the connection.
With the connection tested and any necessary adjustments made, you are now ready to enjoy the convenience of using your AirPods Max with your PC for all your audio needs.
Conclusion
Connecting your AirPods Max to your PC opens up a world of possibilities for enjoying high-quality audio wirelessly while working, gaming, or simply relaxing. Throughout this guide, we have covered the step-by-step process to connect your AirPods Max to your PC, from checking compatibility to adjusting settings. By following these steps, you can seamlessly integrate your AirPods Max into your PC setup.
Remember to check for compatibility requirements, and if your PC lacks built-in Bluetooth capabilities, consider investing in a Bluetooth adapter. Putting your AirPods Max into pairing mode and opening your PC’s Bluetooth settings are essential steps in establishing the connection. Once paired, you can test the connection and make any necessary adjustments to enhance your audio experience.
It’s important to note that while AirPods Max is primarily designed for use with Apple devices, they can still be paired with non-Apple devices such as PCs. However, some features may be limited in this scenario. For the best experience, we recommend using AirPods Max with Apple devices.
Now that you know how to connect your AirPods Max to your PC, you can enjoy the convenience and freedom of wireless audio wherever you go. Whether you’re listening to music, watching videos, or engaging in video conferences, your AirPods Max will provide you with high-quality sound and a seamless experience.
So, grab your AirPods Max, follow the steps outlined in this guide, and immerse yourself in an extraordinary audio experience while using your PC!