Introduction
Welcome to the world of gaming! If you’re a gaming enthusiast looking to connect a Wii remote to your PC, you’ve come to the right place. The Wii remote, also known as the Wiimote, offers a unique and immersive gaming experience that you can now enjoy on your personal computer. Whether you want to play your favorite Wii games on your PC or explore a variety of PC games compatible with the Wiimote, connecting the controller to your computer is the first step.
Connecting a Wii remote to a PC may seem like a daunting task, but with the right hardware and software, it can be done quickly and easily. In this guide, we’ll walk you through the process, step by step, to ensure a seamless connection between your Wii remote and PC. Before we dive into the technicalities, let’s take a moment to understand the components you’ll need to establish this connection.
To connect a Wii remote to your PC, you’ll need a Bluetooth-enabled computer and a Wii remote controller. Additionally, you may need a Bluetooth adapter if your computer doesn’t have built-in Bluetooth capabilities. Don’t worry if you don’t have these components – they are readily available online or at your local electronics store.
In the next sections of this guide, we’ll discuss the necessary hardware and software requirements in detail. We’ll cover everything from installing Bluetooth drivers to syncing the Wii remote and installing the required software. By following the step-by-step instructions, you’ll have your Wii remote up and running on your PC in no time.
So, grab your Wii remote, fire up your PC, and let’s get started on this exciting gaming adventure. Get ready to experience the best of both worlds as you explore the vast library of Wii and PC games with the convenience of the Wii remote. Let us guide you through this process, and soon you’ll be immersing yourself in thrilling gaming sessions like never before.
Required Hardware and Software
Before you can connect a Wii remote to your PC, it’s important to ensure that you have the necessary hardware and software. Here’s what you’ll need:
- Bluetooth-enabled Computer: You’ll need a computer with built-in Bluetooth capabilities or a Bluetooth adapter. If your computer doesn’t have Bluetooth, you can easily purchase a USB Bluetooth adapter online or at your local electronics store.
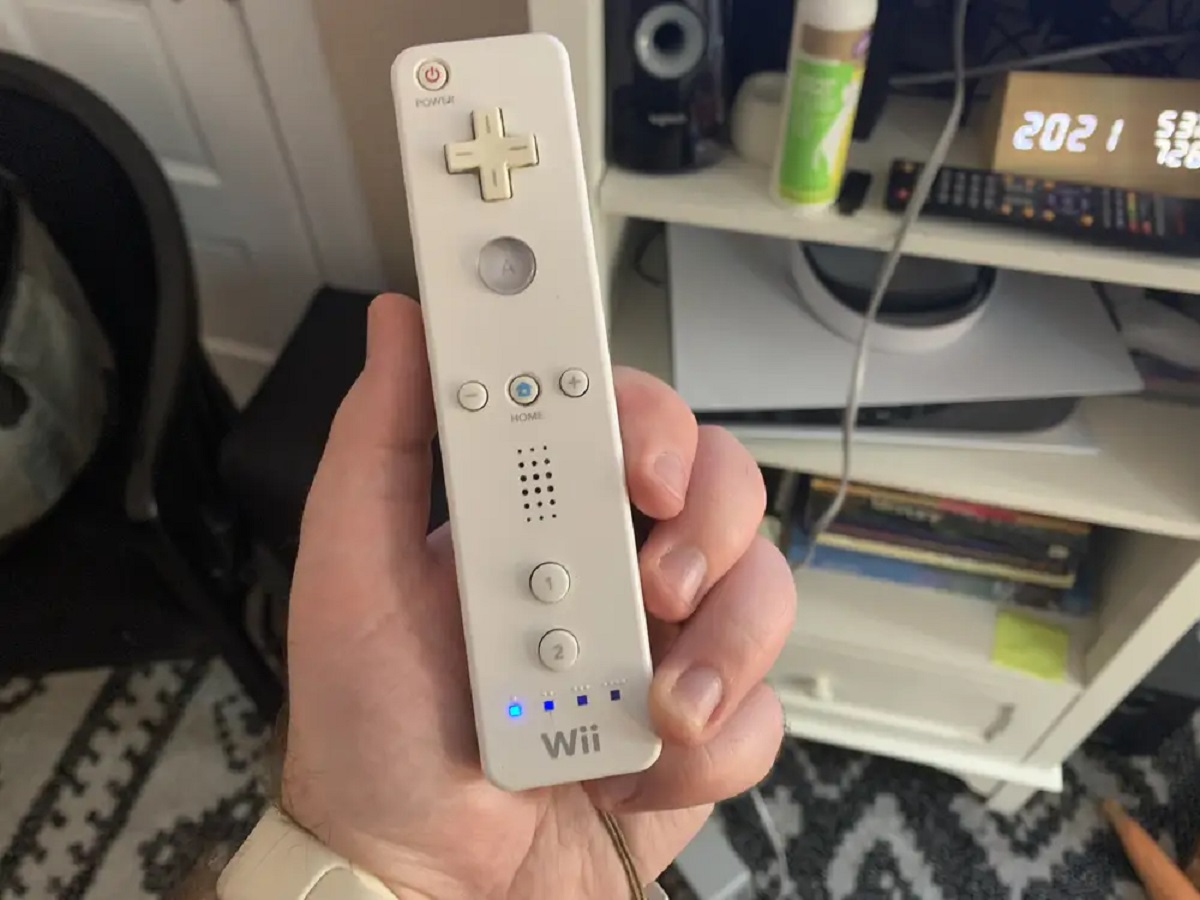
- Wii Remote Controller: This is the main component you’ll need. The Wii remote, also known as the Wiimote, is the controller used with the Nintendo Wii console. Make sure you have a compatible Wii remote that is in good working condition.
- Bluetooth Drivers: If your computer doesn’t have built-in Bluetooth capabilities, you’ll need to install Bluetooth drivers for your Bluetooth adapter. These drivers enable your computer to communicate with the Wii remote via Bluetooth.
- Wiimote Software: To connect and use the Wii remote on your PC, you’ll need specific software that enables the functionality. There are various options available, such as WiinUSoft, WiimoteHook, and GlovePIE. These software programs allow you to map the Wii remote buttons and motion sensors to your PC games.
Now that you have a clear understanding of the required components, ensure that you have all of them before proceeding to the next steps. If any component is missing, take the time to acquire it so that you can smoothly progress through the connection process.
Remember, using a Wii remote on a PC opens up a whole new world of gaming possibilities. You’ll be able to enjoy Wii games on your computer or enhance your gameplay experience with PC games that support the Wii remote. So, gather all the necessary hardware and software, and let’s move on to the next steps of connecting the Wii remote to your PC.
Step 1: Installing Bluetooth Drivers
Before you can connect a Wii remote to your PC, you’ll need to ensure that your computer has the appropriate Bluetooth drivers installed. This step is essential for enabling the communication between your computer and the Wii remote.
Here’s how you can install Bluetooth drivers:
- Identify the Bluetooth Adapter: If your computer doesn’t have built-in Bluetooth capabilities, you’ll need to purchase and install a Bluetooth adapter. Once you have the adapter, plug it into an available USB port on your computer.
- Install Drivers from the Manufacturer: Most Bluetooth adapters come with a driver installation CD. Insert the CD into your computer’s CD drive and follow the on-screen instructions to install the necessary drivers. If your adapter doesn’t come with a CD, you can usually find the drivers on the manufacturer’s website. Download the drivers and install them manually.
- Windows Updates: In some cases, Windows updates may include the required drivers for your Bluetooth adapter. To check for updates, go to your computer’s Settings, then click on “Update & Security.” From there, select “Windows Update” and click on “Check for updates.” If any updates are available, download and install them.
- Verify Installation: Once the drivers are installed, restart your computer to ensure they are properly loaded. After restarting, go to your computer’s Control Panel, then open the Device Manager. Look for the Bluetooth section and expand it to check if your adapter is listed without any error icons. If you see your adapter listed and the status is “This device is working properly,” it means the Bluetooth drivers are installed correctly.
Now that you have installed the Bluetooth drivers, your computer is ready to establish a connection with the Wii remote. In the next steps, we’ll guide you through the process of opening the Bluetooth settings and syncing the Wii remote to your PC. Stay tuned!
Step 2: Opening the Bluetooth Settings
Now that you have installed the necessary Bluetooth drivers, the next step is to open the Bluetooth settings on your PC. This will allow you to search for and connect to your Wii remote.
Follow these steps to open the Bluetooth settings:
- Go to Start Menu: Click on the Start menu icon in the bottom left corner of your screen. This will open the Start menu.
- Open Settings: In the Start menu, click on the gear icon to open the Settings app. Alternatively, you can press the Windows key + I on your keyboard to directly open the Settings app.
- Select Devices: In the Settings app, click on the “Devices” option. This will open the Devices settings page.
- Open Bluetooth Settings: On the left-hand side of the Devices settings page, click on the “Bluetooth & other devices” tab. This will display the Bluetooth settings options.
- Turn on Bluetooth: Make sure the Bluetooth toggle switch is turned on. If it’s already on, you can proceed to the next step. If it’s off, click on the switch to turn on Bluetooth.
- Click on “Add Bluetooth or other device”: Under the “Bluetooth & other devices” tab, click on the “Add Bluetooth or other device” button. This will initiate the process of searching for Bluetooth devices.
Now that you have opened the Bluetooth settings and initiated the search for Bluetooth devices, it’s time to move on to the next step of syncing your Wii remote with your PC. In the following step, we’ll guide you through the process of syncing the Wii remote and establishing a connection. Get ready for an exciting gaming experience!
Step 3: Syncing the Wii Remote
Now that you have opened the Bluetooth settings on your PC, it’s time to sync your Wii remote and establish a connection. The syncing process is essential for pairing your Wii remote with your computer’s Bluetooth adapter.
Follow these steps to sync your Wii remote:
- Press and Hold Sync Button: On the back of your Wii remote, locate the small red sync button. Press and hold this button for a few seconds. You will see the LEDs on the front of the Wii remote start to blink.
- Click on “Bluetooth & other devices”: On your computer, go back to the Bluetooth settings page by following the previous steps. Under the “Bluetooth & other devices” tab, click on the “Add Bluetooth or other device” button again.
- Select “Bluetooth”: In the “Add a device” pop-up window, click on the “Bluetooth” option. This will start the search for nearby Bluetooth devices.
- Select Wii Remote: Your computer will now search for available Bluetooth devices. When your Wii remote appears in the list of devices, click on it to select it.
- Complete the Connection: Once you have selected your Wii remote, click on the “Done” button. Your computer will then establish a connection with the Wii remote.
- Verify Connection: After the connection is established, the LEDs on the Wii remote will stop blinking and settle into a specific configuration. This indicates that the Wii remote is connected to your PC.
Now that you have successfully synced your Wii remote with your PC, you are one step closer to enjoying an immersive gaming experience. In the next step, we’ll guide you through the process of installing the necessary software to fully utilize the functionality of the Wii remote on your PC. Stay tuned!
Step 4: Installing Wiimote Software
After successfully syncing your Wii remote with your PC, the next step is to install the necessary software that will enable you to fully utilize the functionality of the Wii remote.
Follow these steps to install the Wiimote software:
- Research Software Options: There are several software programs available that allow you to connect and use your Wii remote on your PC. Popular options include WiinUSoft, WiimoteHook, and GlovePIE. Take some time to research these programs and determine which one will best suit your needs.
- Download and Install the Chosen Software: Once you have decided on the software program that you want to use, visit the official website or a trusted source to download the software. Follow the instructions provided by the software developer to install the program on your computer.
- Launch the Software: Once the software is installed, locate the program on your computer and launch it. You may need to grant necessary permissions for the software to run.
- Configure the Wii Remote: Open the software and look for the configuration or settings menu. In this menu, you will be able to map the buttons and motion sensors of the Wii remote to your preference. Configure the settings according to your gaming needs.
- Test the Connection: To ensure that the Wii remote is properly connected and functioning, test it with the software. Follow the instructions provided by the software to perform a test run. Verify that the buttons and motion sensors of the Wii remote are responding as expected.
By installing the appropriate software, you can now fully utilize the functionality of the Wii remote on your PC. This opens up a world of gaming possibilities, allowing you to enjoy both Wii games and PC games that are compatible with the Wii remote. Take some time to explore the software’s settings and configurations to enhance your gaming experience.
In the final step, we’ll guide you on testing the connection to ensure that everything is working smoothly. Let’s continue our journey towards an incredible gaming experience!
Step 5: Testing the Connection
Now that you have installed the necessary software and configured your Wii remote, it’s time to test the connection between your Wii remote and your PC. Testing the connection will ensure that everything is properly set up and that you can enjoy a seamless gaming experience.
Follow these steps to test the connection:
- Open a Game or Application: Launch a game or application that is compatible with the Wii remote. Make sure to select a game that supports the functionality of the Wii remote, as this will allow you to fully experience its features.
- Verify Controller Recognition: Once the game or application is open, check if your PC recognizes the Wii remote as a controller. Navigate through the game’s settings or options menu to locate the controller settings. Verify that the Wii remote is detected and recognized by your PC.
- Perform Actions with the Wii Remote: Once the Wii remote is recognized, try performing various actions using the Wii remote. Test the buttons, motion sensors, and any other features supported by the game or application. Ensure that the Wii remote is responsive and accurately reflects your movements.
- Adjust Settings if Needed: If you encounter any issues or find that the responsiveness is not satisfactory, go back to the Wiimote software settings or the game’s controller settings. Make any necessary adjustments to improve the functionality and accuracy of the Wii remote.
- Enjoy Your Gaming Experience: Once you have tested the connection and ensured that everything is working properly, you are ready to enjoy your gaming experience with the Wii remote on your PC. Immerse yourself in the gameplay and have fun!
By testing the connection and verifying the functionality of the Wii remote, you can confidently dive into the world of gaming with the convenience and excitement of the Wii remote on your PC. Take the time to explore different games and applications that support the Wii remote to fully enjoy its features.
Congratulations! You have successfully connected and tested your Wii remote on your PC. Get ready for hours of thrilling gameplay and immerse yourself in a whole new gaming experience.
Conclusion
Congratulations on successfully connecting your Wii remote to your PC! By following the step-by-step guide, you have unlocked a world of gaming possibilities. Now you can enjoy playing your favorite Wii games on your computer or explore a wide range of PC games that are compatible with the Wii remote.
Throughout the process, we covered important steps such as installing Bluetooth drivers, opening the Bluetooth settings, syncing the Wii remote, installing the necessary software, and testing the connection. By carefully following these steps, you have ensured a seamless and enjoyable gaming experience.
Remember, finding the right software and customizing the settings is crucial for optimizing the functionality of the Wii remote on your PC. Take the time to explore the software options available and experiment with the settings to suit your gaming preferences.
Now that your Wii remote is successfully connected, it’s time to dive into the thrilling world of gaming. Explore a wide variety of games, from nostalgic Wii games to exciting PC games that support the Wii remote. Enjoy the convenience and unique features that the Wii remote brings to your gaming experience.
Keep in mind that as technology evolves, there may be updates or new software options available. Stay up to date with the latest releases to fully utilize the potential of your Wii remote on your PC. Check official websites, forums, and gaming communities to stay informed about any advancements or improvements in the compatibility and functionality of the Wii remote.
Finally, embrace the immersive and exciting gaming experience that the Wii remote offers on your PC. Get ready to embark on countless gaming adventures and make wonderful memories in the virtual worlds. Have fun, and happy gaming!