Introduction
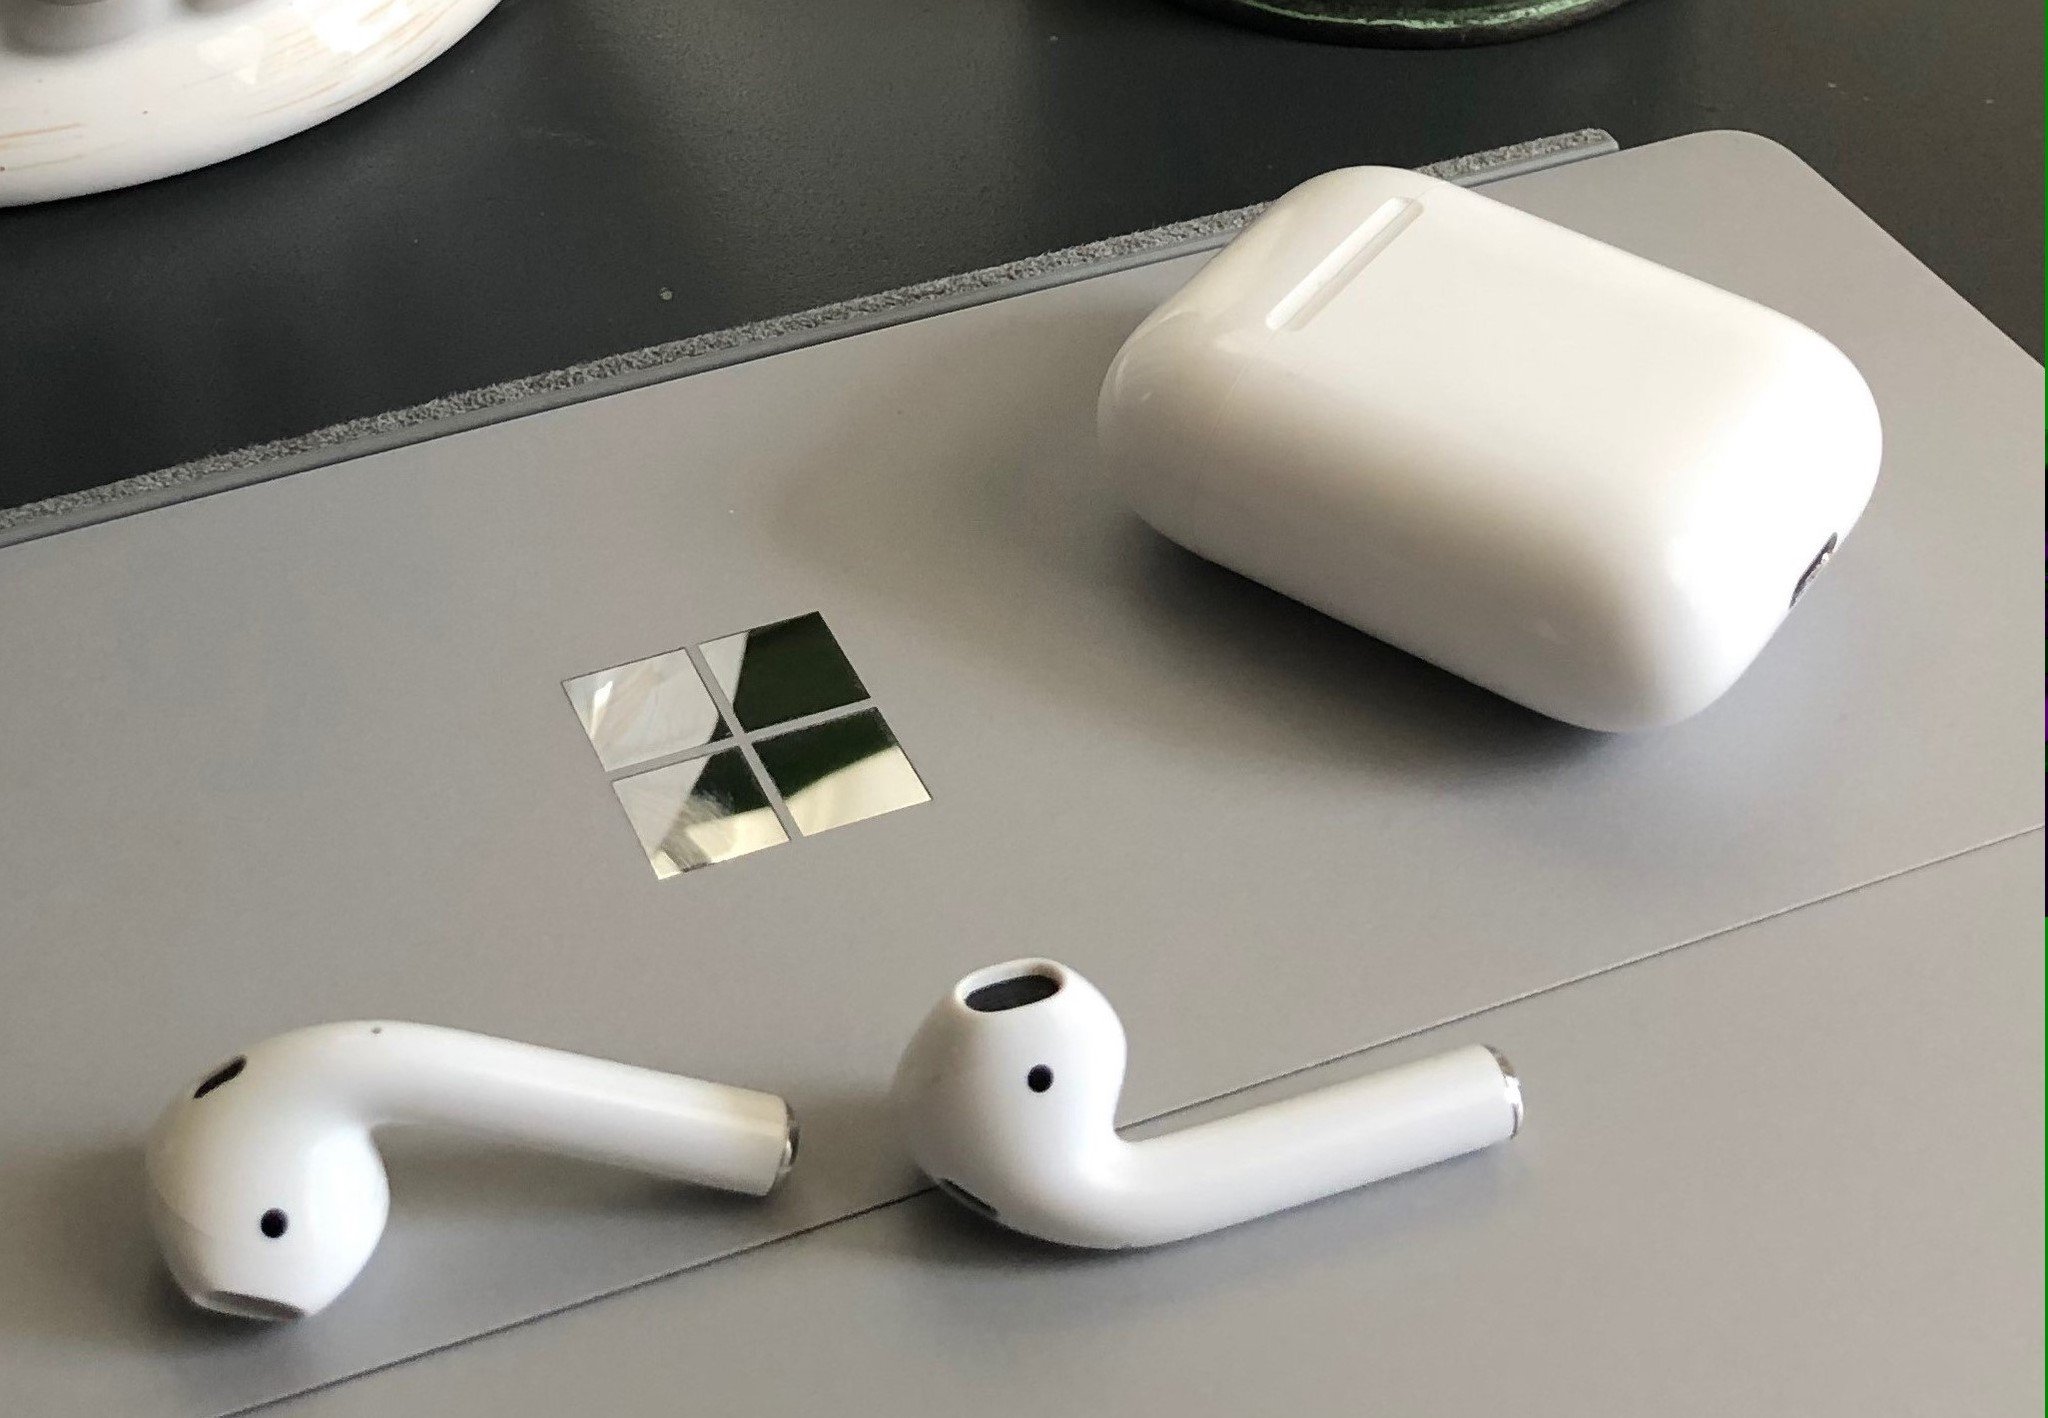
Wireless earbuds have become increasingly popular, and Apple’s AirPods have quickly emerged as a top choice for many users. With their seamless connection to Apple devices, AirPods offer a convenient and high-quality audio experience. However, you may be wondering if it’s possible to connect your AirPods to a Windows 11 PC. The good news is that it is indeed possible!
In this guide, we will walk you through the step-by-step process of connecting your AirPods to a Windows 11 PC. You’ll be able to enjoy your favorite music, podcasts, and more without the hassle of wires. Whether you want to use your AirPods for work, entertainment, or both, we’ve got you covered.
Before diving into the details, it’s important to note that while AirPods are designed for Apple devices, they can still be connected to other Bluetooth-enabled devices, including Windows 11 PCs. By following a few simple steps, you’ll be able to set up a wireless connection and start using your AirPods with your Windows 11 PC.
So, if you’re ready to unleash the full potential of your AirPods and enjoy the freedom of a wireless audio experience on your Windows 11 PC, let’s get started!
Step 1: Check the Compatibility Requirements
Before you begin the process of connecting your AirPods to your Windows 11 PC, it’s important to ensure that your PC meets the necessary compatibility requirements. This will ensure a seamless connection and optimal performance.
Firstly, make sure that your Windows 11 PC has Bluetooth capabilities. Most modern PCs come equipped with built-in Bluetooth functionality, but if your PC doesn’t have it, you can easily add it by using a Bluetooth adapter. Simply plug the adapter into a USB port on your PC, and you’ll be ready to proceed.
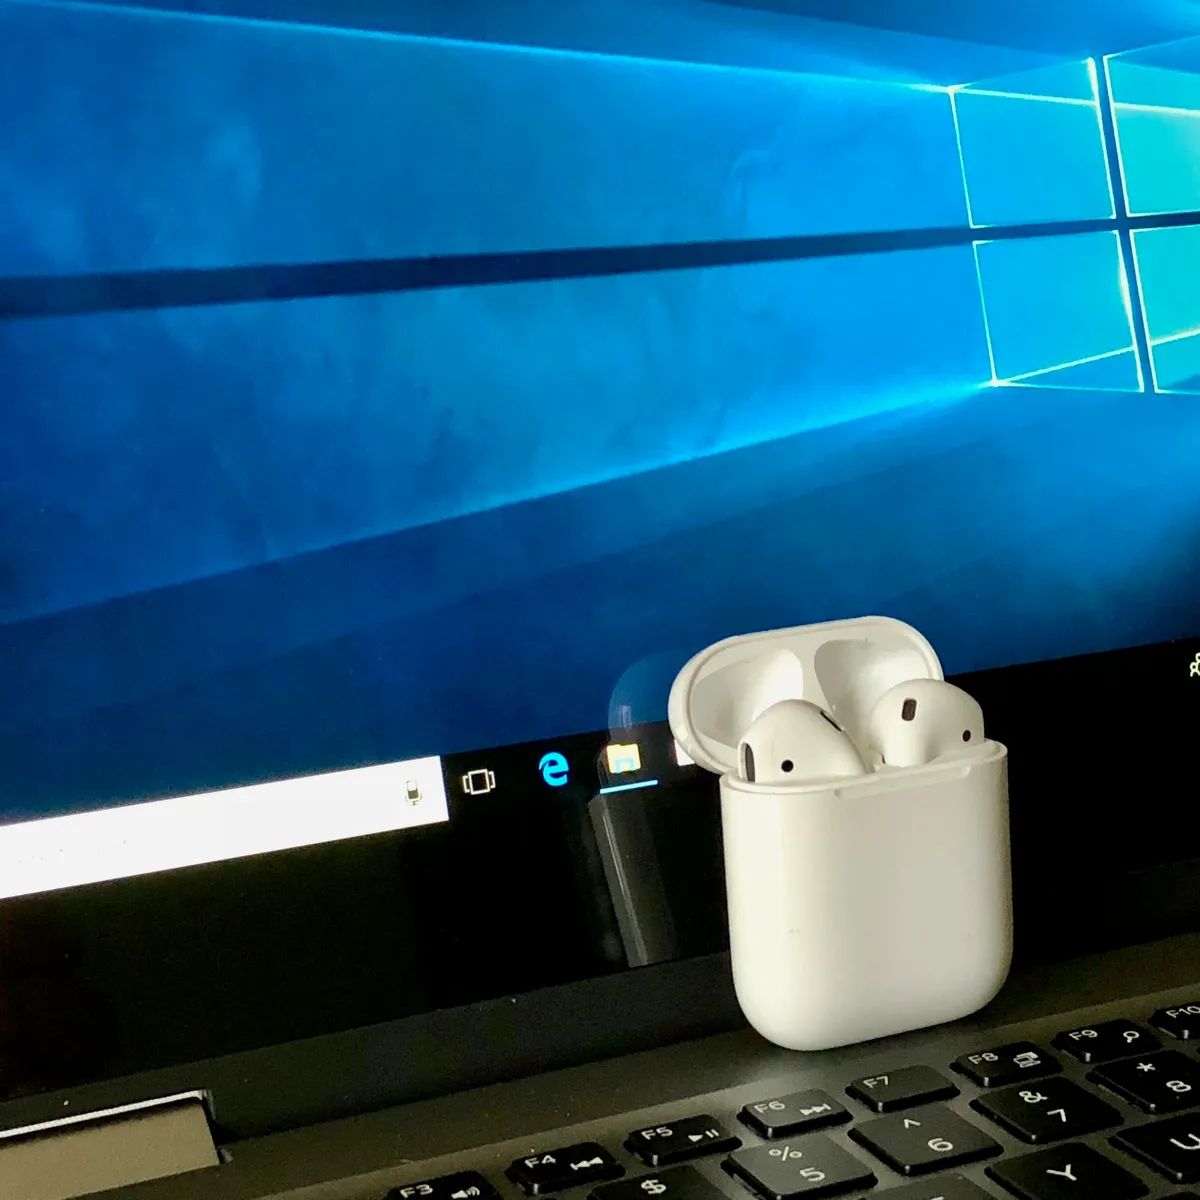
Secondly, ensure that your AirPods are charged and in pairing mode. To do this, open the AirPods case and place the AirPods inside. Make sure they’re charged by checking the battery level on your iOS device or through the Bluetooth settings on your Mac. To enter pairing mode, press and hold the button on the back of the AirPods case until the LED light starts flashing white.
Lastly, verify that your Windows 11 PC is updated to the latest version. Updates often include bug fixes and improvements to Bluetooth connectivity, so it’s essential to have the latest software to ensure a smooth pairing process. To check for updates, go to Settings > Windows Update and click on “Check for updates.” If any updates are available, download and install them before proceeding.
By checking these compatibility requirements, you’ll save yourself time and frustration by ensuring that all the necessary elements are in place for a successful connection between your AirPods and Windows 11 PC. Once you’ve confirmed that your PC meets these requirements, you’re ready to move on to the next step.
Step 2: Enable Bluetooth on Windows 11
In order to connect your AirPods to your Windows 11 PC, you need to first enable Bluetooth on your PC. Bluetooth allows for wireless communication between devices, making it essential for connecting your AirPods.
To enable Bluetooth on your Windows 11 PC, follow these simple steps:
- Click on the Start menu in the bottom left corner of the screen.
- Click on the “Settings” icon, which is represented by a gear symbol.
- In the settings menu, click on “Bluetooth & devices.”
- Toggle the switch under “Bluetooth” to the “On” position.
Once Bluetooth is enabled on your Windows 11 PC, your PC will start scanning for nearby Bluetooth devices, including your AirPods.
It’s important to note that the process of enabling Bluetooth may vary slightly depending on your PC’s manufacturer or the specific version of Windows 11 you’re using. However, the general steps outlined above should apply to most Windows 11 PCs.
After enabling Bluetooth, you’re now ready to prepare your AirPods for pairing with your Windows 11 PC. This involves putting your AirPods in pairing mode, which allows them to be discovered and connected to your PC. Keep reading to learn how to do this in the next step.
Step 3: Prepare your AirPods for Pairing
Before you can connect your AirPods to your Windows 11 PC, you need to ensure that they are in pairing mode. Pairing mode allows your AirPods to be discoverable by other devices, including your PC.
Here’s how to prepare your AirPods for pairing:
- Open the lid of your AirPods case.
- Make sure your AirPods are inside the case.
- Press and hold the button on the back of the AirPods case. The LED light on the front will start flashing white, indicating that your AirPods are in pairing mode.
It’s important to note that your AirPods will only remain in pairing mode for a limited time. If they don’t connect to a device within that time, they will exit pairing mode. If this happens, you can simply repeat the steps above to put them back into pairing mode.
Once your AirPods are in pairing mode, you’re ready to move on to the next step and connect them to your Windows 11 PC. Keep reading to find out how to do this.
Step 4: Pairing AirPods with your Windows 11 PC
Now that you have enabled Bluetooth on your Windows 11 PC and prepared your AirPods for pairing, it’s time to connect them. Follow these steps to pair your AirPods with your PC:
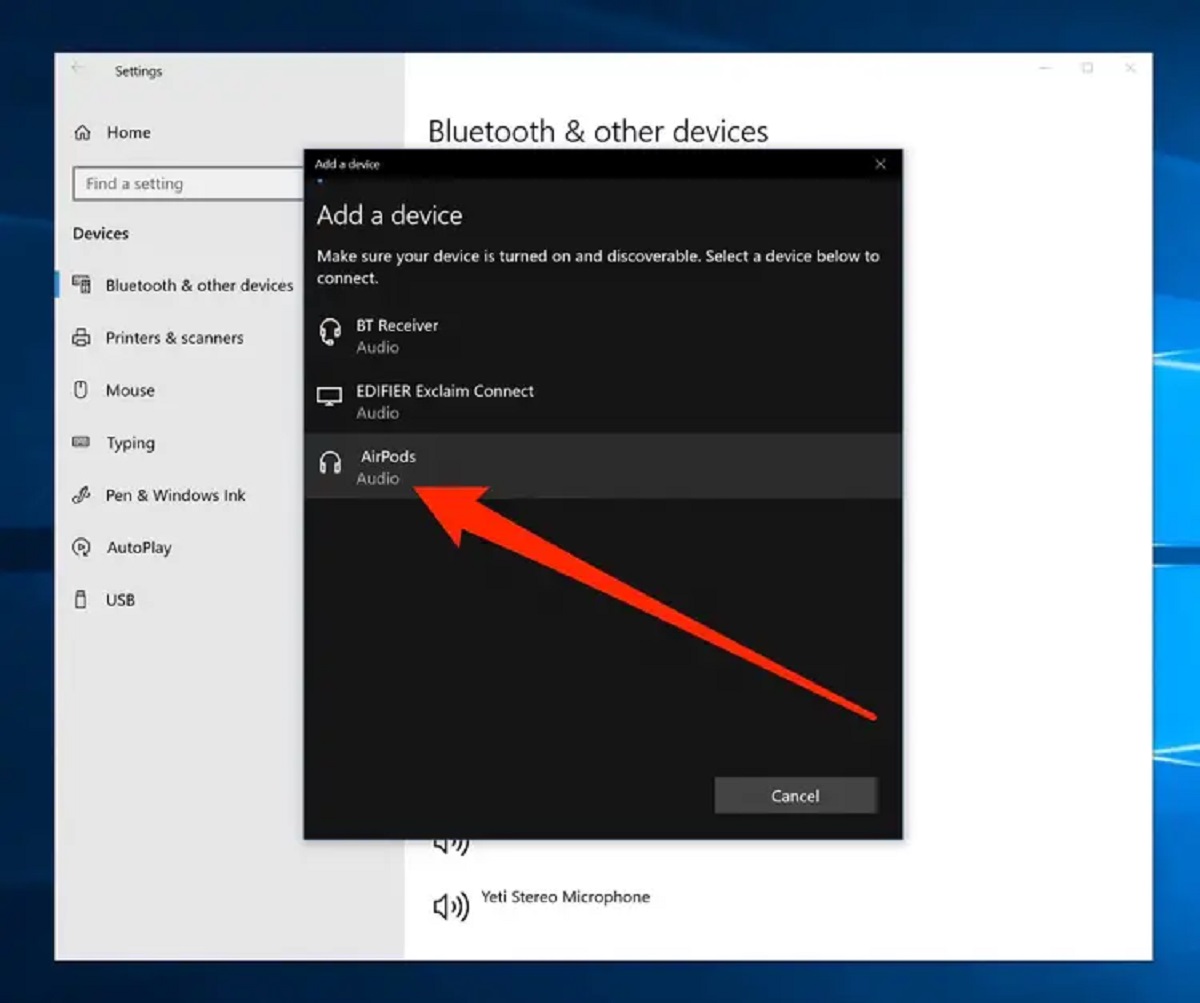
- On your Windows 11 PC, go to the “Bluetooth & devices” settings (as explained in Step 2).
- Click on the “Add device” button.
- Your PC will start scanning for nearby Bluetooth devices. Wait for your AirPods to appear in the list of available devices. It should be listed as “AirPods” followed by the device’s name if you’ve personalized it.
- Click on your AirPods in the list to initiate the pairing process.
- Windows 11 will display a pairing request. Click on the “Pair” button to confirm the connection.
- Once the connection is established, a notification will appear on your PC indicating that your AirPods are connected and ready to use.
Now that you have successfully paired your AirPods with your Windows 11 PC, you can start enjoying wireless audio without any hassle. Your AirPods will now be the default audio output device for your PC, and you can adjust the volume and other settings through the Windows 11 sound controls.
If you want to connect your AirPods to another Bluetooth-enabled device, simply follow this pairing process again on that device. Your AirPods can be connected to multiple devices, and switching between them is easy and seamless.
Great job! You’ve successfully paired your AirPods with your Windows 11 PC. If you encounter any issues or need further assistance, check out the troubleshooting tips in the next step.
Step 5: Troubleshooting Tips
While connecting your AirPods to your Windows 11 PC is usually a smooth process, there may be instances where you encounter some difficulties. Don’t worry — we’ve got you covered with these troubleshooting tips to help you overcome any obstacles:
- Make sure your AirPods are charged: Low battery life can affect the connection and audio quality. Ensure that your AirPods are fully charged before attempting to connect them to your PC.
- Reboot your PC: Sometimes, a simple reboot can resolve connectivity issues. Restart your Windows 11 PC and try pairing your AirPods again.
- Reset your AirPods: If you’re still having trouble connecting, you can reset your AirPods. Place them in the case and keep the lid open. Press and hold the button on the back of the case until the LED light on the front starts flashing amber. Close the lid, wait a few seconds, and then open it again to put them back into pairing mode.
- Ensure Bluetooth is enabled on your PC: Double-check that Bluetooth is enabled on your Windows 11 PC by going to the “Bluetooth & devices” settings and ensuring the toggle switch is turned on.
- Remove previous pairings: If your AirPods were previously connected to other devices, remove those pairings from the Bluetooth settings menu on those devices before attempting to connect them to your Windows 11 PC.
- Update Bluetooth drivers: Visit the manufacturer’s website for your PC or Bluetooth adapter and download the latest Bluetooth drivers. Updating the drivers can help resolve compatibility issues.
- Try forgetting and reconnecting your AirPods: In the Bluetooth settings on your PC, remove your AirPods from the list of connected devices and then try reconnecting them using the pairing process outlined in Step 4.
By following these troubleshooting tips, you can overcome common challenges and ensure a successful connection between your AirPods and your Windows 11 PC.
With your AirPods now connected, you can enjoy a wire-free audio experience on your Windows 11 PC. Whether it’s immersive music, crystal-clear calls, or your favorite podcasts, your AirPods will deliver exceptional sound quality.
Conclusion
Congratulations! You have successfully connected your AirPods to your Windows 11 PC. By following the steps outlined in this guide, you can now enjoy the freedom of wireless audio while using your PC.
Remember to check the compatibility requirements before starting the pairing process, enable Bluetooth on your Windows 11 PC, and put your AirPods in pairing mode. The pairing process itself is straightforward, and with a few clicks, you’ll be able to experience the convenience and high-quality audio that AirPods provide.
If you encounter any issues during the process, be sure to refer to the troubleshooting tips provided. These tips will help you address common problems and ensure a smooth connection between your AirPods and your PC.
Once your AirPods are connected, you can enjoy a seamless audio experience while working, watching videos, or listening to music. Adjust the volume and other settings through the Windows 11 sound controls, and switch between connected devices effortlessly.
We hope this guide has been helpful in assisting you with connecting your AirPods to your Windows 11 PC. Now you can enjoy the convenience and freedom of wireless audio while using your PC for work or leisure activities.
Thank you for reading, and enjoy your wireless audio experience with your AirPods and Windows 11 PC!