Introduction
Are you tired of paying for expensive cable or satellite TV subscriptions? Do you want to enjoy your favorite shows and movies without the hefty monthly fees? Building your own TV antenna is a cost-effective solution that allows you to access free over-the-air broadcasts. In this guide, we will walk you through the step-by-step process of building a TV antenna.
By constructing your own antenna, you can save money and still enjoy high-quality HD content. It may sound daunting, but building a TV antenna is actually quite simple and requires minimal materials and tools. Even if you have little to no experience with DIY projects, you can easily follow this guide and have your own functional TV antenna in no time.
Whether you live in a rural area with limited access to cable or in a city where television signals are abundant, a DIY TV antenna offers an excellent solution. Not only will it provide you with access to local channels, but it can also enhance the clarity and stability of your TV signal.
Before we dive into the step-by-step instructions, let’s take a quick look at the materials and tools you will need for this project. Gathering everything beforehand ensures a smooth and efficient building process.
Materials and Tools Needed
Before embarking on the journey of building your own TV antenna, it’s essential to gather all the necessary materials and tools. Here is a list of what you will need:
- Coaxial cable: This is the cable that will carry the TV signal from the antenna to your TV.
- Copper wire: Around 10-14 gauge copper wire will be needed to build the antenna elements.
- Wood or PVC pipe: This will serve as the base for your antenna. Choose a sturdy and durable material.
- U-bolts and brackets: These will be used to secure the elements and the coaxial cable to the base.
- Wire cutters and strippers: These tools are essential for cutting and stripping the copper wire.
- Screwdriver or drill: You will need a screwdriver or a drill to attach the elements and mount the antenna.
- Tape measure: This will help you accurately measure and align the elements.
- Level: Using a level ensures that your antenna is mounted straight and properly aligned.
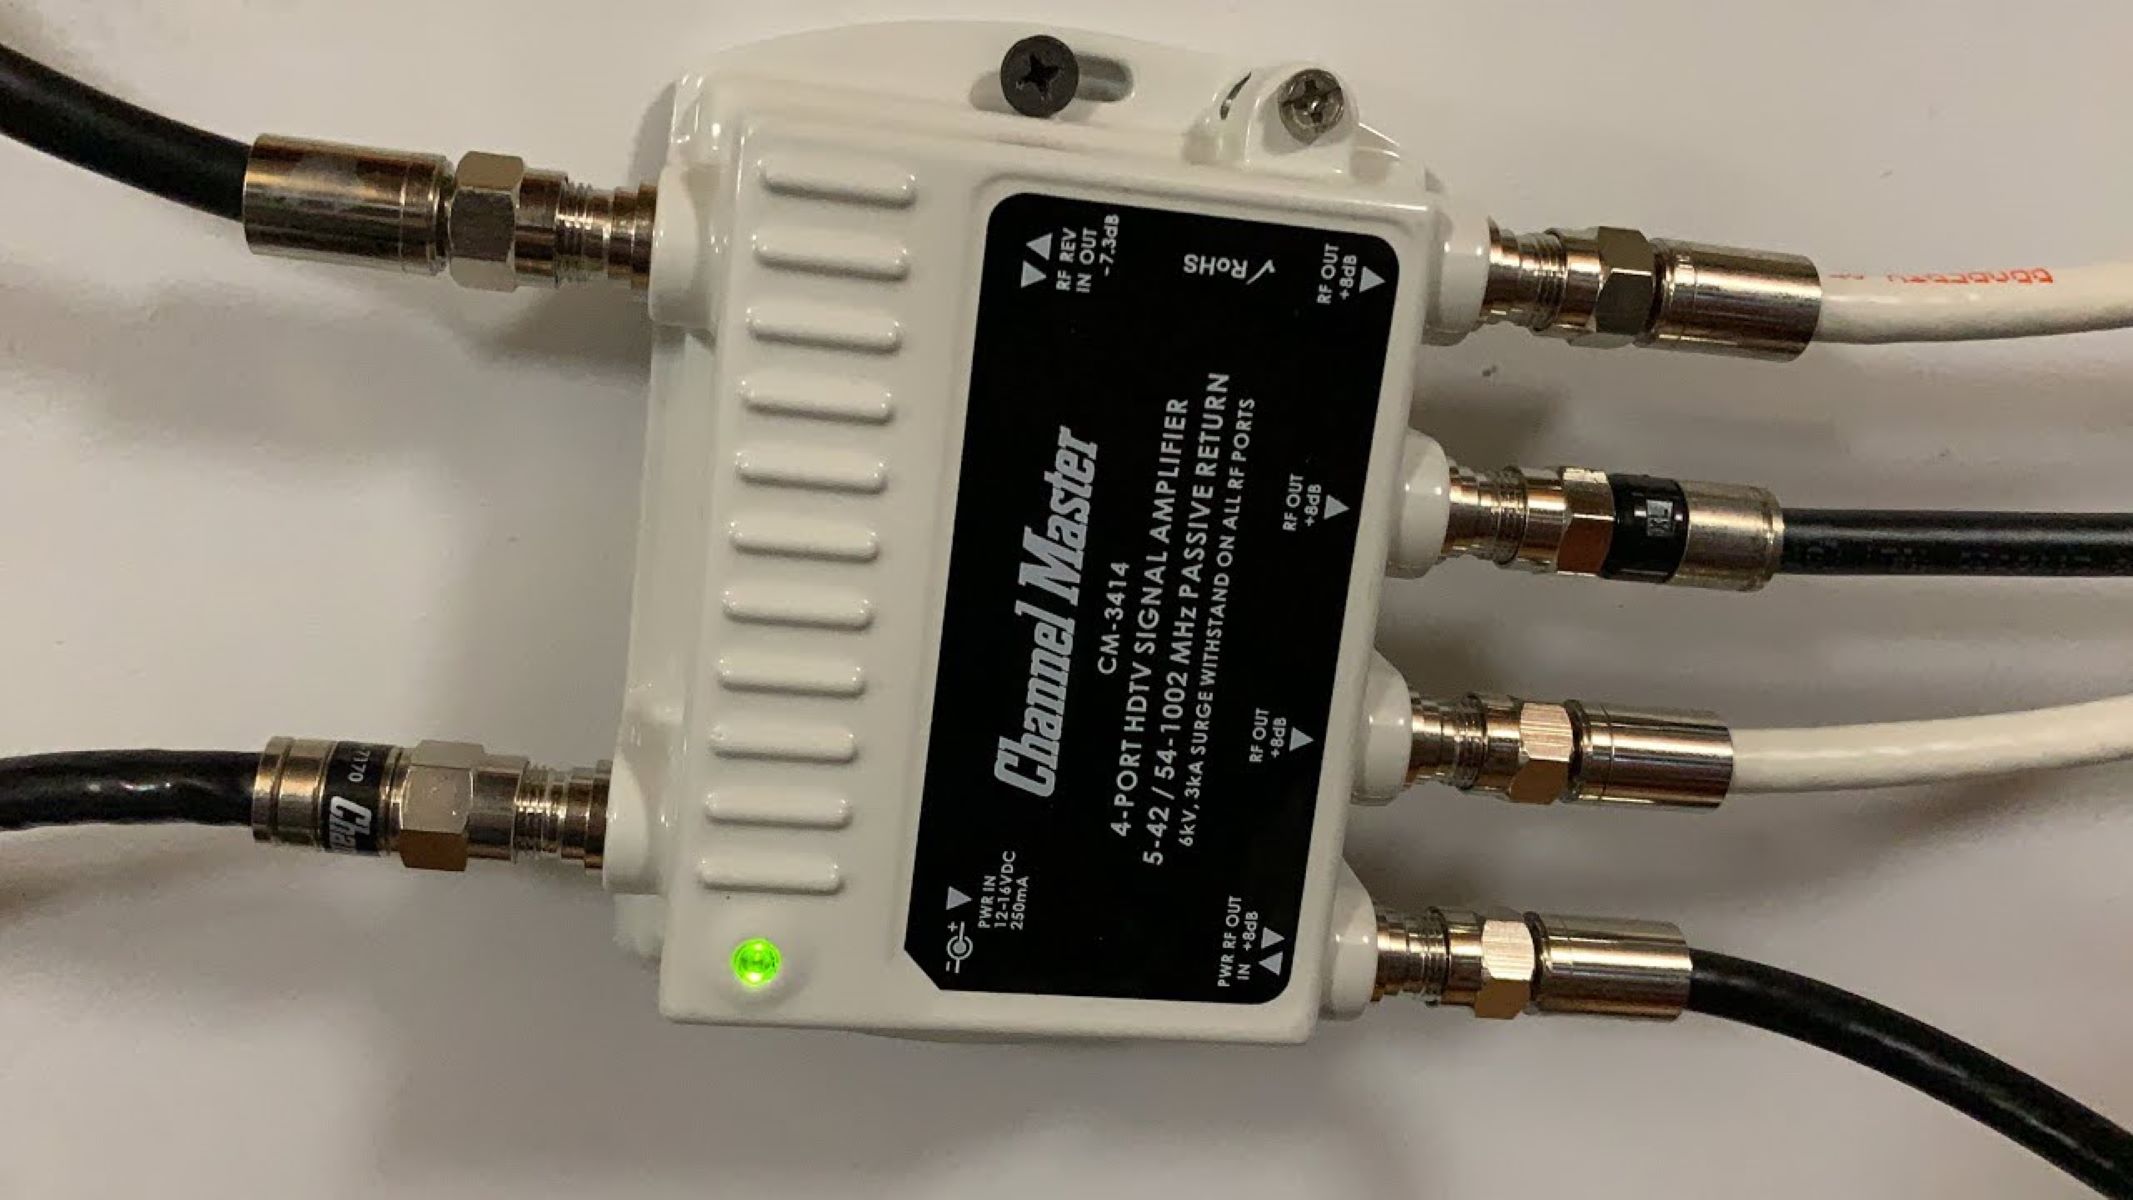
- Antenna amplifier (optional): If you live in an area with weak TV signals, an amplifier can boost the signal strength.
It’s important to gather all these materials and tools before starting the construction process. Having everything handy will save you time and ensure a smooth building experience. Once you have everything ready, it’s time to start researching and designing your DIY TV antenna!
Step 1: Research and Design
Before you begin building your TV antenna, it’s crucial to conduct some preliminary research and design. This step will help you understand the basics of antenna design and determine the best type of antenna for your specific needs.
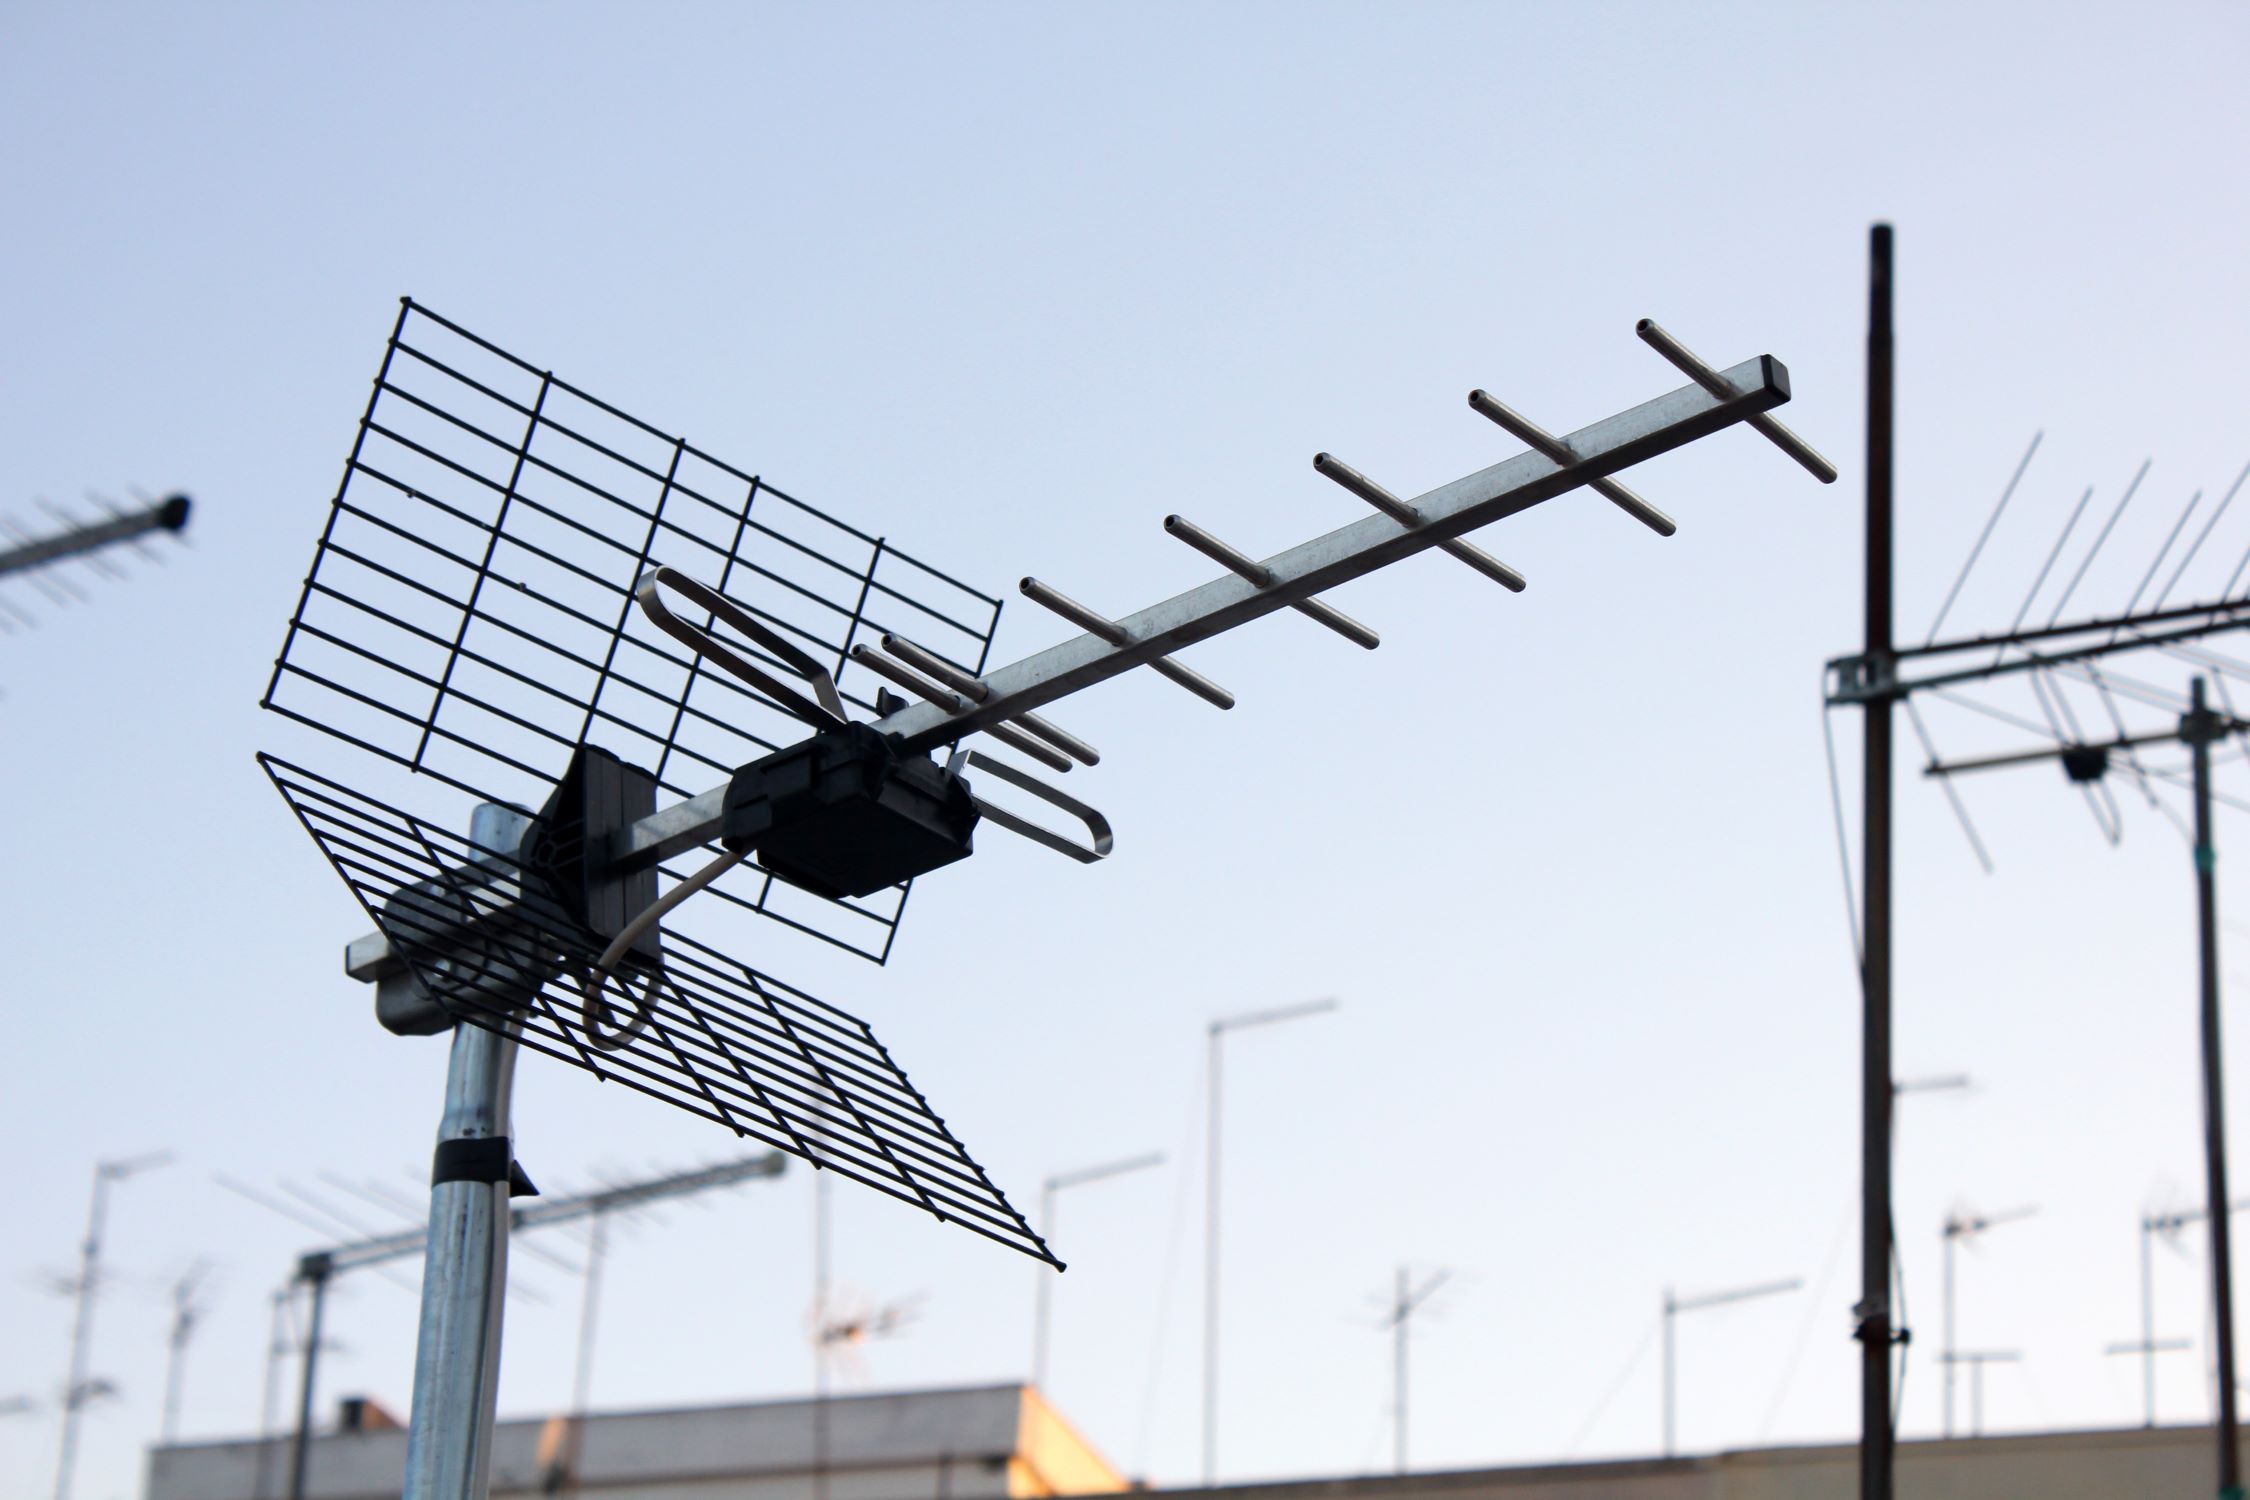
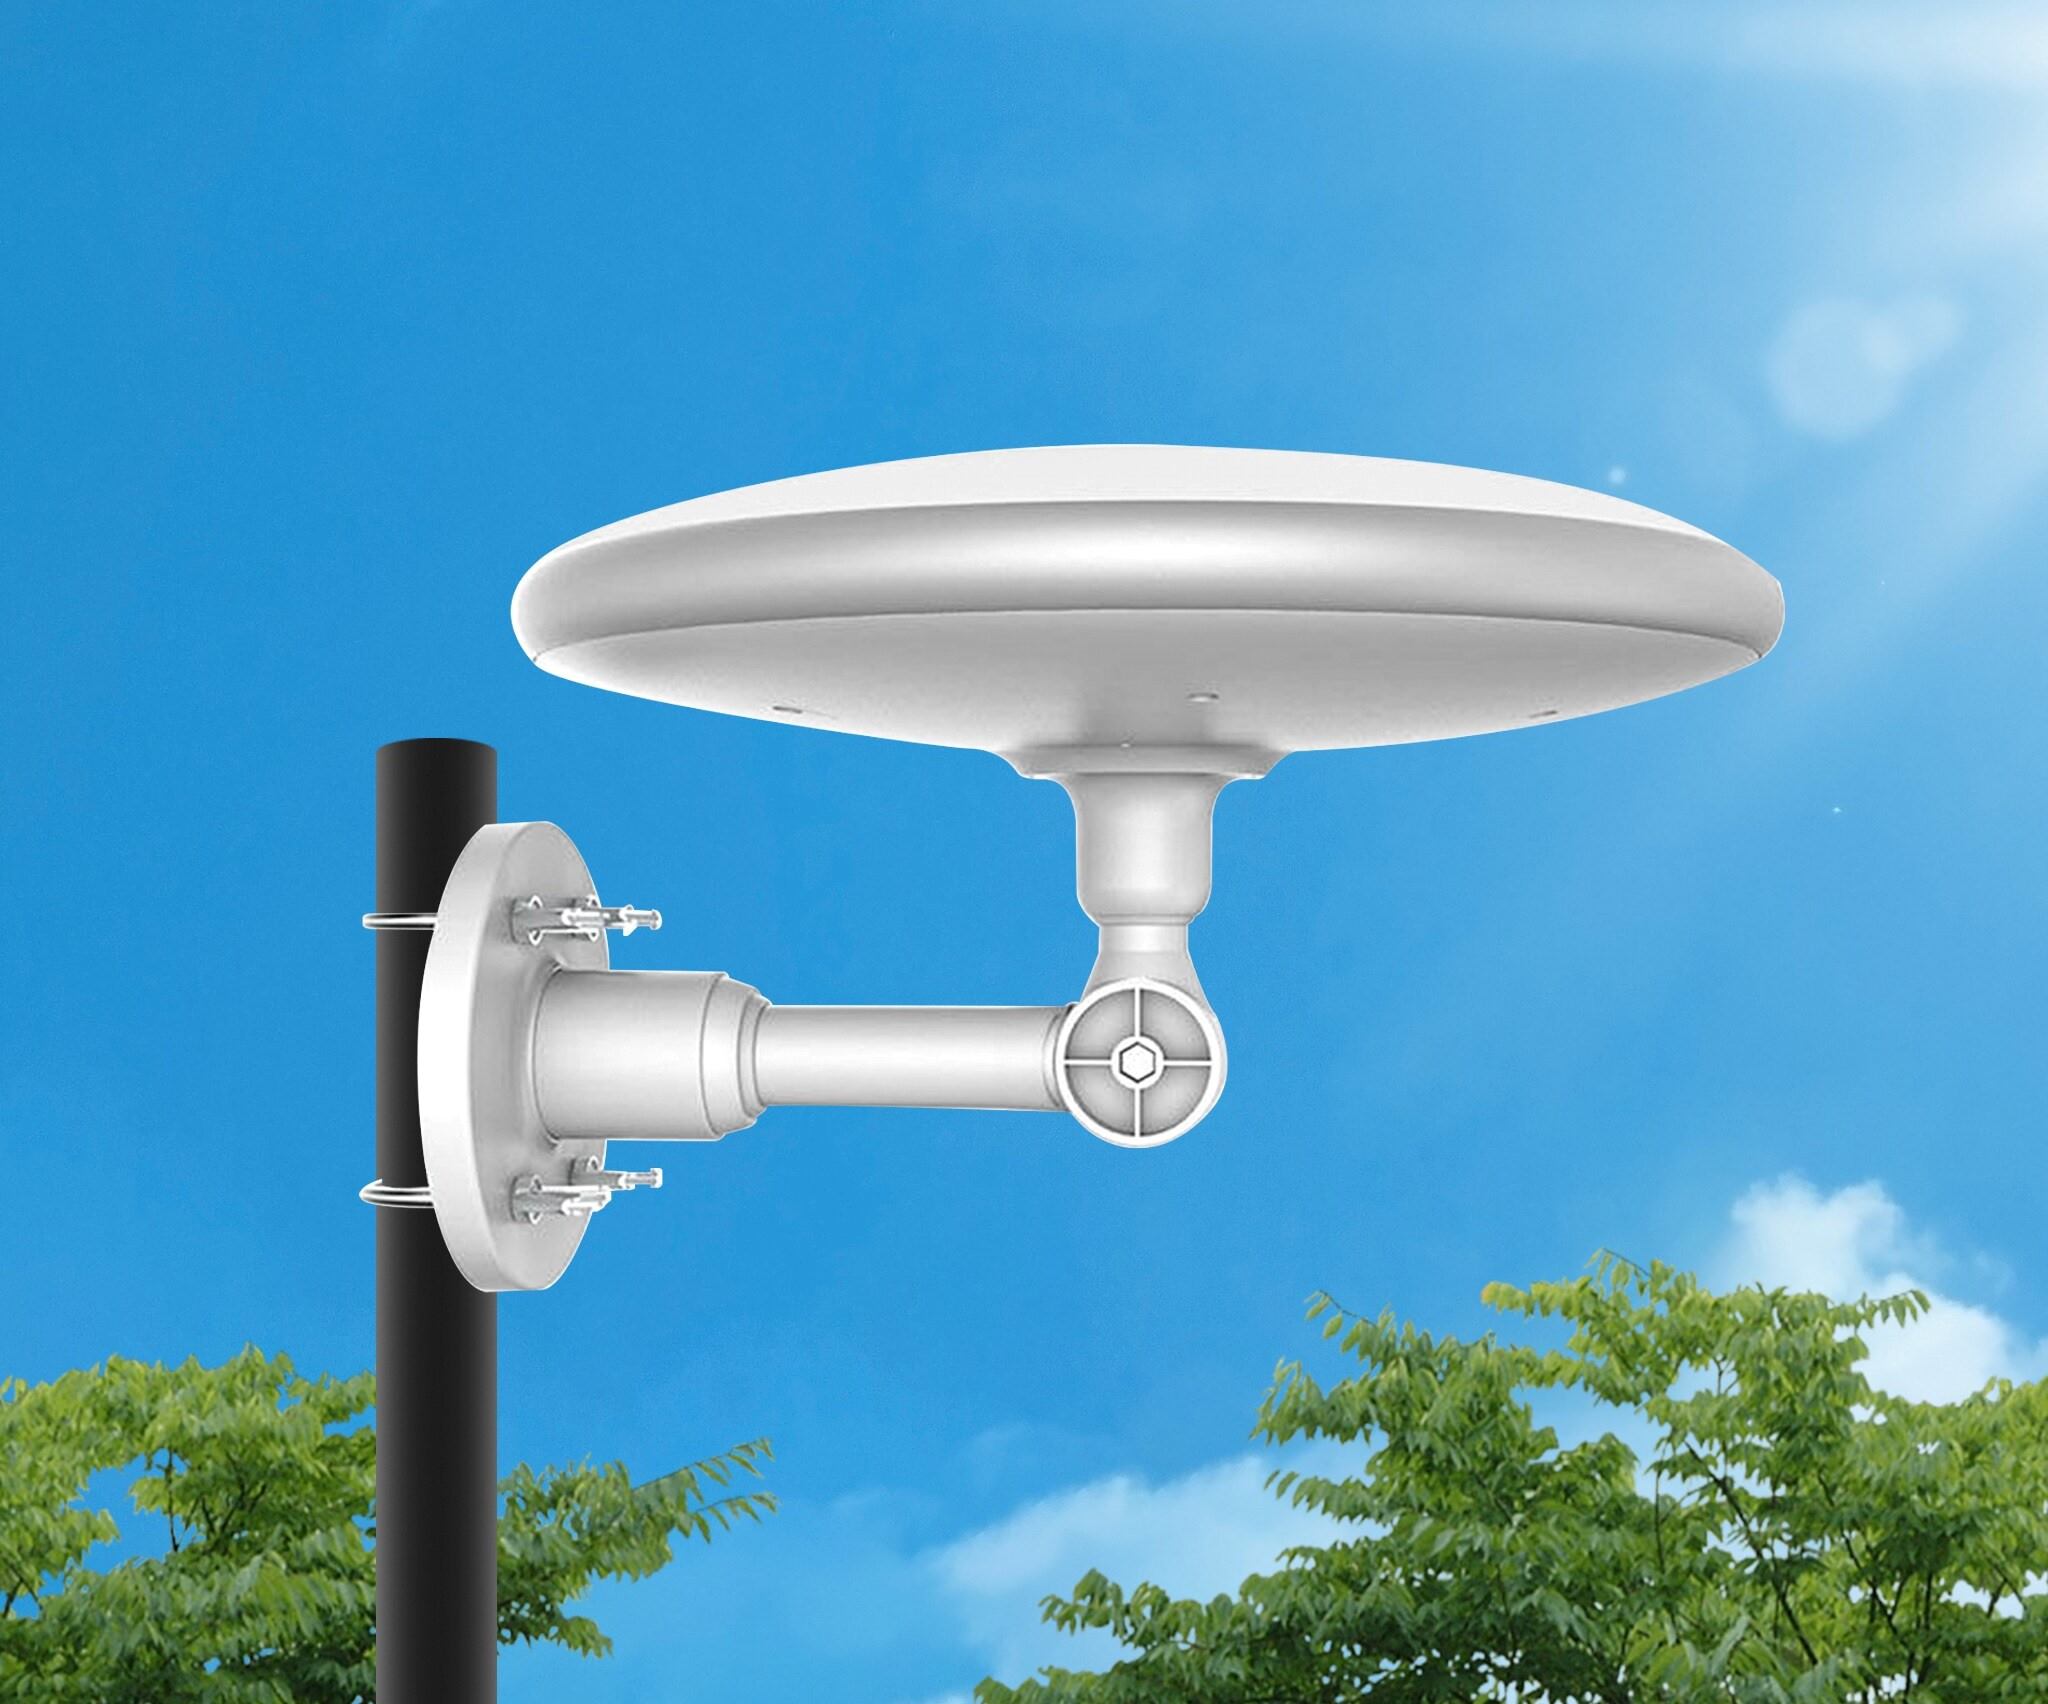
Start by researching the different types of TV antennas available, such as the bowtie, Yagi, or loop antennas. Each type has its own advantages and disadvantages, so it’s important to choose one that suits your location and signal requirements.
Consider factors such as the distance to the broadcasting towers, the terrain in your area, and any potential obstructions like tall buildings or trees. This information will help you determine the optimal range and direction for your antenna.
Next, you need to design your antenna based on the type you have chosen. You can find numerous online resources and tutorials that provide detailed instructions for constructing various types of antennas. Pay attention to the dimensions and measurements, as they play a crucial role in the antenna’s performance.
Take into account the number of elements, their length, spacing, and positioning to optimize signal reception. Remember that the design should be tailored to the specific frequencies and channels you want to receive.
Once you have a clear understanding of the type and design of your antenna, create a blueprint or sketch to help you visualize the construction process. This will act as a guide throughout the building phase and ensure that you stay on track.
By conducting thorough research and designing your antenna, you lay a strong foundation for a successful DIY project. So, take your time to gather all the necessary information and plan carefully before moving on to the next step.
Step 2: Gather Materials
Now that you have completed the research and design phase, it’s time to gather all the materials you will need to build your TV antenna. By ensuring you have everything in place, you can proceed smoothly with the construction process.
Refer to the materials list mentioned earlier and check off each item as you collect them. Head to your local hardware store or browse online to purchase any missing items. Double-check the quantities and sizes to avoid any last-minute surprises during the construction phase.
Start by acquiring the coaxial cable. Measure the distance between your TV and the location where you plan to mount the antenna to determine the required length. Opt for a high-quality cable that provides good signal transmission to ensure optimal performance.
Next, obtain the copper wire needed to construct the antenna elements. Choose a wire gauge recommended for your specific antenna type, as mentioned in your research and design phase. Ensure that you have enough wire to create all the necessary elements without cutting it short.
Don’t forget to procure the base material for your antenna. Decide whether you want to use wood or PVC pipe, and make sure it is of the desired length and thickness. Consider the durability and stability of the material to ensure your antenna stands strong against environmental factors.
Additionally, gather the U-bolts and brackets required to secure the elements and the coaxial cable to the base. Check that you have the necessary wire cutters and strippers to work with the copper wire. If you don’t have these tools, include them in your materials acquisition list.
Lastly, ensure you have a screwdriver or drill to attach the elements and mount the antenna, a tape measure for accurate measurements, and a level to ensure proper alignment. If you live in an area with weak TV signals, consider acquiring an antenna amplifier to boost the signal strength.
Once you have gathered all the materials, take a moment to review your checklist and confirm that you have everything needed for the construction process. Having all the materials at hand will save you time and allow you to focus on building your TV antenna effectively.
Step 3: Prepare the Base
With all the materials in hand, it’s time to move on to the next step in building your TV antenna: preparing the base. The base serves as the foundation for your antenna and provides stability and support.
If you have chosen to use wood as your base material, start by cutting the wood to the desired length. Ensure that it is sturdy enough to withstand external elements and the weight of the antenna. Sand down any rough edges and corners to create a smooth surface.
Alternatively, if you have opted for a PVC pipe, measure and cut it to the appropriate length. Use a saw or pipe cutter to achieve clean and precise cuts. Smooth out any rough edges or burrs with sandpaper to prevent snagging of wires or damage to the antenna.
Once you have prepared the base material, drill holes for attaching the antenna elements. Refer to your design blueprint or measurements to determine the exact locations where the elements will be mounted. Make sure the holes are properly aligned to ensure the stability and proper functioning of the antenna.
If your base is made of wood, attach the brackets or U-bolts to secure the elements. Position them according to your design specifications and ensure they are tightly fastened. If you are using a PVC pipe, use zip ties or clamps to affix the elements to the pipe securely.
While preparing the base, it’s essential to consider the overall height and positioning of the antenna. Keep in mind any potential obstructions or nearby structures that may affect the signal reception. Adjust the height and angle accordingly to optimize the antenna’s performance.
Lastly, ensure that the base is stable and level. Use a level to check if the base is straight and adjust if necessary. A stable and level base is crucial for maintaining the integrity of your antenna and ensuring its effectiveness.
With the base prepared, you are now ready to move on to the next step of attaching the elements to create the antenna structure. Follow the design instructions and refer to your blueprint to ensure accurate placement of the elements. Get ready for an exciting phase of the construction process!
Step 4: Attach the Elements
Now that the base is prepared, it’s time to move on to the exciting step of attaching the elements to create the structure of your TV antenna. This step is crucial as the proper placement and alignment of the elements directly impact the antenna’s ability to receive strong signals.
Refer to your design blueprint and measurements to determine the exact placement of each element. Start by cutting the copper wire to the appropriate lengths based on your design specifications. Use wire cutters to ensure clean and accurate cuts.
Attach the elements to the base using the brackets or U-bolts. Position them according to the dimensions and spacing specified in your design. Make sure the elements are securely fastened to the base to avoid any movement or instability.
When attaching the elements, ensure that they are straight and properly aligned. Use a tape measure and level to verify the proper positioning. A slight adjustment at this stage can make a significant difference in the antenna’s performance.
As you attach each element, double-check that it is tightly secured and parallel to the other elements. This will help optimize the antenna’s ability to capture signals and improve its overall reception quality. Pay attention to small details to ensure the best possible performance.
Throughout the process, refer to your blueprint and measurements to ensure that you are accurately following the design. Take your time to complete this step meticulously as the proper attachment of the elements will determine how effectively your TV antenna can receive signals.
Once all the elements are securely attached, step back and inspect the overall structure. Ensure that everything looks symmetrical, adjusted to the correct dimensions, and aligned properly. This visual inspection will give you confidence in the construction of your TV antenna.
Now that you have successfully attached the elements, you are one step closer to completing your DIY TV antenna. The next step involves connecting the coaxial cable, which will allow the antenna to transmit the received signals to your TV. Let’s move on to this next exciting phase!
Step 5: Connect the Coaxial Cable
With the elements securely attached to the base, it’s time to connect the coaxial cable to your DIY TV antenna. This step is crucial as it enables the transmission of the received TV signals from the antenna to your television.
Start by determining the length of coaxial cable needed to connect your antenna to the TV. Measure the distance from the antenna to the TV, taking into account any necessary routing or placement considerations. Make sure to leave some slack to allow for adjustment and future maintenance.
Once you have determined the length, use wire cutters to carefully cut the coaxial cable to the desired size. Make a clean cut, ensuring that the metal conductor and insulation are not damaged. Remove any excess shielding or insulation to expose the inner wire and the metal conductor.
Next, strip the outer layer of insulation from the end of the coaxial cable. Use a wire stripper or a utility knife to carefully remove the outer layer without damaging the inner conductor. Strip approximately an inch of insulation to expose the metal conductor.
Now, you need to connect the coaxial cable to the antenna elements. Attach the exposed metal conductor to the appropriate connection points on the elements, ensuring a snug and secure fit. Use a screwdriver or pliers if necessary to tighten the connections.
After connecting the coaxial cable to the antenna elements, route the cable to your television. If you have multiple TVs, consider using a coaxial splitter to distribute the signal to each TV. Connect the cable to the appropriate input on your TV or use a digital converter box if needed.
Ensure that the connections are tight and secure. Loose connections can cause signal loss and affect the performance of your DIY TV antenna. Double-check all the connections to make sure they are properly aligned.
Lastly, use cable clips or adhesive hooks to secure the coaxial cable along the desired route. This will prevent tripping hazards and help maintain a neat and organized setup.
With the coaxial cable connected, you have successfully set up the transmission path from your DIY TV antenna to your television. The next step involves mounting the antenna in its optimal location to ensure the best reception. Let’s move on to this final phase of the construction process!
Step 6: Mount the Antenna
Now that you have connected the coaxial cable, it’s time to mount your DIY TV antenna in its optimal location. Proper mounting is crucial for maximizing signal reception and ensuring the best possible performance of your antenna.
Start by choosing the ideal location for mounting the antenna. Consider factors such as the distance to broadcasting towers, any nearby obstructions, and the terrain of your area. Aim for a location with a clear line-of-sight to the towers for the best signal reception.
If you are mounting the antenna outdoors, make sure it is protected from the elements. Look for a sturdy and secure place to mount it, such as a rooftop, chimney, or a dedicated TV antenna mast. Use galvanized brackets or U-bolts to securely fasten the antenna to the mounting structure.
When mounting the antenna indoors, consider placing it near a window or in an area with minimal obstructions. Mounting it higher up, such as on a wall or in an attic, can also help improve signal reception. Use brackets or mounting hardware appropriate for the mounting surface.
Ensure that the antenna is mounted in a level and straight position. Use a level to verify the alignment during the mounting process. Proper alignment is key to optimizing signal reception and reducing potential interference.
Once the antenna is mounted, secure any loose connections and check that the coaxial cable is properly routed to your TV or digital converter box. Double-check all the connections to ensure they are tight and secure.
After mounting the antenna, perform a channel scan on your TV to detect and save all available channels. Follow the instructions in your TV’s menu to initiate the channel scan. This will enable your TV to search for available signals and store them in its channel memory.
Remember, it may take a few minutes for the channel scan to complete. Once it’s done, you can start enjoying your favorite shows and movies using your DIY TV antenna.
By correctly mounting your antenna, you have successfully completed a crucial step in the construction process. Your DIY TV antenna is now ready for testing and adjustments to further optimize its performance.
Step 7: Test and Adjust
After mounting your DIY TV antenna, it’s time to test and make any necessary adjustments to ensure optimal signal reception. Proper testing and adjustment will help you fine-tune your antenna’s performance and maximize the number of channels you can receive.
Start by turning on your TV and selecting the antenna input. If you have a digital converter box, ensure it is connected correctly and turned on as well.
Initiate a channel scan on your TV or converter box to search for available channels. Follow the manufacturer’s instructions or consult your TV’s manual to perform this scan.
As the scan progresses, your TV will detect and save all the channels it can receive with your DIY TV antenna. Keep in mind that the number of channels received will vary depending on your location and the strength of the signals in your area.
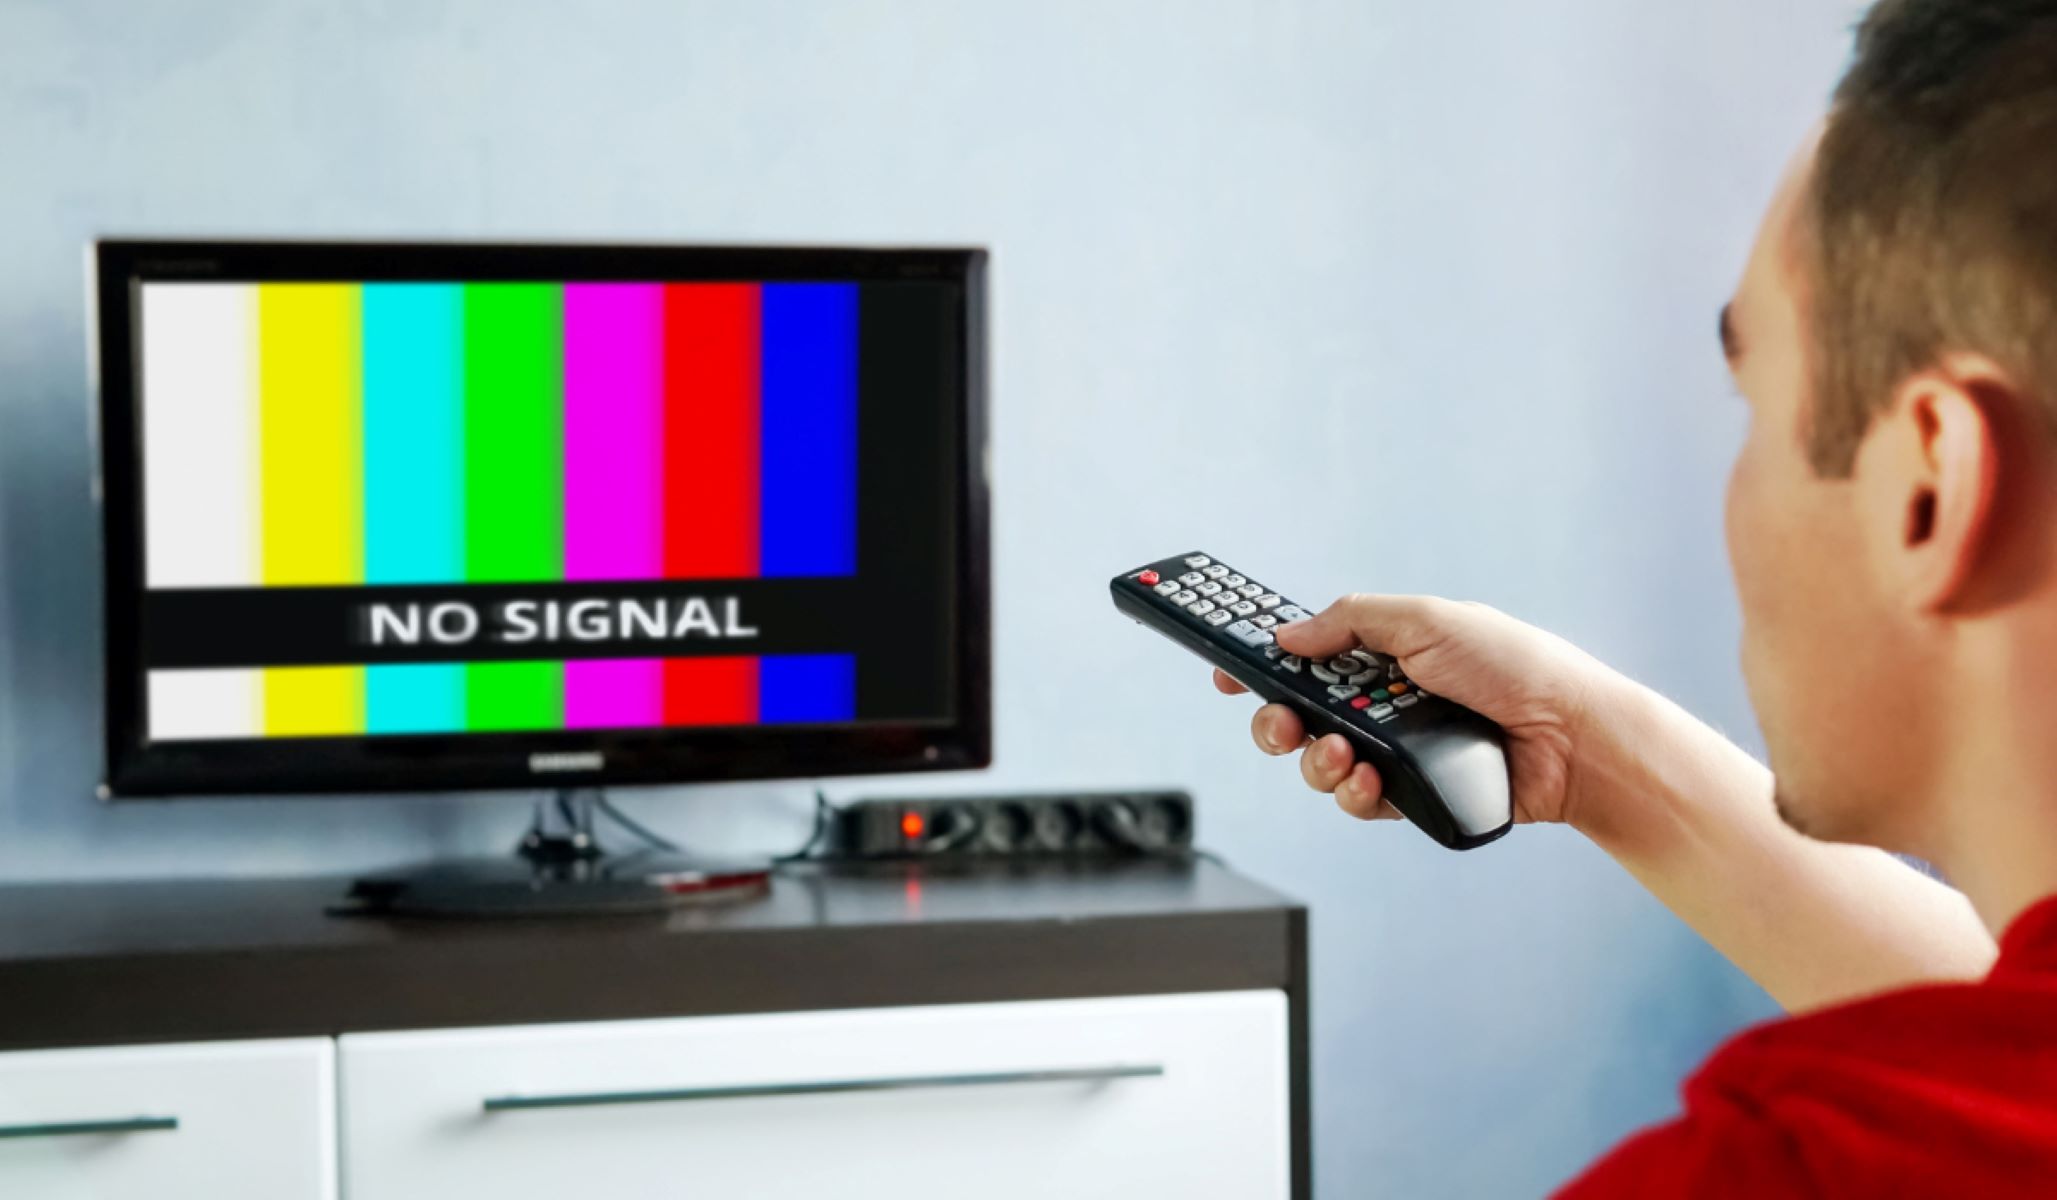
Once the scan is complete, go through the saved channels to ensure they are clear and free from any distortions or pixelation. If you experience any issues with specific channels, especially those that are consistently weak or unavailable, you may need to make adjustments to optimize the reception.
One adjustment you can make is the direction in which your antenna is pointed. Move the antenna slightly in different directions and rescan for channels each time to determine the best position for optimal reception.
Additionally, you can try adjusting the angle or tilt of the antenna to improve signal strength. Small adjustments can make a significant difference in the quality of the received signal.
Keep in mind that different channels may have different signal strengths and directions, so you may need to find a compromise that works well for the majority of channels you wish to receive.
During the testing process, be patient and explore different positions and angles for your DIY TV antenna. Take notes of the adjustments you make and the corresponding channel reception to track the changes and find the best configuration.
Once you are satisfied with the reception quality and the number of channels received, you have successfully completed the testing and adjustment phase. Now you can sit back, relax, and enjoy your favorite shows and movies without the need for expensive cable or satellite subscriptions.
Conclusion
Congratulations! You have successfully completed the construction of your DIY TV antenna. By following the step-by-step process outlined in this guide, you have saved money and gained access to free over-the-air broadcasts.
Building your own TV antenna is a rewarding and cost-effective solution for those looking to cut down on cable or satellite TV expenses. With a little research, planning, and effort, you can enjoy high-quality HD content without the hassle of monthly subscriptions.
Remember to gather all the necessary materials and tools before starting the construction process. Thoroughly research and design your antenna to ensure optimal performance based on your location and signal requirements.
Throughout the construction process, pay close attention to the attachment of the elements, proper connection of the coaxial cable, and precise mounting of the antenna. These steps are essential for maximizing signal reception and ensuring the best possible performance.
Once your DIY TV antenna is constructed, perform a channel scan to detect and save available channels. Test and adjust the antenna’s position and angle to optimize signal reception. Take note of any adjustments made and the corresponding changes in channel reception.
With your DIY TV antenna up and running, you can now enjoy a wide range of free over-the-air broadcasts. Sit back, relax, and immerse yourself in your favorite shows, movies, and live events, all without the burden of expensive monthly subscription fees.
Remember to periodically check your antenna for any signs of wear or damage. Perform maintenance and adjustments as needed to ensure continued performance and enjoyment.
Thank you for joining us on this DIY TV antenna building journey. We hope this guide has empowered you to explore new possibilities in accessing free TV content. Enjoy your newfound freedom and happy watching!