Introduction
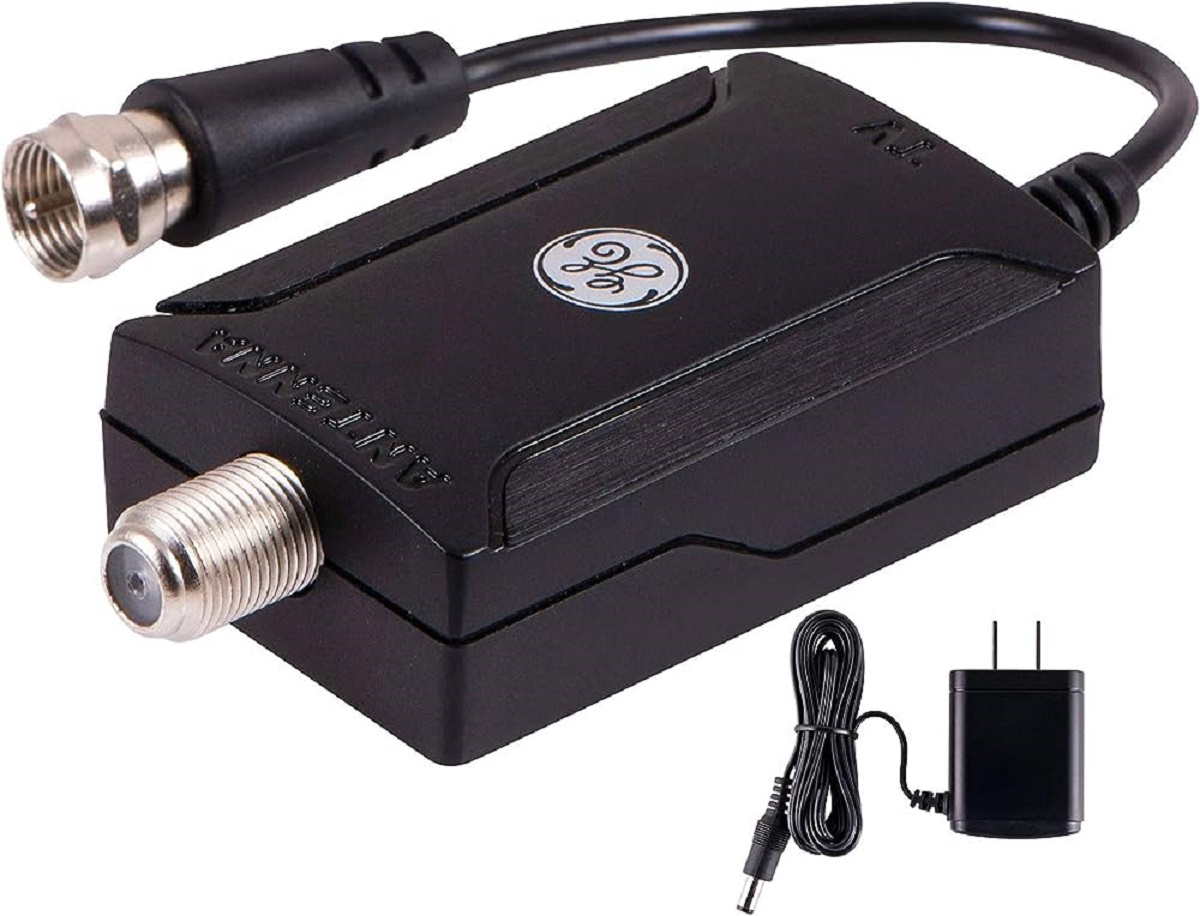
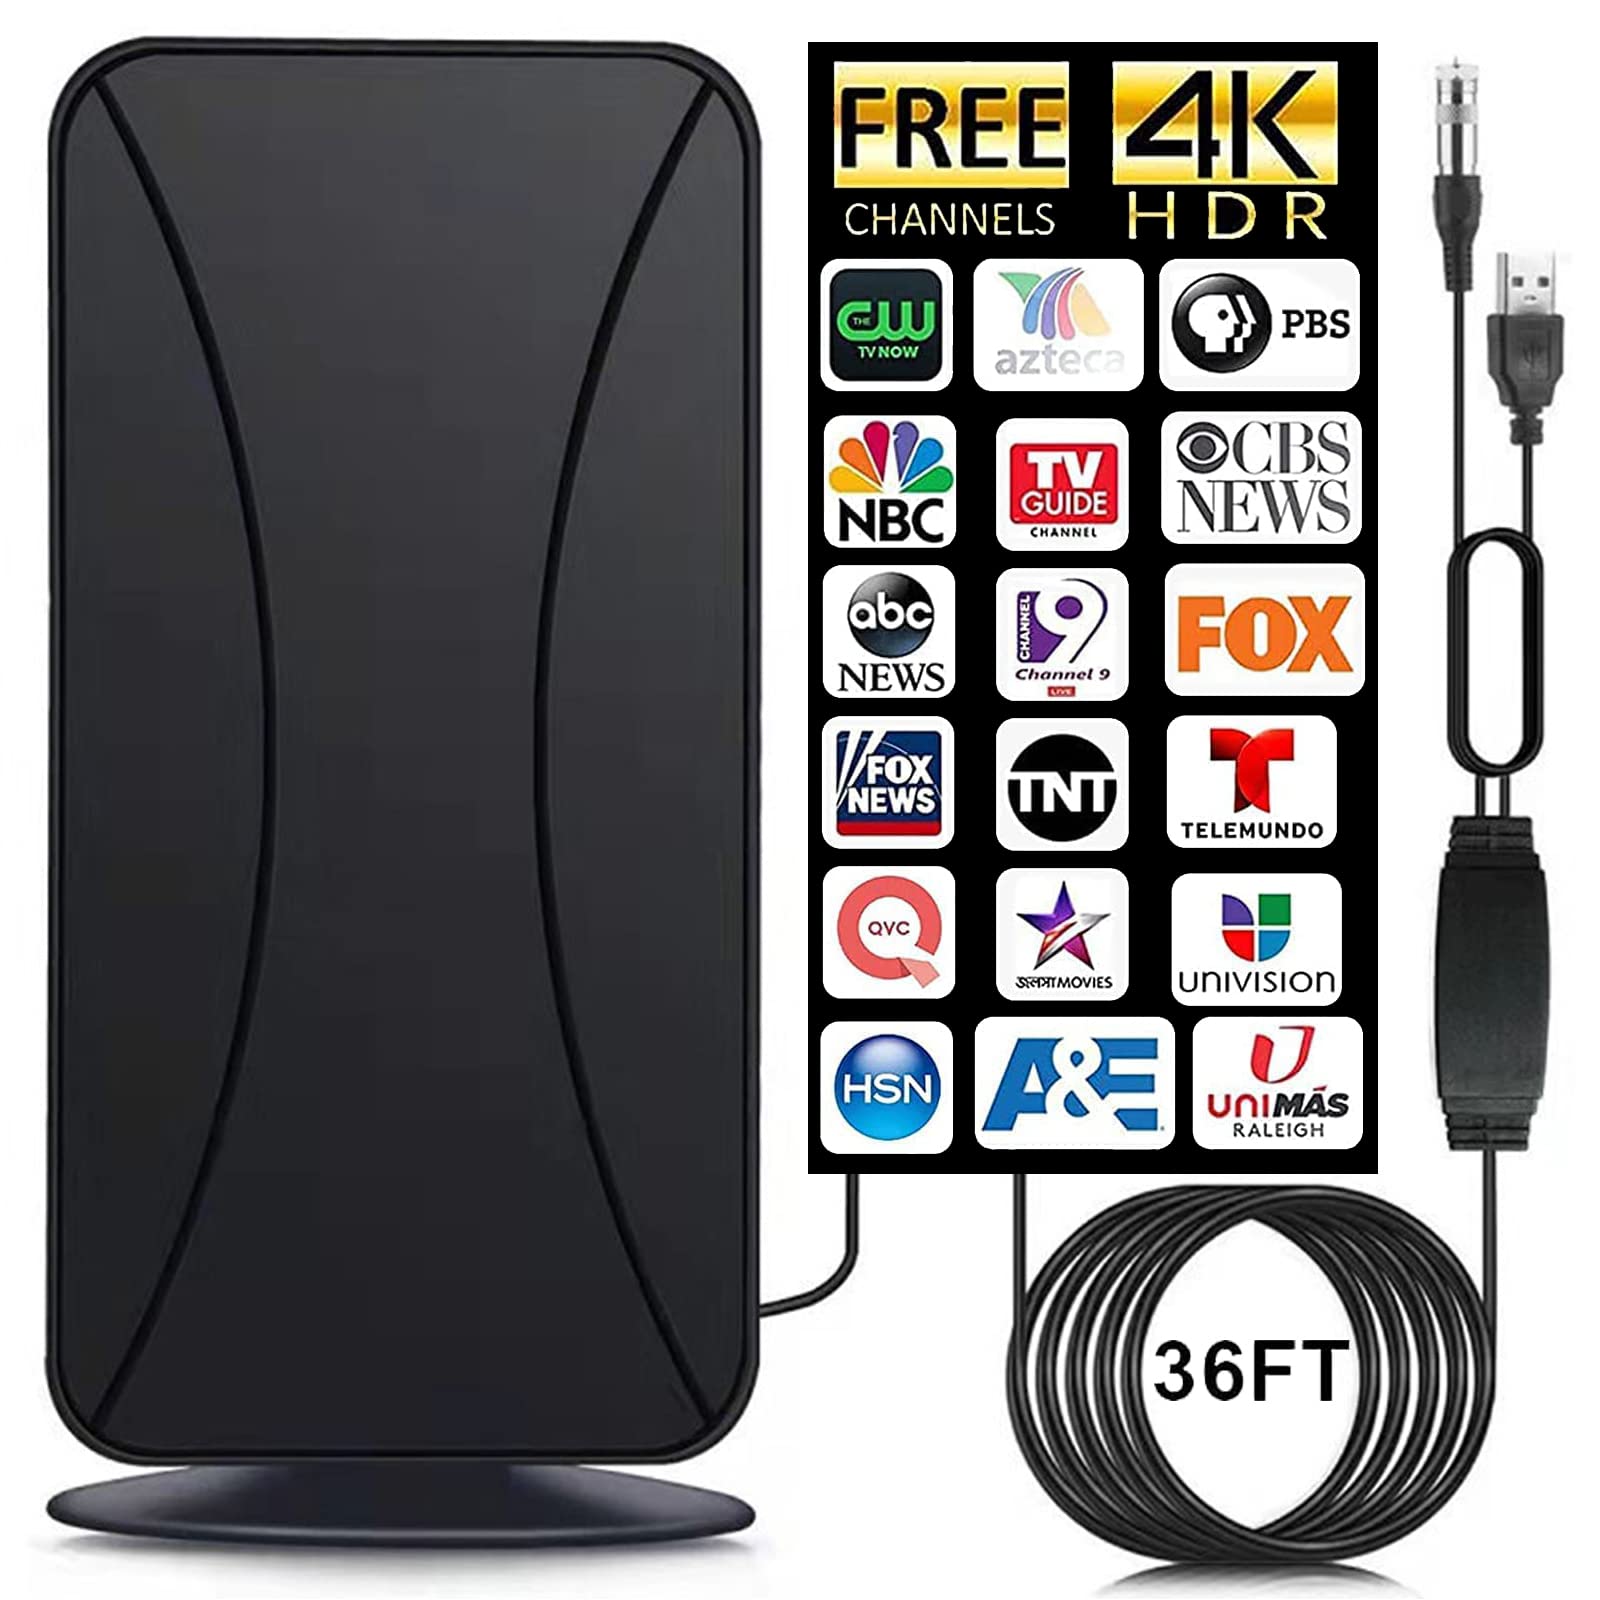
A TV antenna amplifier is a device that can enhance the reception of television signals, improving the quality and clarity of the picture and sound. It is particularly useful in areas with weak or spotty signal coverage, allowing you to enjoy your favorite shows without interruption.
In this guide, we will walk you through the process of building a TV antenna amplifier. Whether you are a DIY enthusiast or simply looking to save some money, building your own amplifier can be a rewarding project. It doesn’t require advanced technical skills, and with the right tools and materials, you can easily complete the task.
This project will involve some basic knowledge of electronics and soldering, but don’t worry if you’re new to it. We’ll explain everything step by step to ensure you have a clear understanding of the process. By the end of this guide, you’ll have a functional TV antenna amplifier that you can proudly install and enjoy the improved signal reception.
Before we dive into the construction process, let’s first understand how a TV antenna amplifier works. This will give you a better understanding of the components and their functions, making the building process easier to follow. So let’s get started!
Tools and Materials Needed
Before you begin building your TV antenna amplifier, it’s essential to gather all the necessary tools and materials. Having everything in place will ensure a smooth and efficient construction process. Here’s a list of what you’ll need:
- Soldering iron: A soldering iron is essential for connecting the electronic components, so make sure you have a reliable one.
- Solder wire: Choose a high-quality solder wire to ensure strong and durable connections.
- Wire cutters/strippers: These tools will help you cut and strip the wires, making it easier to connect the components.
- Multimeter: A multimeter is used to measure voltage, current, and resistance. It will come in handy for testing and troubleshooting the amplifier.
- Breadboard: A breadboard allows you to prototype the amplifier circuit without soldering, making it easier to make any necessary adjustments.
- Components: You’ll need various electronic components, such as resistors, capacitors, transistors, and an integrated circuit. Make sure to check the amplifier circuit schematic for the specific components required.
- Antenna cable: High-quality antenna cable is essential for connecting the TV antenna to the amplifier.
- Coaxial connectors: These connectors will be used to attach the antenna cable to the amplifier and TV.
- Power supply: Depending on the amplifier circuit, you might need a DC power supply to power the amplifier.
- Heat shrink tubing: Heat shrink tubing provides insulation and protection for the soldered connections, ensuring long-lasting performance.
It’s important to note that the specific tools and materials needed may vary depending on the amplifier circuit design you choose. Make sure to carefully review the amplifier schematic and gather all the required components before starting the construction process.
With all the tools and materials ready, you’re well-prepared to move on to the next step: understanding how a TV antenna amplifier works. Let’s explore this in detail in the next section.
Step 1: Understanding How a TV Antenna Amplifier Works
Before you can start building your TV antenna amplifier, it’s crucial to have a solid understanding of how it works. This knowledge will help you make informed decisions during the construction process and troubleshoot any issues that may arise. Here’s a breakdown of how a TV antenna amplifier functions:
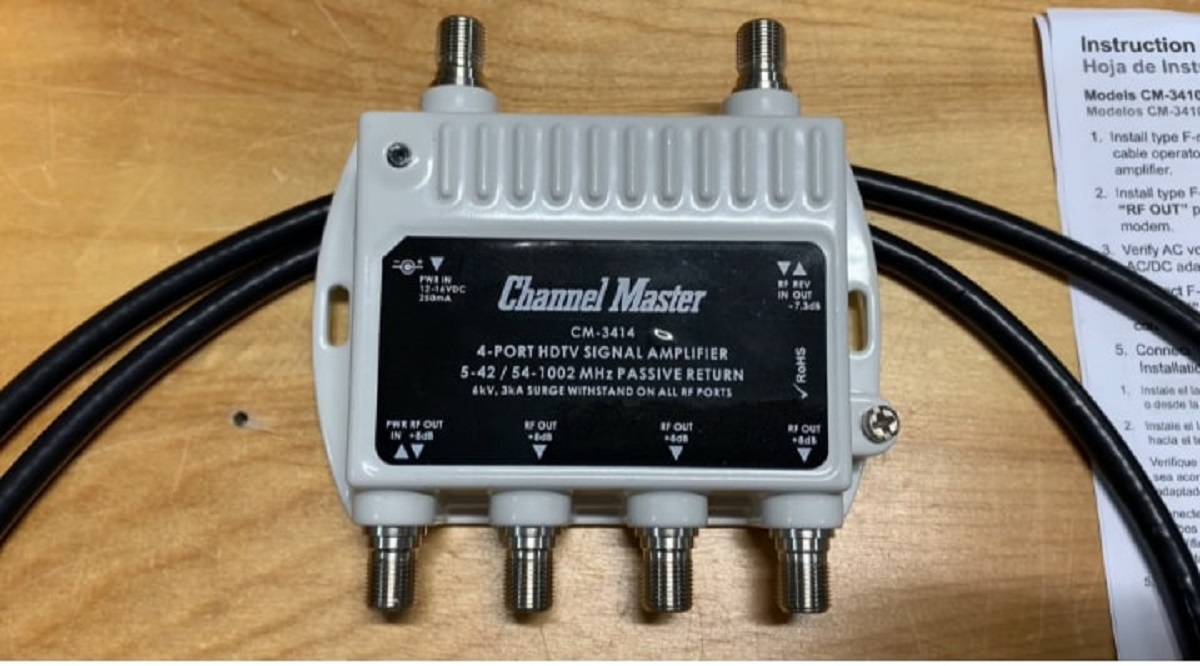
A TV antenna amplifier is essentially an electronic device that boosts the weak signals received by your TV antenna. It amplifies the signal strength, allowing for improved reception and better picture and sound quality.
The amplifier consists of several key components that work together to accomplish this task. These components include:
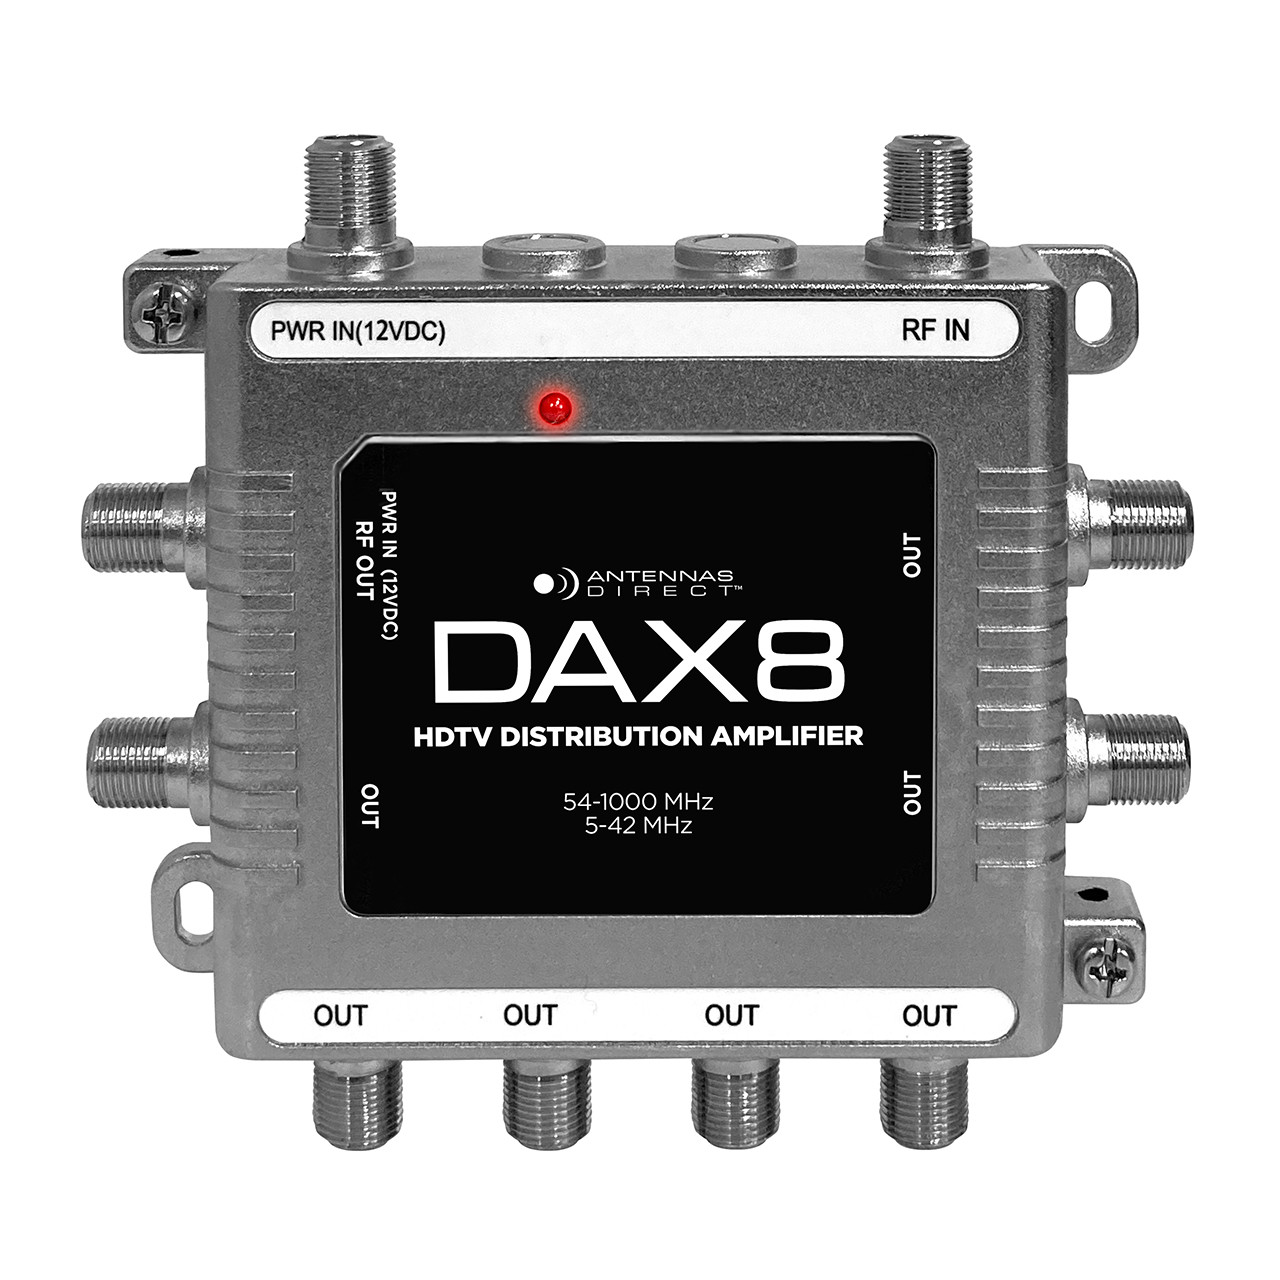
- Antenna input: This is where you connect the TV antenna cable to the amplifier. The weak signal from the antenna is fed into the amplifier through this input.
- Amplification circuit: The amplification circuit is responsible for increasing the strength of the incoming signal. It utilizes electronic components such as resistors, capacitors, transistors, and integrated circuits to amplify the signal without introducing distortion or noise.
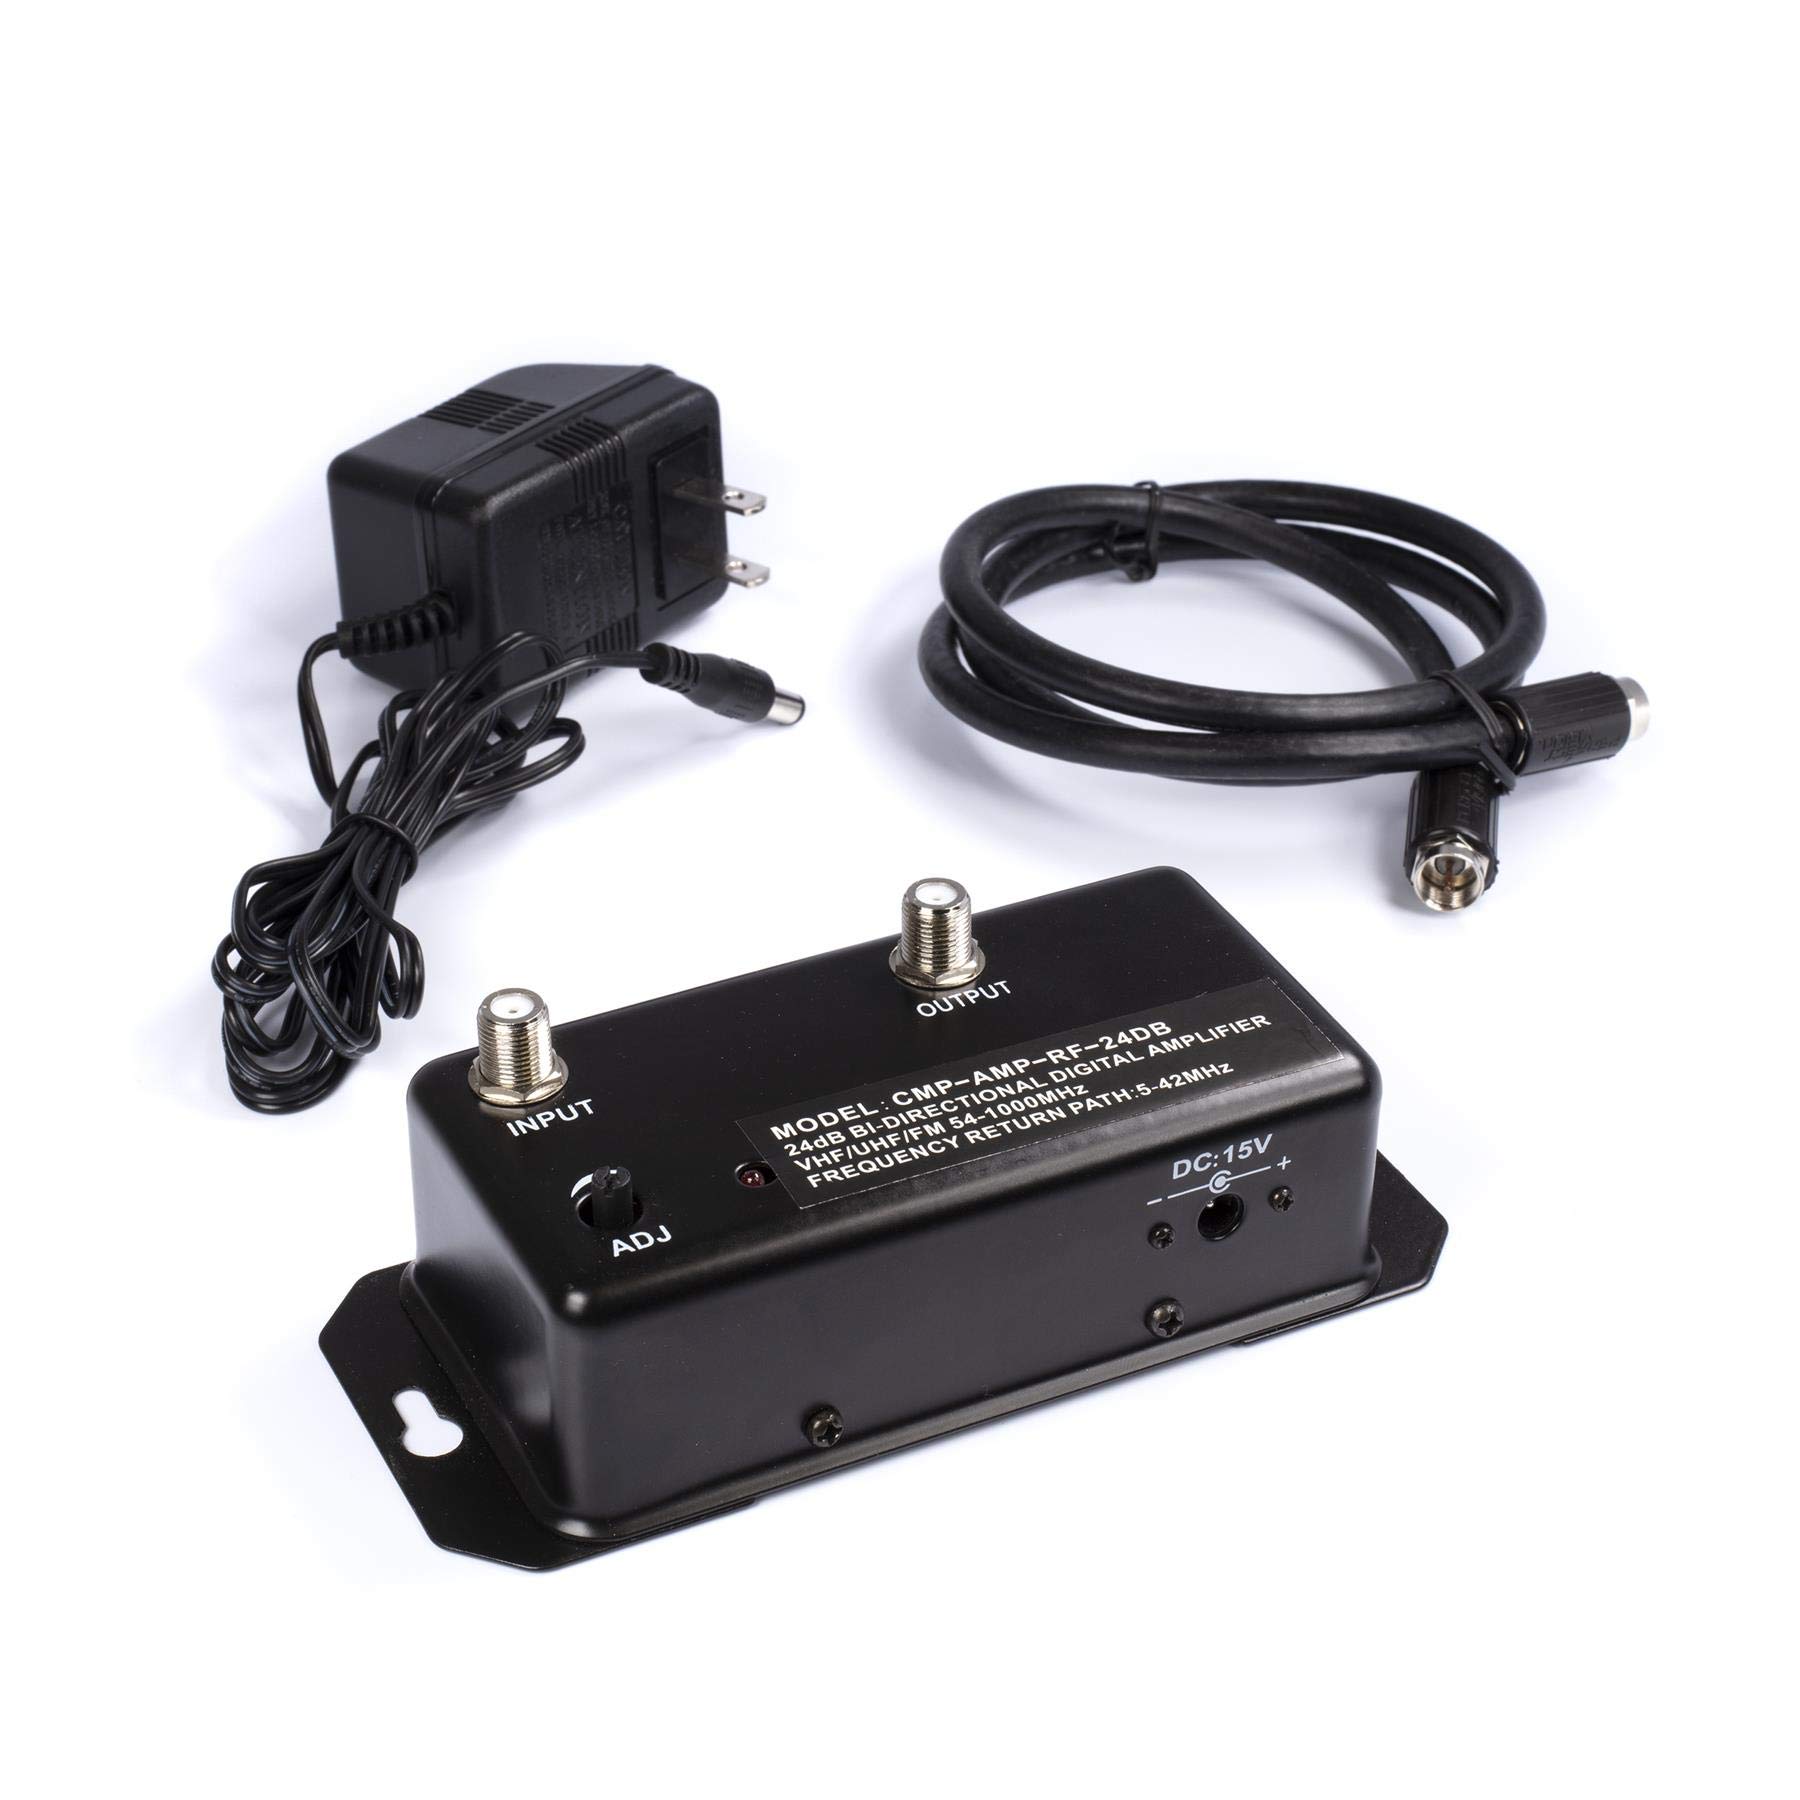
- Power supply: Some TV antenna amplifiers require a power source to operate. This power supply can be a battery, a separate power adapter, or even a USB port from your TV. It provides the necessary voltage for the amplification circuit to function.
- Antenna output: The amplified signal is then sent out through the antenna output. This output is connected to your TV or set-top box, allowing the amplified signal to reach your television.
It’s important to note that not all TV antenna amplifiers require a power supply. Some amplifiers are passive and do not need additional power. However, if you’re building a powered amplifier, ensure you have the appropriate power source available.
Understanding how a TV antenna amplifier works will help you make informed decisions during the construction process. It will also enable you to troubleshoot any issues that may arise. So, now that you have a good grasp on the basic working principles, let’s move on to the next step: gathering the necessary components.
Step 2: Gathering the Necessary Components
Now that you have a clear understanding of how a TV antenna amplifier works, it’s time to gather all the necessary components for the construction of your amplifier. Having the right components is essential for building a functional and efficient amplifier. Here’s a list of the components you’ll need:
- Resistors: These electronic components are used to control the flow of current in the amplifier circuit. Make sure to have the specific resistors required as per the amplifier circuit schematic.
- Capacitors: Capacitors store and release electrical energy. They are essential for stabilizing the voltage and filtering out any unwanted noise or interference in the amplifier circuit.
- Transistors: Transistors act as amplifiers in the circuit, boosting the weak signal received from the TV antenna. Ensure you have the correct type and specifications of transistors required for your amplifier circuit.
- Integrated Circuit (IC): An IC is a small electronic device that contains multiple electronic components and performs specific functions. The specific IC required will depend on the amplifier circuit design you choose.
- Wire and Breadboard: High-quality wire is needed for making connections between the components on the breadboard. The breadboard will serve as a platform for prototyping and testing the amplifier circuit before soldering.
- Power Supply: Depending on the amplifier circuit design, you may need a power supply to power the amplifier. This can be a battery or a separate power adapter.
- Antenna Cable and Connectors: Ensure you have a suitable antenna cable to connect the amplifier to the TV antenna. Coaxial connectors are essential for connecting the antenna cable to the amplifier and TV.
- Soldering Iron and Solder Wire: You’ll need a soldering iron and solder wire to join the components together and create solid connections.
- Multimeter: A multimeter is a versatile tool for measuring voltage, current, and resistance. It will be useful for testing and troubleshooting the amplifier circuit.
It’s crucial to carefully review the amplifier circuit schematic and ensure you’ve gathered all the necessary components before proceeding to the construction phase. Missing or incorrect components can lead to a non-functional or inefficient amplifier.
With all the components in hand, you’re now ready to move to the next step: building the amplifier circuit. We’ll guide you through the process in the upcoming section.
Step 3: Building the Amplifier Circuit
Now that you have gathered all the necessary components, it’s time to start building the amplifier circuit. This step involves assembling the components on a breadboard and creating the circuitry that will amplify the TV antenna signal. Follow these steps to build the amplifier circuit:
- Review the amplifier circuit schematic: Take a close look at the amplifier circuit schematic and familiarize yourself with the placement and connections of each component. This will help you understand how the amplifier circuit is structured.
- Place the components on the breadboard: Start by placing the components on the breadboard according to the schematic. Ensure each component is inserted correctly and positioned in the designated areas of the breadboard.
- Connect the components: Use wire or jumper cables to connect the components as per the schematic. Follow the specific wiring instructions for each component, making sure to create secure and well-insulated connections.
- Double-check the connections: Once all the components are connected, check the circuit for any loose or incorrect connections. Use a multimeter to ensure each connection has the proper continuity.
- Verify the circuit functionality: Before proceeding to soldering, verify the functionality of the amplifier circuit on the breadboard. Test it by connecting the TV antenna and a TV, and ensure the signal is being amplified as expected.
Building the amplifier circuit on the breadboard allows for easy adjustments and modifications before committing to soldering the components. Take your time to ensure the circuit is functioning correctly before proceeding to the next step.
In the next section, we will guide you through the soldering process, where you will permanently join the components and create a durable amplifier for your TV antenna.
Step 4: Soldering the Components
With the amplifier circuit successfully built and tested on the breadboard, it’s time to move on to the next step: soldering the components. Soldering will create permanent connections between the components, ensuring a durable and reliable amplifier for your TV antenna. Follow these steps to solder the components:
- Prepare your soldering station: Set up a well-ventilated, well-lit area for soldering. Ensure you have a soldering iron with a clean, hot tip and a roll of solder wire at your disposal.
- Clean the soldering iron tip: Use a damp sponge or brass wire brush to clean the tip of your soldering iron. This will remove any residue or oxidation that may affect the quality of the solder joints.
- Secure the circuit: Place the breadboard with the amplifier circuit in a stable position. Ensure it is firmly secured to prevent any movement or damage during the soldering process.
- Begin soldering: Start by soldering the connections one component at a time. Heat the joint with the soldering iron and apply a small amount of solder wire to create the bond. Avoid excessive heat or solder, as it can damage the components.
- Inspect the solder joints: After soldering each connection, inspect the joint to ensure it is shiny, smooth, and without any excess solder or bridging. Use a magnifying glass if needed to check for any potential issues.
- Trim excess leads: Once all the connections are soldered, trim any excess leads from the components using wire cutters. This will give your amplifier circuit a clean and professional appearance.
- Inspect the entire circuit: Take a final look at the complete soldered amplifier circuit. Double-check all the connections to ensure they are properly soldered and secure. Verify that there are no solder bridges or cold solder joints that may cause issues later on.
Soldering requires precision and caution. Take your time to ensure each connection is properly soldered, as this will contribute to the overall performance and reliability of your TV antenna amplifier.
With the soldering complete, you are now ready to move on to the next step: connecting the amplifier to the TV antenna.
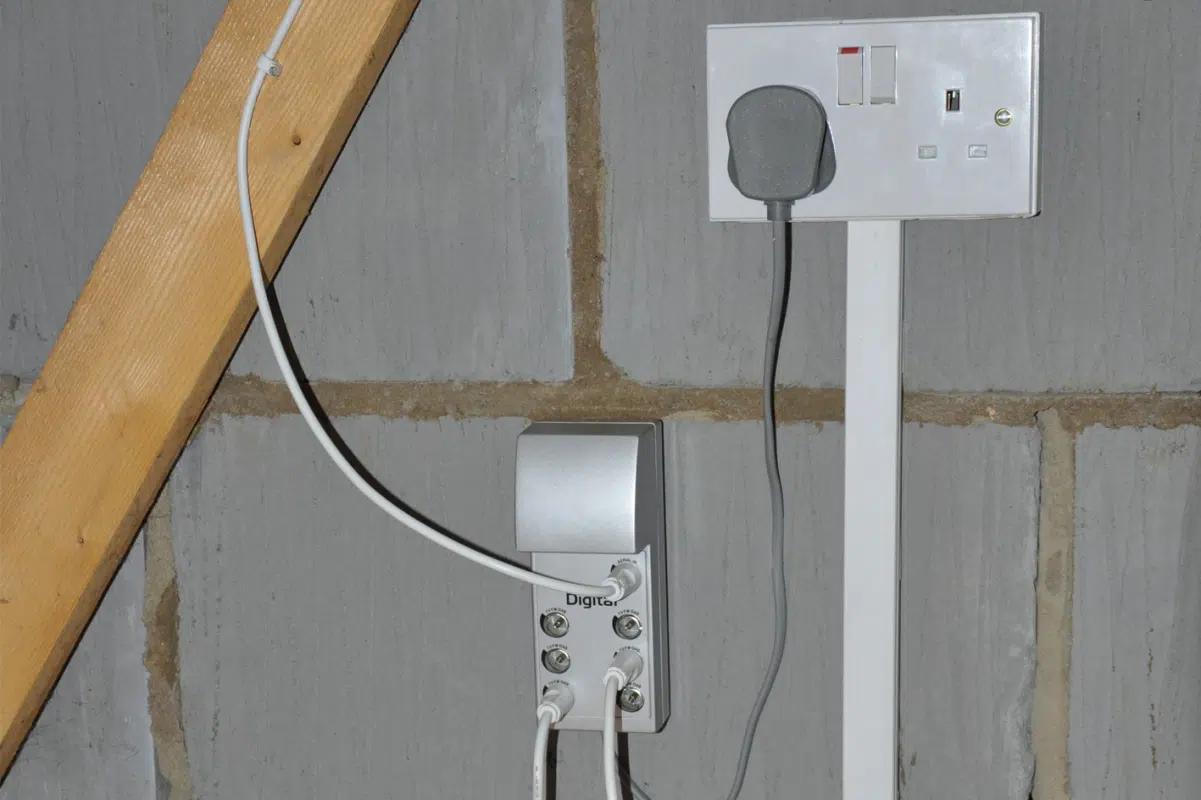
Step 5: Connecting the Amplifier to the TV Antenna
Now that the amplifier circuit is soldered and ready, it’s time to connect it to the TV antenna. Follow these steps to ensure a proper and secure connection:
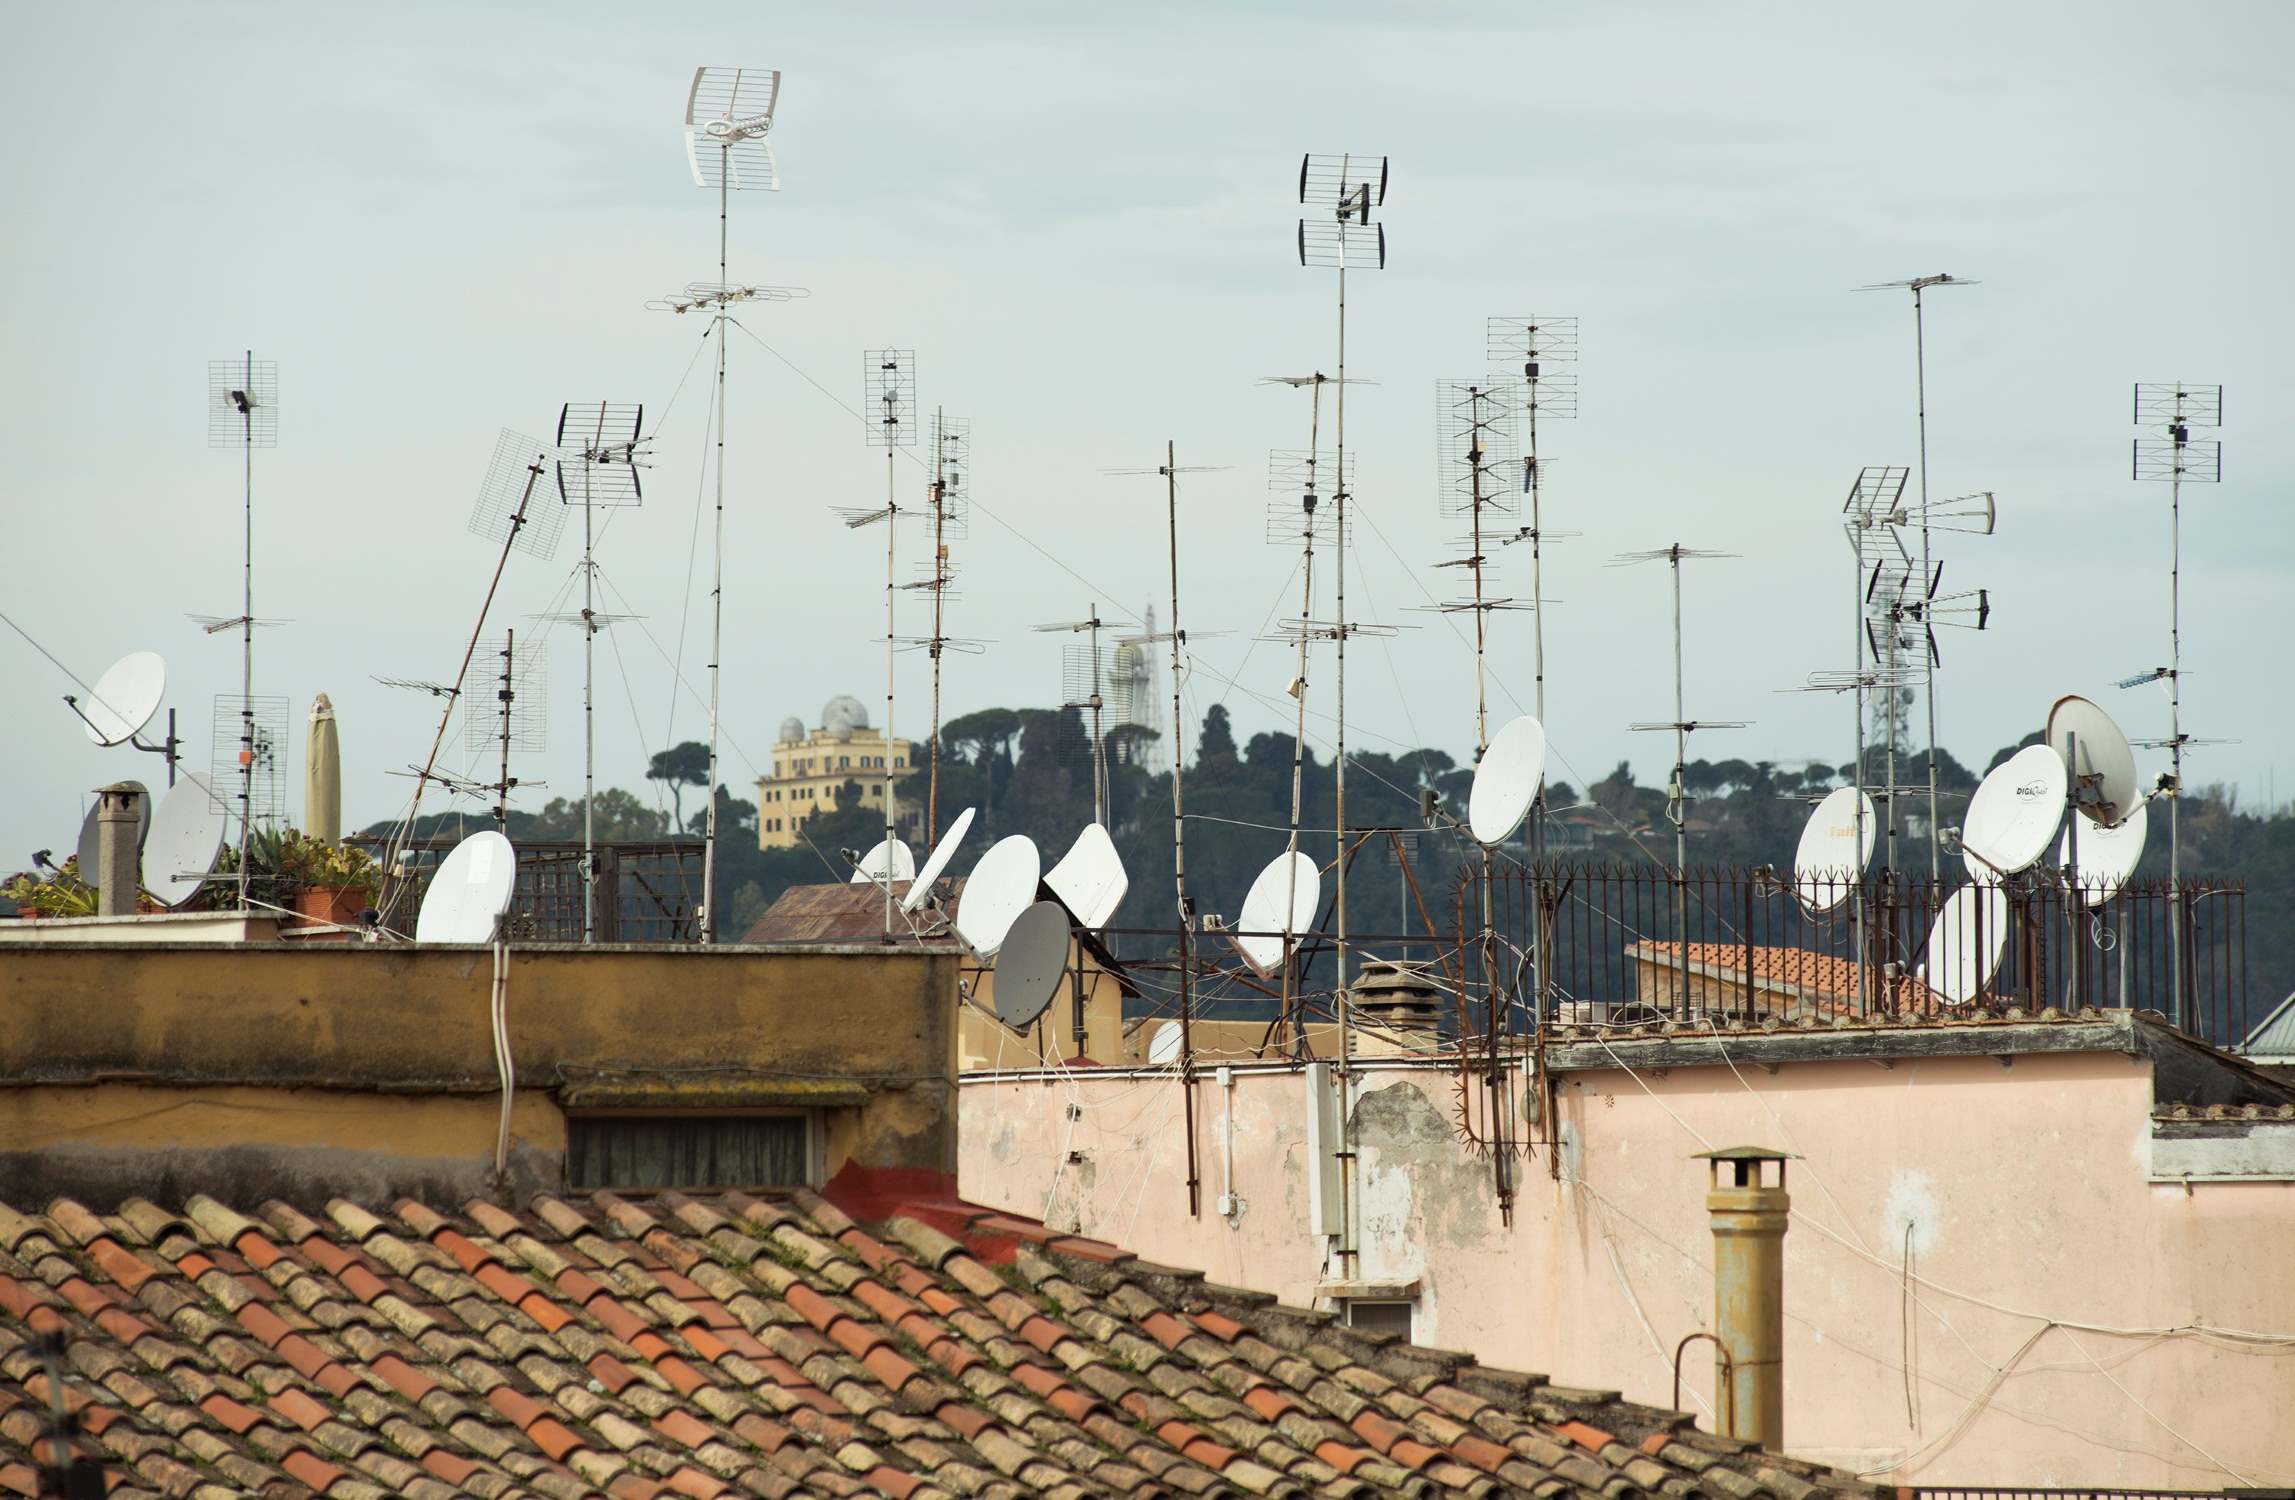
- Locate the TV antenna: Identify the location of your TV antenna. It’s typically installed on the roof or in an elevated position to receive the best signal.
- Identify the antenna cable: Locate the antenna cable that connects the TV antenna to the television. It is typically a coaxial cable with a male connector on each end.
- Prepare the antenna cable: Take one end of the antenna cable and strip off a small section of the outer insulation. This will expose the inner conductor and the shielding material.
- Connect the antenna cable to the amplifier: Connect the stripped end of the antenna cable to the antenna input of the amplifier. Make sure to match the connector types and ensure a secure connection.
- Secure the connection: Use a coaxial connector, such as an F-connector or BNC connector, to secure the cable to the amplifier. This will prevent any accidental disconnection or signal loss.
- Connect the amplifier to the TV: Take another piece of antenna cable and connect one end to the antenna output of the amplifier. Connect the other end to the television’s antenna input. Again, use the appropriate connectors to secure the connections.
It’s important to ensure that all connections are tightened securely to avoid any signal loss or interference. Properly connected cables and secure connectors will help maintain a strong and reliable signal for your television.
With the amplifier now connected to the TV antenna, you’re one step closer to enjoying improved signal reception. In the next section, we will guide you through the process of installing the amplifier for optimal performance.
Step 6: Installing the Amplifier
Now that the amplifier is connected to the TV antenna, it’s time to install it in a suitable location for optimal performance. Follow these steps to ensure a proper installation:
- Select an appropriate location: Choose a location near the TV antenna where you can mount the amplifier securely. It should be protected from the elements, such as rain or direct sunlight.
- Prepare the installation site: Clean the mounting surface and ensure it is free from debris or any obstructions. This will provide a stable and secure foundation for the amplifier.
- Mount the amplifier: Use mounting brackets, adhesive tape, or screws to securely mount the amplifier in the chosen location. Make sure it is positioned upright for proper ventilation and easy access to the connections.
- Route the cables: Carefully route the cables from the antenna to the amplifier and from the amplifier to the TV. Keep them away from any potential sources of interference, such as power cables or electronics.
- Secure the cables: Use cable clips or tie wraps to secure the cables along their route. This will prevent any accidental damage, tangling, or disconnection of the cables.
- Observe safety precautions: Ensure that all electrical connections are secure and properly insulated. Avoid overloading power outlets and follow electrical safety guidelines to prevent any accidents.
By installing the amplifier in a suitable location, you can optimize the signal reception and enjoy improved performance from your TV antenna. A well-mounted and properly secured amplifier will provide reliable signal amplification for uninterrupted viewing.
In the next step, we will guide you through the process of testing and troubleshooting the amplifier to ensure its functionality.
Step 7: Testing and Troubleshooting the Amplifier
After installing the amplifier, it’s important to test and troubleshoot it to ensure optimal performance. Follow these steps to test and troubleshoot your TV antenna amplifier:
- Power on the amplifier: If your amplifier requires power, ensure it is connected to the appropriate power source. Double-check all connections to confirm they are secure.
- Tune your TV: Turn on your TV and navigate to the input/source where the antenna signal is received. Make sure the TV is set to the correct channel or input mode.
- Check the signal strength: Use your TV’s signal strength indicator or the built-in channel scanning feature to check the signal strength. Observe if there is an improvement in the signal quality compared to when the amplifier was not installed.
- Perform a channel scan: Initiate a channel scan on your TV to detect and save all available channels. Pay attention to how many channels are found and if any previously weak or missing channels are now accessible.
- Inspect for any issues: Check for any visual or audio anomalies, such as pixelation, stuttering, or excessive noise. If you notice any issues, double-check the connections, make sure the cables are properly seated, and ensure the amplifier is securely mounted.
- Adjust the amplifier: If the signal strength is not satisfactory, you may need to make adjustments to the amplifier circuit. Refer back to the amplifier schematic and double-check the component placements and connections. Make any necessary changes and retest the amplifier.
- Consult the amplifier’s documentation or seek help: If you encounter persistent issues or are unsure about troubleshooting steps, refer to the amplifier’s documentation or seek assistance from experienced individuals or online forums.
By thoroughly testing and troubleshooting your TV antenna amplifier, you can ensure it is functioning optimally and providing the desired signal boost. Taking the time to address any issues will result in a better viewing experience and improved reception of TV channels.
Once your TV antenna amplifier is tested and functioning properly, you can sit back, relax, and enjoy uninterrupted entertainment on your television!
Conclusion
Building your own TV antenna amplifier can be a rewarding experience that allows you to enhance the signal reception and improve the quality of your TV viewing. By following the steps outlined in this guide, you have learned how to build, test, and troubleshoot your own amplifier.
Throughout the process, you have gained an understanding of how a TV antenna amplifier works, the tools and materials needed, and the step-by-step procedures for constructing and installing the amplifier. By gathering the necessary components, building the amplifier circuit, soldering the components, connecting the amplifier to the TV antenna, and performing testing and troubleshooting, you have successfully completed a DIY project that can greatly enhance your TV watching experience.
Remember to prioritize safety during the construction and installation process. Take necessary precautions, follow electrical safety guidelines, and ensure all connections are secure and properly insulated.
Should you encounter any challenges during the process, don’t hesitate to consult the amplifier’s documentation or seek assistance from knowledgeable individuals or online communities. Troubleshooting is a valuable skill that can help you overcome obstacles and achieve the best results.
Now, with your TV antenna amplifier in place, you can enjoy improved signal reception, clear picture quality, and enhanced sound for a more immersive and enjoyable TV viewing experience. Sit back, relax, and indulge in your favorite shows and movies without the interruption of weak or spotty signals.
By taking the initiative to build your own TV antenna amplifier, you have empowered yourself to optimize your TV reception and unlock the full potential of your television. Enjoy the benefits of your DIY project and happy viewing!