Introduction
Welcome to the world of DIY TV antennas! If you’re tired of paying hefty cable bills or want to enjoy free over-the-air channels, making your own TV antenna using coaxial cable is a brilliant solution. In this guide, we will walk you through the step-by-step process of creating a functional TV antenna using readily available materials.
With just a few simple tools and a little creativity, you can enjoy high-definition broadcasts of your favorite shows, news, sports, and more without spending a dime. Plus, crafting your own TV antenna can be a fun and rewarding experience. So, let’s roll up our sleeves and dive into the world of DIY TV antennas!
Before we begin, it’s important to note that the effectiveness of your homemade antenna may vary depending on your location and the signal strength of the local TV stations. However, if you live in a reasonably populated area and follow the steps outlined in this guide, you should be well on your way to enjoying free TV in no time.
Now, let’s take a look at the materials you’ll need for this project.
Materials Needed
Before you start creating your own TV antenna with coaxial cable, it’s important to gather all the necessary materials. Here’s a list of what you’ll need:
- Coaxial Cable: The backbone of your DIY TV antenna, you’ll need a coaxial cable with a length suitable for your setup.
- Wire Cutters: These will come in handy for trimming and stripping the coaxial cable.
- Wire Strippers: Essential for removing the outer insulation of the coaxial cable.
- Copper Wire: You’ll need this to create the antenna element. Make sure it’s solid and not coated.
- Electrical Tape: This will be used to secure and insulate the connections.
- Coaxial Connector: To connect the coaxial cable to your TV, you’ll need a coaxial connector.
- Mounting Hardware: Depending on how you plan to position your antenna, you may need screws, brackets, or other mounting hardware.
- Tape Measure: Precision is key, so having a tape measure will assist in accurately measuring and cutting the materials.
These materials can be easily found at your local hardware store or online. Once you have everything you need, it’s time to move on to the next step: preparing the coaxial cable.
Step 1: Gather all the materials
Before diving into the process of making a TV antenna with coaxial cable, you’ll need to ensure you have all the necessary materials at hand. Take a few moments to gather everything you need to avoid any interruptions during the construction process.
Refer to the list of materials mentioned earlier and check off each item as you assemble them. Make sure you have the right length of coaxial cable for your setup, as well as wire cutters, wire strippers, copper wire, electrical tape, a coaxial connector, mounting hardware, and a tape measure.
If you’re missing any items, take note of what you need and make a trip to your local hardware store or search online to acquire the missing materials. It’s crucial to have everything ready before you start, as it will ensure a smooth crafting experience.
Once you have all the necessary materials in front of you, you’re ready to move on to the next step: preparing the coaxial cable for the DIY TV antenna.
Step 2: Prepare the coaxial cable
Now that you have gathered all the materials, it’s time to prepare the coaxial cable for your DIY TV antenna. This step involves trimming and stripping the cable to ensure optimal performance.
Using your wire cutters, carefully trim the coaxial cable to the desired length. Keep in mind that the length will depend on your specific setup and the distance between your TV and the antenna. Measure twice, cut once to avoid any unnecessary errors.
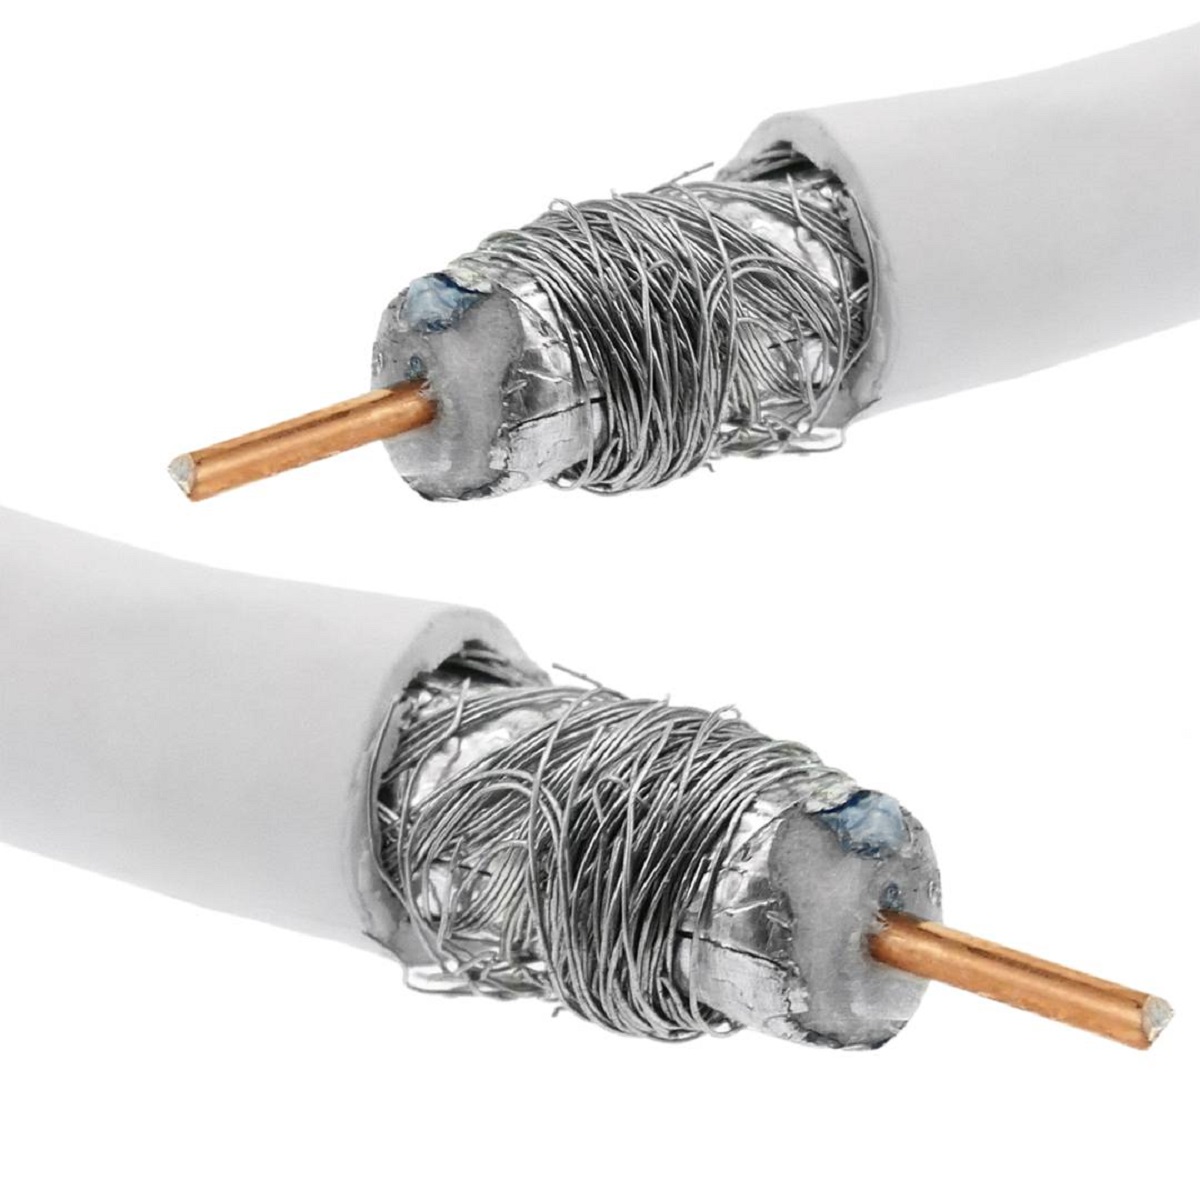
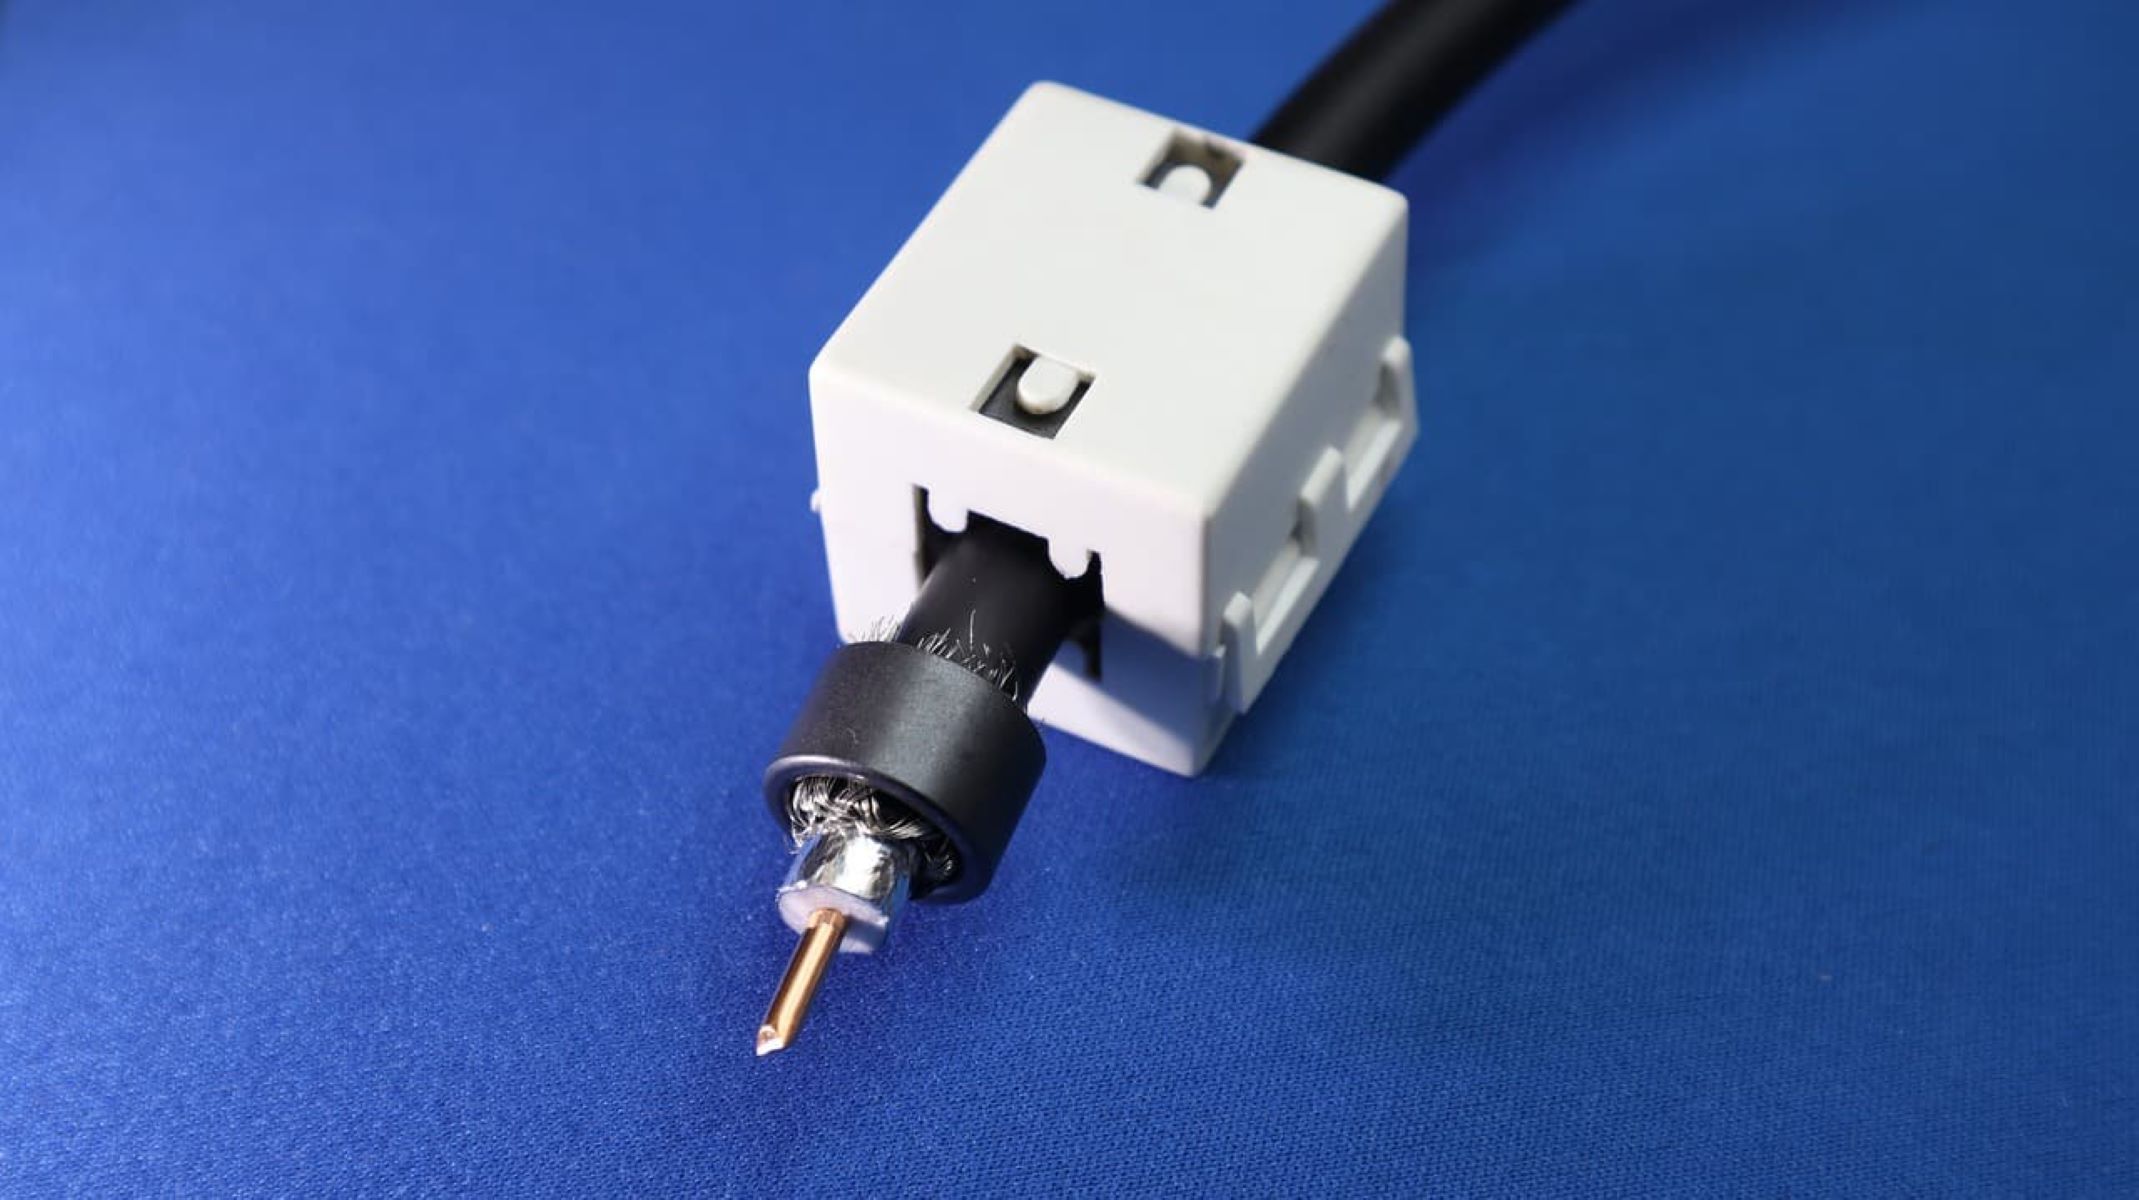
Next, take your wire strippers and remove about ¾ inch of the outer insulation from one end of the coaxial cable. Be cautious during this process to avoid damaging the inner wires. If needed, gently twist and pull to loosen the insulation before sliding it off.
Once the outer insulation is removed, you will see a braided wire shield surrounding a plastic insulator. Carefully fold back the braided wire shield and trim it away, exposing the inner plastic insulator.
Now, gently pull off the plastic insulator, revealing the copper core wire at the center. Take care not to damage the copper core wire or any of the remaining inner insulation. The copper core wire is the essential element for receiving the TV signal, so it’s crucial to keep it intact.
With the coaxial cable properly prepared, you’re now ready to move on to the next step: creating a T-shaped copper wire element for the antenna.
Step 3: Strip the coaxial cable
With the coaxial cable prepared, it’s time to strip it to ensure optimal signal reception for your DIY TV antenna. Stripping the cable will expose the necessary elements to create a functional antenna.
Begin by securing the prepared end of the coaxial cable firmly in one hand. Take the wire strippers and carefully strip away the outer insulation of the cable. Make sure to remove approximately ¾ inch of insulation to expose the core wires underneath.
Once the outer insulation is stripped, you’ll see a braided wire shield surrounding a plastic insulator. Very gently, fold back the braided wire shield to expose the inner plastic insulator. Take care not to damage the delicate wires inside.
After exposing the plastic insulator, check for any stray wires from the braided shield that might be touching the inner insulator. These stray wires can interfere with the antenna’s performance, so it’s essential to keep them clear.
Next, using your wire cutters or a sharp utility knife, carefully cut away the plastic insulator, exposing the copper core wire at the center. Take your time and be precise, ensuring you don’t accidentally cut the copper core or any of the remaining insulation.
Inspect the stripped end of the coaxial cable to ensure that the copper core wire is clean and undamaged. Any frayed or bent wires can negatively impact the antenna’s performance, so straighten and trim as needed.
With the coaxial cable properly stripped, you’re now ready to move on to the next step: creating a T-shaped copper wire element to complete the antenna’s construction.
Step 4: Create a T-shaped copper wire element
Now that you have successfully stripped the coaxial cable, it’s time to create the T-shaped copper wire element that will serve as the main receptor for your DIY TV antenna.
To begin, take your solid copper wire and measure out a length of approximately 31½ inches (80 cm). This length allows for optimal reception and signal strength. Use your tape measure to ensure accuracy.
Once you have measured the length, carefully cut the copper wire using your wire cutters or a sharp utility knife. Make sure to create a clean, straight cut to ensure the best performance.
Now, take one end of the copper wire and bend it at a right angle, forming the horizontal part of the T shape. The length of this horizontal section should be approximately 8 inches (20 cm).
Next, measure and mark a spot on the vertical section of the copper wire, approximately 2 inches (5 cm) from the bottom. This will be the point where the copper wire will be connected to the coaxial cable.
Using your wire cutters or a stripping tool, strip off approximately 1 inch (2.5 cm) of insulation from the marked spot on the vertical section of the copper wire. This will expose the bare wire for the connection.
With the T-shaped copper wire element complete, you’re now ready to move on to the next step: attaching the copper wire element to the coaxial cable.
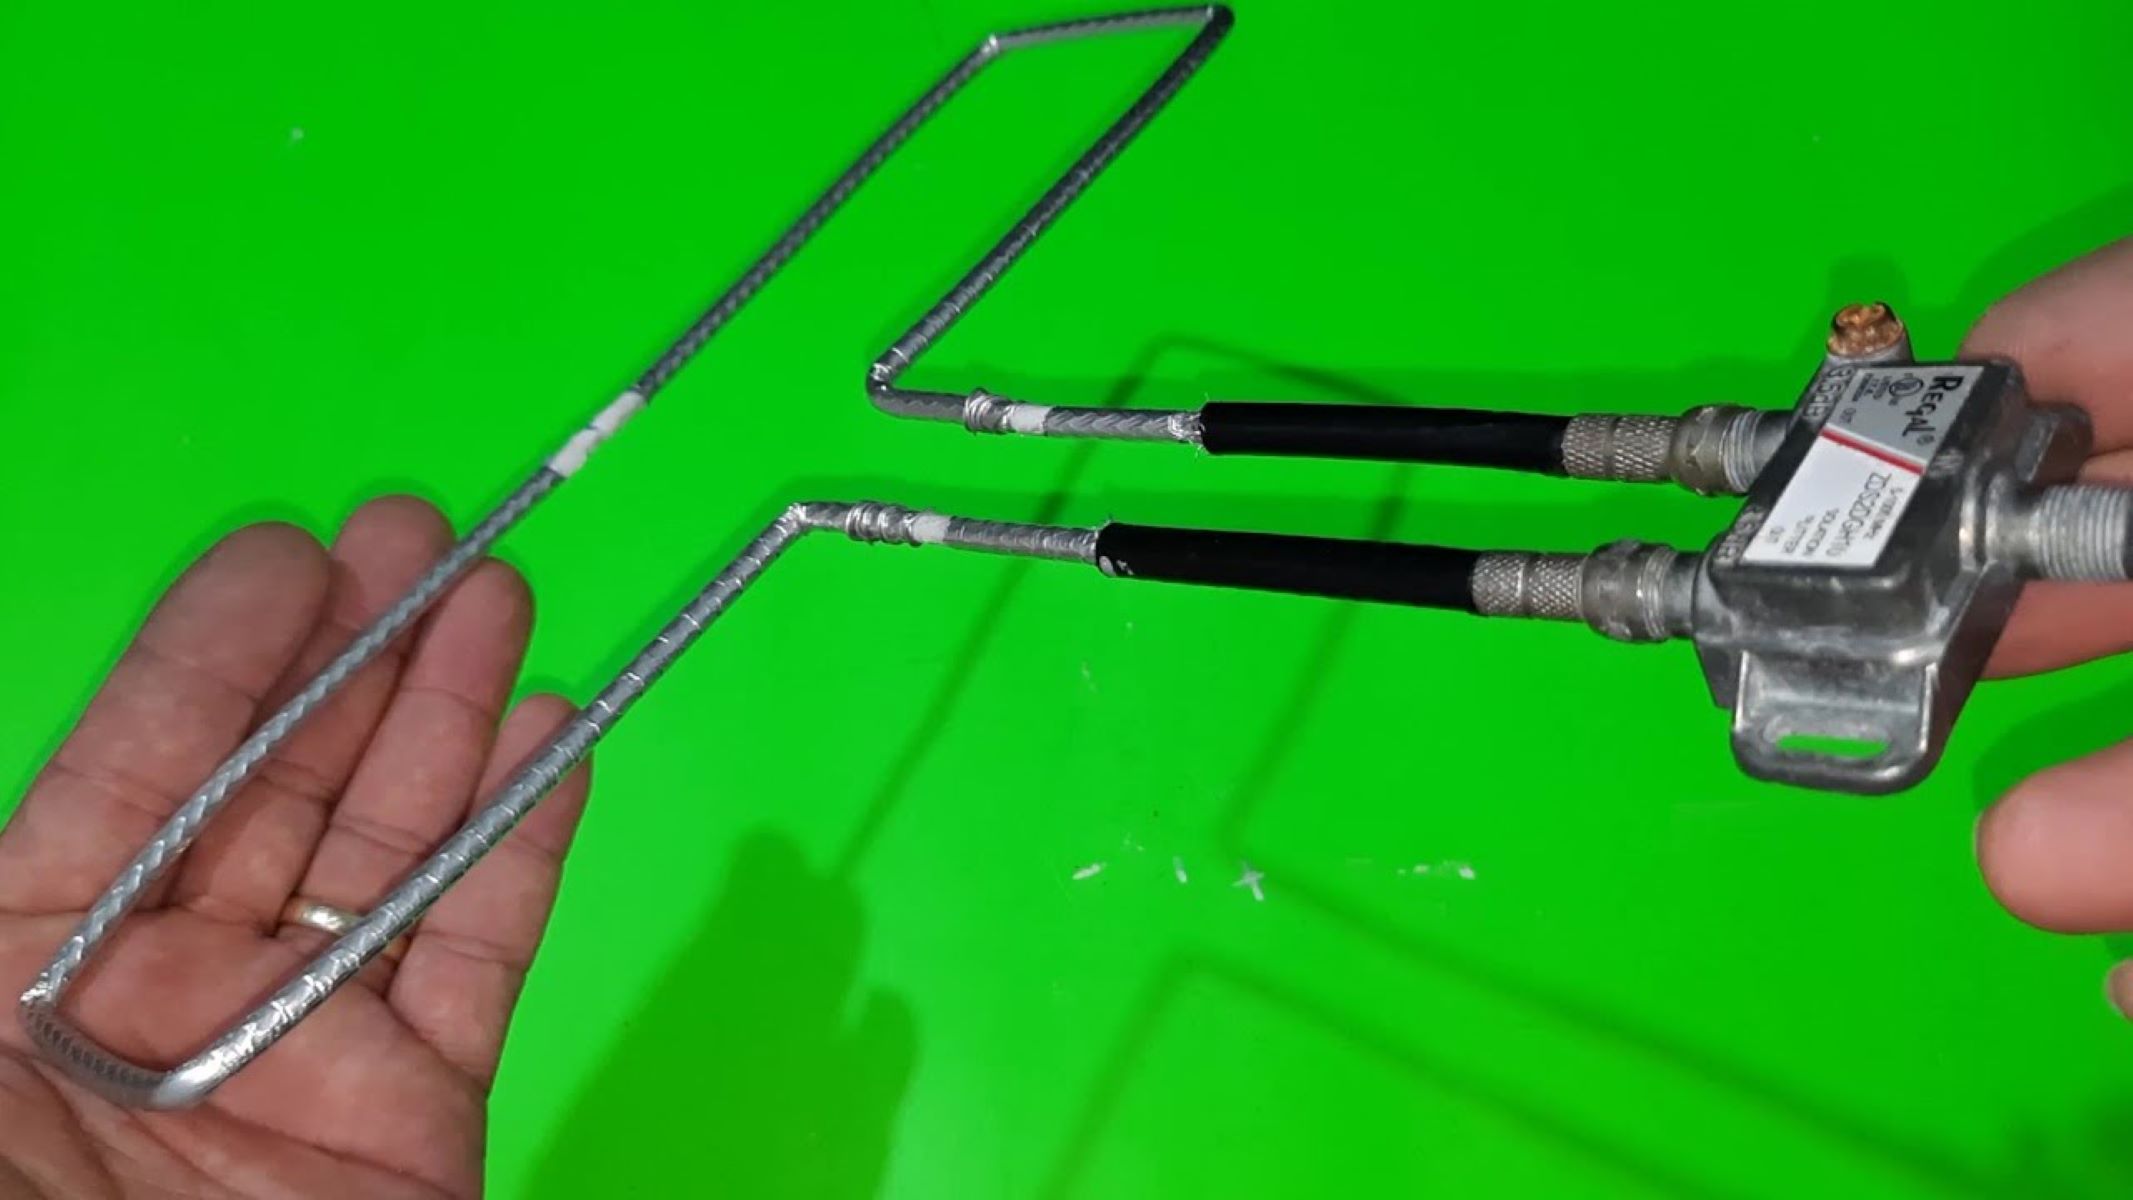
Step 5: Attach the copper wire element to the coaxial cable
With the T-shaped copper wire element prepared, it’s time to attach it to the coaxial cable to complete the construction of your DIY TV antenna.
Begin by carefully inserting the stripped end of the coaxial cable into the hole that you created by stripping the insulation on the vertical section of the copper wire. Make sure the copper core wire of the coaxial cable is fully inserted, reaching the marked spot.
Once the coaxial cable is inserted, use electrical tape to firmly secure the connection. Wrap the tape tightly around the exposed copper wire and the coaxial cable, ensuring a secure and stable connection. This will prevent any movement or signal loss.
After securing the connection with tape, inspect the joint to make sure there are no loose wires or exposed conductors. Any loose connections can interfere with your antenna’s performance, so double-check everything before moving on to the next step.
With the T-shaped copper wire element successfully attached to the coaxial cable, your DIY TV antenna is starting to take shape. However, there’s one more crucial step left: connecting the coaxial cable to your TV.
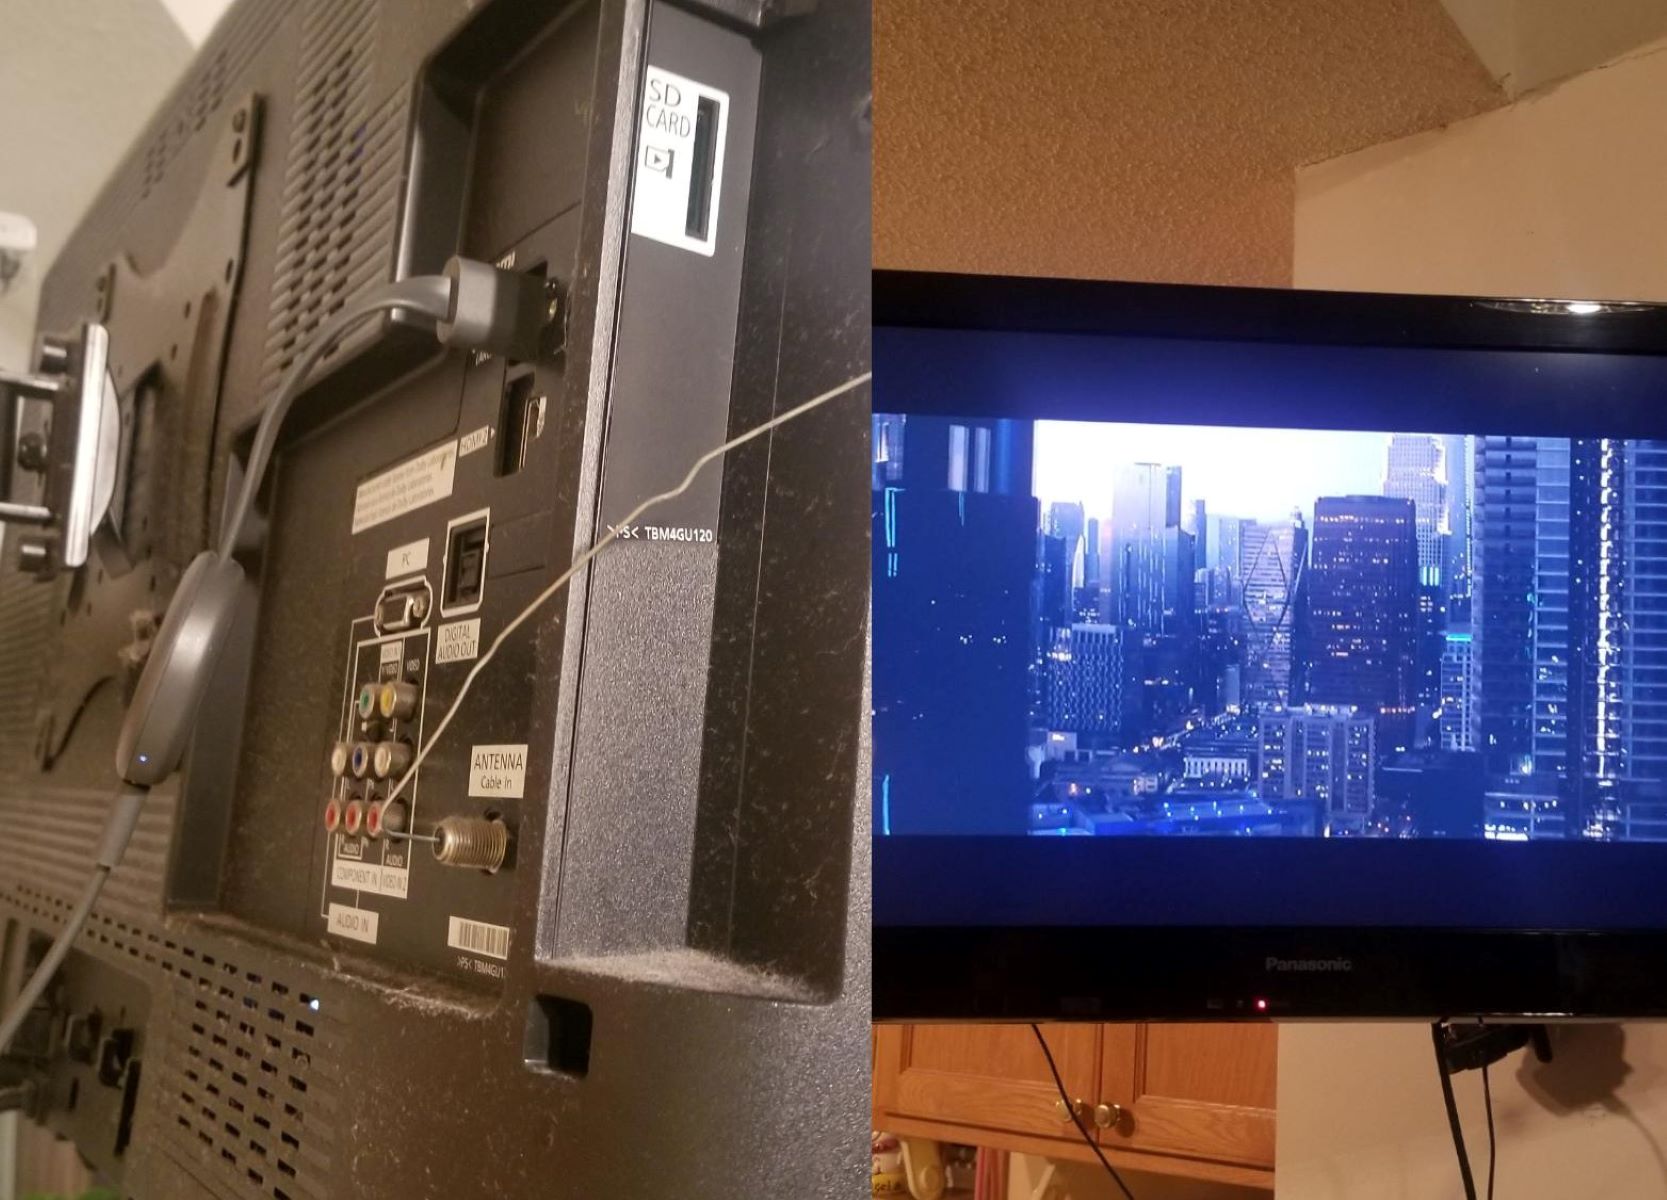
Step 6: Attach the coaxial cable to the TV
Now that you have completed the antenna construction and attached the copper wire element to the coaxial cable, it’s time to connect the antenna to your TV. This step will allow you to start enjoying free over-the-air channels.
Begin by locating the coaxial input on the back of your TV. It is usually labeled as “ANT IN” or “RF IN.” Once you have located it, gently insert the coaxial connector at the end of the cable into the coaxial input on your TV. Make sure it is securely connected by giving it a slight twist in a clockwise direction.
Take extra care not to force the connection or bend any pins on the coaxial connector or TV input. A secure and snug connection is necessary for optimal signal transmission.
After connecting the antenna to the TV, you may want to position the antenna for the best possible reception. Experiment with different orientations, such as hanging it on a wall, placing it near a window, or using a mounting bracket to attach it to a higher location.
Keep in mind that the effectiveness of your antenna may vary depending on factors such as your location, surrounding obstacles, and the strength of local TV signals. It may take some trial and error to find the optimal position for your antenna.
Now that the coaxial cable is properly connected and your antenna is in position, you’re ready for the final step: testing your DIY TV antenna.
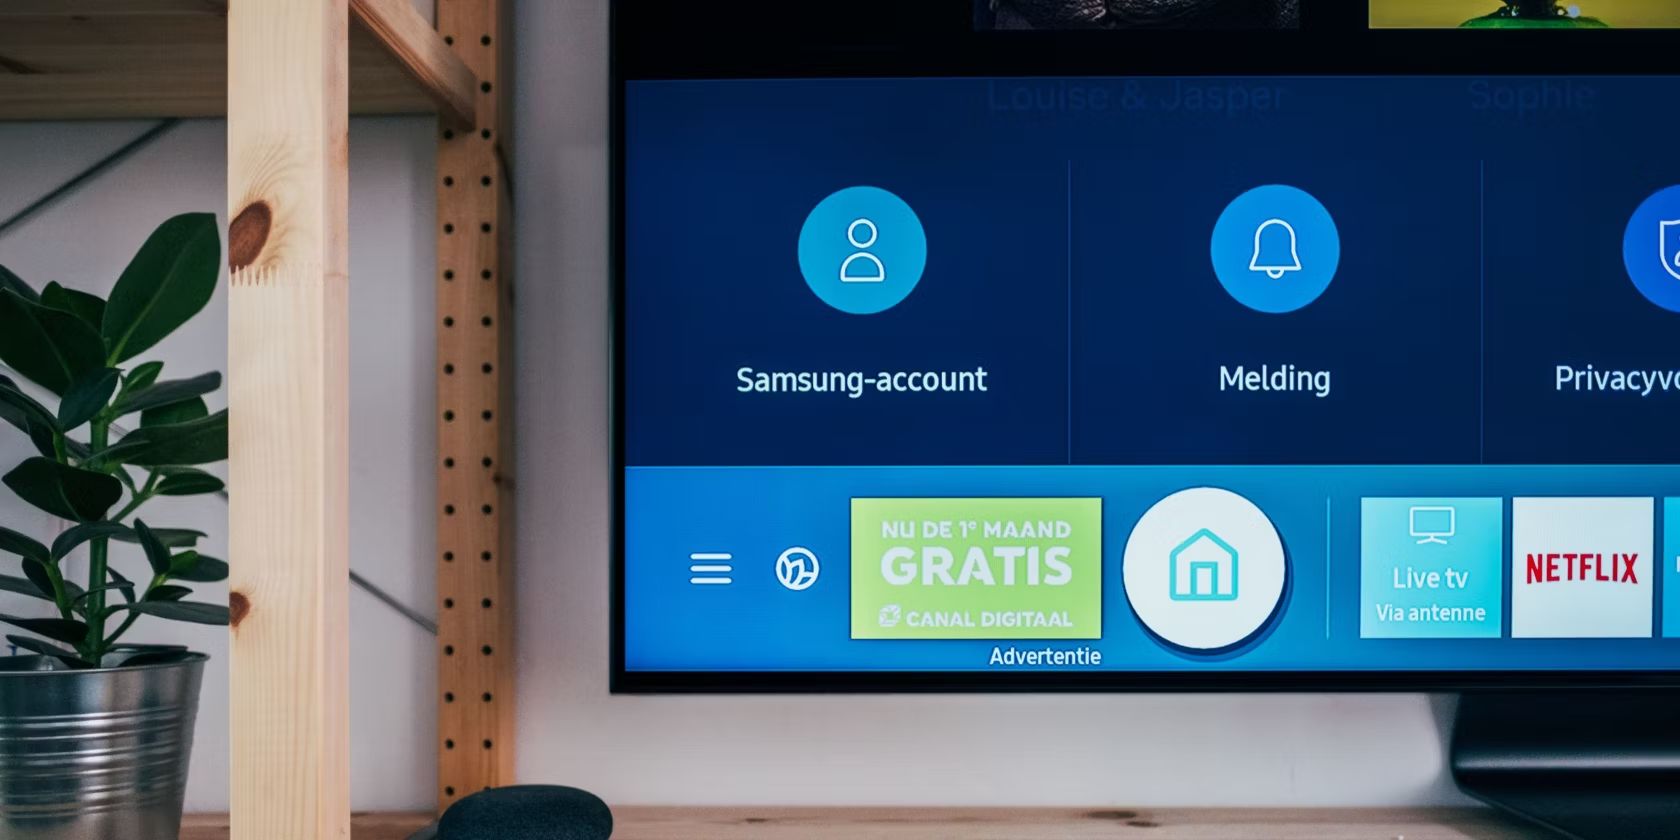
Step 7: Test the TV antenna
With the DIY TV antenna connected to your TV, it’s time to test the reception and ensure that everything is working properly. Follow these steps to test your newly constructed antenna:
- Turn on your TV and navigate to the input or source menu.
- Select the input or source that corresponds to the coaxial input you connected the antenna to.
- Once you have selected the correct input, run a channel scan or auto-tune on your TV.
- Allow the TV to search for and detect all available channels in your area.
- Once the scan is complete, use your TV’s remote control to browse through the detected channels.
As you scroll through the channels, pay attention to the quality of the reception, signal strength, and picture clarity. Keep in mind that some channels may be stronger than others, and not all channels may be available, depending on your location.
If you encounter any issues with reception or inadequate signal strength, try repositioning the antenna or adjusting its orientation. You may also want to experiment with different locations around your house to find the best spot for signal reception.
Additionally, consider trying a signal amplifier or booster if you are experiencing weak signal strength. These devices can help improve the quality of your reception, especially if you are located far from broadcasting stations.
Once you are satisfied with the reception and have successfully tuned in to your desired channels, congratulations! You have successfully created and tested your DIY TV antenna using coaxial cable.
Now you can sit back, relax, and enjoy free over-the-air TV channels without the need for expensive cable or satellite subscriptions.
Conclusion
Congratulations on completing your DIY TV antenna using coaxial cable! By following the step-by-step instructions in this guide, you have successfully created a functional antenna that allows you to enjoy free over-the-air TV channels.
Making your own TV antenna not only saves you money on cable bills but also gives you the freedom to access a variety of local channels without any subscription fees. It’s a satisfying and rewarding DIY project that anyone can do with a few basic tools and materials.
Remember, the effectiveness of your DIY TV antenna may vary depending on your location, surrounding obstacles, and the strength of local TV signals. It may take some experimentation and adjustment to find the optimal positioning for the best reception.
If you encounter any issues with reception or signal strength, don’t be discouraged. Try adjusting the antenna’s position, adding a signal amplifier, or experimenting with different locations to find the best results.
We hope this guide has helped you in creating your DIY TV antenna using coaxial cable. Whether you’re cutting the cord or simply looking for an alternative way to access local TV channels, your homemade antenna provides a practical and cost-effective solution.
Now, grab your remote control, sit back, and enjoy a wide range of free over-the-air TV channels at your fingertips!