Introduction
Welcome to our guide on how to make a TV antenna with a paperclip. Are you tired of dealing with poor signal reception and constantly adjusting your TV antenna? The solution may be simpler than you think. With just a paperclip and a few easy steps, you can create a makeshift antenna that may improve your TV’s reception. This DIY project is suitable for those who are looking for a quick fix or are feeling a bit adventurous.
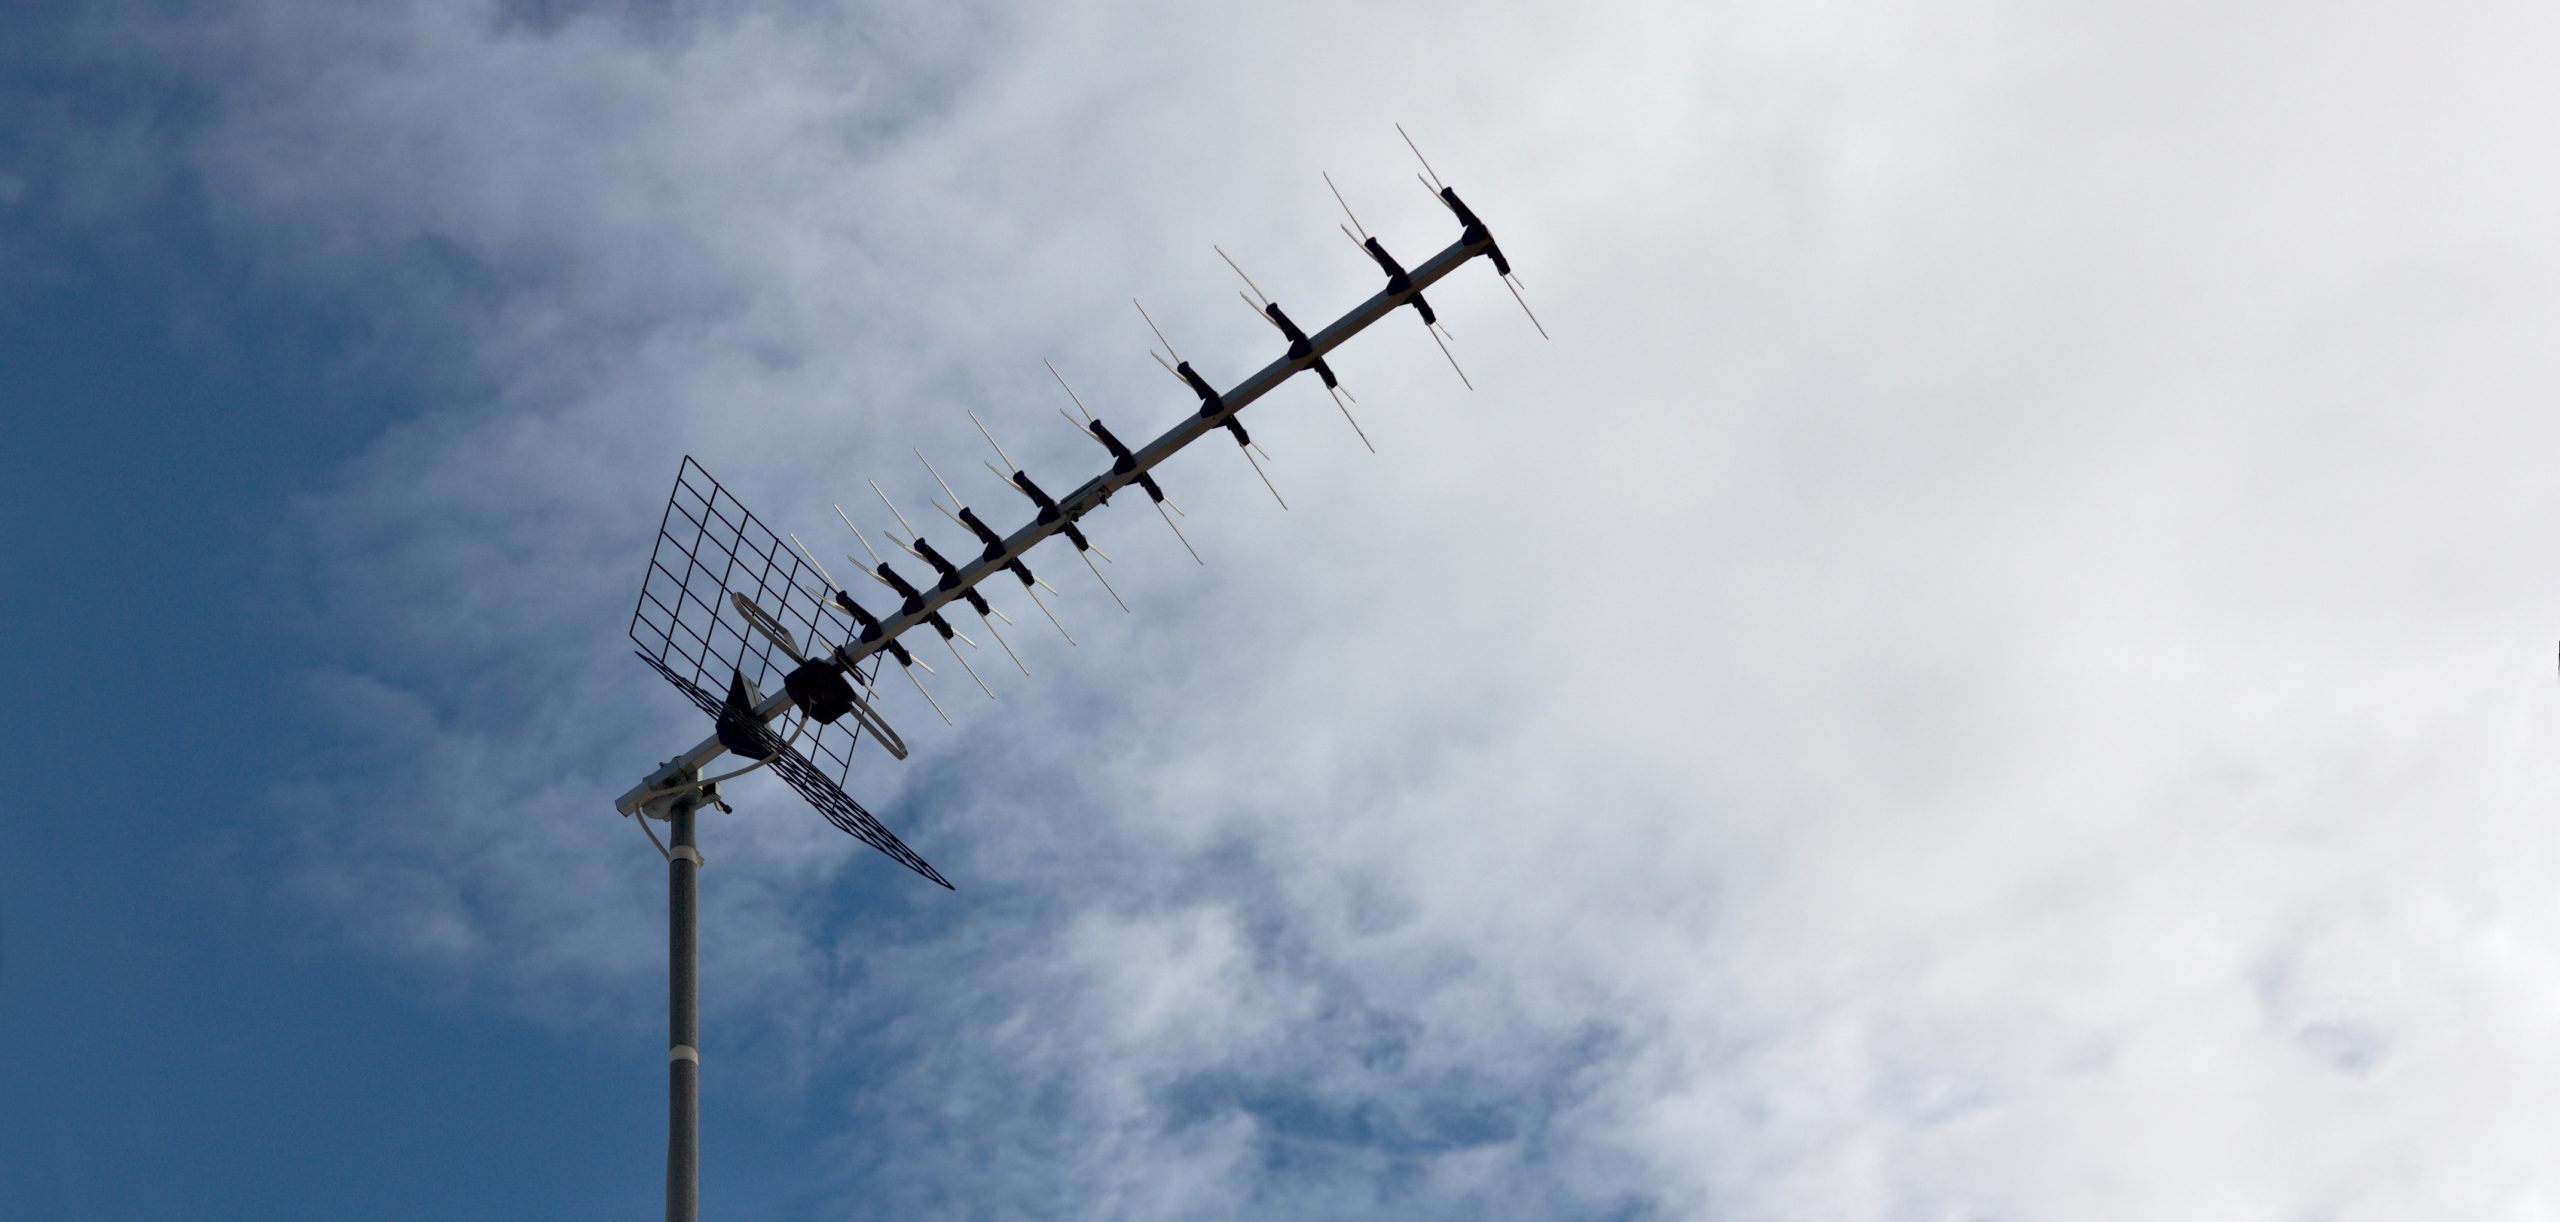
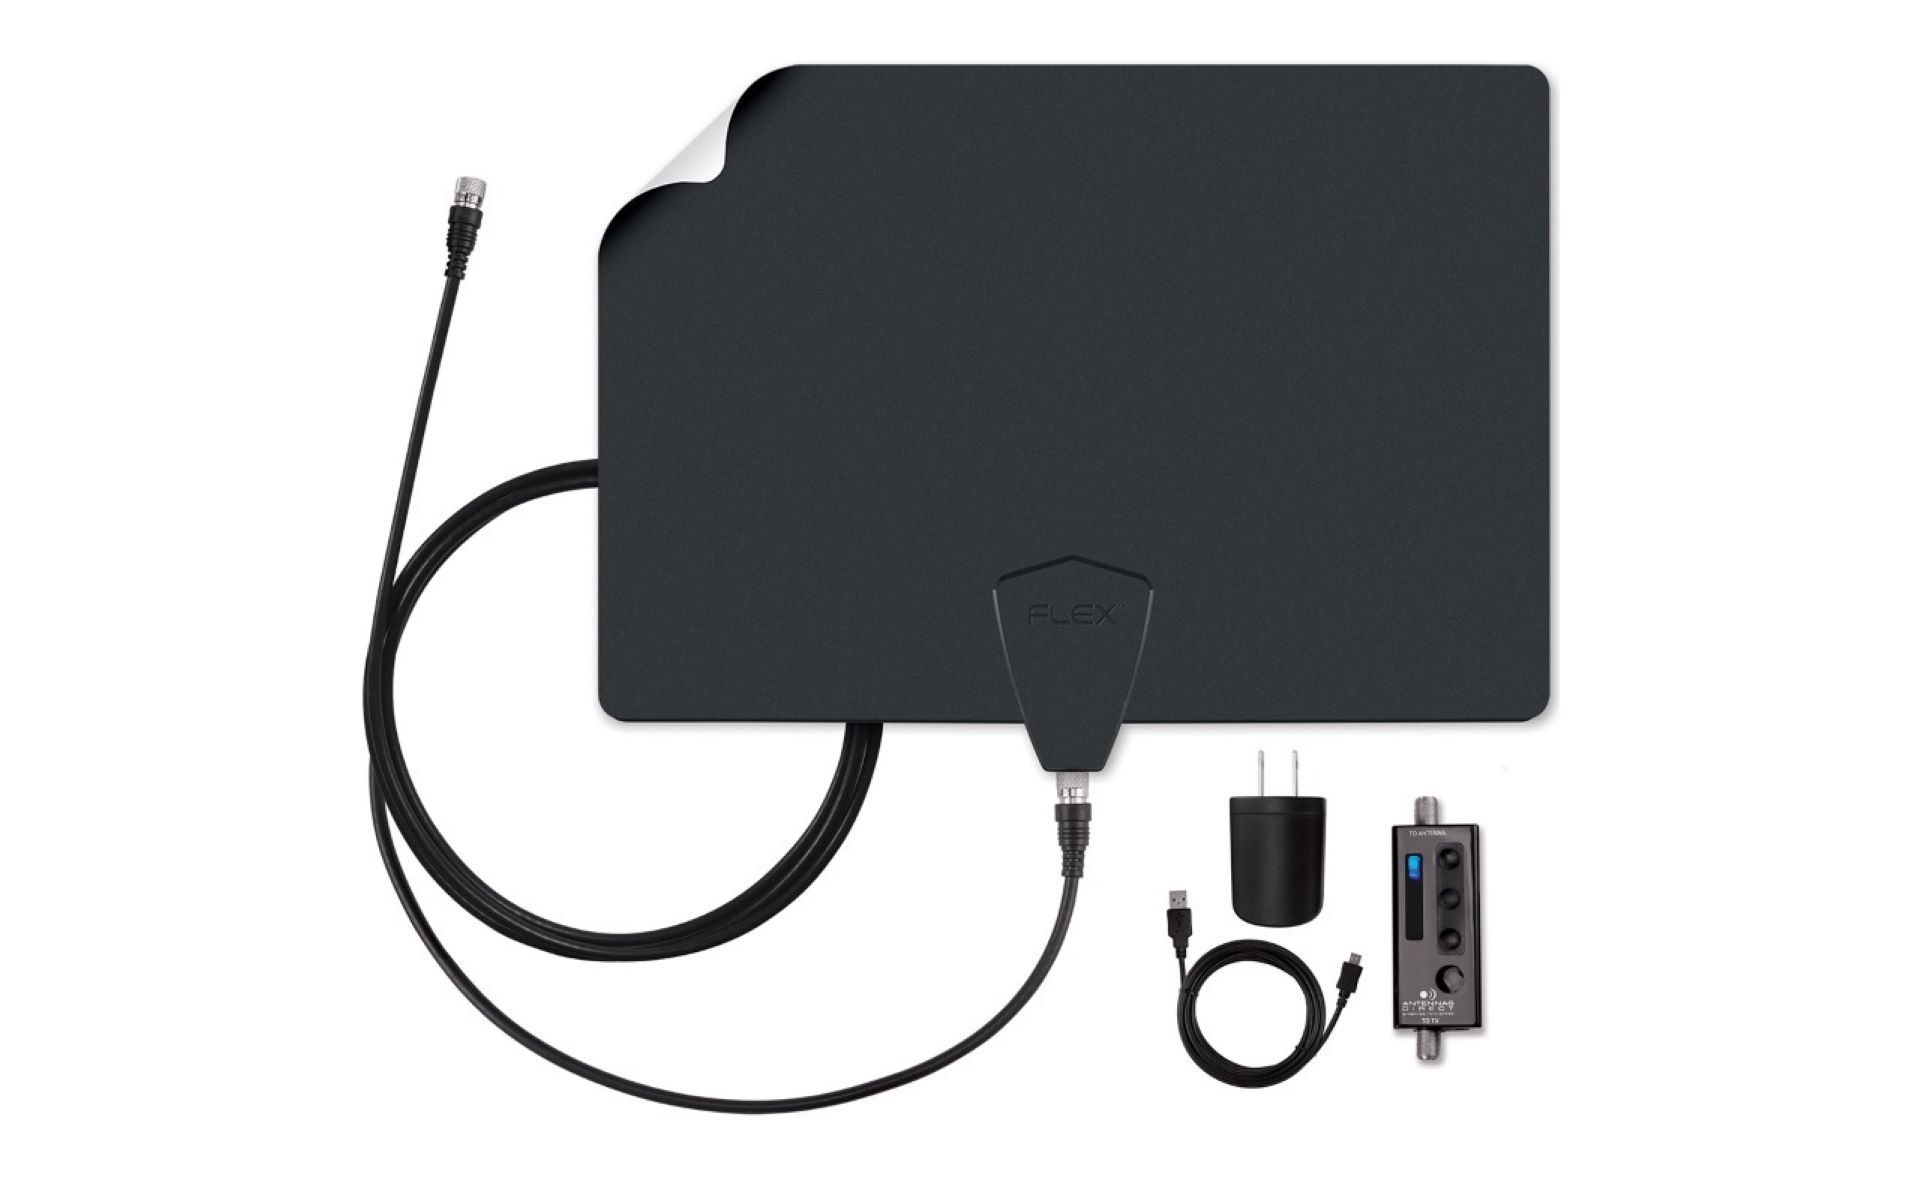
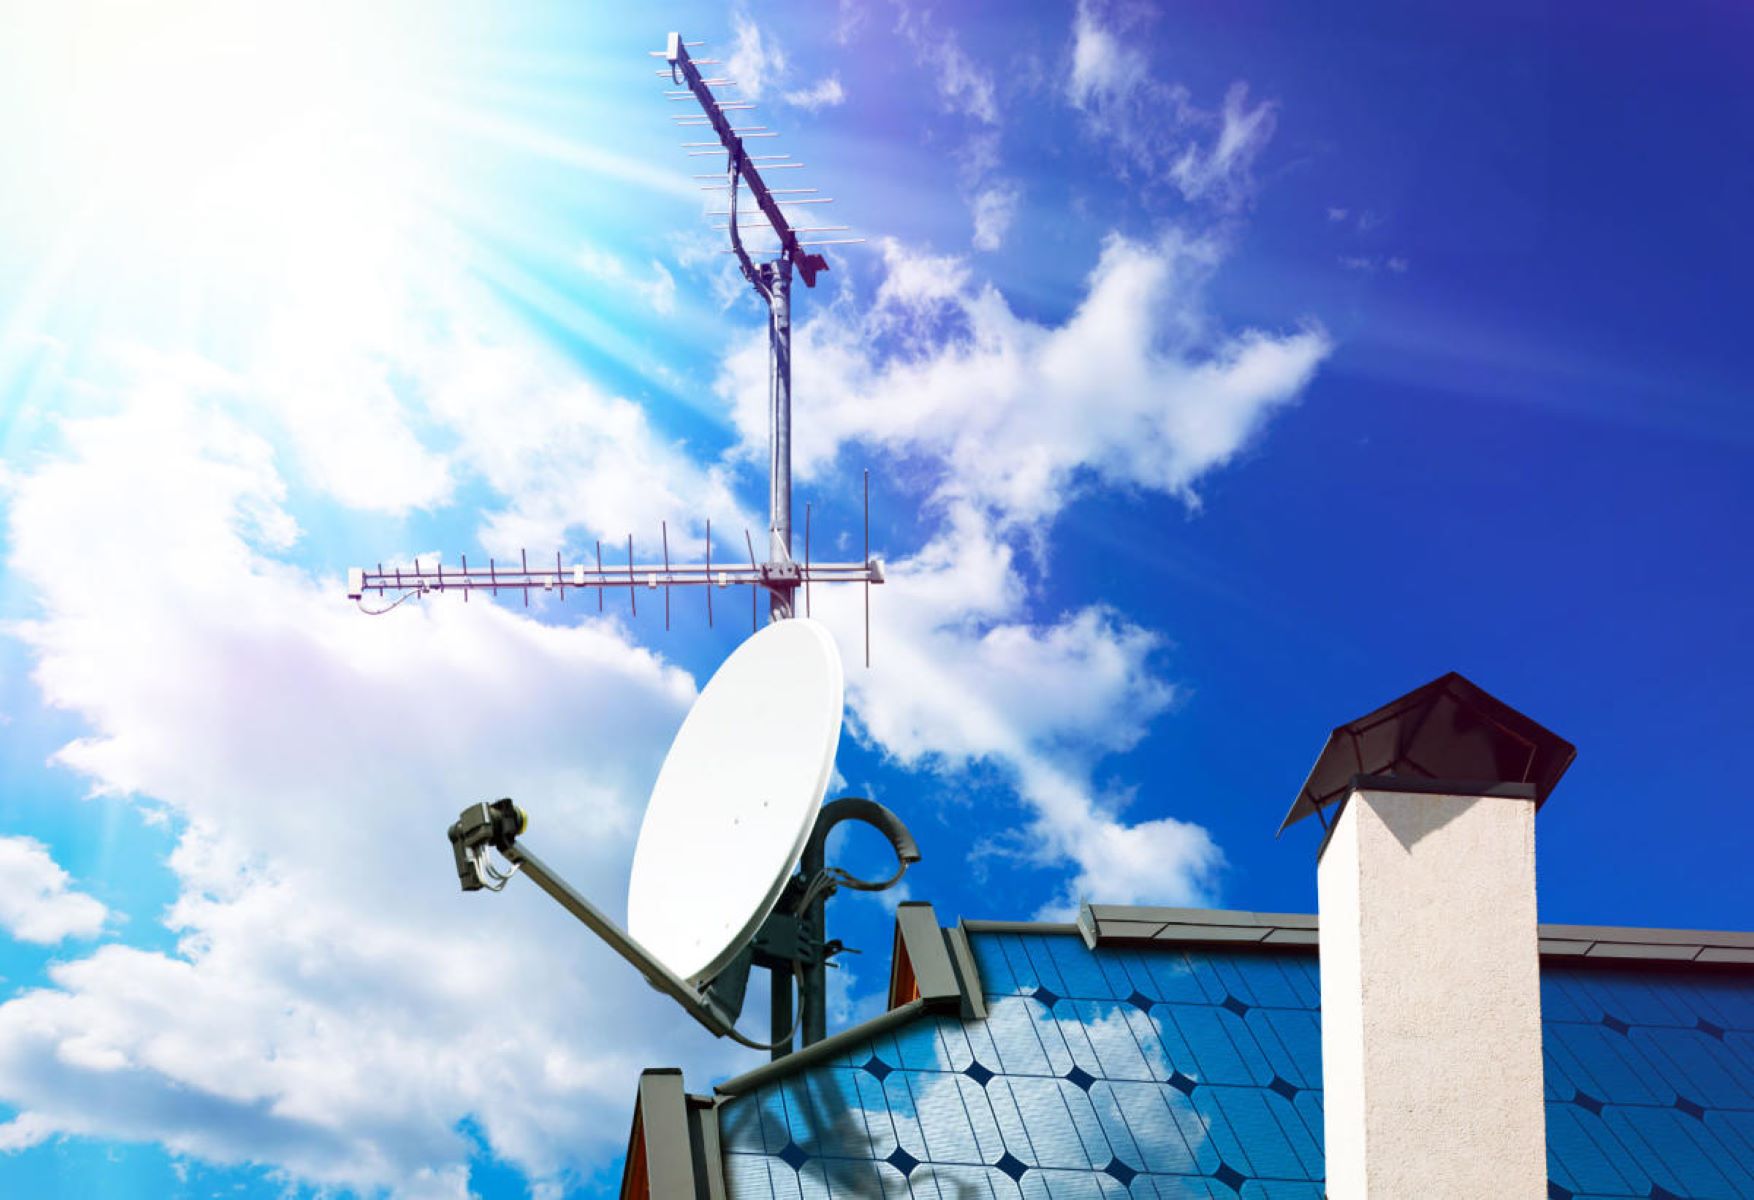
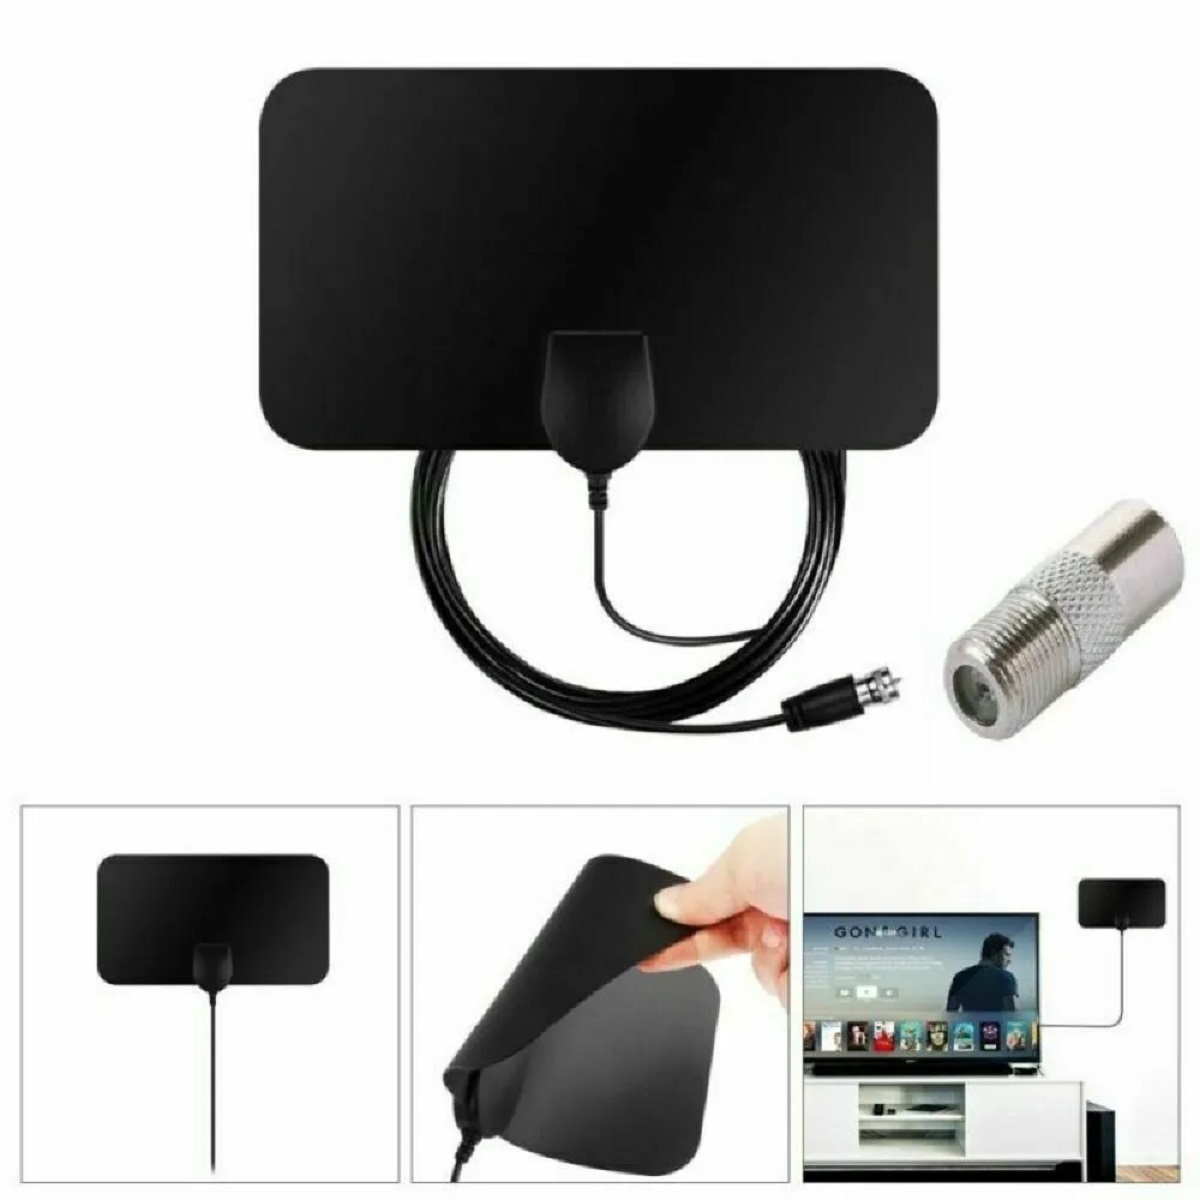
While professional-grade TV antennas are readily available on the market, they can be costly and may not always guarantee optimal results. By creating your own antenna, you have the advantage of customizing it to fit your specific needs. Plus, it’s a fun and inexpensive way to experiment with improving your TV viewing experience. So, grab a paperclip and let’s get started!
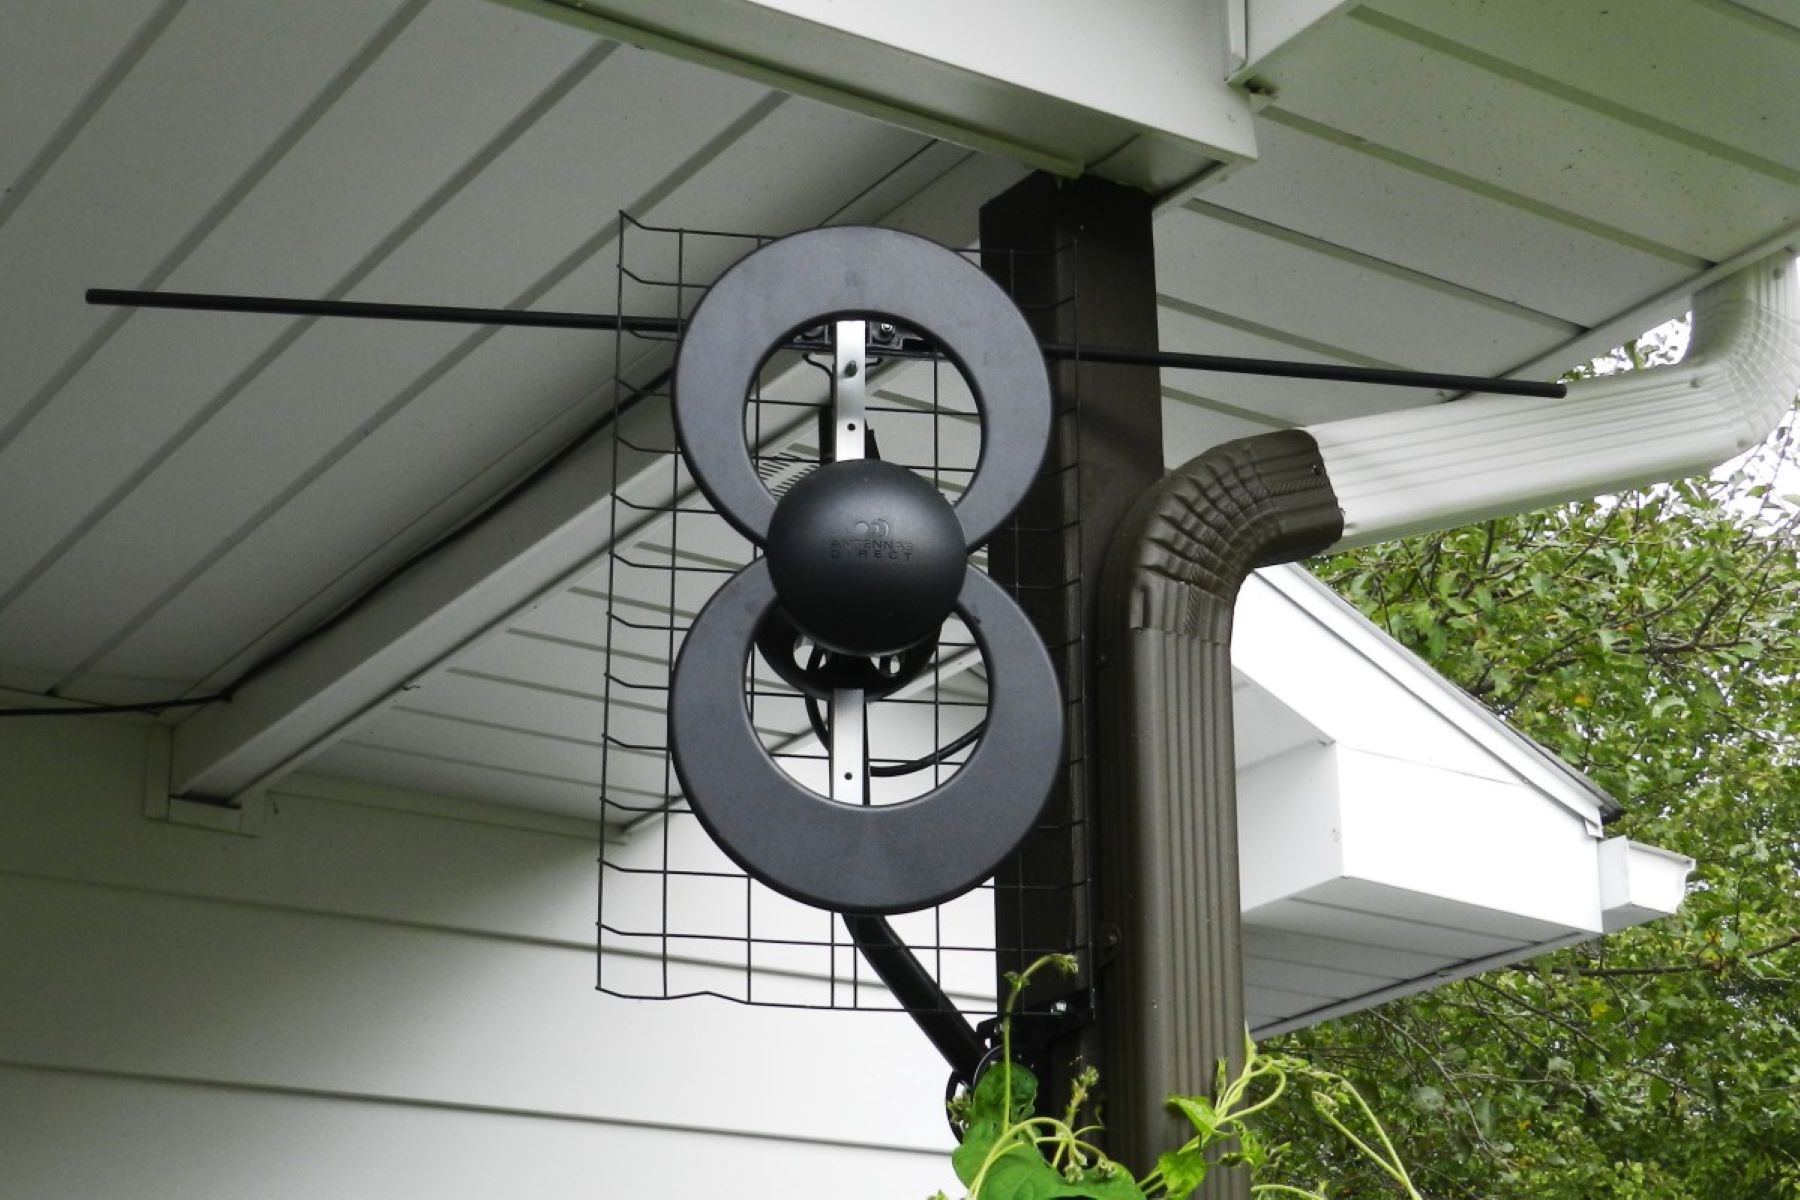
In the following sections, we will outline the materials you need and the step-by-step process to create a TV antenna using a paperclip. Please note that this DIY antenna may not be as effective as commercial antennas designed for specific signal ranges or for outdoor installations. However, it can serve as a temporary solution or an alternative option when you’re in a pinch.
Before we dive into the details, it’s important to mention that results may vary based on your location, proximity to TV broadcast towers, and other environmental factors that can affect signal reception. Let’s give it a shot and see if we can improve your TV signal with just a simple paperclip!
Materials Needed
To make a TV antenna with a paperclip, you’ll need the following materials:
- A paperclip (preferably a larger one)
- A coaxial cable (length depends on your needs)
- Analog TV or a digital TV with a built-in tuner
- A TV or a digital converter box
You may already have some of these materials at home, making this DIY project even more convenient. If you don’t have a coaxial cable, you can purchase it at an electronics store or online. Make sure to choose a cable with the appropriate length for your setup.
Remember, the quality of the TV signal depends on various factors, including your location and surrounding obstacles. While this homemade antenna can help improve your reception to some extent, it may not provide the same level of performance as professionally designed antennas. Nevertheless, it’s a fun experiment and it’s worth giving it a try.
Once you have gathered all the necessary materials, let’s move on to the step-by-step process of making your very own TV antenna with a paperclip.
Step 1: Prepare the Paperclip
The first step in making a TV antenna with a paperclip is to prepare the paperclip itself. Start by selecting a paperclip that is larger in size, as it will provide better signal reception due to its increased surface area. Straighten out the paperclip if it is bent or twisted, ensuring that it is in a straight line.
Next, take a pair of pliers and gently bend one end of the paperclip to create a hook-like shape. This hook will be used to attach the paperclip to the coaxial cable in a later step. You can adjust the shape and size of the hook according to your preference, but ensure that it is secure and will not come loose when attached to the cable.
Inspect the paperclip for any sharp or jagged edges, as these can cause damage to the coaxial cable or injure yourself during the installation process. Use the pliers to smooth out any rough edges and make the paperclip safe to handle.
Note: It’s important to exercise caution while handling the paperclip and working with the pliers to avoid any accidents or injuries. Take your time and work in a well-lit area to ensure safety.
With the paperclip prepared, you’re ready to move on to the next step, which involves shaping the paperclip to optimize its effectiveness as a TV antenna.
Step 2: Shape the Paperclip
Now that you have prepared the paperclip, it’s time to shape it into a form that will enhance its performance as a TV antenna. This step involves creating a loop at the opposite end of the paperclip from the hook you made in the previous step.
Start by gripping the straight end of the paperclip with a pair of pliers. With a gentle but firm hand, slowly and carefully bend the paperclip into a semi-circular shape. Aim for a loop with a diameter of about 4-5 centimeters, although you can adjust the size slightly based on your preference and the available space.
Make sure that the loop is flat and even, without any twists or kinks. This will ensure that the TV signal can adequately pass through the loop and improve reception. Take your time while shaping the paperclip, as it is important to get it right for optimum performance.
Tip: If you find it challenging to shape the paperclip with just your hands, you can use a small cylindrical object, such as a pen or pencil, to help create the loop. Gently wrap the paperclip around the object to achieve the desired shape.
Once you have successfully shaped the paperclip into a loop, you’re ready to move on to the next step, which involves attaching the paperclip to the coaxial cable.
Step 3: Attach the Paperclip to the Coaxial Cable
With the paperclip shaped into a loop, it’s time to attach it to the coaxial cable. This step will allow the paperclip to act as an antenna, capturing the TV signal and transmitting it to your television.
Start by removing the plastic covering from the end of the coaxial cable, exposing the inner copper wire and shielding. You can do this by gently twisting and pulling the plastic covering away from the cable. Be careful not to damage the inner components while removing the plastic covering.
Once the inner components are visible, take the end of the paperclip with the hook-shaped bend and carefully insert it into the exposed copper wire. Make sure that the hook securely wraps around the copper wire, ensuring a tight and reliable connection.
After attaching the paperclip, use electrical tape or a cable tie to secure the connection and prevent the paperclip from getting detached. This will help maintain a stable signal reception as you position the antenna. Wrap the tape or tie around the connection point, covering both the paperclip and the exposed copper wire.
Note: It’s crucial to ensure a proper and secure attachment between the paperclip and the coaxial cable, as a loose connection can result in poor signal reception or no reception at all.
Once you have securely attached the paperclip to the coaxial cable, you’re ready to move on to the next step, which involves positioning the antenna for the best possible reception.
Step 4: Position the Antenna for Best Reception
Now that you have the paperclip antenna attached to the coaxial cable, it’s time to position it for the best possible reception. The ideal location and placement can significantly impact the quality of the TV signal you receive.
Start by finding the spot in your home with the least amount of interference. This may be near a window or away from any large obstructions such as walls or furniture. It’s best to experiment with different positions to determine the optimal location for your paperclip antenna.
Once you’ve found a suitable spot, position the paperclip antenna in a vertical orientation, pointing it towards the nearest TV broadcast tower. You can refer to online resources or TV signal maps to find the direction of nearby broadcast towers in your area.
Placing the antenna vertically helps capture the maximum signal strength, as TV broadcast signals are usually transmitted in a vertical polarization. Avoid positioning it horizontally, as this may result in weaker signal reception.
Keep in mind that the efficiency of the paperclip antenna may vary depending on factors like your proximity to TV broadcast towers, the geography of your area, and any potential sources of interference. For optimal results, it may be necessary to make small adjustments to the position and orientation of the antenna to find the best reception.
Once you have positioned the antenna, it’s time to connect the coaxial cable to your TV and start enjoying improved signal reception!
Note: While the paperclip antenna may provide decent reception in certain situations, it’s important to manage your expectations. A professionally designed TV antenna may still offer better performance, especially in areas with weak or distant TV signals.
Let’s move on to the final step, which involves connecting the coaxial cable to your TV or digital converter box.
Step 5: Connect the Coaxial Cable to Your TV
After positioning the paperclip antenna, it’s time to connect the coaxial cable to your TV or digital converter box to start receiving the improved TV signal.
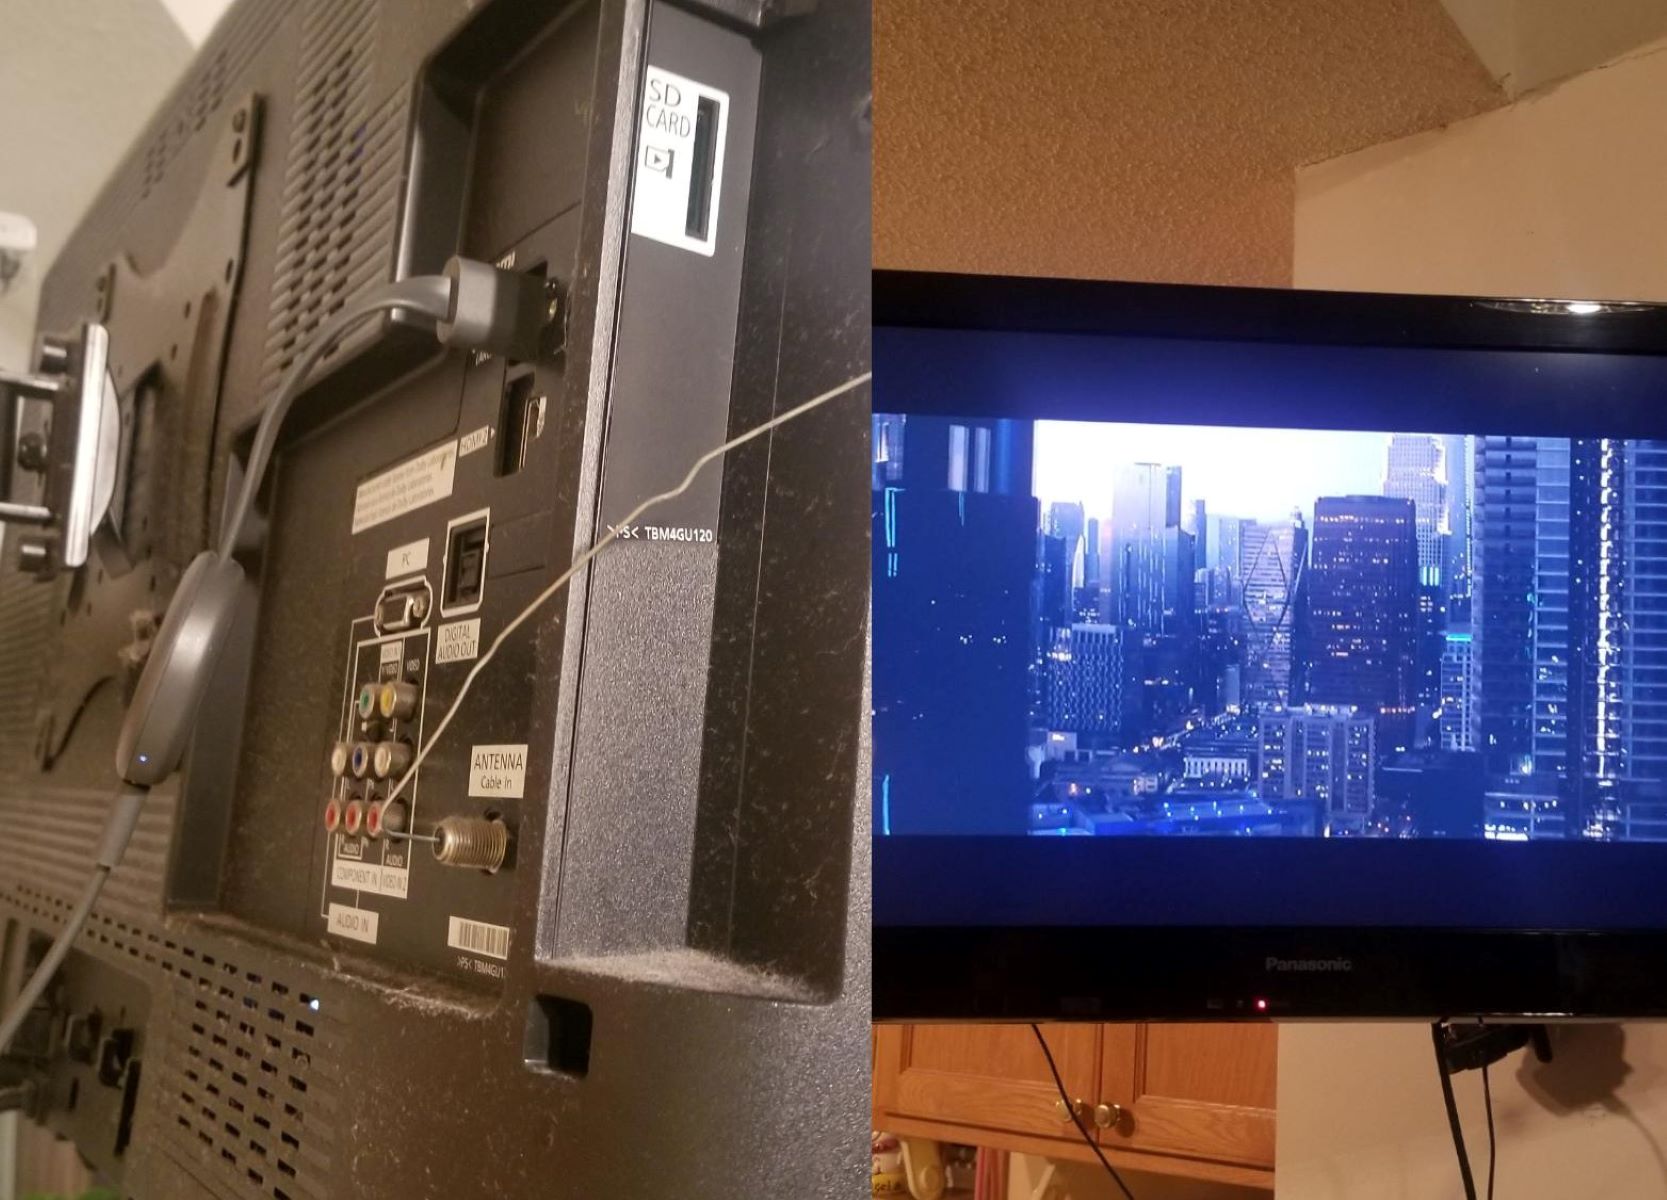
Start by locating the coaxial input on your TV or digital converter box. It is usually labeled “ANT IN” or “RF IN” and may be located on the back or side of the device. Insert the exposed end of the coaxial cable into this input, making sure it fits securely.
Once the cable is inserted, gently twist it clockwise to secure the connection. This will ensure a solid electrical and signal connection, preventing any disruptions in the TV reception.
Now that the coaxial cable is connected to your TV, use your TV’s remote control or on-screen display to navigate to the television’s input or channel settings. Select the option that corresponds to the input you just connected (e.g., “TV,” “Antenna,” or “Cable”).
Once you have selected the appropriate input, perform a channel scan or auto-tune function on your TV or digital converter box. This will allow the device to search for available channels and populate your channel list based on the received signals.
During the channel scan, your TV or converter box will detect the improved TV signal received through the paperclip antenna. It will save the available channels in your area, allowing you to watch your favorite shows and programs with better clarity and reception.
After the channel scan is complete, you’re all set! Sit back, relax, and enjoy the improved TV reception provided by your homemade paperclip antenna.
Note: Keep in mind that the number of channels you receive may vary depending on your location and the strength of the available signals. Additionally, certain channels may require a stronger signal or may not be available in your area.
Now that you know how to create and connect a paperclip TV antenna, you have a budget-friendly option for improving your TV signal reception. Experiment with different positions and locations to find the best setup for your specific needs and enjoy a better viewing experience. Happy watching!
Conclusion
Creating a TV antenna with a paperclip is a simple and cost-effective way to potentially enhance your TV signal reception. While it may not provide the same level of performance as commercial antennas, this DIY solution can serve as a temporary fix or an alternative option in certain situations.
Throughout this guide, we have outlined the materials you need and the step-by-step process to create your own paperclip antenna. By preparing and shaping the paperclip, attaching it to the coaxial cable, positioning it for optimal reception, and connecting it to your TV, you can potentially improve your TV signal and enjoy a better viewing experience.
However, it’s important to note that the effectiveness of the paperclip antenna may vary based on various factors such as your location, distance to TV broadcast towers, and potential interference. For stronger and more reliable signal reception, professional-grade antennas designed for specific signal ranges or outdoor installations may be a better option.
Remember to experiment with different positions and orientations to find the best reception for your specific setup. Small adjustments to the antenna’s position can make a significant difference in signal quality.
Finally, managing your expectations is crucial. While the paperclip antenna can offer an improvement, it may not match the performance of specialized antennas. If you continue to experience poor reception, you may need to consider alternative solutions or consult a professional.
By utilizing this DIY technique, you have taken a creative and resourceful approach to enhancing your TV experience. So, grab a paperclip, follow the steps outlined in this guide, and enjoy improved TV signal reception.
Happy watching!


