Introduction
Having a wireless router is essential in today’s connected world. It provides us with the convenience and freedom to connect multiple devices to the internet without the hassle of wires. However, there are times when our wireless router may stop working, leaving us frustrated and disconnected from the digital world.
When our wireless router fails to work properly, it can disrupt our daily activities such as browsing the web, streaming movies, or even working from home. The lack of a stable internet connection can be incredibly frustrating, but it’s important to remember that there are solutions to get your router back up and running.
In this article, we will explore some common reasons why your wireless router may not be working and provide troubleshooting steps to help you fix the issue. It’s important to note that not all router problems can be easily solved, and in some cases, professional assistance may be required. However, by following these troubleshooting steps, you can diagnose and resolve many common router issues on your own.
Before we dive into the troubleshooting steps, let’s take a look at some of the common reasons why your wireless router may not be functioning properly. By understanding these common issues, you can better identify the root cause of the problem and take appropriate steps to resolve it.
Common Reasons for Wireless Router Not Working
There can be several reasons why your wireless router may not be working as expected. Understanding these reasons will help you troubleshoot and resolve the issue more effectively. Here are some common reasons for a non-working wireless router:
- 1. Power Issues: One of the most common reasons for a non-functioning wireless router is a power problem. Make sure that the router is properly plugged into a power source and that the power indicator light is on.
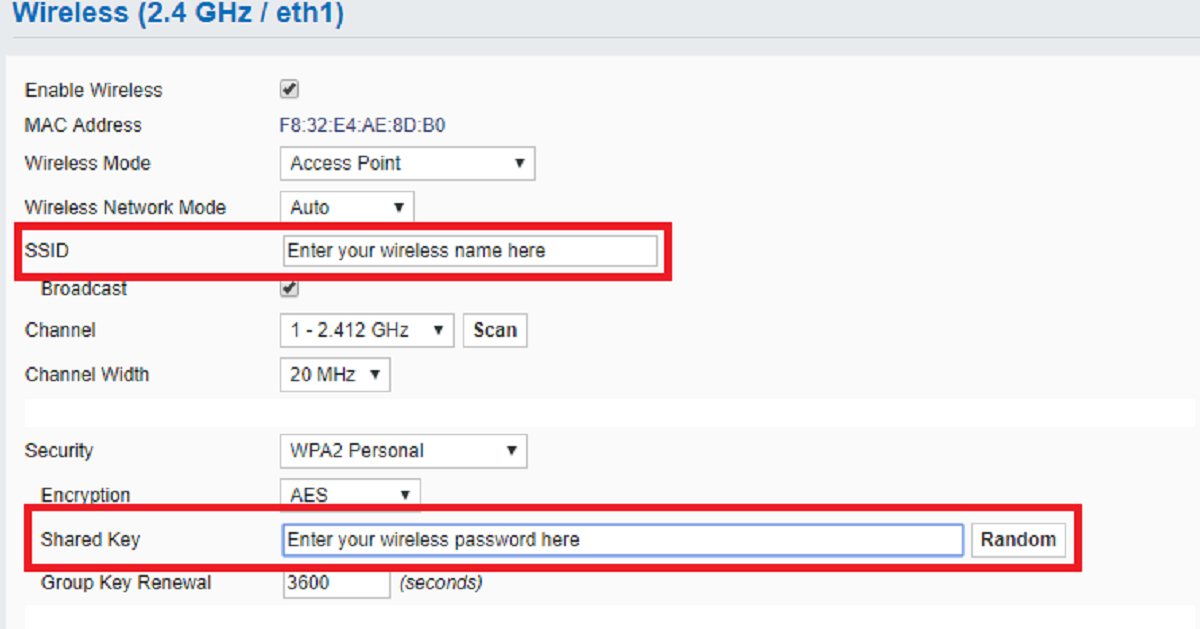
- 2. Router Configuration Issues: If your router’s settings are not configured correctly, it can lead to connectivity issues. Check the router’s configuration settings, including the network name (SSID) and password, to ensure they are accurate.
- 3. Wi-Fi Interference: Interference from other devices or neighboring Wi-Fi networks can disrupt the signal strength and cause connectivity problems. Common sources of interference include cordless phones, microwave ovens, and electronic devices. Try relocating your router away from these devices to minimize interference.
- 4. Outdated Firmware: Router firmware updates are essential for improved performance and security. If your router’s firmware is outdated, it may cause connectivity issues. Check the manufacturer’s website for any available firmware updates and install them accordingly.
- 5. Network Overload: When too many devices are connected to a single router, it can lead to network congestion and a decrease in performance. If you have numerous devices using the Wi-Fi network simultaneously, consider disconnecting some of them or upgrading to a router with better throughput capacity.
Identifying the specific reason why your wireless router is not working will help you narrow down the troubleshooting process and find an appropriate solution. In the next section, we will discuss the steps you can take to troubleshoot and fix a non-functioning wireless router.
Power Issues
Power issues are one of the most common reasons why a wireless router may not be working. Before diving into complex troubleshooting steps, it’s essential to ensure that the router is receiving adequate power. Here’s what you can do to check and resolve power-related issues:
- Check the Power Connection: Start by verifying that the router is properly plugged into a power outlet. Ensure that the power cable is securely connected to the router and the power source. Additionally, check if the power outlet is functioning correctly by plugging another electronic device into it.
- Confirm Power Indicator Light: Once the power connection is verified, check if the router’s power indicator light is on. If the light is off, it indicates a power issue. Try using a different power outlet or power cable to rule out any problems with the current setup.
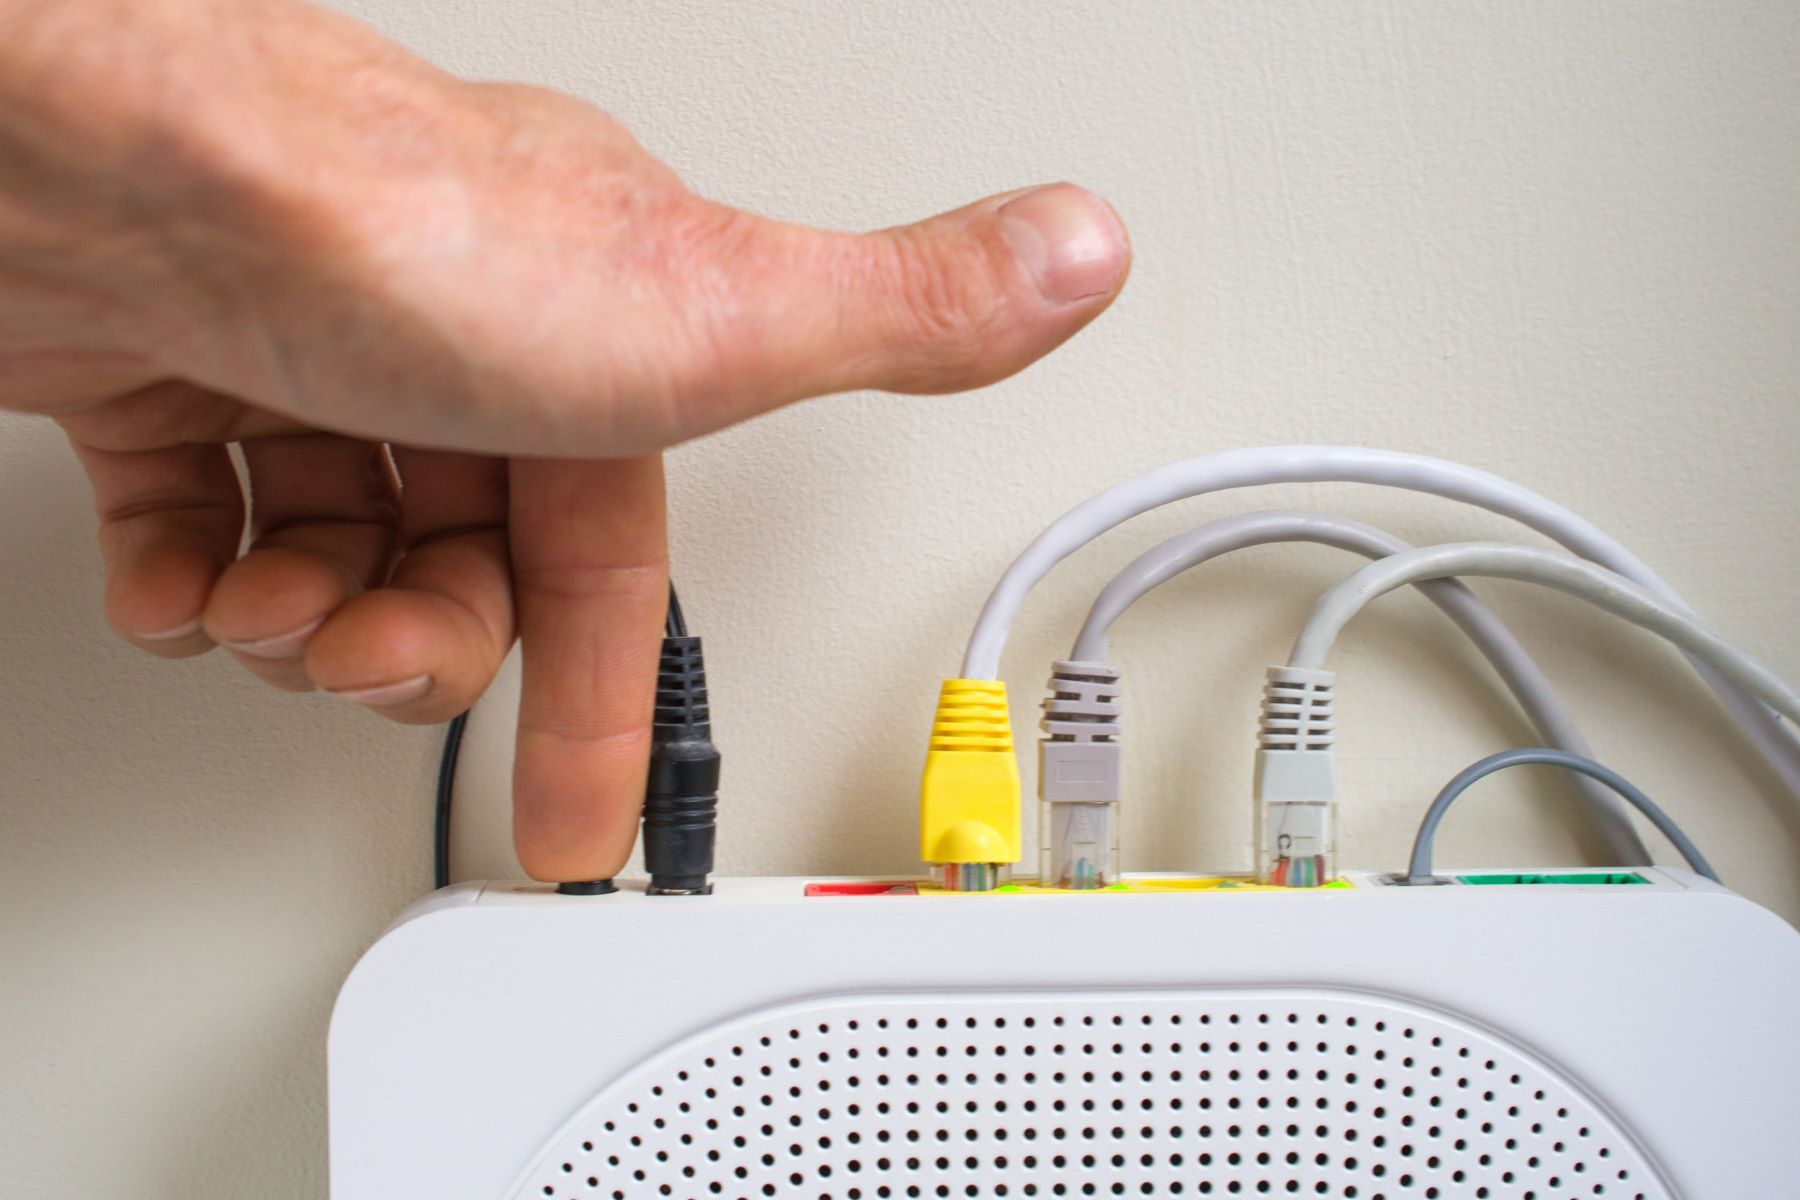
- Consider Power Cycling: If the power indicator light is on, but the router remains unresponsive, try power cycling it. Simply unplug the power cable from the router, wait for about 10-15 seconds, and then plug it back in. This simple step can often resolve minor power issues and restore the router’s functionality.
- Use a Surge Protector: Electrical surges can damage electronic devices, including routers. To safeguard your router from power surges, consider using a surge protector. This device helps regulate and protect against sudden voltage spikes, ensuring a stable power supply to your router.
By checking the power connection, confirming the power indicator light, power cycling the router, and protecting it with a surge protector, you can address common power-related issues. However, if the router still doesn’t work after following these steps, further troubleshooting may be required. Let’s move on to the next section to explore other potential causes of a non-working wireless router.
Router Configuration Issues
Router configuration issues can often lead to connectivity problems and prevent your wireless router from working correctly. These issues can range from incorrect settings to conflicts with other devices on the network. Here’s what you can do to address router configuration issues:
- Check Network Name (SSID) and Password: Ensure that the network name (also known as SSID) and password entered on your devices match the settings on your router. Any discrepancies can prevent devices from connecting to the network.
- Reset Router to Default Settings: If you suspect that the router’s configuration is causing problems, you can reset it to its default settings. Keep in mind that this will erase all custom settings and revert the router to its factory configuration. Look for a small reset button on the router and use a paperclip or a similar tool to press and hold it for about 10-15 seconds. After the reset, you can reconfigure the router with the desired settings.
- Update Router Firmware: Router manufacturers release firmware updates to enhance performance and address security vulnerabilities. Outdated firmware can cause various issues, including configuration problems. Check the manufacturer’s website for any available firmware updates and follow their instructions to install them on your router.
- Check DHCP Settings: The Dynamic Host Configuration Protocol (DHCP) assigns IP addresses to devices on your network. Ensure that the DHCP settings on your router are correctly configured and not causing conflicts with other devices. Check if the “DHCP” option is enabled in your router’s settings and try disabling and re-enabling it if necessary.
- Use a Static IP Address: If you’re experiencing frequent connectivity issues, you can try assigning a static IP address to your devices instead of relying on DHCP. This ensures that the devices always have the same IP address and can help resolve conflicts and connection problems.
By checking the network name and password, resetting the router to default settings, updating the firmware, reviewing DHCP settings, and using a static IP address, you can troubleshoot and address common router configuration issues. If the router still doesn’t work correctly, proceed to the next section to explore other potential causes and troubleshooting steps.
Wi-Fi Interference
Wi-Fi interference is another common factor that can disrupt the signal strength of your wireless router and cause connectivity issues. Interference can result from various sources, including neighboring Wi-Fi networks, electronic devices, and physical barriers. Here’s how you can identify and address Wi-Fi interference:
- Check Nearby Wi-Fi Networks: Use your device’s Wi-Fi settings to check for other nearby networks. If there are multiple networks broadcasting on the same channel as your router, it can result in interference. In your router’s settings, try switching to a less crowded channel to improve Wi-Fi performance.
- Move Router Away from Interfering Devices: Electronic devices like cordless phones, microwaves, and Bluetooth devices can interfere with the Wi-Fi signal. Ensure that your router is placed away from these devices to minimize interference. Additionally, keep your router away from physical barriers like thick walls or metal surfaces, as they can also weaken the signal strength.
- Consider Wi-Fi Range Extenders or Mesh Systems: If your wireless router’s range is limited and you experience weak signals in certain areas of your home or office, consider using Wi-Fi range extenders or mesh systems. These devices can help extend the coverage of your Wi-Fi network and reduce the impact of interference.
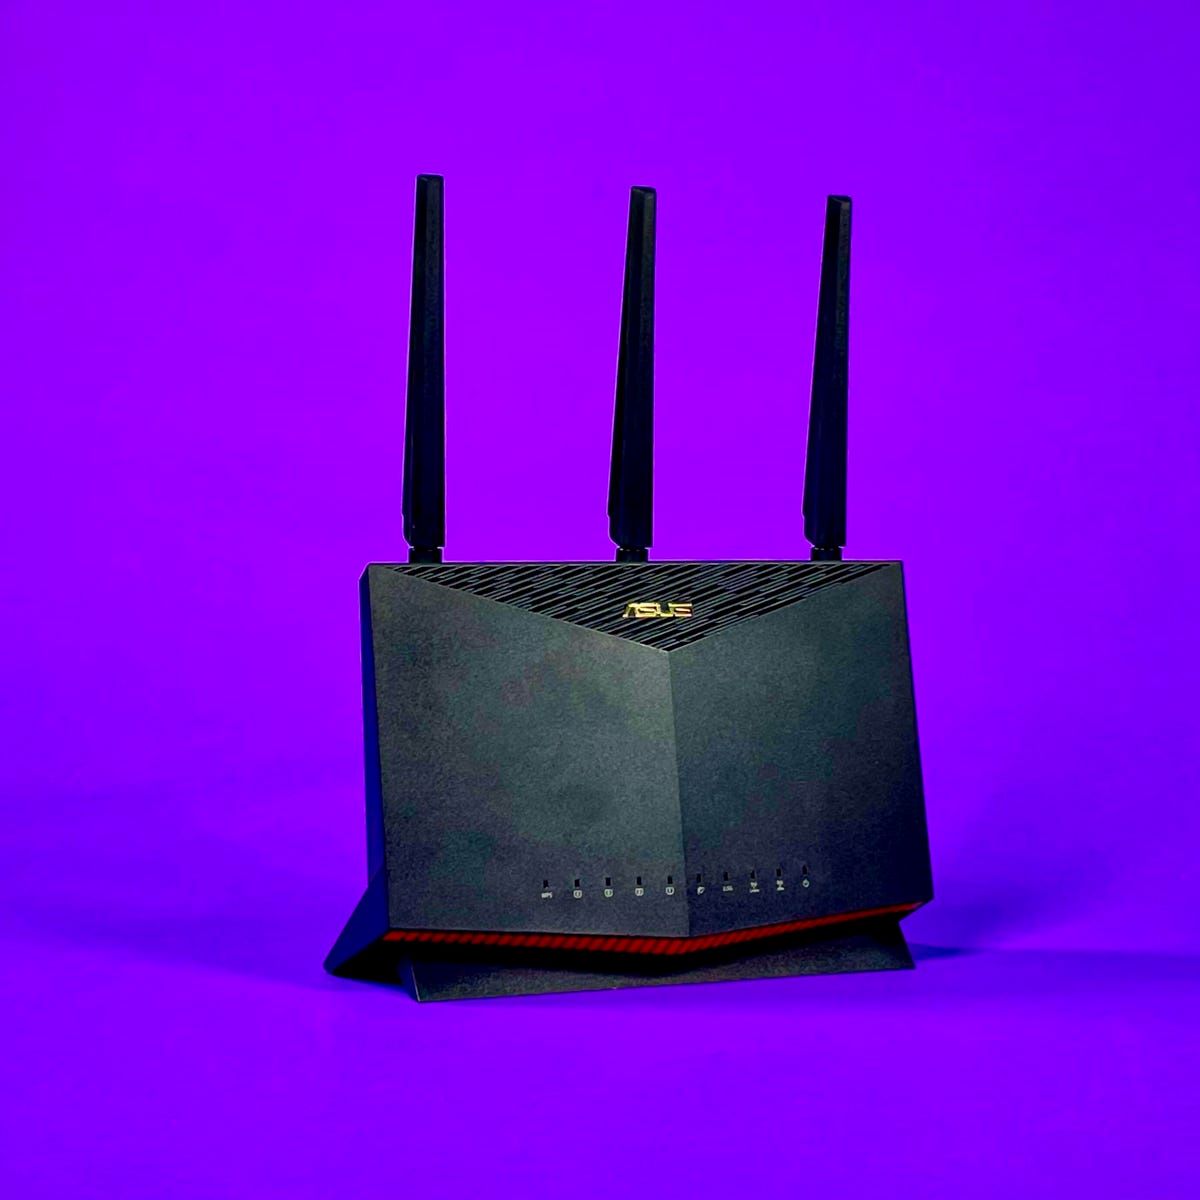
- Adjust Router Antennas: Many routers come with adjustable antennas that allow you to change their orientation. Try adjusting the antennas to find the position that provides the strongest signal strength and minimizes interference.
- Upgrade to a Dual-Band Router: Older routers may only support the 2.4GHz frequency band. Upgrading to a dual-band router that supports both 2.4GHz and 5GHz frequencies can help reduce interference, as the 5GHz band is typically less crowded.
By checking for nearby Wi-Fi networks, moving the router away from interfering devices, considering Wi-Fi range extenders or mesh systems, adjusting router antennas, and upgrading to a dual-band router, you can address Wi-Fi interference issues and improve the performance of your wireless network. If the interference problem persists, continue to the next section for further troubleshooting steps.
Outdated Firmware
Outdated firmware can be a major culprit behind a non-working wireless router. Firmware is the software embedded in your router that controls its functionality and performance. Manufacturers release regular firmware updates to enhance router features, fix bugs, and address security vulnerabilities. Here’s what you can do to address outdated firmware:
- Check for Firmware Updates: Visit the manufacturer’s website or log into your router’s administration interface to check if there are any available firmware updates. Look for the model number of your router and download the latest firmware version if it’s available. Make sure to follow the manufacturer’s instructions and guidelines for updating the firmware.
- Follow the Firmware Update Process: The process for updating router firmware may vary depending on the manufacturer and model. In most cases, you will need to upload the firmware file to the router through the administration interface. Follow the on-screen instructions provided by the manufacturer to complete the firmware update. Do not interrupt the process or turn off the router during the update.
- Enable Automatic Firmware Updates: Some routers have an option to enable automatic firmware updates. If available, consider enabling this feature to ensure that your router stays up to date with the latest firmware releases. Automatic updates can save you time and effort in manually checking for updates.
- Benefits of Updating Firmware: Updating the router firmware brings several benefits. It can enhance the router’s performance, improve stability, fix known issues, and strengthen security measures. Firmware updates often include new features and compatibility enhancements, keeping your router up to date with the latest technology standards.
By regularly checking for firmware updates, following the proper update process, enabling automatic firmware updates if available, and understanding the benefits of updating firmware, you can ensure that your wireless router is running on the latest software version. This will help prevent compatibility issues, improve performance, and resolve any firmware-related problems. If updating the firmware doesn’t solve the issue, continue to the next section for further troubleshooting steps.
Network Overload
When too many devices are connected to a single wireless router, it can lead to network overload and impact its performance. This can result in slow internet speeds, frequent disconnections, and an overall poor browsing experience. Here’s how you can address network overload issues:
- Reduce the Number of Connected Devices: Take a look at the devices connected to your network and identify any that are not actively in use. Disconnect devices that are not essential to free up bandwidth and resources for the devices you are currently using.
- Upgrade to a higher bandwidth: If you find that your current internet plan is not sufficient to support the number of connected devices in your home or office, consider upgrading to a higher bandwidth or switching to a plan that offers more capacity. This can help alleviate network congestion and provide better performance.
- Optimize Bandwidth Usage: Certain activities like streaming high-definition videos, online gaming, or downloading large files consume a significant amount of bandwidth. Limit these activities or schedule them during times when the network is less congested to ensure a smoother browsing experience for all connected devices.
- Implement Quality of Service (QoS) settings: Most modern routers offer Quality of Service (QoS) settings, which allow you to prioritize certain types of network traffic over others. You can assign higher priority to tasks that require real-time responsiveness, such as video calls or online gaming, ensuring that they receive a consistent and stable connection.
- Consider a Mesh Wi-Fi System: If you have a large home or office with significant Wi-Fi coverage needs, a mesh Wi-Fi system can provide better network performance and coverage. Mesh systems use multiple access points to create a seamless and reliable network across a larger area, reducing the strain on a single router.
By reducing the number of connected devices, upgrading to a higher bandwidth, optimizing bandwidth usage, implementing QoS settings, and considering a mesh Wi-Fi system, you can alleviate network overload and ensure a smoother and more stable network connection. If network overload is not the cause of the non-working wireless router, proceed to the next section to explore further troubleshooting steps.
Troubleshooting Steps for a Non-working Wireless Router
If your wireless router is still not working after checking power issues, router configuration, Wi-Fi interference, outdated firmware, and network overload, it’s time to proceed with troubleshooting steps. Here are some additional steps you can take to resolve the issue:
- Check the Physical Connections: Make sure all cables connected to the router are securely plugged in. Check the Ethernet cable connecting the router to the modem, as well as any other connected devices. Ensure that there are no loose or damaged cables.
- Verify Internet Service Provider (ISP) Connection: Confirm that there are no issues with your internet service provider. Contact your ISP and inquire if there are any known outages or network maintenance activities in your area.
- Restart the Router: Sometimes, a simple restart can resolve connectivity issues. Power off the router, unplug it from the power source, wait for about 30 seconds, and then plug it back in. Allow the router a few minutes to boot up completely.
- Reset the Router to Factory Settings: If all else fails, you can try resetting the router to its factory default settings. Look for a small reset button on the router and use a paperclip or similar tool to press and hold it for about 10-15 seconds. Note that this will erase all custom settings and configurations.
- Update Router Firmware: If you haven’t done so already, check for any available firmware updates for your router and install them. Keeping the firmware up to date can help resolve compatibility issues and improve performance.
- Check for Wi-Fi Interference: Ensure that there are no new devices or appliances near your router that may be causing interference. Move the router away from any potential sources of interference, such as cordless phones, baby monitors, or microwave ovens.
- Reduce Network Load: Limit the number of devices connected to your router, especially if you notice a significant slowdown in network performance. Disconnect devices that are not actively in use to reduce the strain on the router.
By following these troubleshooting steps, you can address many common issues with a non-working wireless router. However, if the problem persists, it may be necessary to seek professional assistance or consider replacing the router. Remember to consult the manufacturer’s documentation or contact customer support for further guidance specific to your router model.
Check Power Connection
One of the first and most crucial steps in troubleshooting a non-working wireless router is to check the power connection. Power issues are a common reason for router malfunctioning. Here’s what you can do to verify and address power-related problems:
- Ensure Proper Power Source: Start by checking if the router is connected to a functional power outlet. Sometimes, a loose or faulty power connection can cause the router to stop working. Plug the power cable securely into the power outlet, making sure it fits snugly.
- Check Power Indicator Light: The next step is to examine the power indicator light on the router. If the light is off or blinking, it indicates a power issue. Ensure that the power cable is securely connected to the router and that the power outlet you are using is functional. If the power light remains off, try using a different power outlet or replace the power cable.
- Power Cycle the Router: Power cycling, or restarting, the router can often resolve temporary power issues. To do this, simply unplug the power cable from the router, wait for about 10-15 seconds, and then plug it back in. Wait for the router to boot up completely. Power cycling can refresh the router’s power connection and resolve minor power-related problems.
- Use a Surge Protector: Electrical surges or fluctuations can damage electronic devices like routers. Consider using a surge protector to protect your router from sudden voltage spikes. A surge protector can regulate and stabilize the power supply to the router, preventing potential damage and ensuring a consistent power flow.
By checking the power connection, verifying the power indicator light, power cycling the router, and using a surge protector, you can address common power-related issues with your wireless router. Taking these steps will help ensure that your router receives a steady power supply and is functioning properly. If the problem persists, continue to the next section for further troubleshooting steps.
Verify Internet Service Provider (ISP) Connection
After ensuring a stable power connection, the next step in troubleshooting a non-working wireless router is to verify your internet service provider (ISP) connection. Sometimes, the issue may not lie with the router itself, but with the internet connection provided by your ISP. Here’s what you can do to check and resolve ISP-related problems:
- Check Other Devices: Start by checking if other devices connected to the same network are experiencing internet connectivity issues. If all devices are unable to connect to the internet, it may indicate a problem with the ISP connection. This could be due to an outage in your area or a disruption in the ISP’s network.
- Contact Your ISP: If you suspect that the issue is related to the ISP, contact their customer support. Inquire if there are any known outages or network maintenance activities taking place in your area. The ISP support team can provide you with information about the status of your internet connection and offer assistance in resolving any ISP-related issues.
- Restart Modem and Router: In some cases, restarting both the modem and router can help establish a stable connection. Begin by powering off your modem and router. Unplug them from their power sources. Wait for about 30 seconds, then plug in the modem first and wait for it to establish a connection. Once the modem is online, plug in the router and allow it to boot up fully. This process can refresh the connection between your devices and the ISP.
- Check Physical Connections: Ensure that all cables connected to the modem and router are securely plugged in. Check the Ethernet cable that connects your modem to the router and make sure it is in good condition. If necessary, try replacing the cable to eliminate the possibility of a faulty connection.
- Perform Speed Test: Use an online speed test tool to check the speed and stability of your internet connection. This will help determine if the issue lies with the ISP’s connection. If the speed test results indicate a significantly slower connection than your subscribed plan, it may be worth contacting your ISP to discuss the issue further.
By checking other devices, contacting your ISP, restarting the modem and router, verifying physical connections, and performing a speed test, you can diagnose and resolve common ISP-related connection issues. Remember to communicate with your ISP’s customer support for further assistance and guidance specific to your internet service. If the problem persists, continue to the next section for additional troubleshooting steps.
Restart the Router
If you’re experiencing issues with your wireless router, one of the simplest and most effective troubleshooting steps you can take is to restart the router. Restarting the router can help resolve various connectivity issues and refresh its settings. Here’s how you can restart your router:
- Power Off the Router: Locate the power button on your router or simply unplug the power cable from the back of the router. Ensure that the router is completely turned off before proceeding to the next step.
- Disconnect Other Devices: If several devices are connected to the router, consider temporarily disconnecting them. This will allow the router to have a fresh start without any potential interference or congestion caused by other devices.
- Wait for a Few Minutes: Give the router a few minutes to fully power down. This will ensure that any remaining stored power is completely discharged, helping to clear any temporary glitches or conflicts within the router’s system.
- Power On the Router: Plug the power cable back into the router or press the power button to turn it back on. Allow the router to boot up fully, which may take a couple of minutes. Ensure that the power indicator light on the router is stable and not flashing.
- Reconnect Devices: Once the router is up and running, reconnect your devices to the Wi-Fi network. Make sure to enter the correct network name (SSID) and password to establish a secure connection.
By restarting your router, you give it a fresh start and a chance to resolve any temporary issues it may be experiencing. It can also help clear any temporary cache or conflicts that may have accumulated over time. If the problem persists after restarting the router, continue to the next section for additional troubleshooting steps.
Reset the Router to Factory Settings
If restarting the router didn’t resolve the issues you’re facing, another step you can take is to reset the router to its factory settings. This process will restore the router to its original configuration and erase any customized settings you may have made. Here’s how you can reset your router:
- Locate the Reset Button: Most routers have a small reset button located on the back or bottom. It is usually recessed to prevent accidental presses. Use a paperclip or a similar tool to press and hold the reset button.
- Perform a Hard Reset: While holding the reset button, power on the router by plugging it in or using the power button. Continue holding the reset button for about 10-15 seconds or until you see the router’s lights flashing, indicating that the reset process is underway.
- Release the Reset Button: Once the router’s lights start flashing, release the reset button. The router will continue the reset process, which may take a couple of minutes. Avoid interrupting this process, as it could potentially cause further issues.
- Reconfigure the Router: After the reset process is complete, the router will be restored to its factory settings. You’ll need to set up the router again, including configuring the network name (SSID) and password, as well as any other personalized settings such as port forwarding or parental controls.
- Refer to the User Manual: If you’re unsure about how to reconfigure the router, refer to the user manual provided by the manufacturer. It will guide you through the setup process and provide instructions specific to your router model.
By resetting the router to its factory settings, you eliminate any potential configurations or settings that may have been causing the issues. However, keep in mind that resetting your router should be a last resort, as it will erase any customized settings you may have made. If the problem persists even after resetting the router, continue to the next section for further troubleshooting steps.
Update Router Firmware
Outdated router firmware can cause various issues and impact the performance and security of your wireless router. Updating the firmware to the latest version can help resolve these problems and ensure that your router is functioning optimally. Here’s how you can update your router’s firmware:
- Check for Firmware Updates: Visit the manufacturer’s website or log into your router’s administration interface to check if there are any available firmware updates. Look for the model number of your router and download the latest firmware version if it’s available. Make sure to select the correct firmware for your specific router model.
- Backup Current Configuration: Before proceeding with the firmware update, it’s recommended to backup your current router configuration. This will allow you to restore your settings if any issues arise during the update process. Refer to your router’s user manual or manufacturer’s website for instructions on how to backup and restore the configuration.
- Follow the Firmware Update Process: Each router manufacturer may have a slightly different process for updating firmware. In most cases, you’ll need to access the router’s administration interface through a web browser. Enter the router’s IP address in the browser’s address bar and log in with your administrator credentials.
- Upload the Firmware: In the router’s administration interface, look for the firmware update or upgrade section. Locate the firmware file you downloaded in the first step and follow the instructions provided to upload and install the firmware on your router. Be patient during this process as it may take a few minutes to complete.
- Reboot the Router: Once the firmware update is complete, it’s crucial to restart the router. This ensures that the new firmware is properly applied and all settings are refreshed. Restart the router as you normally would by either pressing the power button or unplugging and plugging in the power cable.
- Verify Firmware Update: After the router restarts, verify that the firmware update was successful. You can usually find this information in the router’s administration interface. The firmware version should match the latest version you downloaded and installed. Ensure that all settings are intact and reconfigure any personalized settings if necessary.
Regularly updating your router’s firmware is essential to ensure optimal performance and security. By following these steps to update the firmware, you can address any known issues, benefit from new features, and enhance the overall functionality of your wireless router.
Check for Wi-Fi Interference
Wi-Fi interference is a common culprit behind connectivity issues and poor performance of wireless routers. Interference can occur due to various factors, including neighboring Wi-Fi networks, electronic devices, and physical barriers within your environment. Here’s how you can identify and address Wi-Fi interference:
- Check for Nearby Wi-Fi Networks: Use your device’s Wi-Fi settings to scan for nearby networks. If you see multiple networks on the same channel as your router, it can cause interference. In your router’s settings, consider switching to a less congested channel to improve Wi-Fi performance.
- Move Router Away from Interfering Devices: Electronic devices like cordless phones, microwave ovens, and Bluetooth devices can interfere with Wi-Fi signals. Keep your router away from these devices to minimize interference. Also, ensure that the router is placed away from physical barriers such as thick walls or metal surfaces, as they can weaken the signal strength.
- Adjust Router Antennas: Many routers have adjustable antennas that can be repositioned to optimize signal strength. Experiment with adjusting the antennas to find the position that provides the strongest and most stable Wi-Fi signal.
- Upgrade to a Dual-Band Router: Older routers may only support the 2.4GHz frequency band, which is susceptible to more interference. Consider upgrading to a dual-band router that supports both 2.4GHz and 5GHz frequencies. The 5GHz band is generally less congested and offers better performance in environments with high interference.
- Use Wi-Fi Analyzer Tools: Wi-Fi analyzer apps or software can help you identify sources of interference. These tools provide a visual representation of the Wi-Fi signals in your vicinity, allowing you to see which channels are crowded and where the strongest signals are coming from. This information can help you make informed decisions about selecting the optimal channel for your router.
By checking for nearby Wi-Fi networks, moving the router away from interfering devices, adjusting router antennas, upgrading to a dual-band router, and utilizing Wi-Fi analyzer tools, you can effectively mitigate Wi-Fi interference issues. Taking these steps will help optimize your Wi-Fi signal strength and minimize the impact of external factors on your wireless network.
Reduce Network Load
Network overload can put a strain on your wireless router, leading to poor performance and connectivity issues. When too many devices are connected or bandwidth-intensive activities are being carried out simultaneously, it can cause congestion and impact the overall network performance. Here are some steps to reduce network load and improve router functionality:
- Limited Connected Devices: Take stock of all the devices connected to your network and identify any that are not actively in use. Disconnecting unnecessary devices can relieve the load on your router and improve overall performance.
- Manage Bandwidth Usage: Some activities, such as streaming high-definition videos or downloading large files, consume significant bandwidth. To optimize network performance, limit bandwidth-consuming activities or schedule them during off-peak hours when the network load is lighter.
- Upgrade Your Internet Plan: If your current internet plan cannot support the number of devices or the bandwidth requirements of your household or office, consider upgrading to a higher-speed plan. An increased bandwidth allowance can help accommodate more devices and bandwidth-intensive activities without overloading the network.
- Implement Quality of Service (QoS): Most routers offer Quality of Service (QoS) settings that allow you to prioritize specific types of network traffic. By assigning higher priority to essential tasks like video conferencing or online gaming, you can ensure a more consistent and reliable connection for those activities.
- Consider Using Ethernet: For devices that require a stable and high-speed connection, consider using Ethernet cables instead of relying on Wi-Fi. Wired connections typically offer faster and more stable speeds, reducing the strain on your wireless network.
By limiting connected devices, managing bandwidth usage, upgrading your internet plan if needed, implementing Quality of Service settings, and considering wired Ethernet connections, you can reduce network load and optimize the performance of your wireless router. These steps will help ensure a smoother and more efficient network experience for all connected devices.
Conclusion
A non-working wireless router can be frustrating, but by following the troubleshooting steps mentioned in this article, you can often diagnose and resolve the underlying issues. Start by checking the power connection and verifying your ISP connection. Restart the router and reset it to its factory settings if necessary. Updating the router’s firmware and addressing Wi-Fi interference can also go a long way in improving performance. Lastly, reducing network load by managing connected devices and prioritizing bandwidth usage can help maintain a stable and efficient network connection.
Remember that while these steps can resolve many common router issues, some problems may require professional assistance or necessitate the replacement of the router. If you are unsure or unable to resolve the issue on your own, consider reaching out to your router manufacturer’s customer support or consulting a network technician for further assistance.
Regular maintenance, such as keeping your firmware up to date and managing interference sources, can help prevent future problems. Additionally, consider investing in a high-quality router that meets your specific needs to provide a reliable and efficient Wi-Fi network.
By taking the necessary steps to troubleshoot and resolve issues, you can ensure that your wireless router works optimally, providing you with a seamless internet experience for all your devices. Don’t let a non-working router get the best of you – take action and get back online in no time!