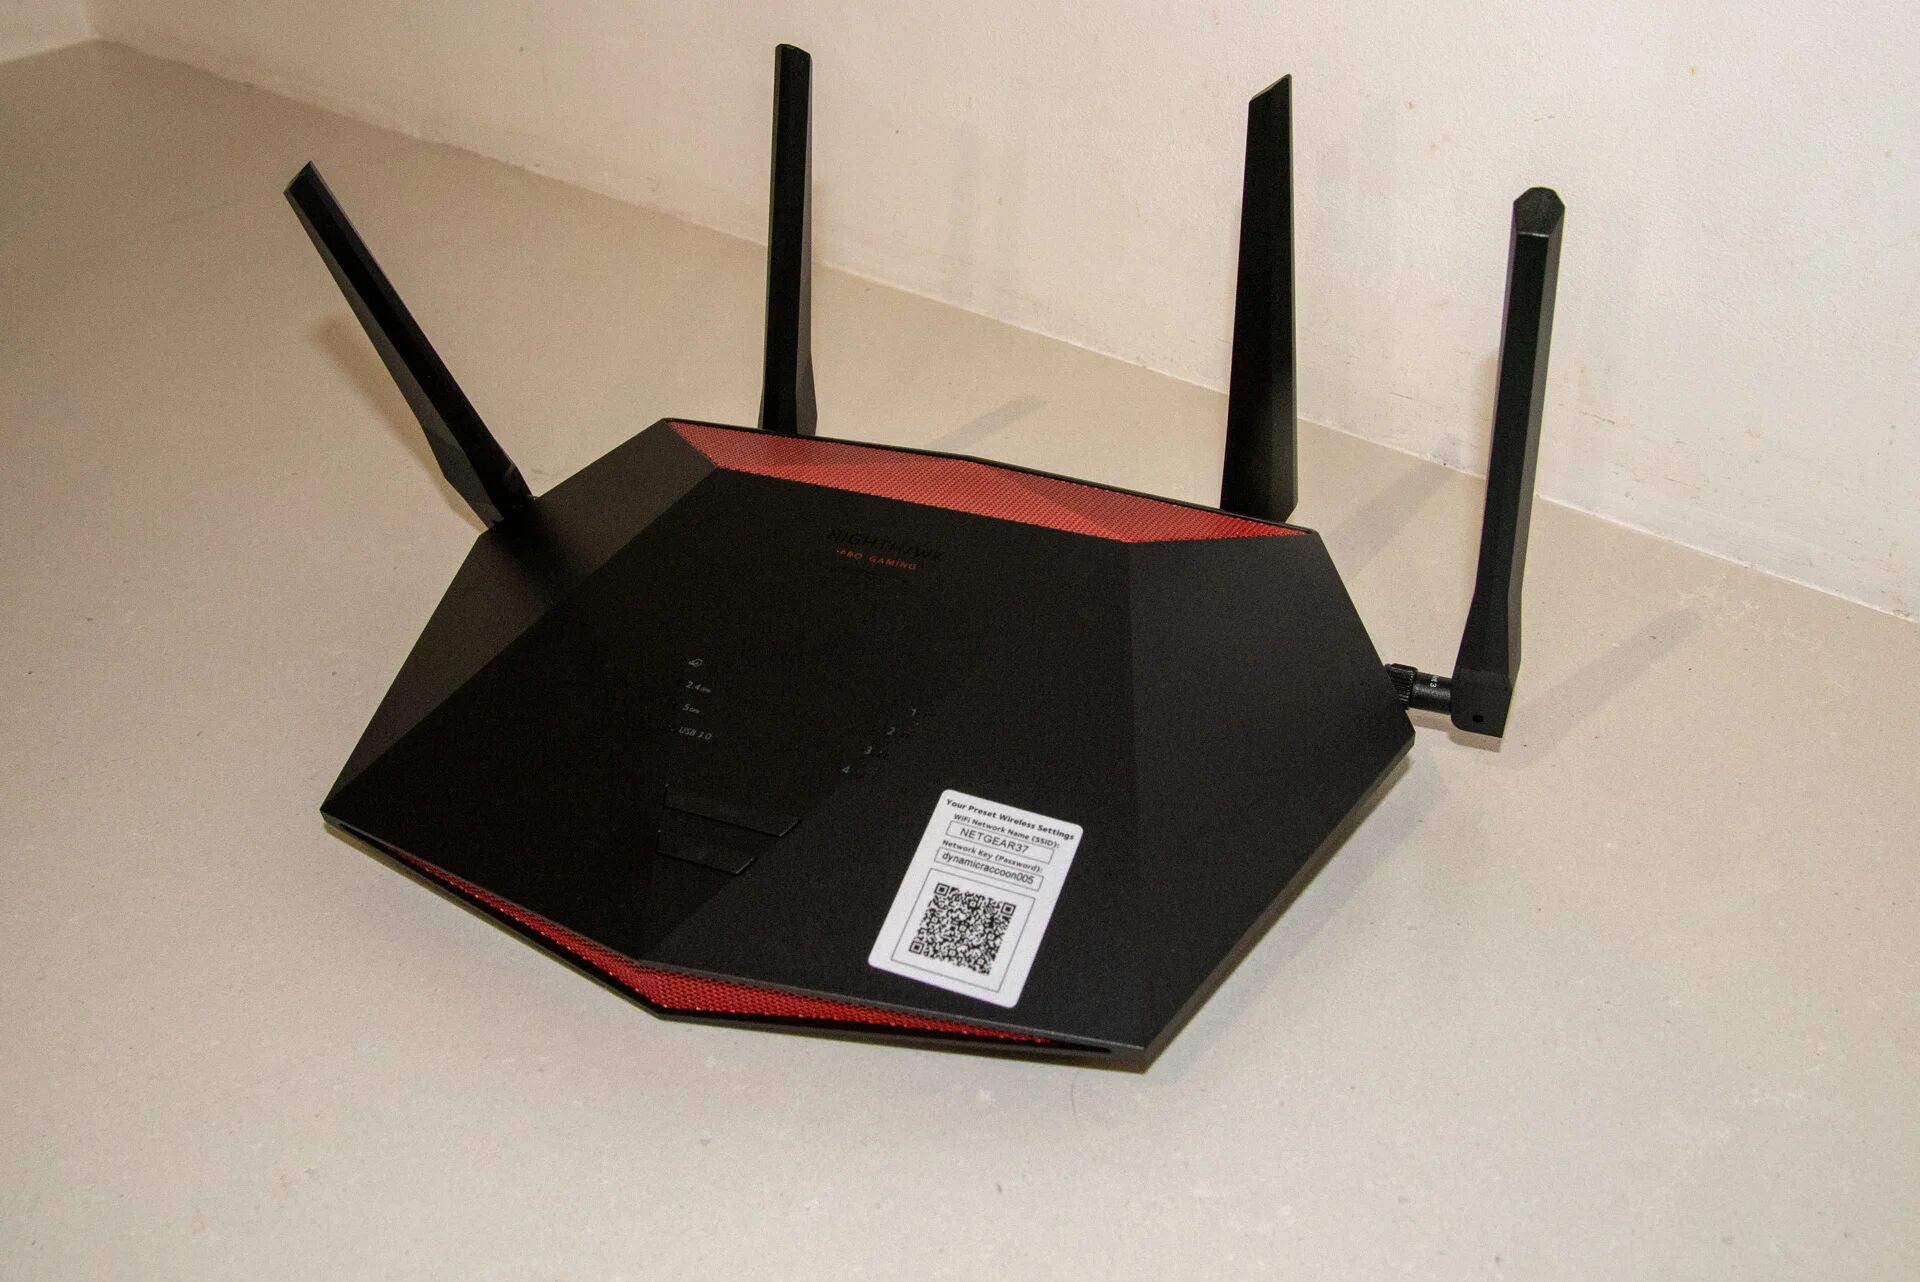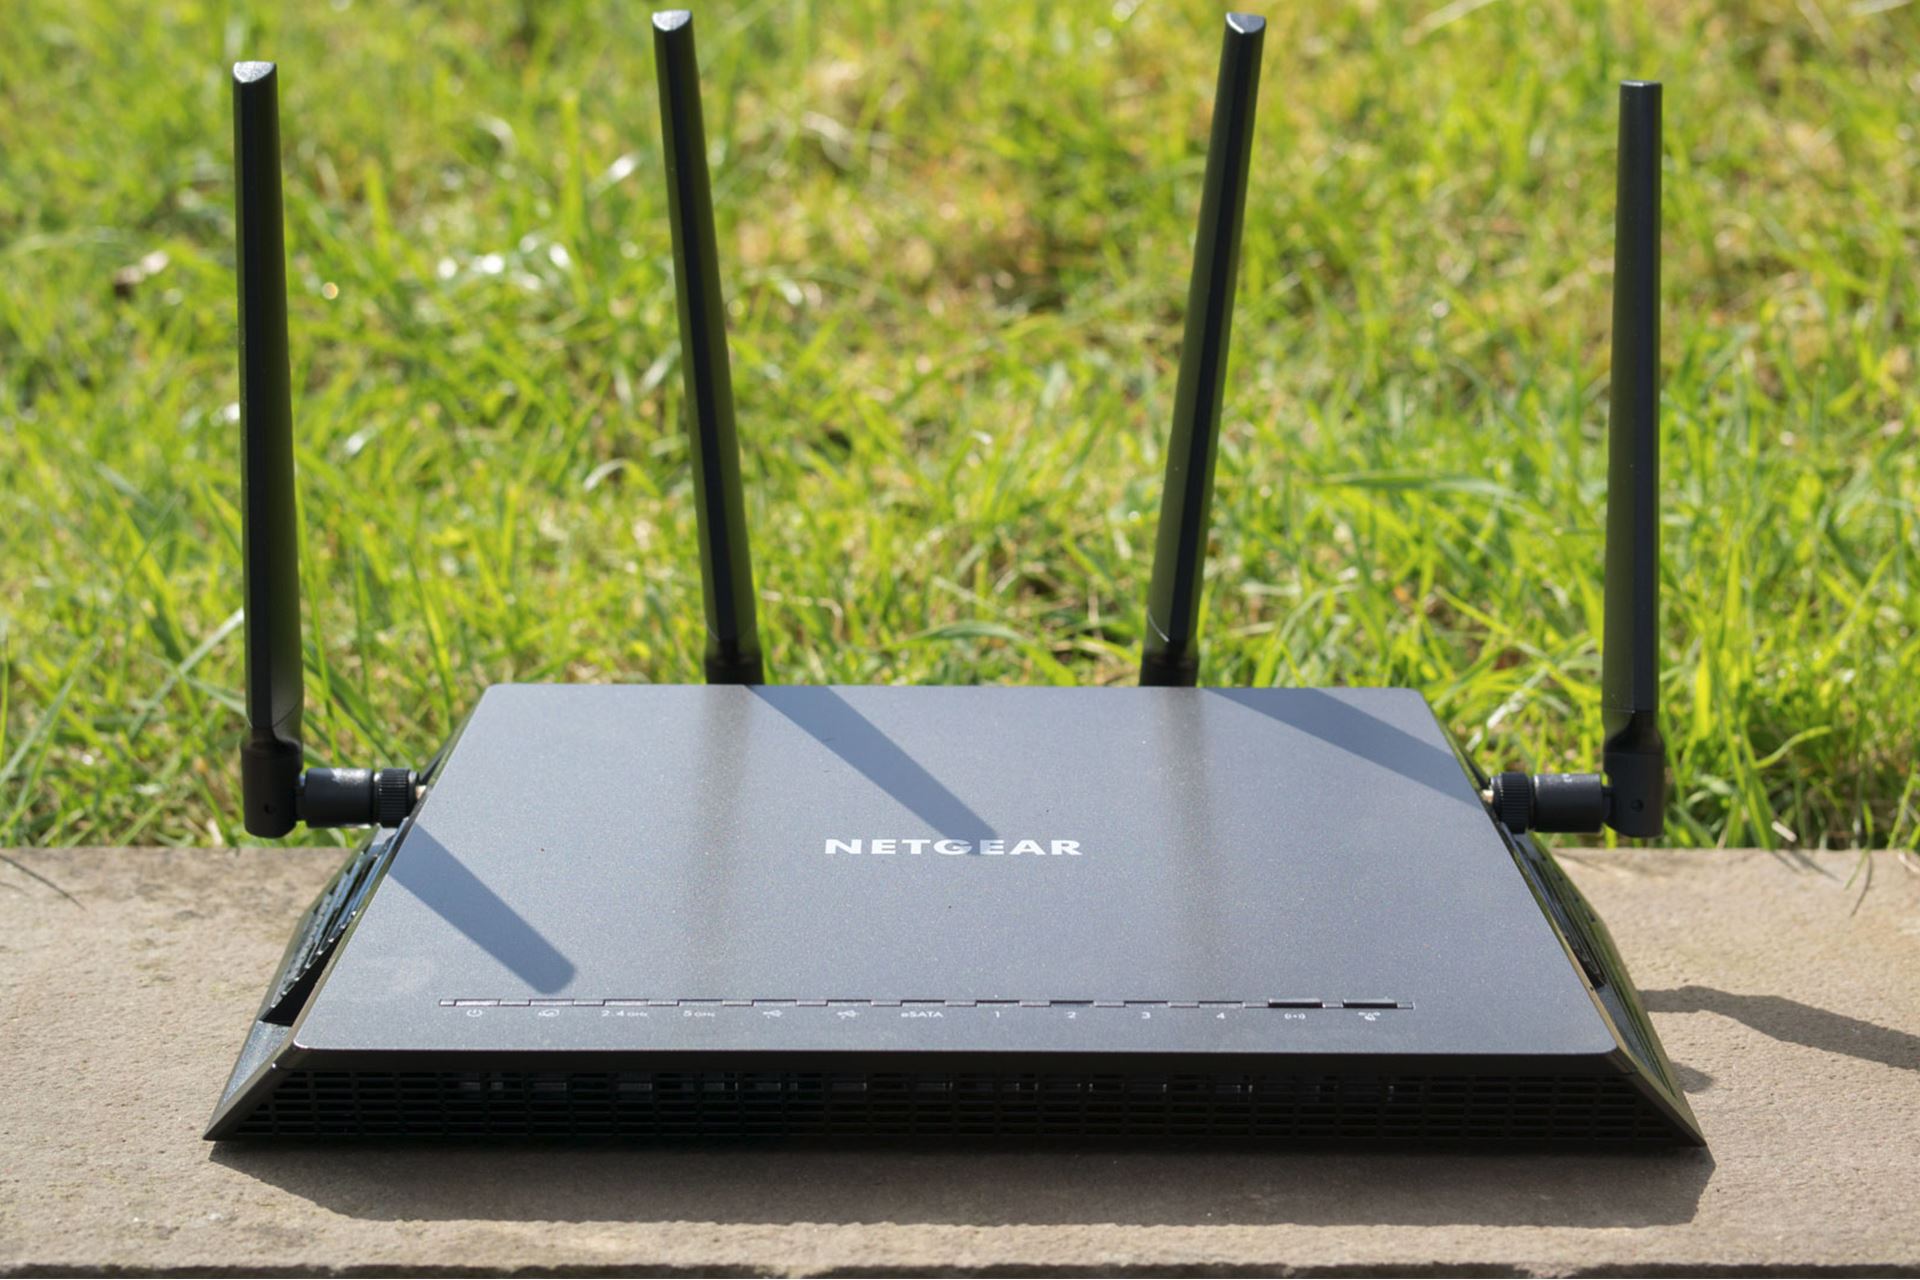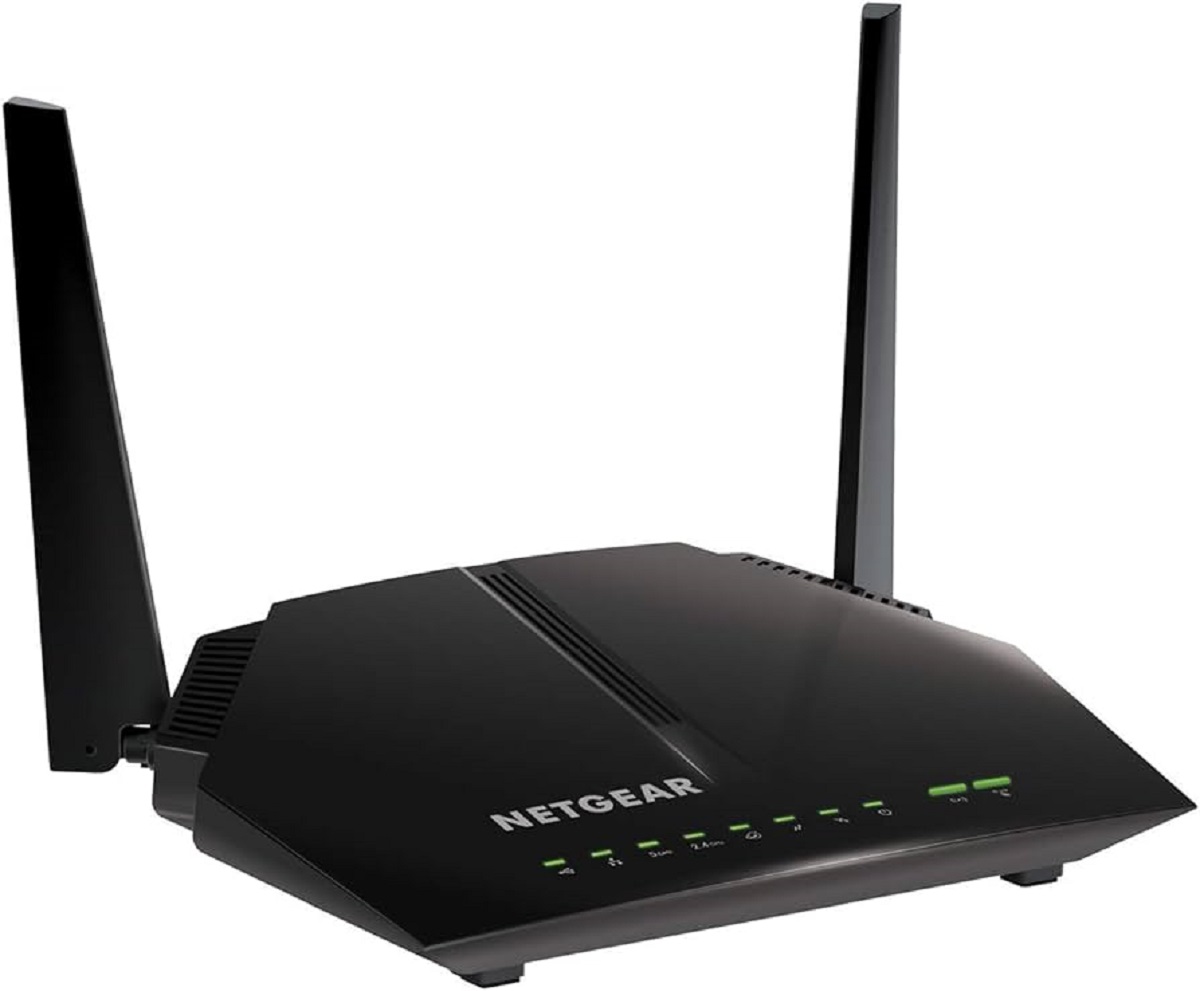
Troubleshooting Steps for a Netgear Wireless Router
If you’re having troubles with your Netgear wireless router, don’t panic. There are several troubleshooting steps you can take to get it working again. Here are some common issues and their corresponding solutions:
1. No Internet Connection: If your router is not connected to the internet, start by checking the cables. Ensure that the ethernet cable from your modem is securely connected to the yellow Internet port on the router. If the connection is secure, power cycle both your modem and router by unplugging them from the power source for 30 seconds, then plugging them back in. Wait for a few minutes for the internet connection to establish.
2. Slow Internet Speed: If your internet connection is slow, check if the issue is with the router or the internet service provider (ISP). Connect your computer directly to the modem and run a speed test. If the speed is still slow, contact your ISP. If the speed is normal, the issue may be with your router settings. Update the firmware of your Netgear router to the latest version and reset it to factory defaults if necessary.
3. Wireless Interference: If you experience weak or intermittent Wi-Fi signal, it could be due to interference from other devices or neighboring networks. Change the wireless channel of your router to a less crowded one. You can also try relocating the router or using a Wi-Fi extender to improve the signal range.
4. Router Not Powering On: If your Netgear router is not turning on, check the power connection. Ensure that the power adapter is securely plugged into the router and the power outlet. If there is no power, try using a different power outlet or power adapter. If the issue persists, contact Netgear support for further assistance.
5. Unable to Connect Devices: If you’re unable to connect your devices to the Wi-Fi network, make sure that the router’s SSID (network name) and password are correct. Restart the devices and try again. If the issue persists, check if the MAC filter is enabled on the router. Disable it if necessary.
Remember to always protect your Netgear wireless router with a strong password and enable security features like WPA2 encryption to ensure a secure and reliable connection.
If the troubleshooting steps above do not resolve the issue, you may need to contact Netgear support for advanced assistance tailored to your specific situation. They can provide further guidance and troubleshooting steps to help you get your wireless router up and running again.
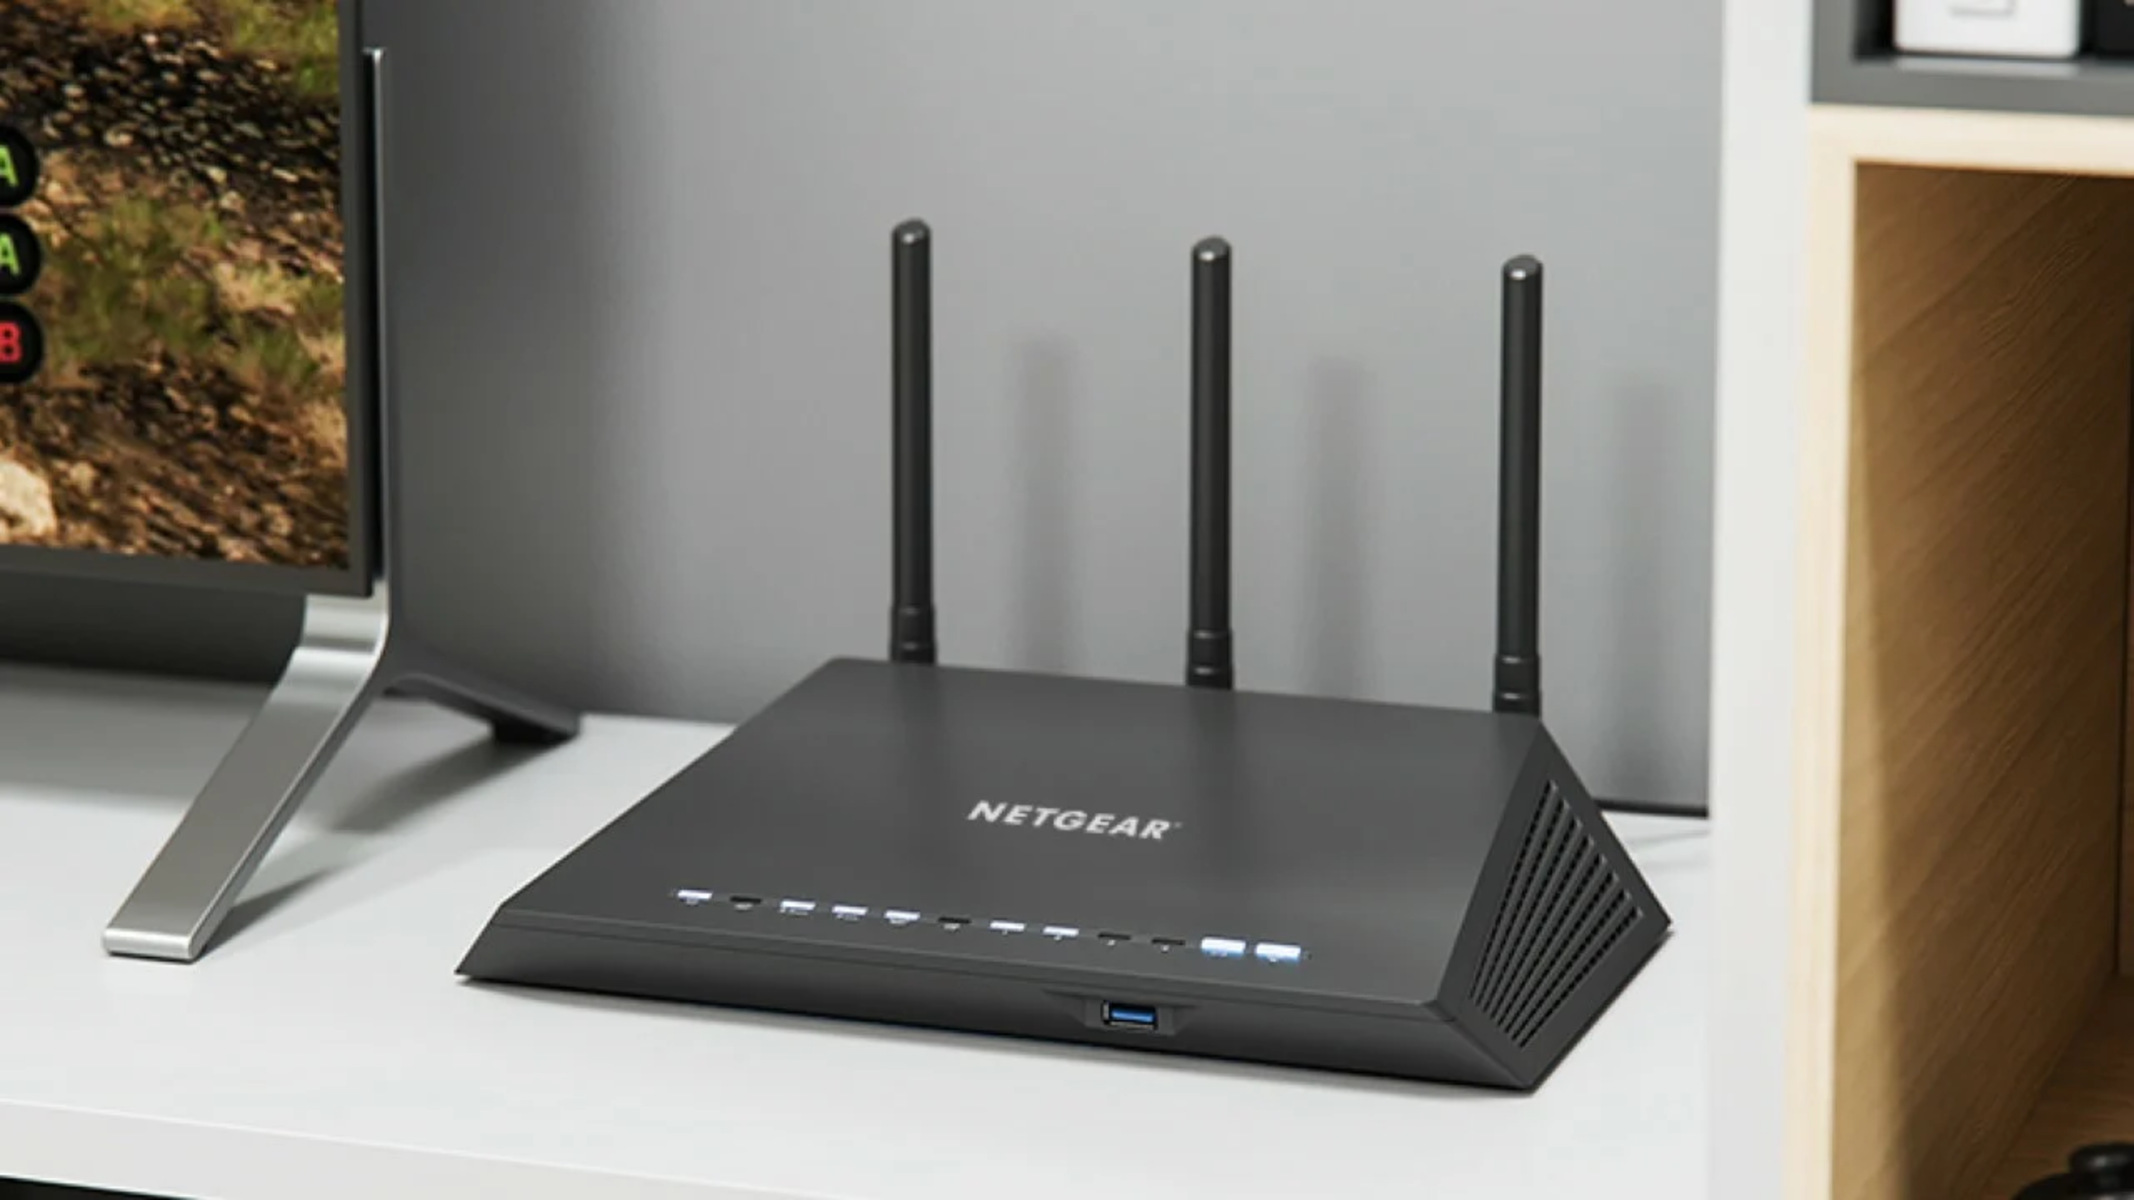
How to Check the Power Connection
One of the first things to check when troubleshooting a Netgear wireless router is the power connection. A loose or faulty power connection could prevent the router from functioning properly. Here are the steps to check the power connection:
1. Verify the Power Adapter: Ensure that the power adapter is securely connected to the router and the power outlet. Check for any visible damage to the power adapter or its cable. If you notice any issues, try using a different power adapter to test if the problem lies with the adapter itself.
2. Check the Power Outlet: Ensure that the power outlet you are using is working. Plug another device, such as a lamp or phone charger, into the same outlet to confirm if it is providing power. If the outlet is not working, try using a different power outlet.
3. Inspect the Router’s Power LED: Look for the power LED indicator on your Netgear router. If the power LED is not lit or is blinking, it may indicate a power issue. Try unplugging the router from the power source, waiting for a few seconds, and then plugging it back in. If the power LED still does not light up, there could be a problem with the power connection or the router itself.
4. Use a Different Power Cable: If you suspect that the power cable is the problem, try using a different cable. You can borrow a power cable from another device or purchase a replacement cable. Make sure the new cable is compatible with your Netgear router.
5. Contact Netgear Support: If you have performed all the above steps and the router still does not power on, it may require further troubleshooting. Contact Netgear support for assistance. They can provide guidance specific to your router model and help you resolve any power-related issues.
Checking the power connection is a simple yet crucial step in troubleshooting your Netgear wireless router. By ensuring a secure and stable power supply, you can eliminate potential power-related issues and focus on troubleshooting other aspects of your router’s functionality.
Verifying the Internet Connection
If you’re experiencing issues with your Netgear wireless router, it’s essential to verify your internet connection. A stable and reliable internet connection is crucial for your router to function properly. Here are some steps to verify your internet connection:
1. Check Modem Connection: Start by ensuring that your modem is connected to your Netgear router. Unplug the ethernet cable from the modem and plug it into the yellow Internet port on the router. This connection is essential for your router to access the internet.
2. Confirm ISP Status: Contact your internet service provider (ISP) to ensure that there are no known outages or maintenance work in your area. They can also check if there are any issues with your account or the internet connection itself.
3. Reset Modem: Power cycle your modem by unplugging it from the power source and leaving it disconnected for a minute or two. Then, plug it back in and wait for the modem’s lights to stabilize. This process can help refresh the connection between the modem and the ISP.
4. Perform Router Reboot: Restart your Netgear router by unplugging it from the power source, waiting for a few seconds, and then plugging it back in. This simple step can resolve temporary connectivity issues and establish a proper connection with the modem.
5. Triple-Check Connections: Review all the cable connections between your router, modem, and computer. Ensure that they are securely plugged in and not loose. Sometimes, a loose cable connection can lead to unstable or no internet connection.
6. Check Wi-Fi Devices: If you’re experiencing internet connectivity issues on Wi-Fi devices only, try connecting a computer directly to the router using an ethernet cable. If the wired connection works, it indicates that the issue may be related to the wireless settings of your router.
7. Update Router Firmware: Make sure that your Netgear router’s firmware is up to date. Outdated firmware can cause compatibility issues and affect the router’s performance. Check Netgear’s official website for any available firmware updates for your router model.
By following these steps to verify your internet connection, you can identify and address any issues that may be preventing your Netgear wireless router from accessing the internet. Remember to contact your ISP if necessary and update your router’s firmware for optimal performance.
Checking for Wireless Interference
If you’re experiencing weak or intermittent Wi-Fi signal with your Netgear wireless router, there may be wireless interference affecting the performance. Identifying and mitigating wireless interference can significantly improve your Wi-Fi connection. Here are some steps to check for wireless interference:
1. Identify Possible Interference Sources: Look for devices that may cause interference, such as cordless phones, microwave ovens, baby monitors, or other wireless devices. These devices operate on the same frequency as your Wi-Fi and can disrupt the signal.
2. Relocate the Router: Move your Netgear router away from potential sources of interference. Keep the router away from walls, large metal objects, and other electronics. Position it in a central location for optimal coverage throughout your home or office.
3. Change the Wireless Channel: Determine if neighboring Wi-Fi networks are using the same channel as your router. If so, it can result in signal congestion and interference. Access your router’s settings through a web browser and try changing the wireless channel to a less crowded one. Experiment with different channels to find the one that provides the best signal strength.
4. Use Wi-Fi Analyzer Apps: Install a Wi-Fi analyzer app on your smartphone or tablet to detect nearby Wi-Fi networks and their channels. This can help you identify which channel has the least interference, allowing you to set your router to that channel for better performance.
5. Consider a Wi-Fi Extender: If you have areas with poor Wi-Fi coverage, a Wi-Fi extender can help boost the signal strength and eliminate dead zones. Place the extender strategically between the router and the weak signal area to enhance the Wi-Fi signal.
6. Upgrade Router Firmware: Check for firmware updates for your Netgear router. Manufacturers often release firmware updates that can improve performance, stability, and address issues related to wireless interference. Visit Netgear’s official website to see if any updates are available for your router model.
By taking these steps to check for wireless interference, you can enhance the performance and stability of your Netgear wireless router. Through careful placement, adjusting channels, and utilizing Wi-Fi analyzer apps, you can minimize the impact of interference and enjoy better Wi-Fi connectivity throughout your home or office.
Resetting the Netgear Router
If you’re encountering persistent issues with your Netgear wireless router, performing a reset can often resolve various problems. Resetting the router will restore it to its default settings and can help eliminate any configuration issues. Here’s how to reset your Netgear router:
1. Identify the Reset Button: Locate the reset button on your Netgear router. It is usually a small hole at the back or bottom of the device, labeled “Reset.”
2. Power Cycle the Router: Before resetting, power cycle the router by turning it off and unplugging it from the power source. Wait for about 30 seconds, then plug it back in and turn it on. This step can help clear temporary glitches and prepare the router for the reset process.
3. Perform a Hard Reset: Take a paperclip or a small, pointed object and press and hold the reset button for approximately 10-15 seconds. Be sure to apply firm and consistent pressure. This will initiate the reset process, and the router’s lights may flash to indicate the successful reset.
4. Wait for the Router to Reset: Give the router a few moments to reset to its default settings. You may notice the lights on the router blinking or going off and on. Once the router has stabilized, it should be reset to factory defaults.
5. Reconfigure the Router: After the reset, you will need to reconfigure your Netgear router. Connect your computer or mobile device to the router using an ethernet cable or via Wi-Fi. Access the router’s web interface through a web browser by entering the default IP address (e.g., 192.168.1.1) or the router’s setup domain (e.g., routerlogin.net).
6. Follow the Setup Wizard: The setup wizard will guide you through the process of setting up your router, including creating a new username and password, configuring the wireless settings, and setting up security options. Follow the prompts and enter the required information as needed.
Resetting your Netgear router can help resolve various issues, including connectivity problems and configuration errors. However, keep in mind that a reset will erase any custom settings and configurations you have made on the router, so you will need to reconfigure it from scratch. If you’re unsure about any specific configuration, consult your router’s manual or contact Netgear support for assistance.
Updating the Router’s Firmware
Keeping your Netgear router’s firmware up to date is essential for optimal performance and security. Firmware updates often include bug fixes, enhancements, and new features that can improve your router’s functionality. Here’s how to update your router’s firmware:
1. Access the Router’s Web Interface: Open a web browser on your computer or mobile device and enter the router’s IP address (e.g., 192.168.1.1) or the setup domain (e.g., routerlogin.net) in the address bar. Press Enter to access the router’s web interface.
2. Enter Login Credentials: Enter your router’s username and password to log in. If you haven’t changed the default login credentials, refer to the router’s manual or check the manufacturer’s website for the default username and password information.
3. Check for Firmware Updates: Once you are logged in, navigate to the firmware update section. This may vary depending on your router’s model and firmware version. Look for a “Firmware Update” or “Check for Updates” option. Click on it to check if there are any available firmware updates.
4. Download the Latest Firmware: If a new firmware version is available, download it from the official Netgear support website. Be sure to choose the correct firmware version for your router model to avoid compatibility issues. Save the firmware file to your computer or a location accessible from the router.
5. Install the Firmware Update: In the router’s web interface, navigate to the “Firmware Update” section again. Choose the firmware file you downloaded and click on the “Update” or “Install” button. Avoid interrupting the firmware update process by not disconnecting the power or restarting the router.
6. Wait for the Update to Complete: The firmware update process may take a few minutes to complete. The router’s lights may flash or temporarily go off during the update. It is crucial not to interrupt this process. Once the update is finished, the router will restart automatically.
7. Verify the Firmware Update: After the router restarts, log back into the router’s web interface to verify that the firmware has been successfully updated. Check the firmware version displayed in the router’s settings to ensure it matches the latest version available from Netgear’s support website.
By regularly updating your Netgear router’s firmware, you can ensure that your router performs optimally and benefits from the latest enhancements and security patches. Set a reminder to check for firmware updates periodically or enable the router’s auto-update feature if available to streamline the process and stay up to date.
Configuring the Wireless Settings
Configuring the wireless settings of your Netgear router is essential for establishing a secure and reliable Wi-Fi network. By customizing these settings, you can enhance the performance, range, and security of your wireless network. Here’s how to configure the wireless settings:
1. Access the Router’s Web Interface: Open a web browser on your computer or mobile device and enter the router’s IP address (e.g., 192.168.1.1) or the setup domain (e.g., routerlogin.net) in the address bar. Press Enter to access the router’s web interface.
2. Enter Login Credentials: Enter your router’s username and password to log in. If you haven’t changed the default login credentials, refer to the router’s manual or check the manufacturer’s website for the default username and password information.
3. Navigate to Wireless Settings: Once you are logged in, find the “Wireless” section in the router’s web interface. This section may be labeled as “Wireless Settings” or “Wireless Configuration.”
4. Set SSID (Network Name): Change the default SSID (Service Set Identifier) to a unique and recognizable name. Avoid using personal information in the SSID to maintain privacy. You can also enable the option to hide the SSID if you prefer to keep your network name hidden.
5. Choose a Security Mode: Select the appropriate security mode for your network. The recommended option is WPA2-PSK (Wi-Fi Protected Access 2 with Pre-Shared Key). This provides a higher level of security compared to older encryption protocols. Set a strong and unique Wi-Fi password to secure your network from unauthorized access.
6. Enable Guest Network (Optional): If you want to provide temporary or limited access to guests, consider enabling the guest network feature. This creates a separate network with its own SSID and password, ensuring that guests can access the internet while keeping your primary network secure.
7. Adjust Wireless Channel: If you experience interference or slow Wi-Fi speeds, adjust the wireless channel to a less congested one. Most routers have an option to automatically select the best channel, or you can manually choose from available channels to optimize performance.
8. Save and Apply Settings: After configuring the wireless settings, click on the “Save” or “Apply” button to save the changes. The router may restart or apply the new settings without requiring a restart.
9. Connect Devices to the Network: Once the router has applied the new settings, connect your devices to the Wi-Fi network using the updated SSID and password. Ensure that you update the wireless settings on each device to match the new configuration if needed.
By properly configuring your Netgear router’s wireless settings, you can create a secure and efficient Wi-Fi network tailored to your specific needs. Regularly review and update these settings to maintain the performance, security, and reliability of your wireless network in the long run.
Contacting Netgear Support
If you are unable to resolve issues with your Netgear wireless router on your own, contacting Netgear support can provide you with the assistance you need. Whether you’re facing complex technical problems or require clarification on specific settings, Netgear’s support team is available to help. Here are the steps to contact Netgear support:
1. Visit Netgear’s Support Website: Start by visiting Netgear’s official support website. You can access it by typing “Netgear support” into a search engine. Look for the official Netgear support page and click on it to access a wealth of resources and troubleshooting information.
2. Search the Knowledge Base: Netgear’s knowledge base contains a vast collection of articles, guides, and frequently asked questions that can help you troubleshoot and find solutions for common issues. Enter keywords related to your problem in the search bar to find relevant articles and step-by-step instructions.
3. Participate in the Community: Netgear provides an online community where users can ask questions, share experiences, and receive support from fellow Netgear router owners. Browse through the community forums to see if someone has already addressed your issue or create a post to seek assistance from other members.
4. Submit a Support Ticket: If you haven’t found a solution in the knowledge base or community forums, you can submit a support ticket directly to Netgear. Provide a detailed description of the problem you’re experiencing, along with any relevant information such as your router model and firmware version. Netgear’s support team will review your ticket and provide assistance through email communication.
5. Chat Support: Netgear also offers live chat support for immediate assistance. Visit the support website during their operating hours and look for the live chat option. Provide the necessary information and describe your issue to connect with a support representative who will guide you through the troubleshooting process in real-time.
6. Phone Support: For more urgent or complicated issues, contacting Netgear’s phone support is a viable option. Find the appropriate phone number for your region on the support website and prepare any required information, such as your router’s serial number or case details. Speaking directly with a support representative can often provide more personalized and comprehensive assistance.
Netgear’s support team is dedicated to helping users resolve issues and get the most out of their Netgear wireless routers. Utilize the available resources, such as the knowledge base and community forums, before reaching out to support directly. Remember to provide as much information about the problem as possible to expedite the troubleshooting process.