Introduction
Setting up two Netgear routers can greatly enhance your home network’s performance and coverage. Whether you want to create a seamless Wi-Fi signal throughout a large house or need to extend your network to reach a distant corner, this guide will walk you through the process step-by-step.
By connecting two Netgear routers, you can create a unified network that allows devices to switch between routers seamlessly. This means you won’t experience any interruptions or drops in connection as you move around your home. Additionally, it can provide better overall coverage, ensuring that every corner of your house has reliable internet access.
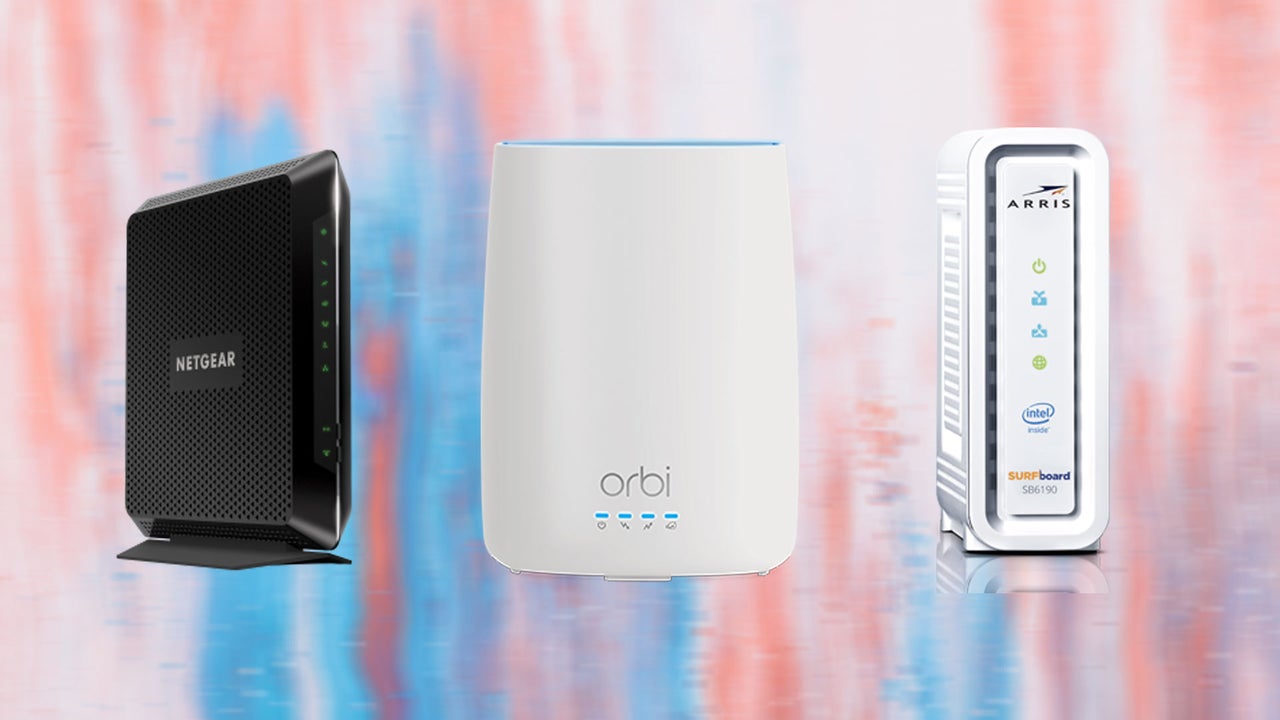
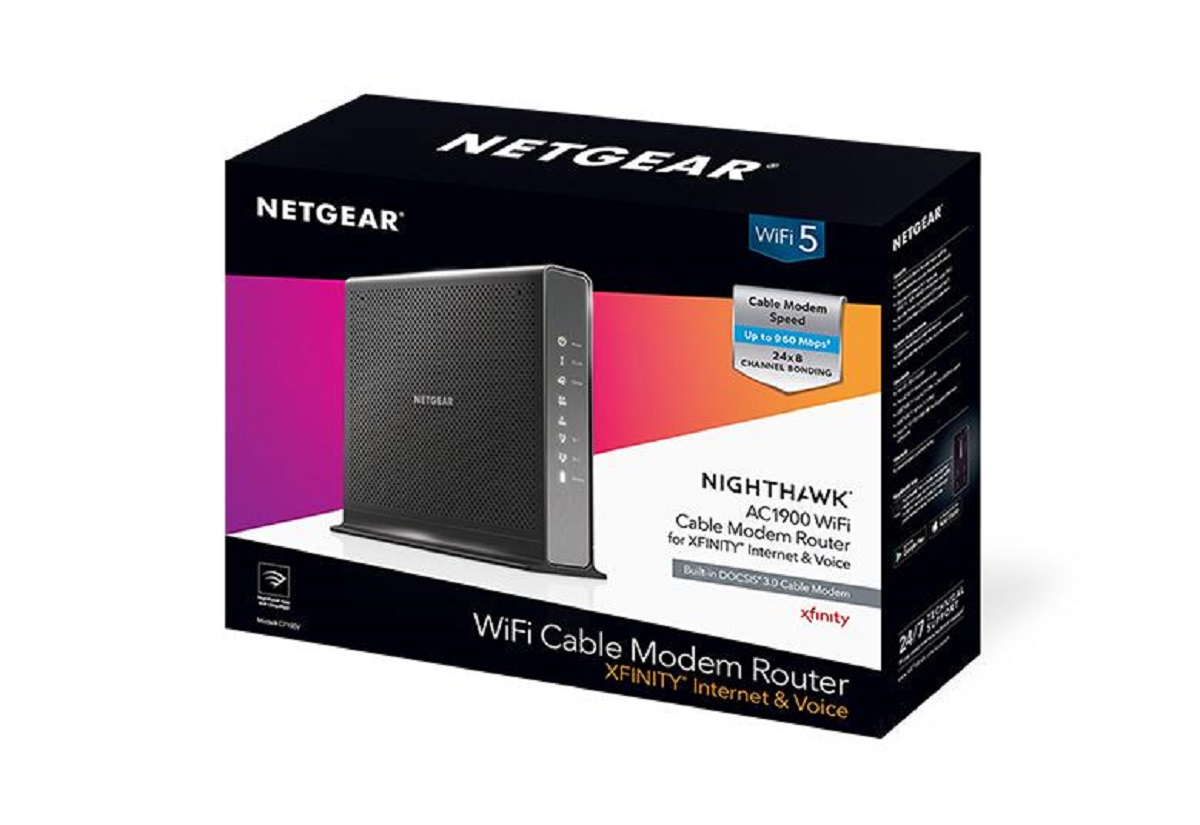
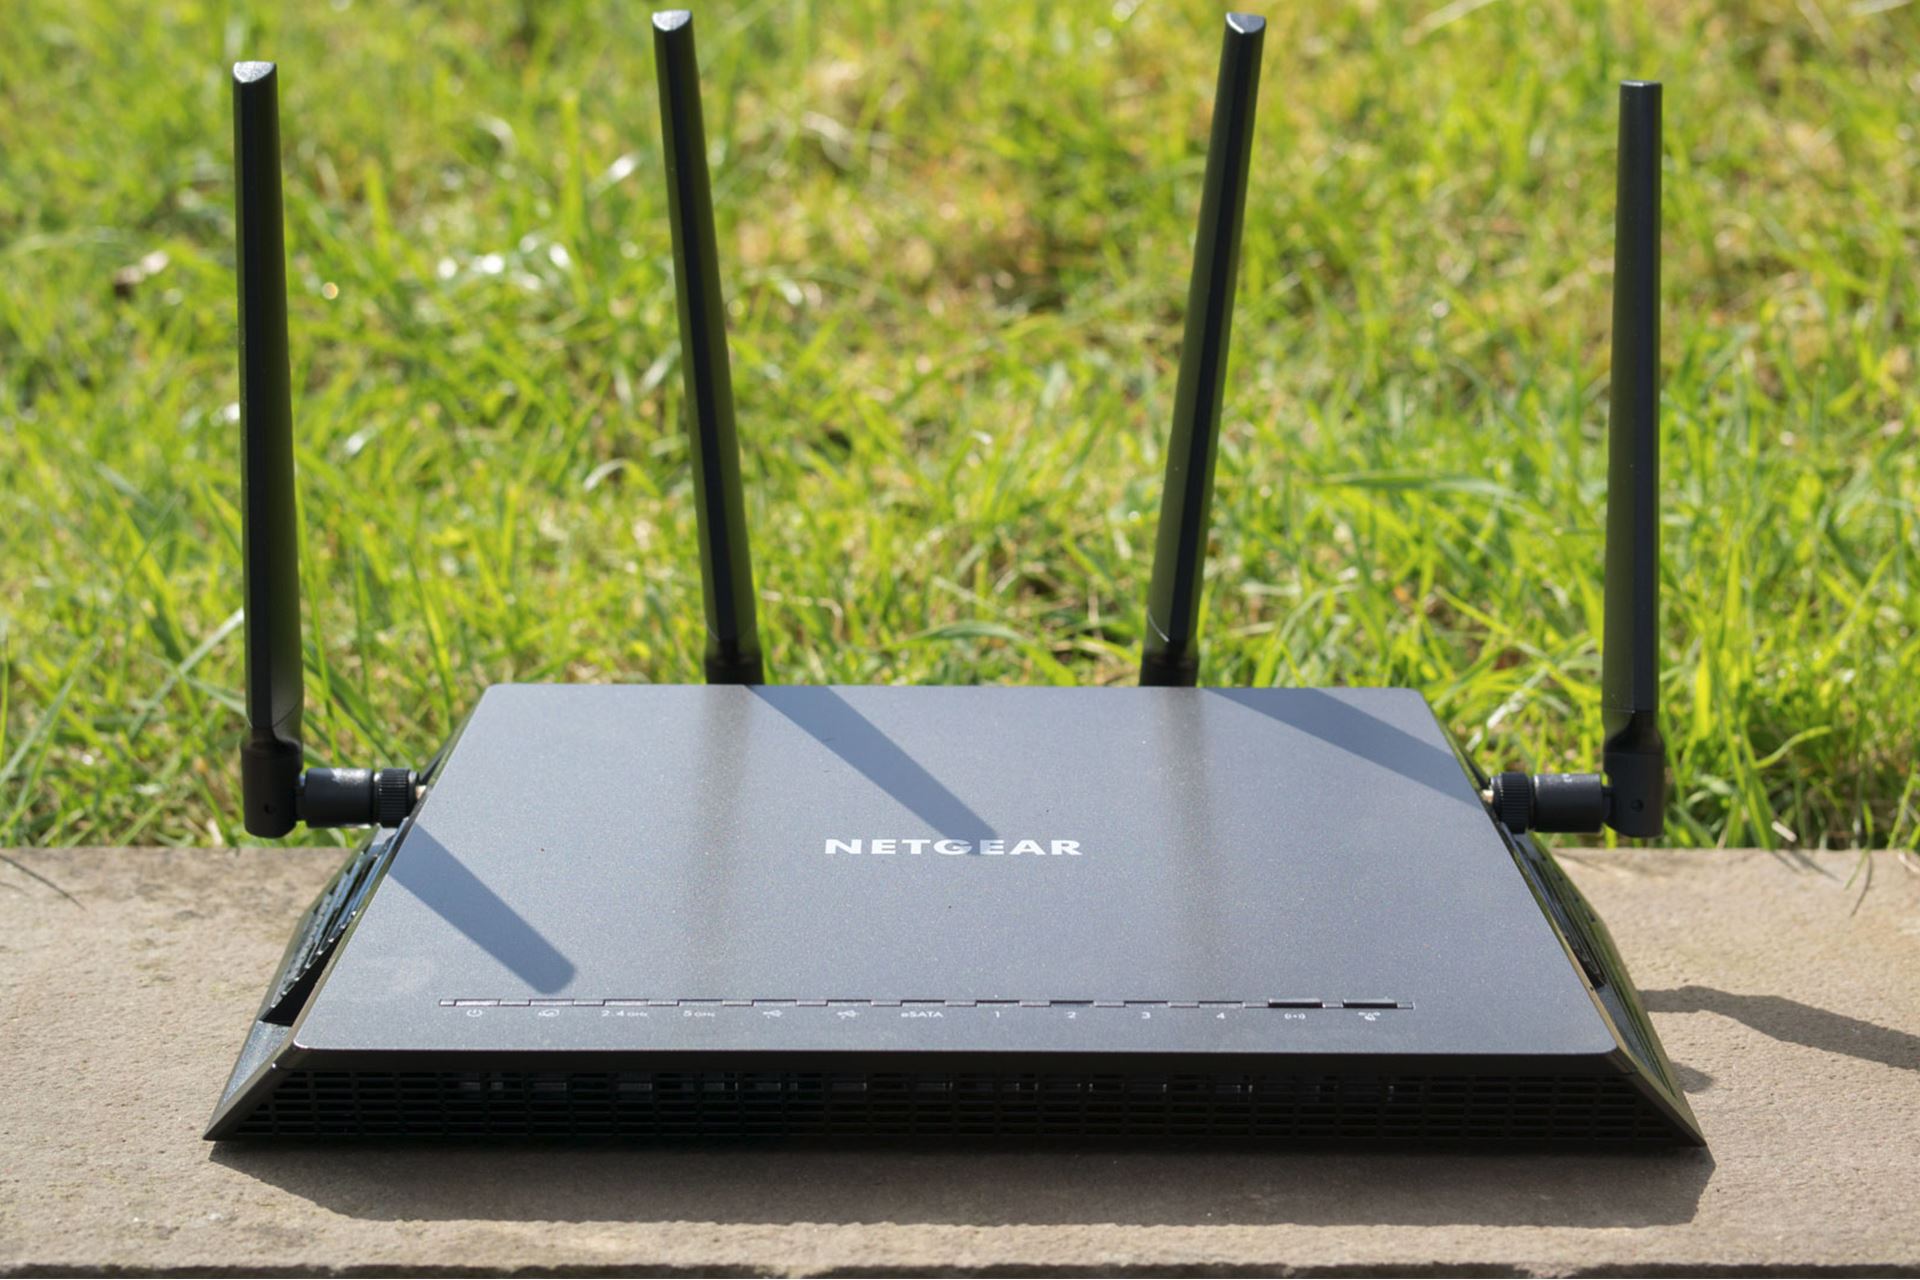
Before diving into the setup process, there are a few things you need to consider. Firstly, ensure that you have two compatible Netgear routers. While it’s possible to use different models, it’s recommended to use routers from the same series or at least routers with similar specifications to ensure seamless compatibility.
Additionally, make sure that you have Ethernet cables and a stable internet source, such as a modem or a gateway device, to connect the routers. Lastly, familiarize yourself with the routers’ user manuals as they may have specific instructions or features that are relevant to the setup process.
In this guide, we will provide step-by-step instructions on how to set up two Netgear routers, from configuring the first router to extending the network with the second router. Whether you’re a tech-savvy individual or new to network setup, this guide will help you achieve a robust and reliable home network.
Steps to Set Up the First Netgear Router
Setting up the first Netgear router is the initial step in creating an extended network. Here’s a straightforward guide on how to set it up:
- Choose the Right Location: Find an optimal location for your router that’s central to the area you want to cover. Avoid placing it near large obstacles or electronic devices that may interfere with the Wi-Fi signal.
- Connect to Power: Plug your Netgear router into a power outlet and turn it on. Wait for the router to fully boot up and display a stable power indicator.
- Connect to Internet Source: Use an Ethernet cable to connect the WAN (Wide Area Network) port on your Netgear router to the modem or gateway device. Ensure that the connection is secure.
- Access the Router Interface: Open a web browser on a device connected to the router’s network and type in the default IP address of the router (e.g., 192.168.1.1) in the address bar. Press Enter to access the router’s login page.
- Login to the Router: Enter the default username and password provided in the router’s documentation or on the manufacturer’s website. If you previously changed the login credentials, use the updated information.
- Configure the Network: Once logged in, follow the on-screen instructions to set up the network. This may include choosing an SSID (network name) and password, enabling wireless security protocols (e.g., WPA2), and configuring advanced settings if desired.
- Save the Settings: After making any necessary changes, be sure to save the settings to apply them. The router will reboot, and the new configuration will take effect.
- Test the Connection: Once the router has restarted, disconnect your device from any other Wi-Fi networks and connect it to the newly set up network. Open a web browser and visit a website to ensure that internet access is working correctly.
With these steps, you’ve successfully set up the first Netgear router. Now, let’s move on to extending the network with the second router.
Steps to Set Up the Second Netgear Router
Once you’ve set up the first Netgear router, it’s time to extend your network by adding a second router. Follow these steps to set up the second Netgear router:
- Choose the Right Location: Select an ideal location for the second router, keeping in mind that it should be within the range of the first router. This will ensure a smooth and uninterrupted signal transition between the two routers.
- Connect to Power: Plug the second Netgear router into a power outlet and turn it on. Wait for the power indicator to stabilize, indicating that the router has successfully booted up.
- Connect to the First Router: Use an Ethernet cable to connect the LAN (Local Area Network) port of the first router to the WAN port of the second router. Ensure that the connection is secure.
- Access the Second Router’s Interface: Open a web browser on a device that’s connected to the first router’s network and enter the default IP address of the second router (e.g., 192.168.0.1) in the address bar. Press Enter to access the router’s login page.
- Login to the Second Router: Enter the default or updated username and password to log in to the second router’s interface. Ensure that the login credentials are accurate to gain access to the settings.
- Configure the Second Router: Once logged in, follow the on-screen instructions to set up the second router. Make sure to select the option for “Wireless Repeater” or “Wireless Range Extender” mode, as this will allow the second router to extend the network signal from the first router.
- Connect and Test the Connection: Once the configuration is complete, disconnect your device from the first router’s network and connect it to the second router’s extended network. Open a web browser and visit a website to verify that the internet connection is working properly.
Congratulations! You have successfully set up the second Netgear router and extended your network. The two routers will now work together to provide a seamless and robust Wi-Fi experience throughout your home.
Troubleshooting Common Issues
While setting up two Netgear routers can be a straightforward process, you may encounter some common issues along the way. Here are a few troubleshooting tips to help you resolve these problems:
- Weak or No Signal: If you notice weak or no signal in certain areas, try repositioning the routers to improve coverage. Experiment with different locations and angles to find the optimal position.
- Authentication Issues: If you’re having trouble connecting to the router’s interface, double-check the IP address you’re entering in the browser’s address bar. Also, ensure that you’re using the correct username and password combination to log in.
- Connection Drops: If you experience frequent connection drops, restart both routers and check for any physical damage to the Ethernet cables. Ensure that the cables are securely connected to both routers and the internet source.
- IP Address Conflicts: If you encounter IP address conflicts, make sure that both routers have different IP addresses. Access the router’s interface and assign unique IP addresses to avoid conflicts within your network.
- Firewall Interference: If certain devices on the extended network are unable to connect or access specific services, check your router’s firewall settings. Temporarily disabling the firewall or adjusting its configurations may resolve the issue.
- Outdated Firmware: Ensure that both routers have the most recent firmware updates installed. Check the manufacturer’s website for firmware updates and follow their instructions to update the routers’ firmware.
- Resetting the Routers: If all else fails, you can try resetting both routers to their factory default settings. This will erase any custom configurations, so be sure to take note of any personalized settings before proceeding with a reset.
If you continue to experience issues despite troubleshooting, it may be helpful to consult the Netgear support documentation or reach out to their customer support for further assistance. They can provide specific guidance based on your router models and the nature of the problem.
Conclusion
Setting up two Netgear routers to extend your home network can significantly enhance your Wi-Fi coverage and performance. By following the step-by-step instructions outlined in this guide, you can create a seamless network that allows devices to switch between routers without any interruptions or drops in connection.
In the first stage of the setup, we walked you through configuring the first Netgear router. This involved choosing an optimal location, connecting it to the internet source, accessing the router’s interface, and configuring the network settings. With the first router set up, you laid the foundation for extending your network.
In the second stage, we guided you through the process of setting up the second Netgear router. This included selecting an appropriate location, connecting it to the first router, accessing its interface, and configuring it in “Wireless Repeater” or “Wireless Range Extender” mode. By connecting the second router, you successfully extended the network coverage throughout your home.
It is important to note that while the steps provided here offer a general guide, the specific instructions may vary depending on your Netgear router model and firmware version. Therefore, it’s always recommended to refer to the manufacturer’s documentation for accurate and up-to-date instructions.
If you encounter any issues during the setup process, remember to troubleshoot common problems such as weak signal, authentication issues, connection drops, IP address conflicts, firewall interference, and outdated firmware. By following the troubleshooting tips mentioned, you can resolve most common issues and ensure a smooth and stable network connection.
By successfully setting up two Netgear routers, you have expanded your home network and now enjoy improved Wi-Fi coverage and performance. With a robust and reliable network, you can seamlessly connect your devices, stream media, and browse the internet without any disruptions. So go ahead and enjoy the benefits of a well-extended network!