Introduction
Ethernet connections have become an integral part of our daily lives, powering our internet access and connecting our devices to a network. However, there are often situations where a single Ethernet connection may not be sufficient. Whether you have multiple devices that need to be connected or you want to extend the reach of your network, splitting an Ethernet connection can be a practical solution.
In this article, we will discuss what Ethernet connections are and why you might want to split them. We will explore the various methods you can use to split an Ethernet connection, including network switches, hubs, routers, and access points. By the end, you will have a clear understanding of how to split an Ethernet connection and connect multiple devices efficiently.
Before we delve into the specifics, let’s first understand what an Ethernet connection is and its significance. Ethernet is a widely used technology that enables devices to connect to a local area network (LAN) or the internet through a network cable. It provides a fast and reliable means of communication between devices, making it the preferred method for internet connectivity in homes and businesses.
Ethernet connections use standardized protocols to transmit data packets between devices. These packets contain information such as the source and destination addresses, as well as the actual data being sent. This allows devices to communicate with each other effectively, sharing files, streaming media, or accessing web services seamlessly.
However, there are several scenarios where a single Ethernet connection may not suffice. For example, you may have multiple computers, printers, gaming consoles, or smart TVs that need to be connected to the internet simultaneously. Instead of relying on a single connection, splitting the Ethernet connection allows you to create a network infrastructure that supports multiple devices.
Additionally, splitting an Ethernet connection can be beneficial when you need to extend the reach of your network. If your devices are located in different rooms or at a considerable distance from the modem or router, splitting the connection enables you to connect devices that are physically farther apart.
Now that we understand the importance of an Ethernet connection and the need for splitting it, let’s explore the different methods you can employ to make the most of your network infrastructure.
What is Ethernet Connection?
Ethernet connection is a widely used technology for connecting devices to a local area network (LAN) or the internet using a network cable. It provides a fast and reliable means of communication, allowing devices to transmit data packets efficiently. Ethernet connections use standard protocols to ensure seamless communication between devices, making it the preferred method for internet connectivity in homes and businesses.
At its core, Ethernet uses a set of rules or protocols known as the Ethernet standard. This standard defines how data is transmitted, received, and interpreted by devices within a network. It specifies elements such as the physical connectors and cables used, the data transfer rates, and the addressing system for identifying devices.
Ethernet connections typically involve two main components: the Ethernet cable and the network interface card (NIC) or Ethernet port on devices. The Ethernet cable is used to physically connect devices, while the NIC or Ethernet port enables the device to send and receive data over the network.
Ethernet connections offer several advantages over wireless connections. They provide a more stable and reliable connection, with higher data transfer speeds and less susceptibility to interference. Ethernet connections also ensure low latency, which is crucial for real-time applications such as gaming or video conferencing.
Ethernet connections are categorized based on the transmission speed they support. The most common Ethernet standards include 10Base-T (10 Mbps), 100Base-TX (100 Mbps), and Gigabit Ethernet (1 Gbps). Higher-speed versions, such as 10 Gigabit Ethernet (10 Gbps) and 100 Gigabit Ethernet (100 Gbps), are also available for high-performance networking environments.
To connect devices using Ethernet, you need an Ethernet cable that matches the standard and speed required. The most commonly used cable type is called the Category 5 (Cat5) or Category 6 (Cat6) cable, which consists of twisted pairs of copper wires enclosed in a protective jacket. These cables provide reliable data transmission and are capable of supporting high-speed connections.
Overall, Ethernet connections play a crucial role in our modern-day communication and networking infrastructure. Whether you’re browsing the web, streaming media, or sharing files, Ethernet provides a fast and reliable connection that ensures seamless communication between devices. Understanding Ethernet connections and how they work is essential for efficiently utilizing and managing your network infrastructure.
Why Would You Want to Split an Ethernet Connection?
There are several reasons why you might want to split an Ethernet connection. Here are a few common scenarios where splitting the connection can be beneficial:
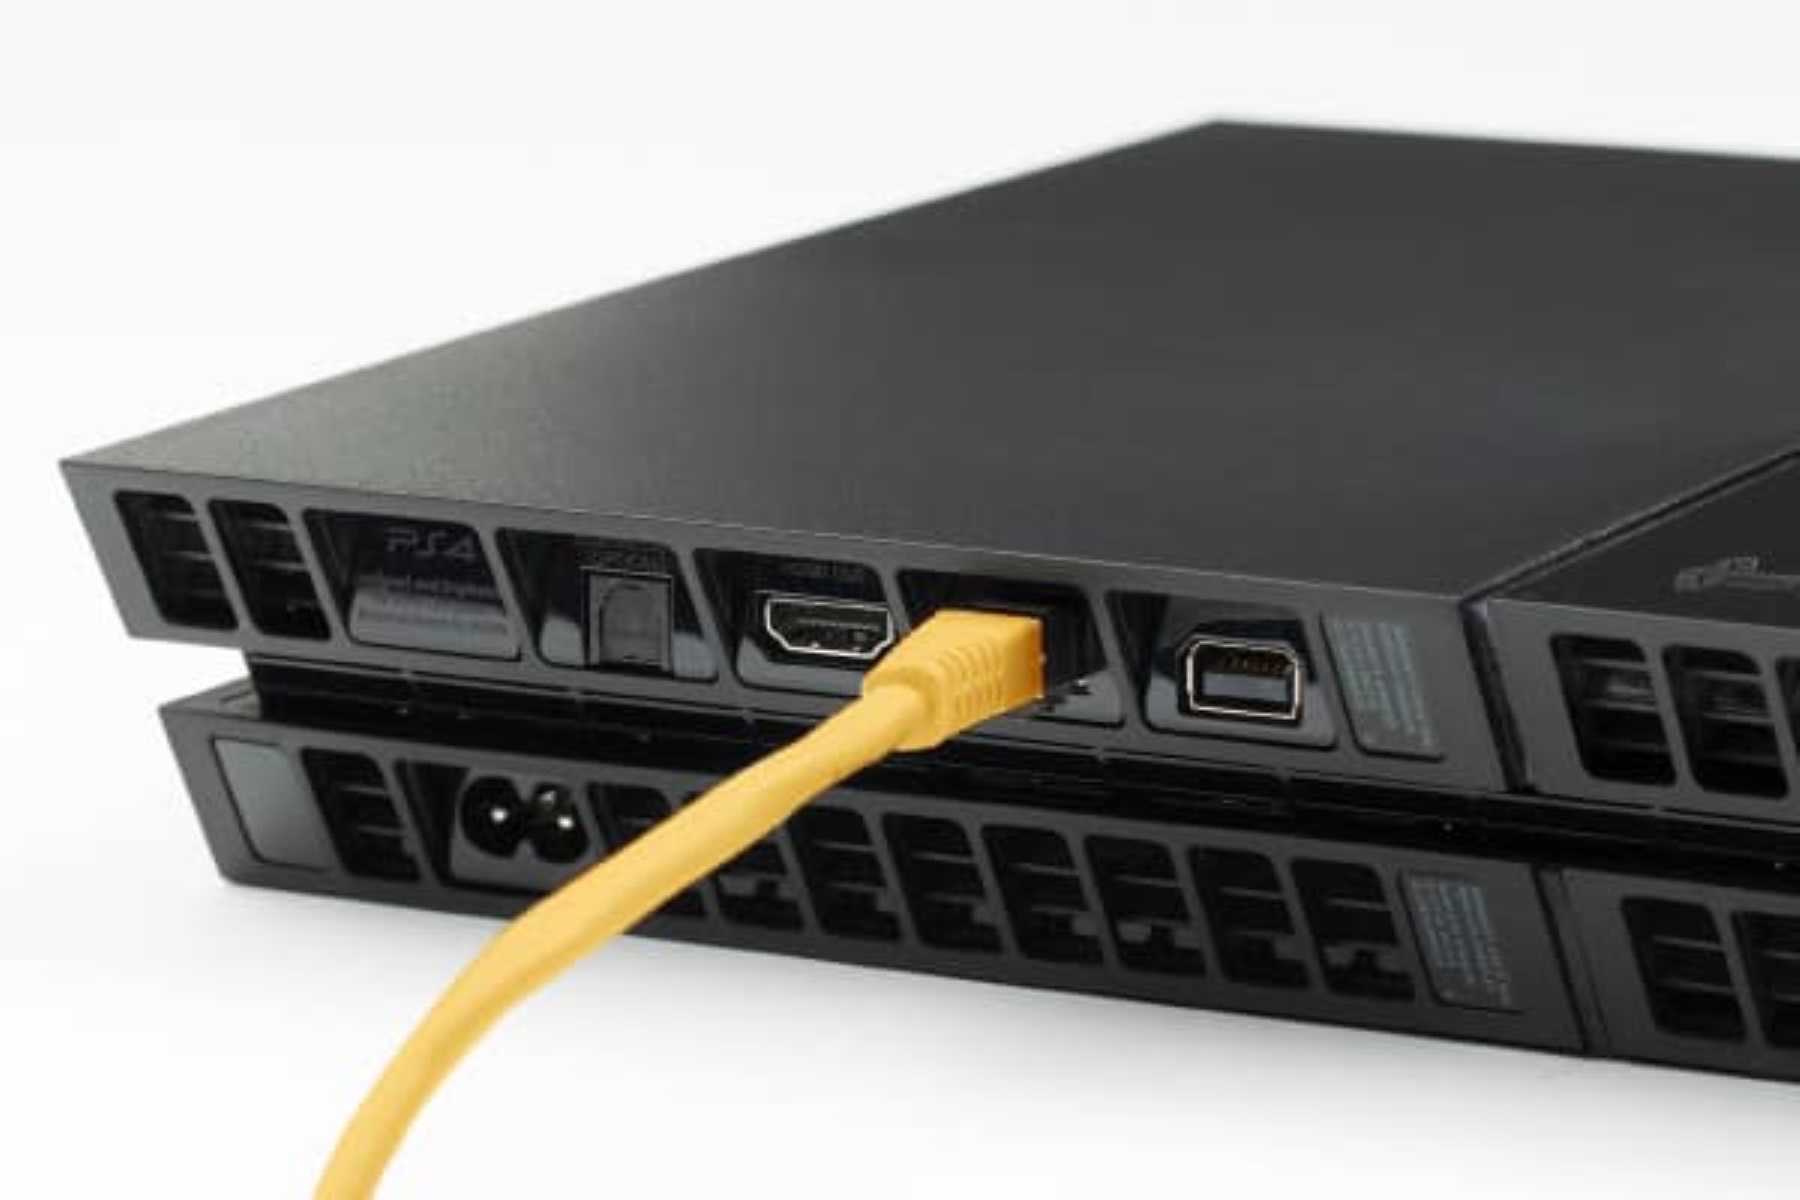
- Connecting Multiple Devices: One of the main reasons to split an Ethernet connection is when you have multiple devices that need to be connected to the internet simultaneously. This could include computers, gaming consoles, smart TVs, printers, or any other device that requires internet access. By splitting the connection, you can ensure that each device has its own dedicated pathway to the network, preventing congestion and ensuring optimal performance for all connected devices.
- Expanding Network Coverage: In some cases, you may need to expand the coverage of your network beyond the range of a single Ethernet connection. This could be due to physical limitations, such as having devices in different rooms or on different floors of a building. By splitting the connection, you can strategically place additional networking devices, such as switches, routers, or access points, to extend the reach of your network and provide connectivity to devices that are physically farther apart.
- Improving Network Performance: Splitting an Ethernet connection can also help improve network performance. When multiple devices share a single connection, the available bandwidth is divided among them. This can result in slower speeds and reduced performance, especially if certain devices require a significant amount of bandwidth. By splitting the connection and providing dedicated pathways to each device, you can ensure that each device has sufficient bandwidth for its specific needs, resulting in improved overall network performance.
- Facilitating Network Segmentation: Splitting an Ethernet connection can also be useful for network segmentation. Network segmentation involves dividing a larger network into smaller, more manageable subnetworks. This can help improve network security, performance, and management. By splitting the connection and creating separate networks for different groups of devices or users, you can effectively control access, data flow, and security policies within each segmented network.
Regardless of the specific scenario, splitting an Ethernet connection allows you to optimize your network infrastructure by providing dedicated pathways for devices, extending network coverage, improving performance, and facilitating network segmentation. By carefully planning and implementing the appropriate network devices, you can effectively split an Ethernet connection to meet your specific needs and ensure a reliable and efficient network environment.
Splitting an Ethernet Connection
Splitting an Ethernet connection involves dividing a single Ethernet connection into multiple pathways to accommodate multiple devices or extend network coverage. There are several methods you can use to split an Ethernet connection, depending on your specific requirements and the devices you are connecting. Here are some common methods:
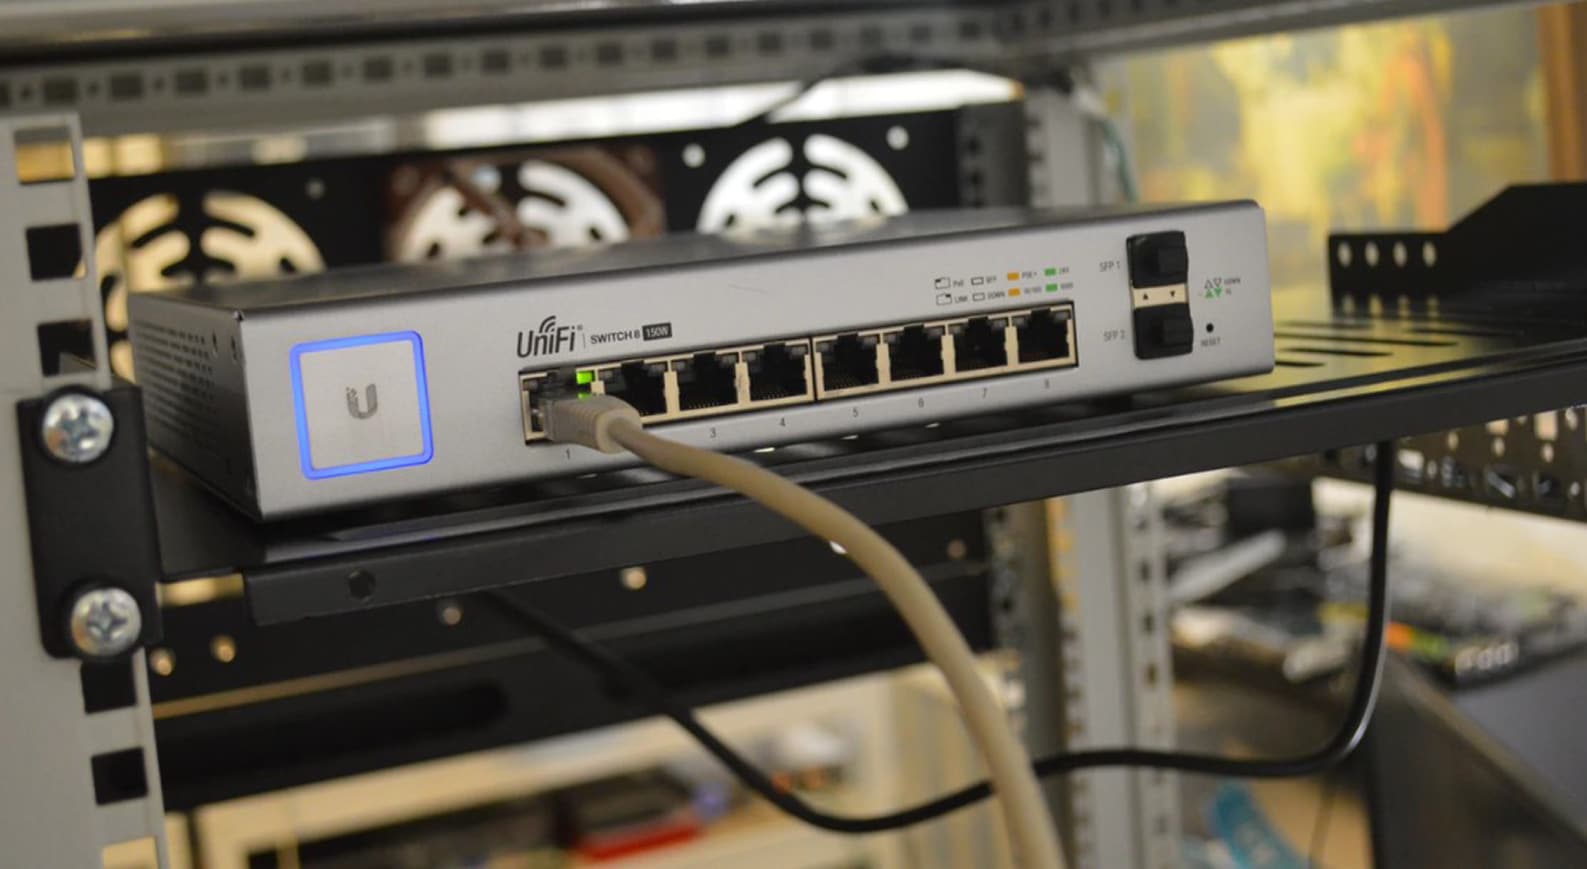
- Using a Network Switch: A network switch is a common device used to split an Ethernet connection. It allows you to connect multiple devices to a single Ethernet port on your modem or router. The network switch acts as a central hub, directing network traffic between devices connected to it. Switches come in various sizes, ranging from simple unmanaged switches to more advanced managed switches that offer additional features and configuration options.
- Using a Network Hub: While less common today, a network hub can also be used to split an Ethernet connection. Unlike a switch, which directs traffic only to the intended recipient, a hub sends the data it receives to all connected devices. This can lead to network congestion, as all devices connected to the hub share the available bandwidth. Consequently, switches are typically preferred over hubs due to their superior performance and efficiency.
- Using a Network Router: In some cases, a network router can be utilized to split an Ethernet connection. Routers are primarily designed to connect multiple networks together, but they often have built-in Ethernet ports that can be used to connect devices directly. By assigning different IP addresses and network settings to each port, a router can effectively split the Ethernet connection and create distinct network segments for connected devices.
- Using a Network Access Point: A network access point, also known as an access point or wireless access point, can be employed to split an Ethernet connection wirelessly. Access points enable wireless devices to connect to a wired network, effectively extending the reach of the Ethernet connection. This is particularly useful when connecting devices that are located far away from the main Ethernet source, such as in different rooms or on different floors of a building.
When splitting an Ethernet connection, it is important to consider the specific requirements of your network and the devices you are connecting. Factors such as the number of devices, the desired network performance, and the physical layout of your space will help determine the most suitable method for splitting the connection. Additionally, it is recommended to use Ethernet cables of the appropriate category and quality to ensure reliable and fast data transmission between the devices and the network splitting devices.
By carefully selecting and implementing the appropriate network splitting method, you can effectively divide and extend your Ethernet connection to accommodate multiple devices or expand network coverage. This will enable seamless communication and efficient utilization of your network infrastructure.
Step 1: Identify the Available Ethernet Ports
Before splitting an Ethernet connection, it is crucial to identify the available Ethernet ports on your modem, router, or network device. This step is essential as it will determine how many devices you can connect and which splitting method can be used.
Start by examining your modem or router, which is usually the central hub of your network. Look for Ethernet ports labeled with terms such as “LAN,” “Ethernet,” or “Internet.” These ports are designed to connect devices using Ethernet cables. Note the number of available ports, as this will determine the maximum number of devices you can directly connect without using additional splitting devices.
In addition to the ports on your modem or router, it is also worth checking other network devices such as network switches or hubs that you may already have in your network setup. These devices often come with multiple Ethernet ports that can be used to connect additional devices. Note down the number of available ports on these devices as well, as they can be utilized in the splitting process.
It is important to keep in mind that Ethernet ports can vary in speed and functionality. Some ports may support higher-speed connections, such as Gigabit Ethernet (1 Gbps), while others may be limited to lower speeds, such as Fast Ethernet (100 Mbps). Consider the speed requirements of your devices and ensure that the available ports are capable of supporting the desired connection speed.
If you find that the number of available Ethernet ports is insufficient for your needs, don’t worry. There are various methods to split an Ethernet connection and connect multiple devices simultaneously. These methods will be discussed in detail in the following steps of this guide.
By identifying the available Ethernet ports on your modem, router, or other network devices, you’ll have a clear understanding of the starting point for splitting your Ethernet connection. This knowledge will help you determine the appropriate splitting method and understand how many devices can be directly connected before additional hardware becomes necessary.
Step 2: Use a Network Switch
A network switch is a versatile device that enables you to split an Ethernet connection and connect multiple devices to a single Ethernet port on your modem or router. Using a network switch is a convenient and efficient way to expand your network infrastructure without sacrificing performance or reliability.
To utilize a network switch, follow these steps:
- Choose a suitable network switch: Select a network switch based on your specific needs. Consider factors such as the number of devices you want to connect, the required data transfer speed, and any additional features you may need. Network switches are available in different sizes, ranging from small desktop switches to larger rack-mounted switches for more extensive setups.
- Connect the network switch: Connect one end of an Ethernet cable to an available Ethernet port on your modem or router. Then, connect the other end of the Ethernet cable to the input port on the network switch. The input port may be labeled as “Uplink” or “WAN.” This establishes the connection between your modem or router and the network switch.
- Connect devices to the network switch: Connect your devices, such as computers, gaming consoles, or smart TVs, to the available Ethernet ports on the network switch. Simply plug one end of an Ethernet cable into a device’s Ethernet port and the other end into one of the available ports on the switch. Repeat this process for each device you want to connect.
- Ensure proper configuration: In most cases, network switches require minimal configuration. They typically operate on a plug-and-play basis, automatically detecting and adjusting to the connected devices. However, if you have a managed switch, you may have the option to configure advanced features such as VLANs (Virtual Local Area Networks) or Quality of Service (QoS) settings.
- Test the connection: Once all devices are connected to the network switch, test the network connection on each device to ensure they are properly receiving internet access. Open a web browser or perform other network-dependent tasks on each device to verify connectivity.
Using a network switch allows you to split an Ethernet connection and effectively expand your network capacity. The switch acts as a central hub, facilitating seamless communication between devices and optimizing data transmission. It also provides each connected device with dedicated bandwidth, ensuring smooth and fast network performance for all devices.
Whether you have a small home network or a larger business network, utilizing a network switch is a reliable and scalable solution for splitting an Ethernet connection and accommodating multiple devices without compromising speed or stability.
Step 3: Use a Network Hub
Using a network hub is another option for splitting an Ethernet connection and connecting multiple devices to a single Ethernet port on your modem or router. While network switches are more commonly used today, network hubs can still serve as a simple solution in certain scenarios.
To utilize a network hub, follow these steps:
- Select a network hub: Choose a network hub based on your specific requirements. Hubs are typically available in different sizes, offering varying numbers of ports. Consider the number of devices you need to connect and ensure that the chosen hub has enough ports to accommodate them.
- Connect the network hub: Connect one end of an Ethernet cable to an available Ethernet port on your modem or router. Then, connect the other end of the Ethernet cable to the input port on the network hub. The input port on the hub is usually labeled as “Uplink” or “WAN”. This establishes the connection between your modem or router and the network hub.
- Connect devices to the network hub: Connect the devices you want to include in the network by plugging one end of an Ethernet cable into each device’s Ethernet port. Next, connect the other end of each Ethernet cable to the available ports on the network hub. Repeat this process for each device you wish to connect.
- Ensure proper configuration: Network hubs typically do not require configuration as they operate on a basic level. However, it’s important to note that network hubs forward data to all connected devices, resulting in shared bandwidth and potential network congestion. This may impact overall network performance, especially when multiple devices are transmitting data simultaneously.
- Test the connection: Once all devices are connected to the network hub, test the network connection on each device to ensure they are properly receiving internet access. Open a web browser or perform other network-dependent tasks on each device to verify connectivity.
Although network hubs provide a straightforward way to split an Ethernet connection, it’s important to note that they have limitations compared to network switches. Unlike switches, network hubs send data to all connected devices, resulting in shared bandwidth and potential network congestion. As a result, network performance can be affected, especially when data-intensive activities are being performed by multiple devices simultaneously.
Considering these limitations, network switches are generally preferred over hubs. However, in situations where cost and simplicity are key factors, or when network performance demands are minimal, a network hub can still serve as a viable option for splitting an Ethernet connection and connecting multiple devices to a single Ethernet port.
Step 4: Use a Network Router
Using a network router is another method to split an Ethernet connection and create multiple pathways for connecting devices. While routers are primarily designed to connect different networks together, many routers also include built-in Ethernet ports that can be utilized to split an Ethernet connection effectively.
To split an Ethernet connection using a network router, follow these steps:
- Select a suitable network router: Choose a network router that meets your specific needs. Consider factors such as the number of devices you want to connect, the desired network speed, and any additional features or capabilities you may require, such as wireless connectivity or advanced security features.
- Connect the network router: Connect one end of an Ethernet cable to an available Ethernet port on your modem or existing router. Then, connect the other end of the Ethernet cable to the WAN (Wide Area Network) port on the network router. The WAN port is typically labeled as “Internet” or “WAN” and is used to establish the connection to the external network.
- Configure the network router: Access the router’s configuration interface by typing its IP address into a web browser on a connected device. Follow the manufacturer’s instructions to set up the router, including configuring the appropriate network settings, such as IP addresses, DHCP (Dynamic Host Configuration Protocol), and wireless network parameters (if applicable).
- Connect devices to the network router: Connect the devices you wish to include in the split Ethernet connection by plugging one end of an Ethernet cable into each device’s Ethernet port. Then, connect the other end of each Ethernet cable to one of the available LAN (Local Area Network) ports on the network router. Each LAN port on the router represents a separate pathway for connecting devices.
- Test the connection: Once all devices are connected to the network router, test the network connectivity on each device to ensure they are properly receiving internet access. Open a web browser or perform other network-dependent tasks on each device to verify connectivity.
Using a network router to split an Ethernet connection offers the advantage of creating separate network segments for connected devices. Each device connected to a LAN port on the router will be assigned a unique IP address, enabling more advanced network configuration and management options.
It’s worth noting that while network routers can split an Ethernet connection, they may introduce an additional layer of network address translation (NAT), which can impact certain network applications or online gaming. If you require direct access to the internet for specific devices, it is recommended to check the router’s specifications and configure it accordingly.
By using a network router, you can effectively split an Ethernet connection, create multiple pathways for device connectivity, and take advantage of advanced network configuration and management options. This enables you to efficiently distribute network resources and control access to connected devices in a flexible and scalable manner.
Step 5: Use a Network Access Point
When it comes to splitting an Ethernet connection wirelessly, using a network access point, also known as a wireless access point, can be a suitable option. A network access point allows you to extend your Ethernet connection by providing wireless connectivity to devices that do not have an Ethernet port or are located further away from the main Ethernet source.
To split an Ethernet connection using a network access point, follow these steps:
- Select a network access point: Choose a network access point that fits your specific requirements. Consider factors such as wireless standard compatibility, data transfer speed, range, and any additional features you may need, such as multiple antennas or guest network support.
- Connect the network access point: Power on the network access point and connect it to an available Ethernet port on your modem or router using an Ethernet cable. The Ethernet port on the access point is typically labeled as “LAN” or “Ethernet.”
- Configure the network access point: Access the access point’s configuration interface. This can often be done by typing the access point’s IP address into a web browser on a connected device. Follow the manufacturer’s instructions to set up the access point, including configuring wireless network settings, such as SSID (network name) and security options like WPA2 (Wi-Fi Protected Access II) encryption.
- Connect devices to the network access point: Enable Wi-Fi on the devices you want to connect and search for the network name (SSID) of the network access point. Once found, connect to the network by entering the correct security key, if required. Devices connected to the network access point will now have access to the internet through the split Ethernet connection.
- Test the connection: Once connected, test the network connectivity on each device to ensure it is properly receiving internet access. You can do this by opening a web browser or performing other network-dependent tasks to verify connectivity.
Using a network access point allows you to split an Ethernet connection wirelessly and provide connectivity to devices that do not have an Ethernet port or are located further away from the main Ethernet source. This method is particularly useful in situations where running Ethernet cables is not feasible or practical.
It’s important to note that the performance and range of the wireless network may be influenced by factors such as the distance between the access point and connected devices, the presence of physical obstructions, and the wireless environment in your location. To optimize the wireless connection, consider placing the access point in a central location and ensuring that devices are within range.
By using a network access point, you can effectively split an Ethernet connection and provide wireless connectivity, allowing devices to access the internet without the need for physical Ethernet cables. This provides a flexible and convenient solution for connecting devices wirelessly and expanding the reach of your network connection.
Step 6: Connecting Devices to the Split Ethernet Connection
Once you have successfully split the Ethernet connection using one of the previous methods, it’s time to connect your devices to the split Ethernet connection. Whether you have used a network switch, hub, router, or access point, the process of connecting devices remains relatively straightforward.
To connect devices to the split Ethernet connection, follow these steps:
- Ensure devices have Ethernet ports: Check that the devices you want to connect have Ethernet ports. Most computers, gaming consoles, smart TVs, and other networking devices are equipped with Ethernet ports. However, certain devices, such as smartphones or tablets, may require an Ethernet adapter to connect to the Ethernet cable.
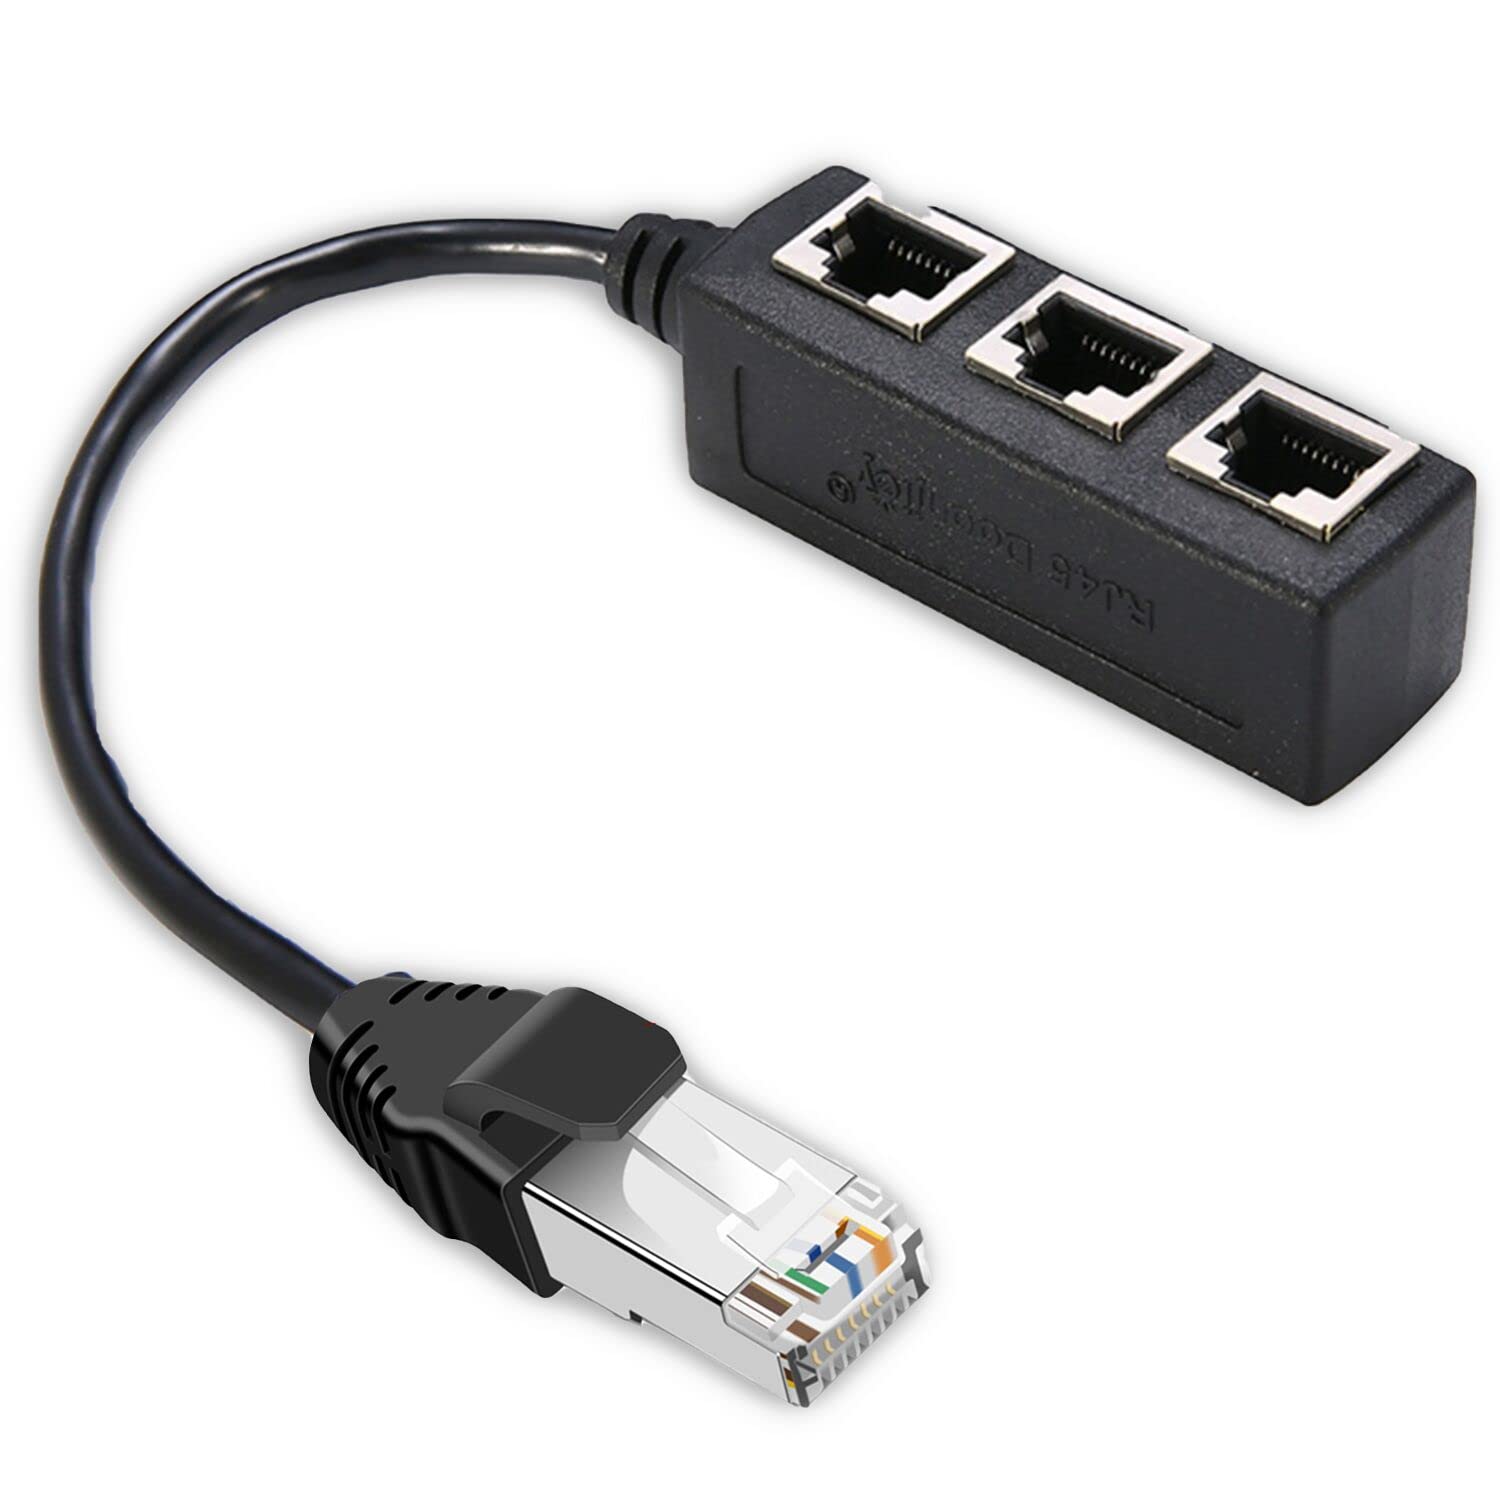
- Obtain Ethernet cables: Acquire Ethernet cables of the appropriate length to connect each device to the split Ethernet connection. Make sure the cables are in good condition and have the necessary connectors (RJ-45) to fit into the Ethernet ports of your devices.
- Connect devices to the split Ethernet connection: Plug one end of an Ethernet cable into the Ethernet port of a device you want to connect. Then, connect the other end of the Ethernet cable into one of the available Ethernet ports on the device that splits the Ethernet connection, such as a network switch, hub, or router. Repeat this process for each device you wish to connect.
- Verify network connectivity: Once all devices are connected to the split Ethernet connection, test the network connectivity on each device. Open a web browser or perform other network-dependent tasks to ensure they can access the internet and communicate with other devices on the network. It’s advisable to check the network settings on each device and ensure they are configured properly to receive an IP address automatically, unless static IP addressing is required.
By connecting devices to the split Ethernet connection, you can now enjoy simultaneous internet access on multiple devices without sacrificing performance. Each connected device will have a dedicated pathway to the network, ensuring optimal performance and minimizing network congestion.
Remember to regularly check the connectivity and performance of all connected devices. If any issues arise, troubleshoot the problem by checking the Ethernet cable connections, restarting devices or networking equipment if necessary, and ensuring that all network settings are accurately configured.
With the devices connected to the split Ethernet connection, you can now enjoy the benefits of an expanded network infrastructure, extended network coverage, and efficient utilization of your network resources. Whether for work, entertainment, or communication, your devices are now ready to take full advantage of the split Ethernet connection.
Conclusion
Splitting an Ethernet connection can offer significant benefits, enabling you to connect multiple devices or extend network coverage. By following the steps outlined in this guide, you can successfully split an Ethernet connection and optimize your network infrastructure.
Throughout this article, we discussed the importance of Ethernet connections and their role in facilitating fast and reliable communication between devices. We explored various reasons why you might want to split an Ethernet connection, including connecting multiple devices simultaneously, expanding network coverage, improving network performance, and facilitating network segmentation.
We then detailed several methods for splitting an Ethernet connection, including using network switches, hubs, routers, and access points. Each method has its own advantages and considerations, so it’s important to choose the one that best fits your specific needs and network setup.
Identifying the available Ethernet ports, configuring the devices, and connecting each device to the split Ethernet connection are essential steps in successfully splitting the connection. Properly configuring the network devices and testing the network connectivity afterward will ensure a smooth and stable network experience.
Whether you are setting up a home network, a small office network, or a more extensive network infrastructure, understanding how to split an Ethernet connection is a valuable skill. By effectively splitting the connection, you can enhance network performance, accommodate multiple devices, and extend network coverage to meet your specific requirements.
As you embark on splitting your Ethernet connection, remember that network infrastructure can vary. It’s important to consider the unique needs of your network and choose the appropriate method to split the connection accordingly. Regularly assess your network requirements, review your hardware, and make adjustments as needed to ensure optimal performance and scalability.
By following the steps outlined in this guide and making informed decisions, you can successfully split an Ethernet connection and create a robust and efficient network environment that meets your connectivity needs.