Introduction
Welcome to the world of Ethernet cables! In today’s digital age, where seamless internet connectivity is a necessity, understanding how to connect an Ethernet cable is a valuable skill. Whether you are setting up a home network, connecting devices in an office, or configuring a gaming setup, knowing the basics of Ethernet cable connections is essential.
Ethernet cables are widely used for network connections as they provide a reliable and stable connection compared to wireless alternatives. These cables are the backbone of a wired network, allowing data to flow quickly and efficiently between devices. Whether you want to connect your computer to the internet, link multiple devices together, or establish a local area network (LAN), Ethernet cables play a crucial role.
In this guide, we will explore the different types of Ethernet cables available, the tools you will need, and provide you with a step-by-step guide on how to connect an Ethernet cable. We will also address common troubleshooting issues that you may encounter during the process.
Please keep in mind that this guide assumes a basic understanding of computer networking concepts. However, even if you are new to networking, do not worry – we will explain everything in simple terms to help you successfully connect your Ethernet cables.
So, are you ready to dive into the world of Ethernet cables and ensure a seamless network connection? Let’s get started by understanding the different types of Ethernet cables available in the market.
What is an Ethernet cable?
An Ethernet cable is a type of wiring used to establish a physical connection between devices in a computer network. It is the most common method of connecting devices, such as computers, routers, switches, and network-enabled devices, to transmit data over a local area network (LAN) or an internet connection.
Ethernet cables consist of twisted pairs of copper wires encased in a protective covering. These twisted pairs are designed to reduce electromagnetic interference and ensure reliable data transmission. The cables use a standardized set of rules and protocols known as the Ethernet standard, which allows for fast and efficient communication between connected devices.
Ethernet cables come in various categories, each with their own specifications and capabilities. The most common categories are Cat5e, Cat6, and Cat6a, with each category offering different speeds and bandwidth capacities. The choice of Ethernet cable category depends on the specific requirements of your network setup.
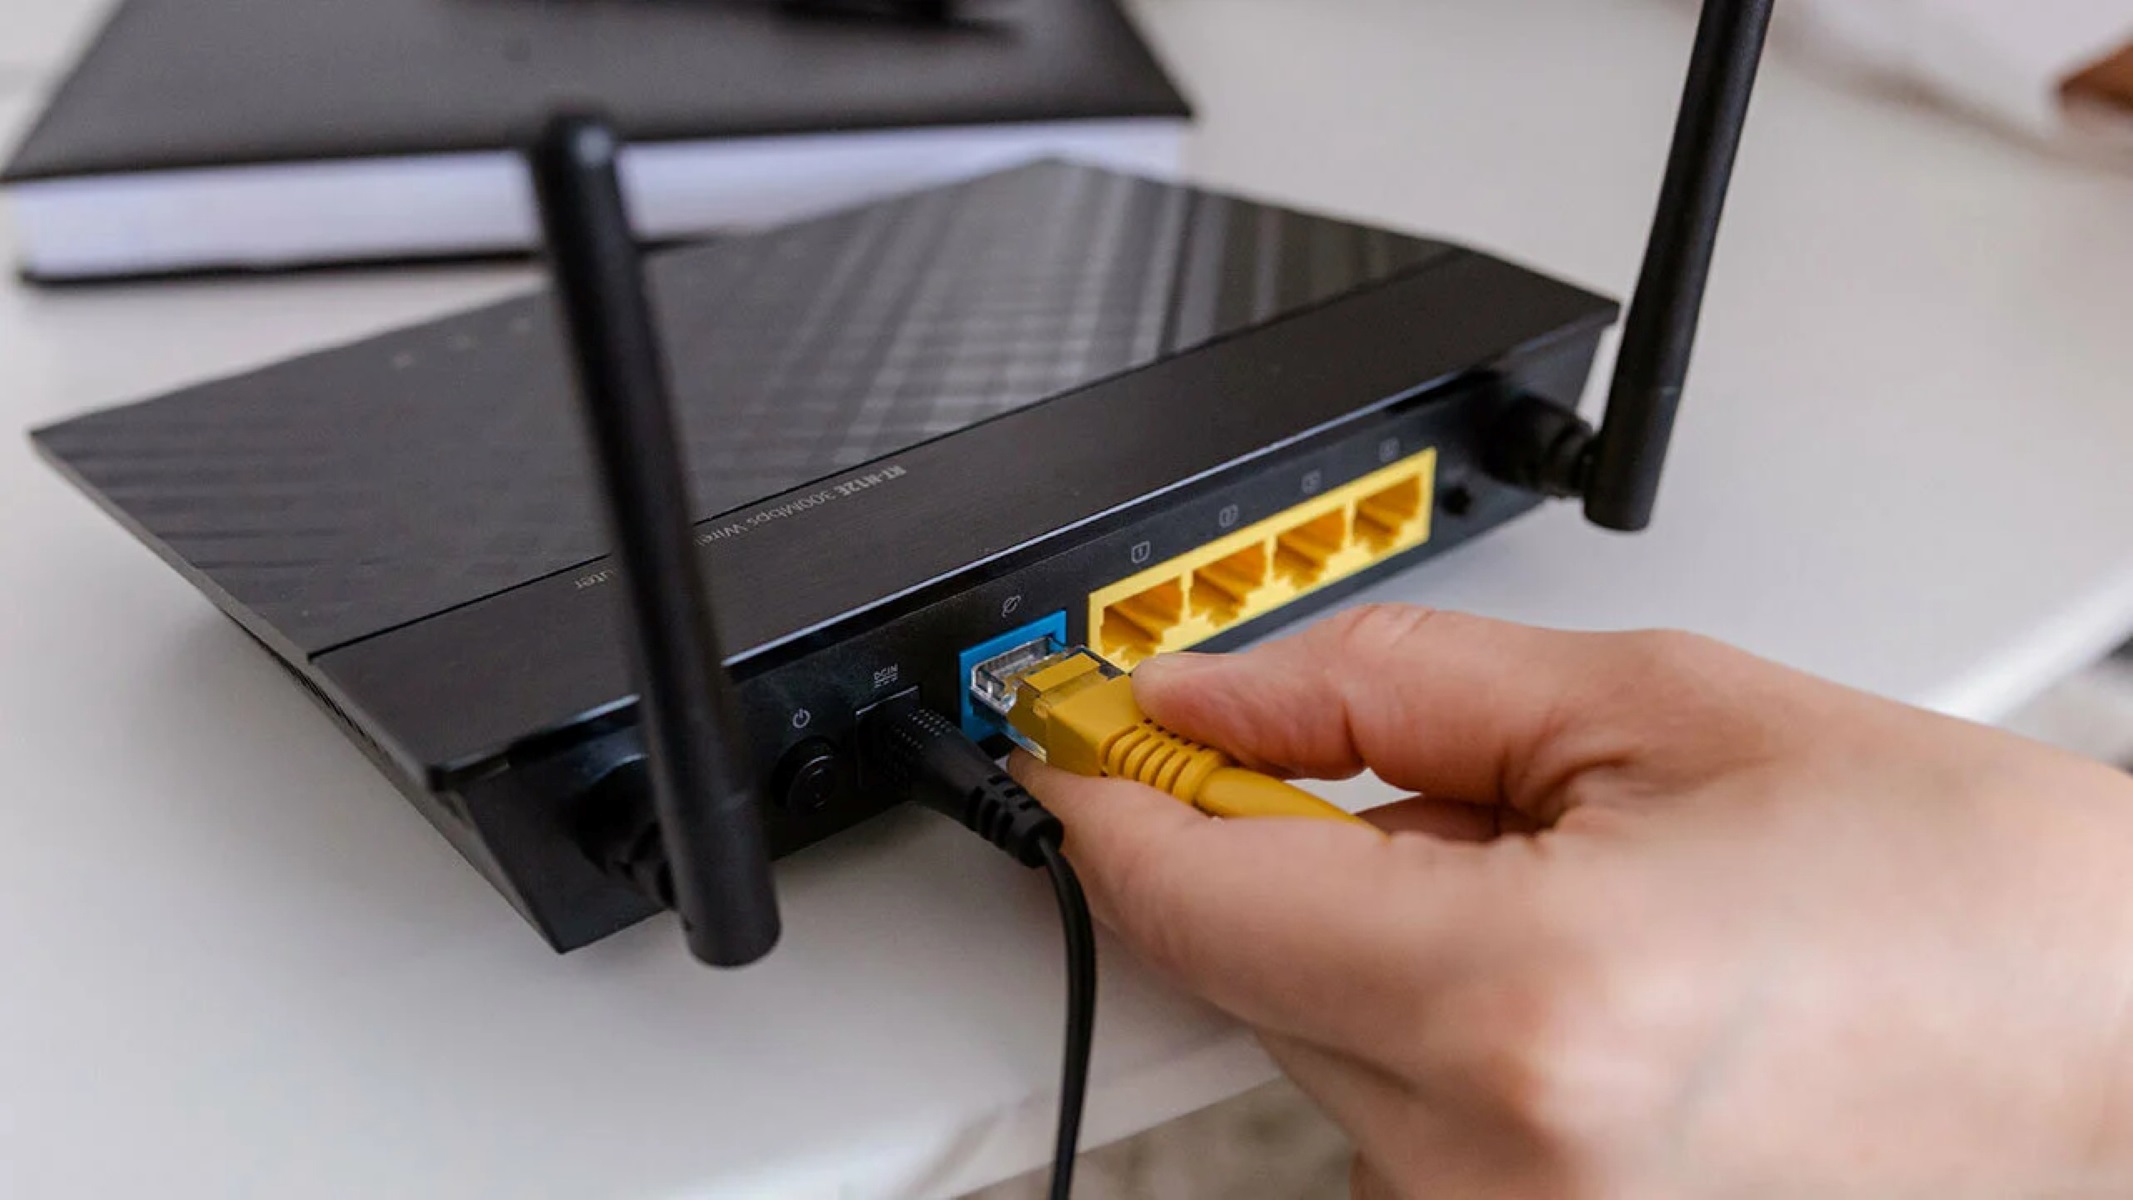
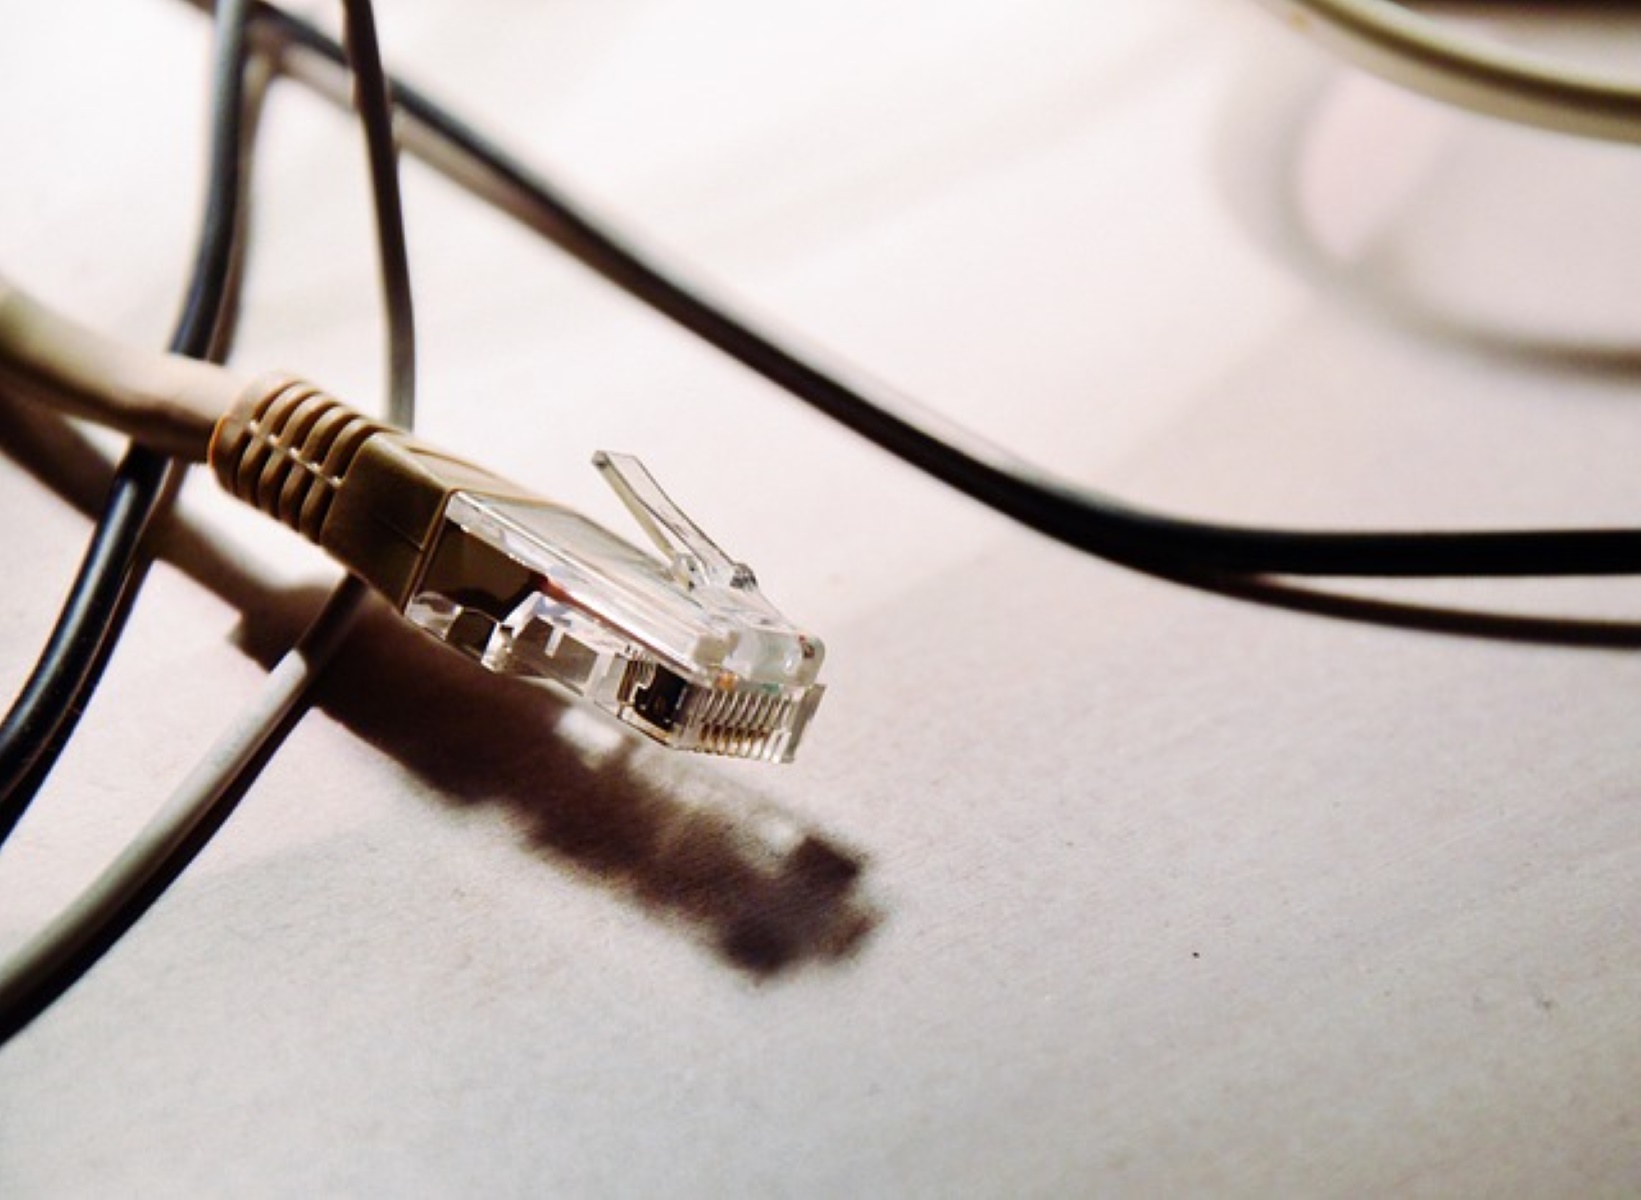
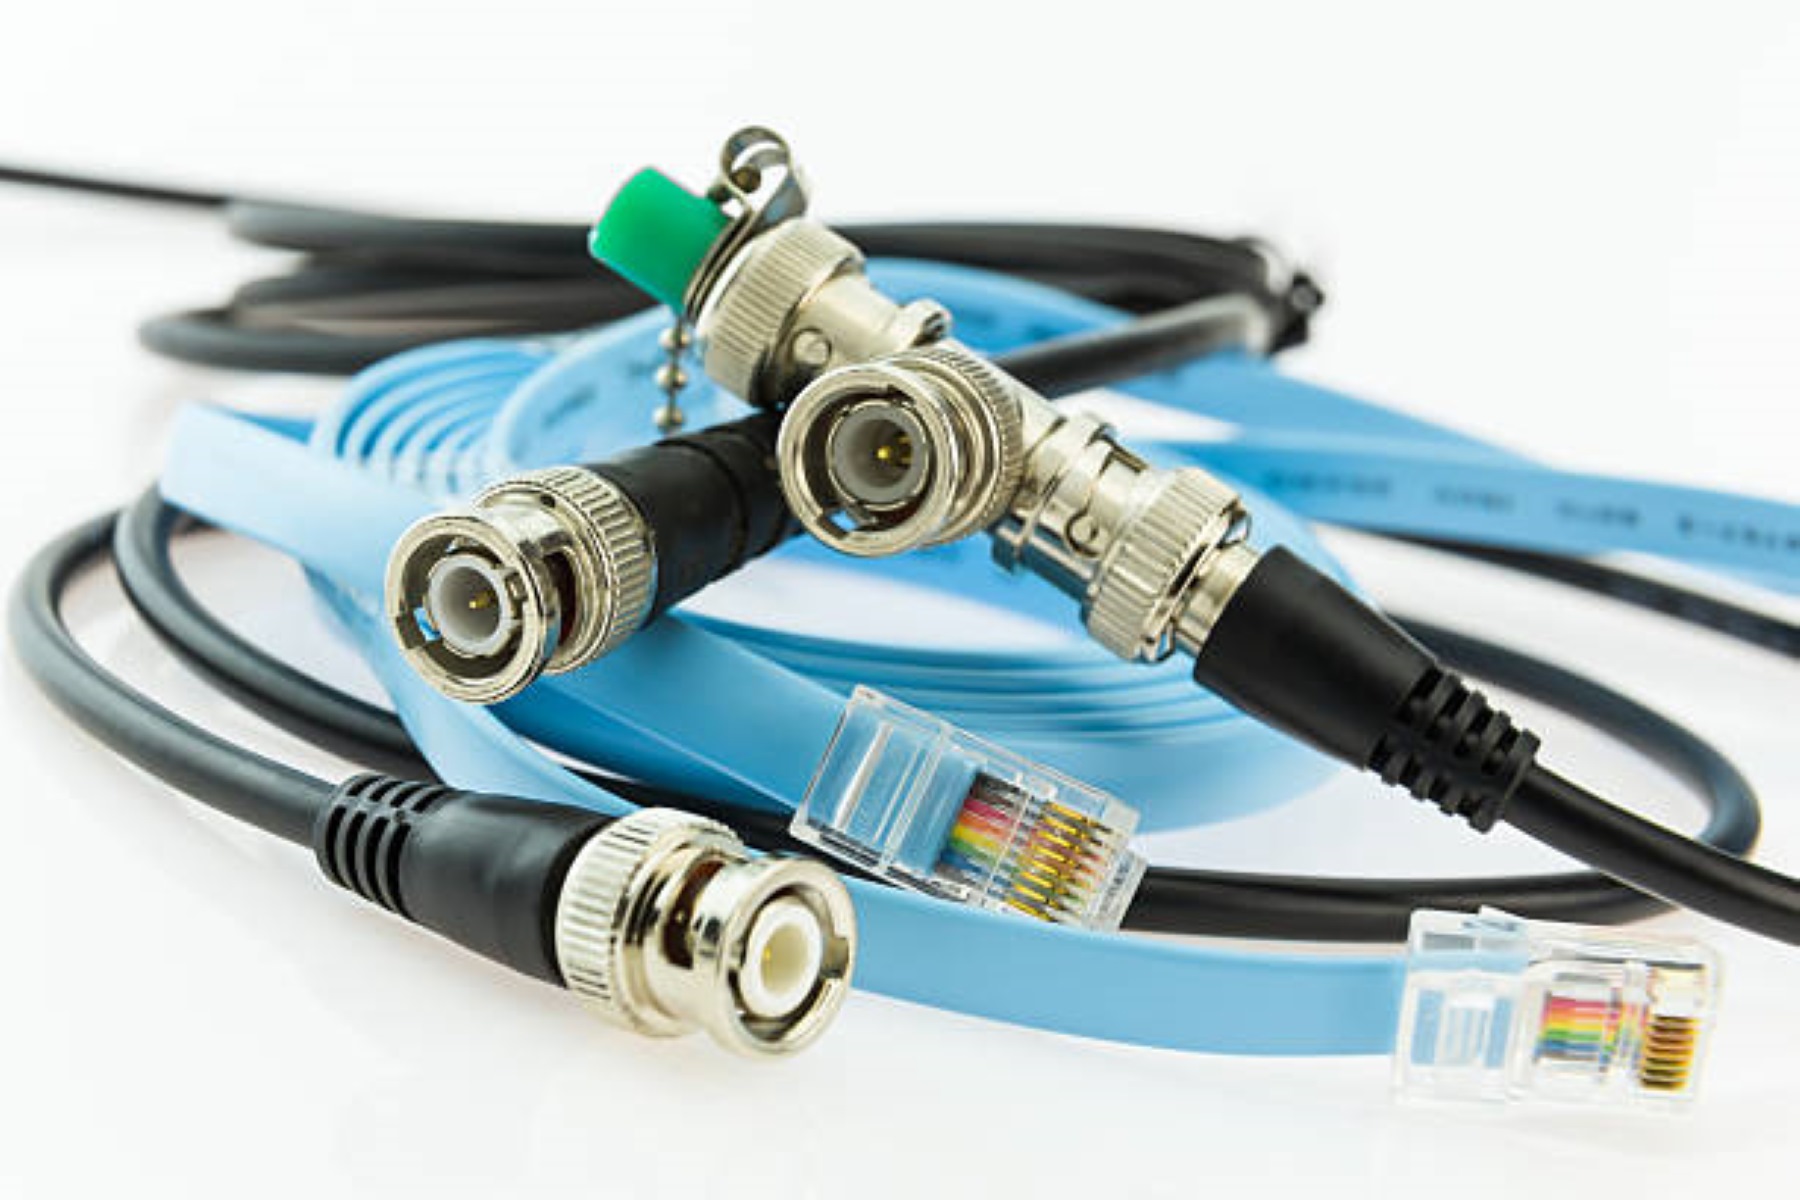
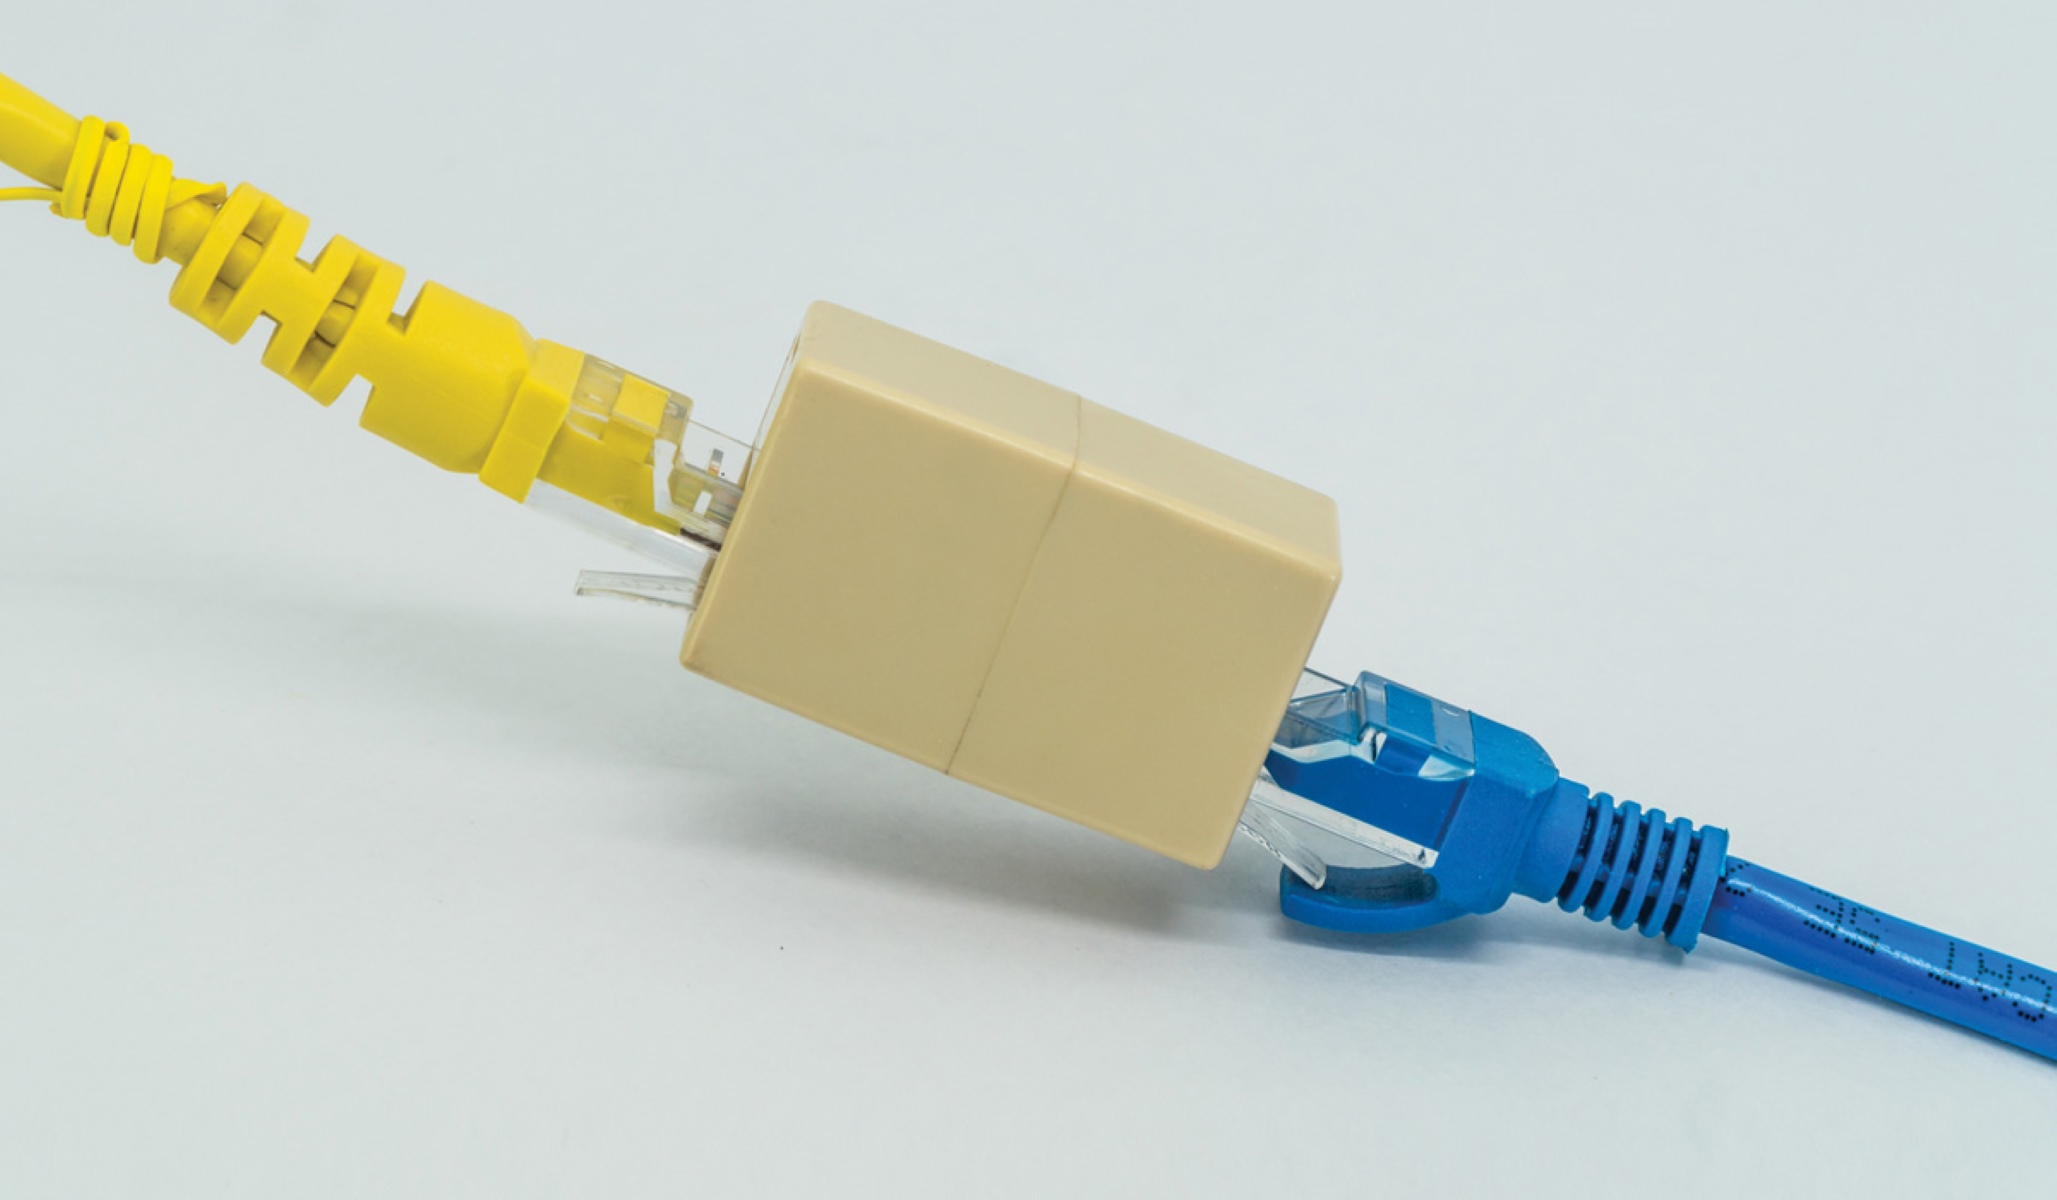
Ethernet cables generally use a connector called an RJ-45 connector to plug into devices. This connector has eight pins that align with eight wires within the cable, establishing a secure physical connection between the device and the network. The connector snaps into place and can easily be removed when needed.
One of the key advantages of Ethernet cables is their reliability and stability. Unlike wireless connections that can be affected by interference or signal loss, Ethernet cables provide a consistent and secure connection. This makes them a popular choice for applications that require high-speed and uninterrupted data transfer, such as online gaming, streaming, and large file transfers.
In summary, Ethernet cables are essential components for establishing wired network connections. They provide reliable and fast data transmission between devices, ensuring a stable network connection. In the next section, we will discuss the different types of Ethernet cables and their respective specifications in more detail.
Types of Ethernet cables
Ethernet cables come in various categories, each with its own specifications and capabilities. These categories determine the speed and bandwidth capacity of the cable, making it important to choose the right type for your specific networking needs. Let’s explore the most common types of Ethernet cables available:
- Cat5e: Cat5e (Category 5e) cables are the most basic type of Ethernet cables and are widely used in home and small office networks. They support speeds up to 1000 Mbps (or 1 Gbps) and are suitable for basic internet browsing, emailing, and file sharing.
- Cat6: Cat6 (Category 6) cables are an upgraded version of Cat5e cables and offer improved performance. They are capable of supporting speeds up to 10 Gbps over shorter distances and are suitable for demanding applications like online gaming, HD video streaming, and transferring large files.
- Cat6a: Cat6a (Category 6a) cables are the enhanced version of Cat6 cables and are designed for more demanding network setups. They can handle speeds up to 10 Gbps over longer distances, making them ideal for professional environments where high-performance networking is required.
- Cat7: Cat7 (Category 7) cables are designed to provide maximum speed and bandwidth capacity. They are capable of supporting speeds up to 10 Gbps at a range of 100 meters. Cat7 cables are shielded to minimize interference and are commonly used in data centers or for long-distance network connections.
When selecting an Ethernet cable, consider the specific requirements of your network setup. If you primarily use the internet for basic tasks like web browsing and email, a Cat5e cable may suffice. However, if you need faster speeds and plan to use your network for bandwidth-intensive activities like streaming and gaming, consider upgrading to Cat6 or Cat6a cables.
It’s worth noting that while Cat7 cables offer impressive capabilities, they are often more expensive than other categories and may require specialized ports or connectors. Therefore, they are typically used in enterprise-level networking environments where maximum performance is essential.
Now that we’ve covered the different types of Ethernet cables available, let’s move on to the tools you will need to connect an Ethernet cable in the next section.
Tools you will need for connecting an Ethernet cable
Before you can connect an Ethernet cable, it’s important to gather the necessary tools to ensure a successful and hassle-free installation. While the process itself is relatively straightforward, having the right tools at hand will make it much easier. Here are the essential tools you will need:
- Ethernet cable: The first and most obvious tool you’ll need is the Ethernet cable itself. Make sure you have the appropriate length of cable for your setup. It’s a good idea to have some extra length available for flexibility.
- RJ-45 connectors: These connectors are necessary for terminating the ends of the Ethernet cable. You will need two connectors for each cable end you plan to install. It’s important to choose high-quality connectors to ensure a secure and reliable connection.
- Crimping tool: A crimping tool is used to attach the RJ-45 connectors to the Ethernet cable. This tool allows you to secure the connectors to the cable wires, ensuring a proper connection. Make sure to use a crimping tool that is specifically designed for Ethernet cables.
- Wire stripper: A wire stripper is used to remove the protective covering from the Ethernet cable, exposing the individual wires inside. This tool helps to prepare the cable for attaching the connectors.
- Scissors or cable cutter: You may need to trim the excess cable length or cut the cable to the desired length. Scissors or a cable cutter will come in handy for this task.
- Network testing tool: While not essential, a network testing tool can be very useful for checking the integrity of your Ethernet cable connections. It can help identify any wiring faults or connectivity issues, ensuring a fully functional network.
Having these tools readily available will streamline the Ethernet cable connection process and help you achieve a secure and reliable network setup. Now that you have the necessary tools, let’s move on to the step-by-step guide on how to connect an Ethernet cable in the next section.
Step-by-step guide to connecting an Ethernet cable
Connecting an Ethernet cable is a straightforward process that can be accomplished with a few simple steps. Follow this step-by-step guide to connect your Ethernet cable:
- Step 1: Prepare the cable: Start by cutting the Ethernet cable to the desired length using scissors or a cable cutter. Use a wire stripper to remove approximately 1 inch (2.54 cm) of the protective covering from the end of the cable, exposing the individual wires inside.
- Step 2: Arrange the wires: Once the wires are exposed, untwist and arrange them according to the desired wiring standard. The most common standard is the TIA/EIA-568-B, where the wire color sequence from left to right is: white-orange, orange, white-green, blue, white-blue, green, white-brown, and brown. Make sure the wires are straight and in the correct order.
- Step 3: Trim the wires: Use wire cutters to trim any excess wire length, ensuring that all the wires are of equal length and fit snugly inside the RJ-45 connector.
- Step 4: Insert the wires into the connector: Carefully insert the prepared wires into the RJ-45 connector. Make sure each wire corresponds to the correct pin slot. Push the wires all the way into the connector until they reach the end.
- Step 5: Crimp the connector: Once the wires are inserted correctly, use a crimping tool to secure the connector to the Ethernet cable. Apply firm pressure to ensure a proper connection. Repeat the process for the other end of the cable.
- Step 6: Repeat for additional cables: If you have multiple Ethernet cables to connect, repeat the above steps for each cable.
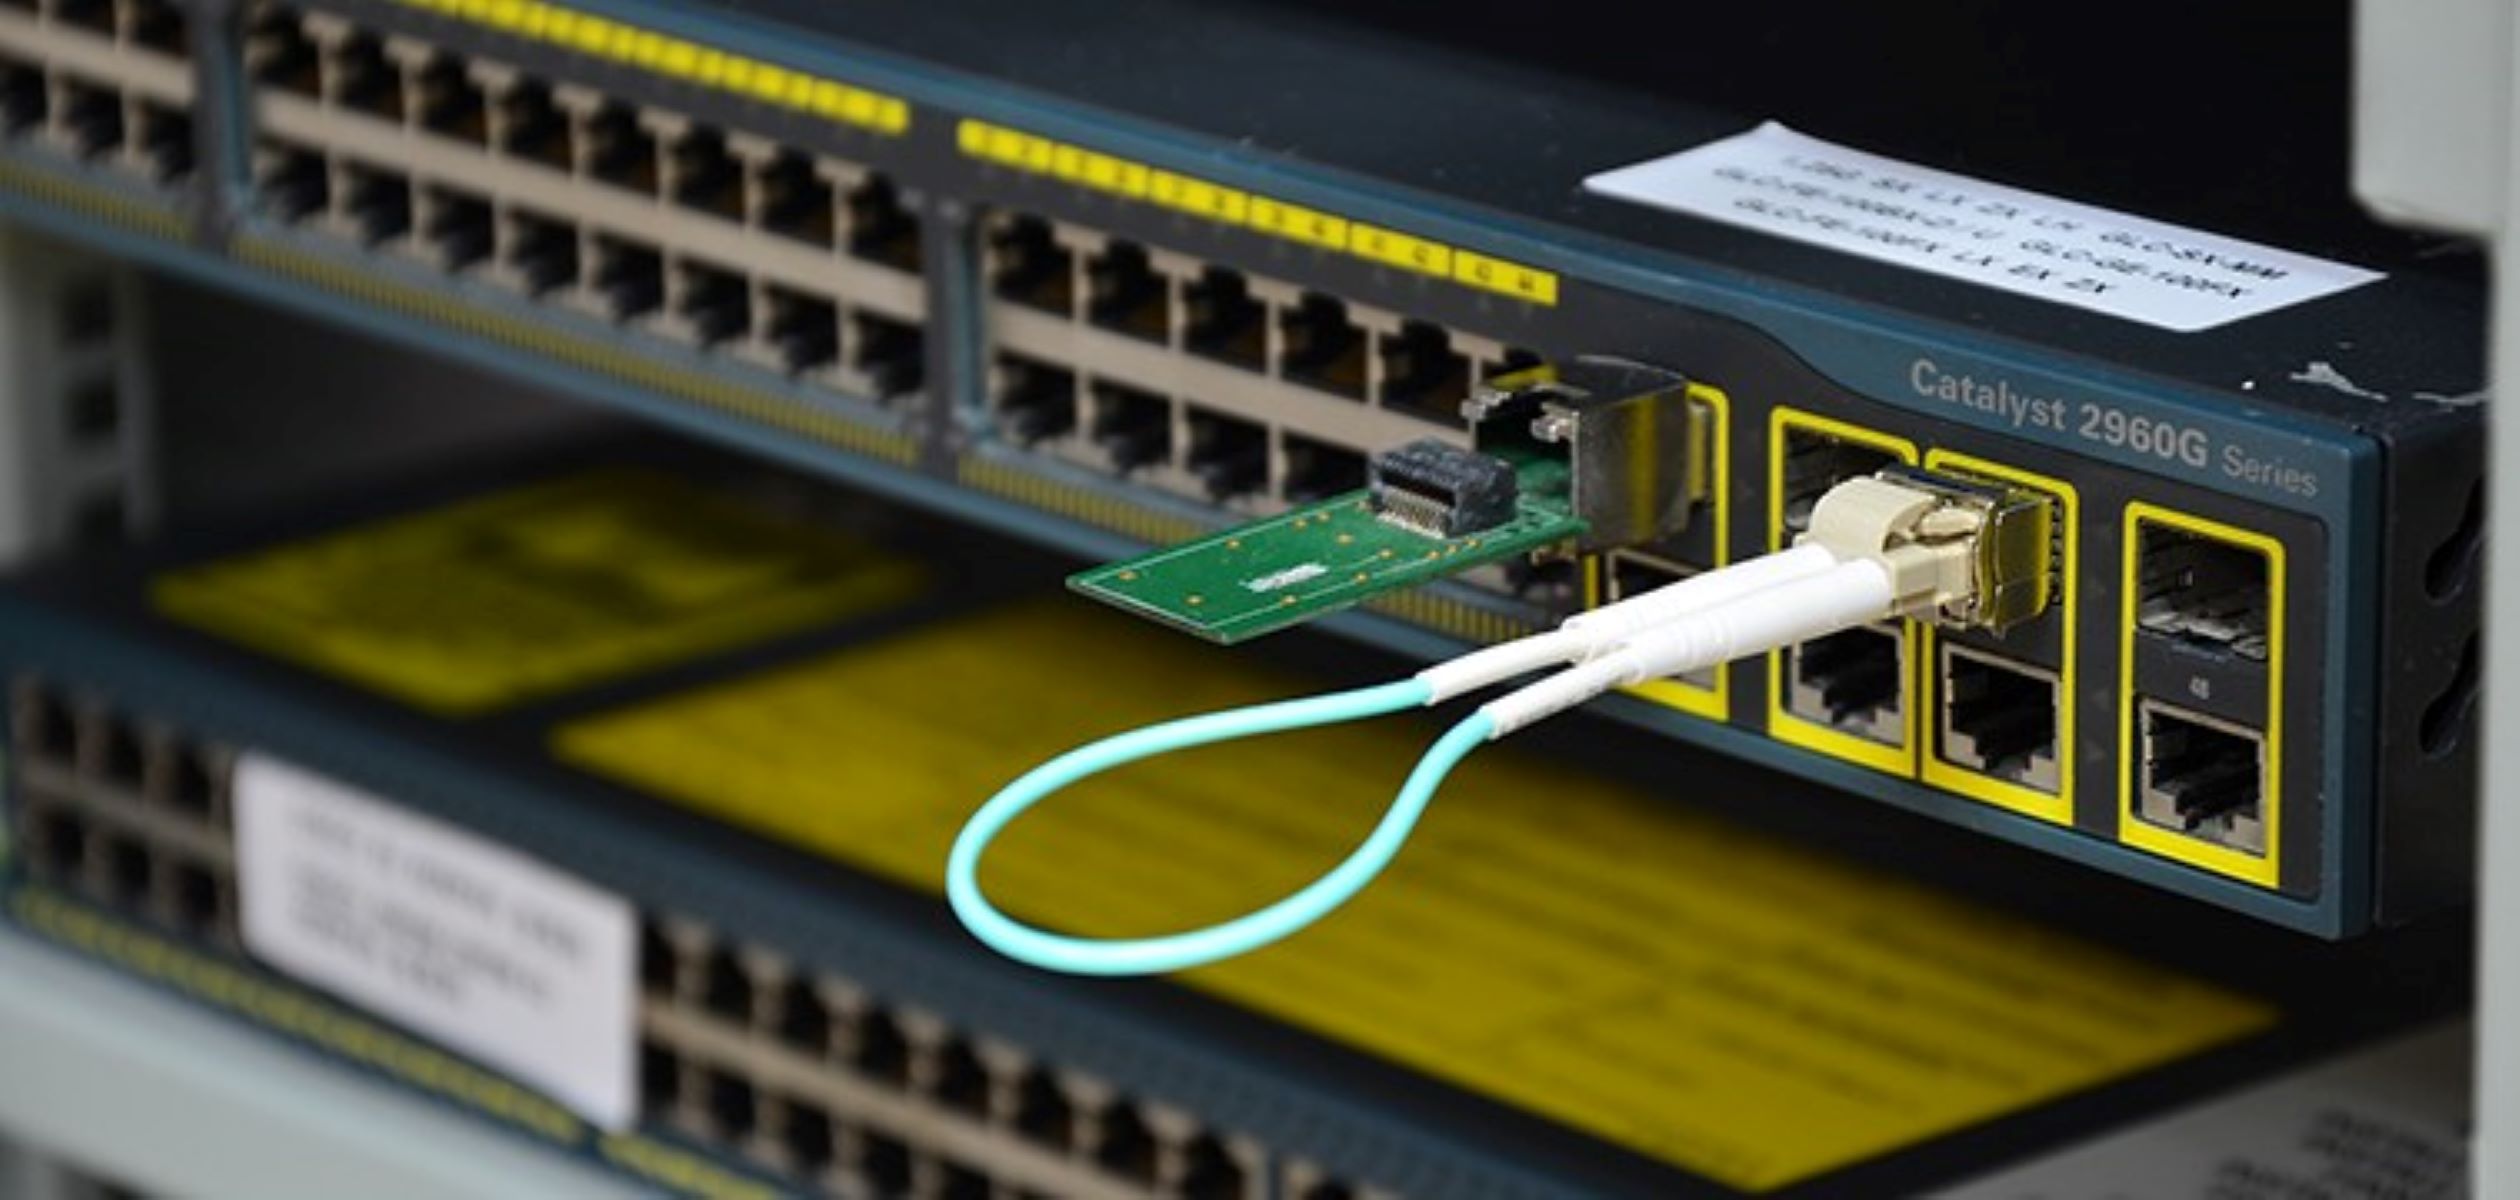
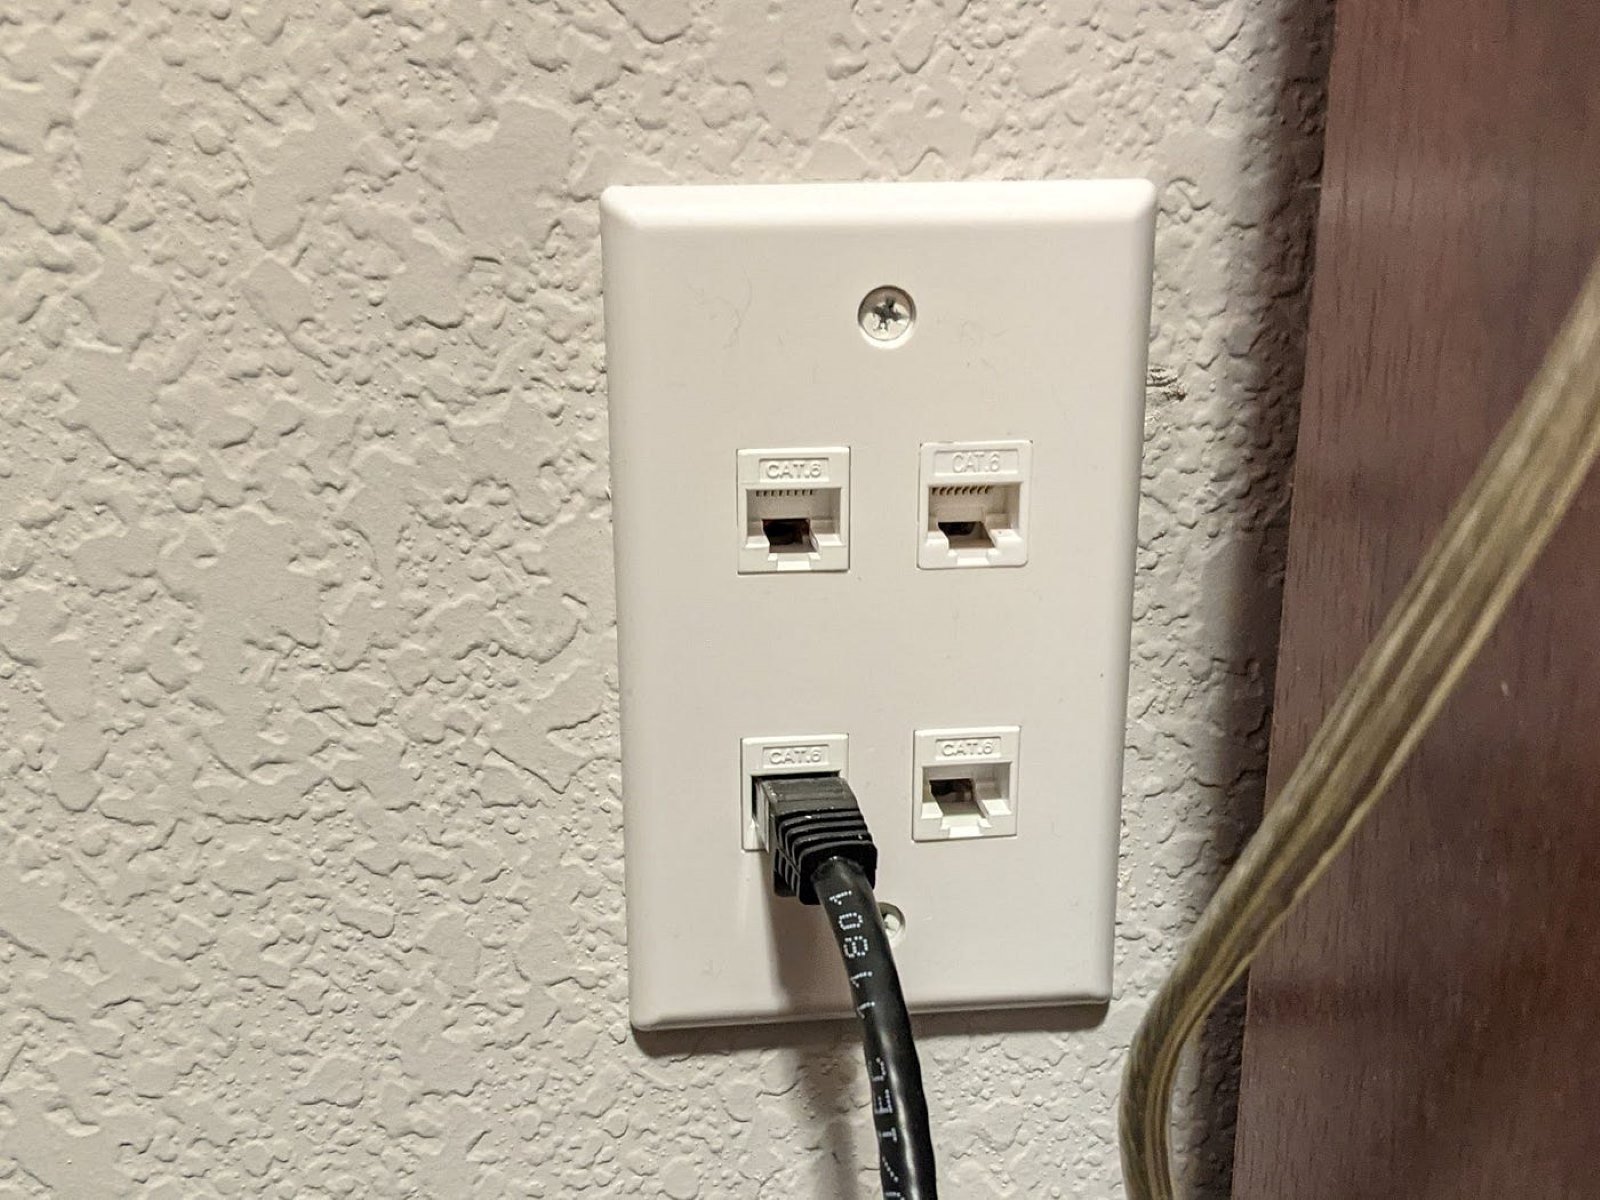
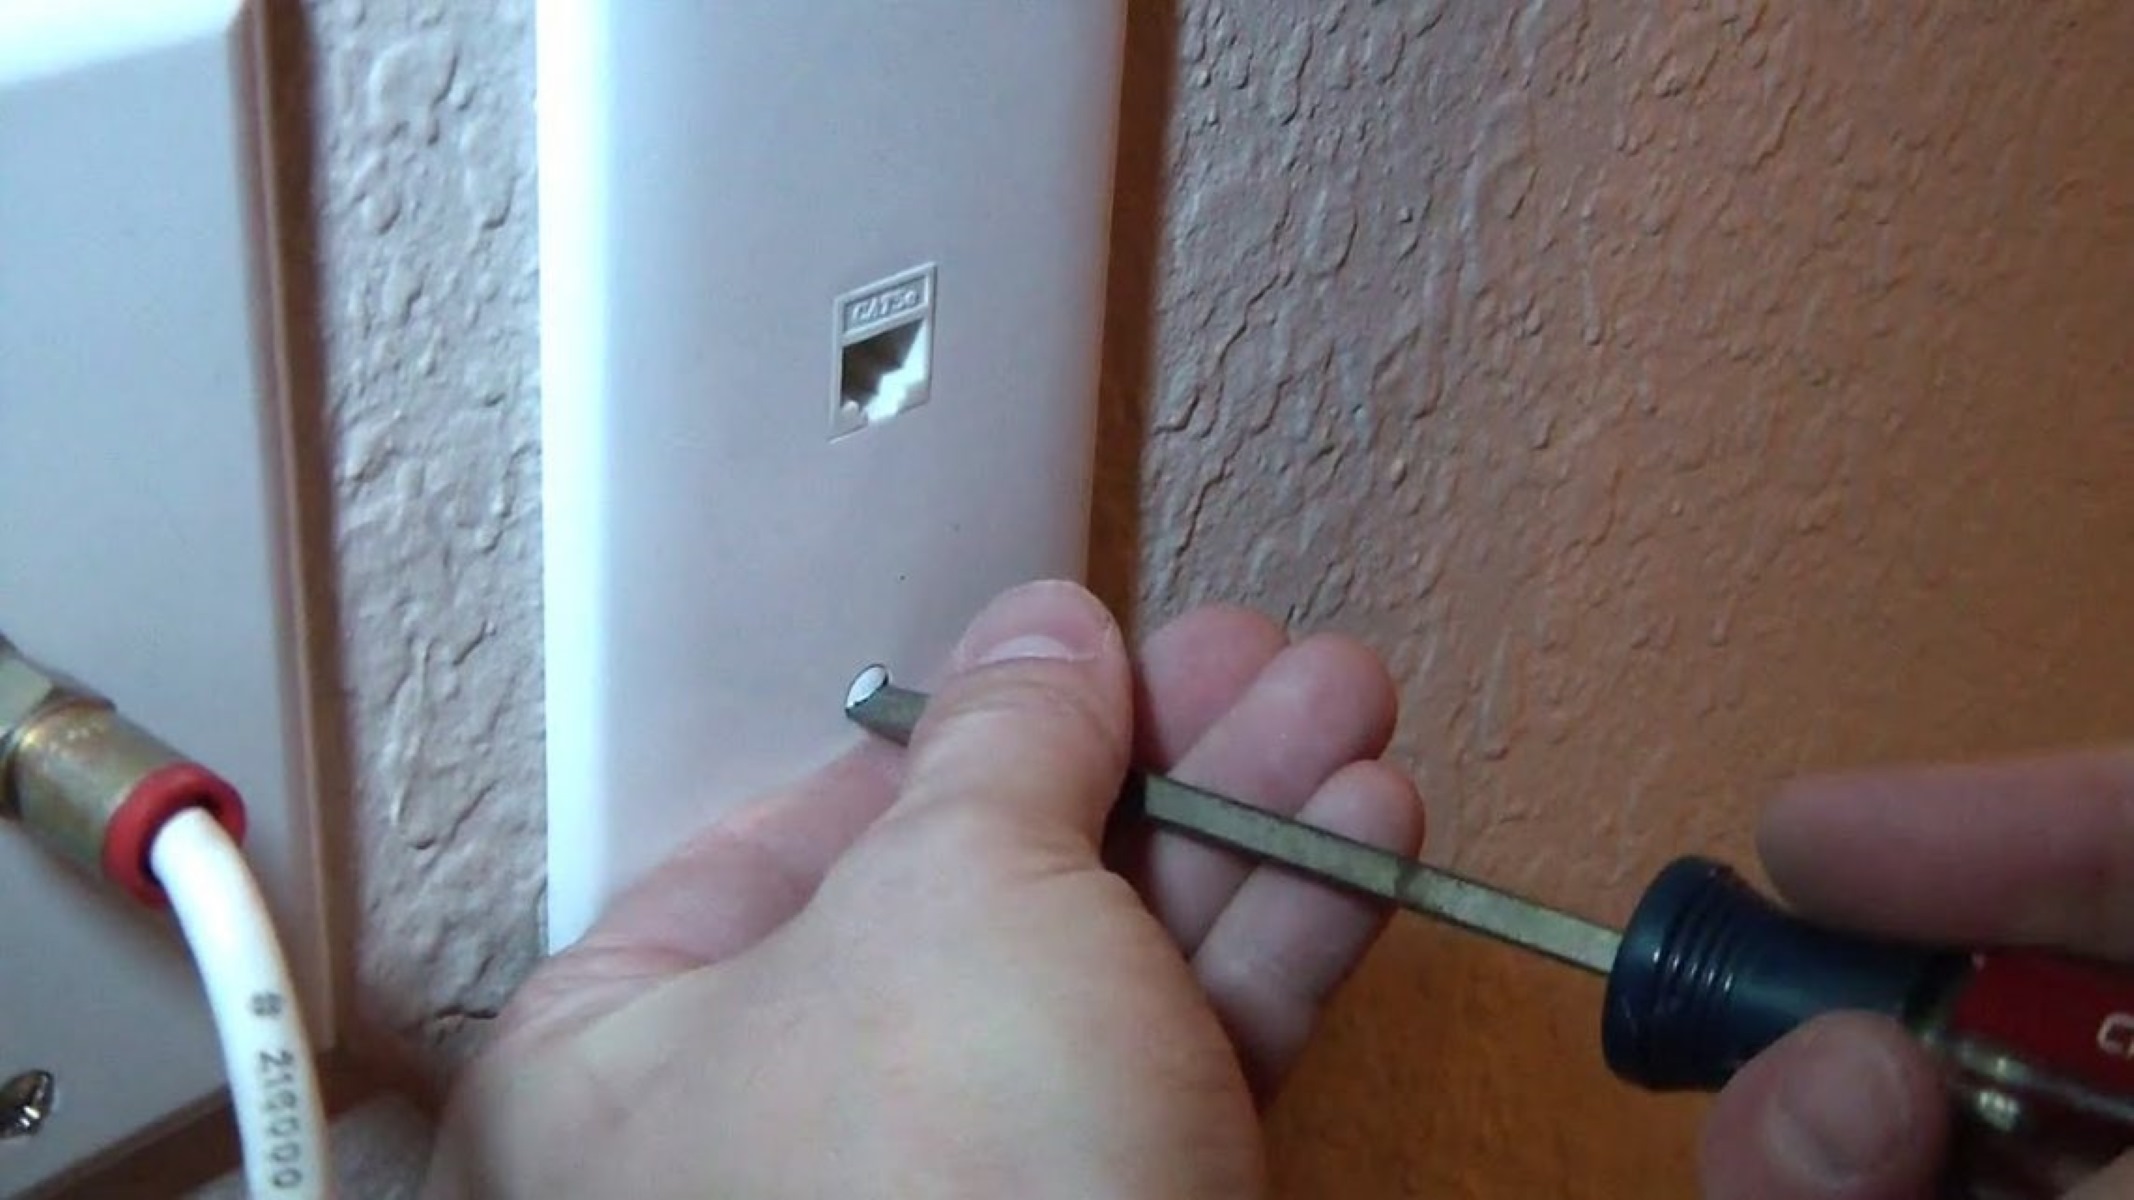
- Step 7: Connect the Ethernet cables: Plug one end of the Ethernet cable into the Ethernet port on your device, such as a computer, gaming console, or router. Take the other end of the cable and connect it to the Ethernet port on another device or to a network switch to establish a wired network connection.
- Step 8: Test the connection: After connecting the Ethernet cables, test the network connection to ensure everything is working correctly. Use a network testing tool or connect your devices to the network to verify the connectivity and transfer speeds.
Following these steps will help you successfully connect an Ethernet cable and establish a reliable wired network connection. In case you encounter any issues, refer to the next section on troubleshooting common Ethernet cable connection problems.
Troubleshooting common issues with Ethernet cable connection
While connecting an Ethernet cable is typically a straightforward process, you may encounter some common issues along the way. Here are a few troubleshooting steps to help you resolve common problems with Ethernet cable connections:
- No internet connection: If you have connected an Ethernet cable but are not getting an internet connection, first ensure that both ends of the cable are securely plugged into the respective devices. Check the LED indicator lights on your router or network switch to confirm that the connection is active. Also, try restarting your router or modem to refresh the network connection.
- Slow internet speed: If you are experiencing slow internet speeds, verify that you are using the appropriate category of Ethernet cable for your desired speed. Ensure that the cable is not damaged or crimped, as this can affect data transmission. Additionally, check for any interference from nearby electrical devices that may be affecting the signal quality.
- Intermittent connection: If your connection drops in and out intermittently, check for any loose connections or damaged cables. Make sure the connectors are securely attached and examine the cable for any signs of wear or damage. You may also want to test the connection with a different Ethernet cable to rule out any cable-related issues.
- No network detection: If your device does not detect the network or other connected devices, ensure that all the devices are correctly configured. Check the network settings on your device and ensure that the Ethernet adapter is enabled. Restarting the devices and the router or switch can also help in resolving detection issues.
- Wrong wiring order: If the Ethernet cable is not functioning as expected, double-check the wiring order of the connectors. Verify that the wires are aligned and inserted in the correct sequence according to the TIA/EIA-568-B or the desired wiring standard. A wrong wiring order can result in connectivity issues.
If the above troubleshooting steps do not resolve the problem, it may be helpful to consult the documentation or support resources of your specific network equipment or consult a professional network technician for further assistance.
Remember that patience and systematic troubleshooting are key when dealing with Ethernet cable connection issues. With a little persistence and the right approach, you can typically identify and resolve the problem, ensuring a reliable and efficient network connection.
Conclusion
In conclusion, understanding how to connect an Ethernet cable is essential for establishing a reliable and stable wired network connection. Ethernet cables provide a secure and fast means of transmitting data between devices, making them a popular choice for home networks, offices, and professional environments.
Throughout this guide, we’ve explored the basics of Ethernet cables, the different types available, and the tools required for connecting them. We’ve also provided a step-by-step guide for connecting Ethernet cables and troubleshooting common issues that may arise during the process.
By following the steps outlined in this guide, you can confidently connect Ethernet cables and optimize your network performance. Whether you’re setting up a gaming console, connecting multiple devices to a router, or establishing a home or office network, mastering the art of Ethernet cable connections will ensure a seamless and reliable network experience.
Remember to consider the specific requirements of your network setup, such as desired speed and distance, when selecting the appropriate category of Ethernet cable. Additionally, always use high-quality connectors and carefully follow the wiring order to ensure a secure and efficient connection.
Lastly, don’t be afraid to consult additional resources, such as online tutorials or professional assistance, if you encounter any difficulties during the process. Troubleshooting Ethernet cable issues may require patience and persistence, but with the right approach, you can overcome any challenges that come your way.
So, go ahead and confidently connect those Ethernet cables to unlock a world of fast, reliable, and stable networking. Enjoy your seamless internet connection, smooth gaming sessions, and efficient data transfers!