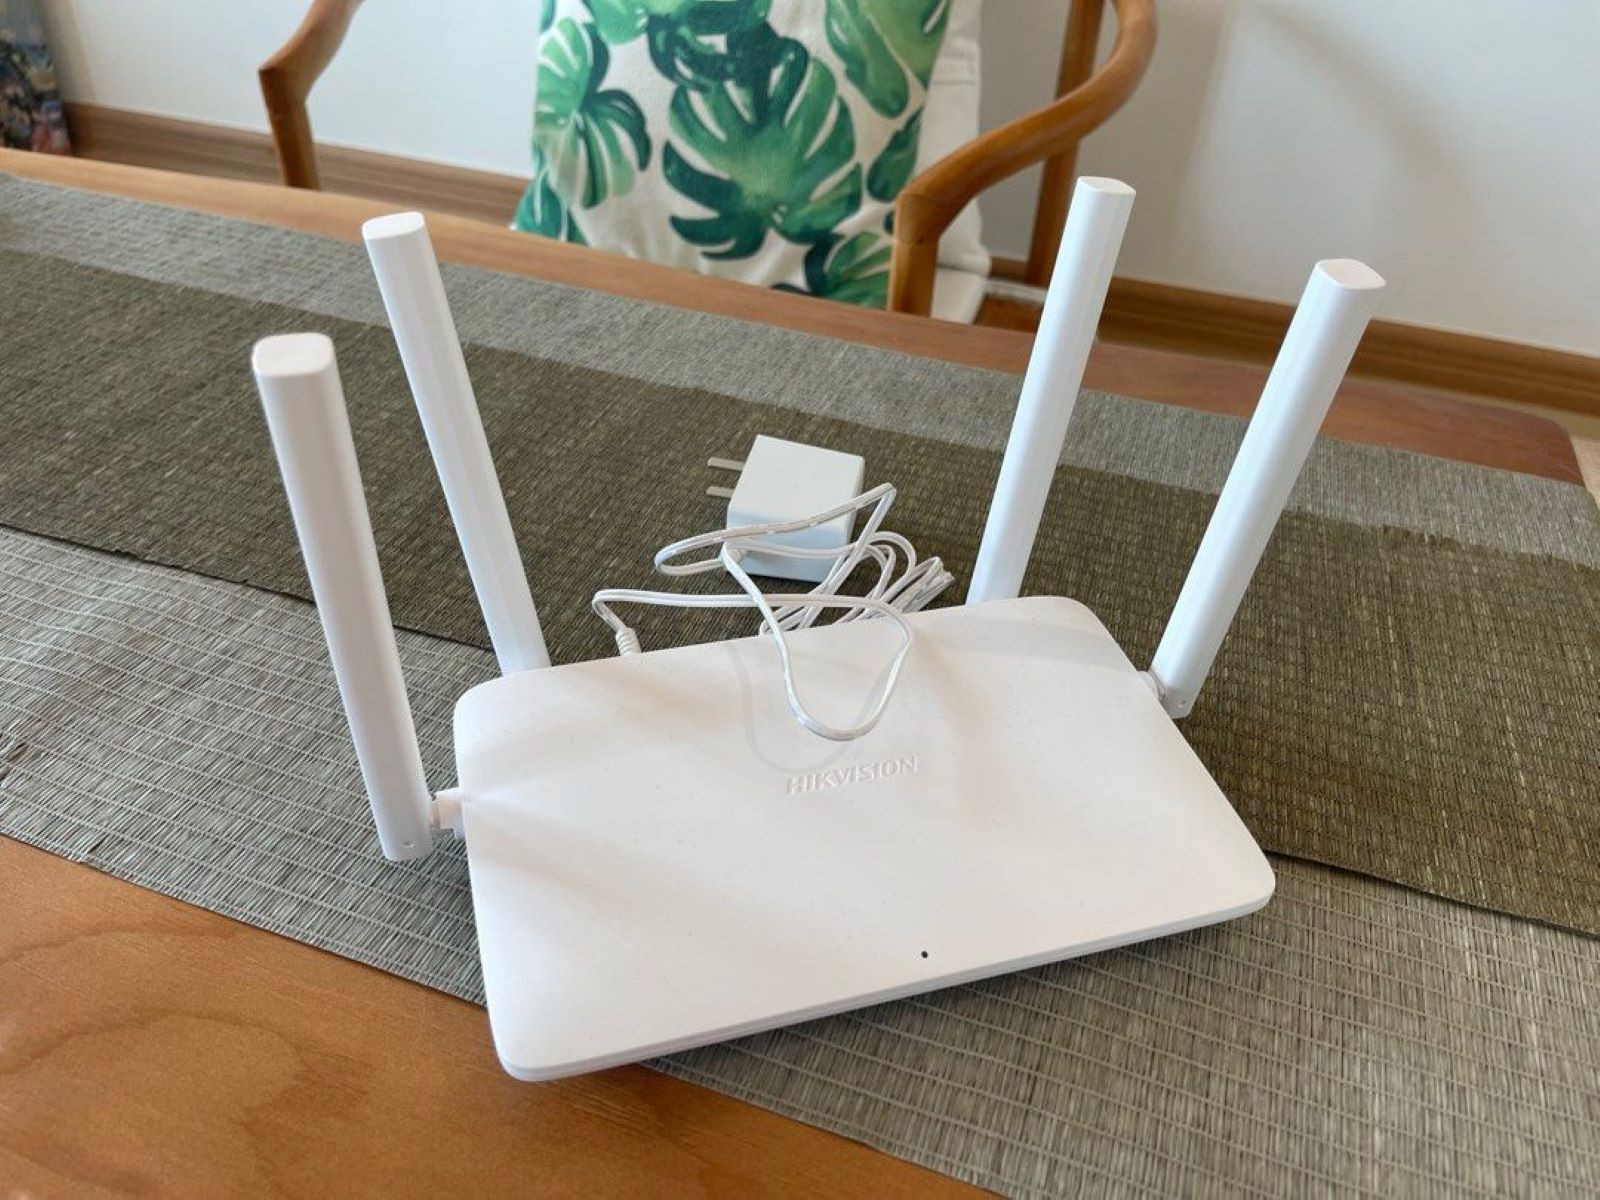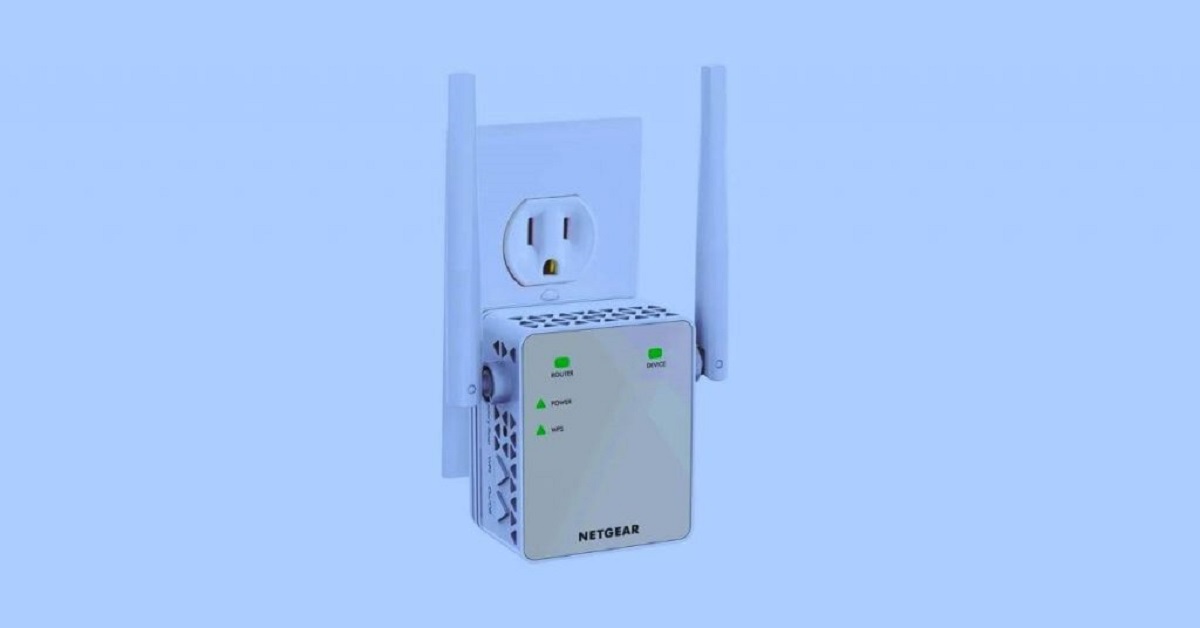
To extend wifi with Ethernet cable, connect a secondary router or access point to your main router using a wired Ethernet connection. This creates a new, stable Wi-Fi hotspot that eliminates dead zones by providing a direct backhaul to your primary network.
What you will need
Before starting, gather the following equipment: a main router with an active internet connection, a secondary router or dedicated access point, an Ethernet cable (Cat5e or Cat6 recommended), a computer or mobile device for configuration, and accessible power outlets for both the main router and the secondary device.
Step 1: Check your main router and modem setup
Verify that your primary network is online and stable. Confirm that your modem is connected to your internet service provider and that your main router is distributing a Wi-Fi signal. A stable foundation ensures the new hardware will work correctly.
Step 2: Choose the right Ethernet cable and connect it to your main router
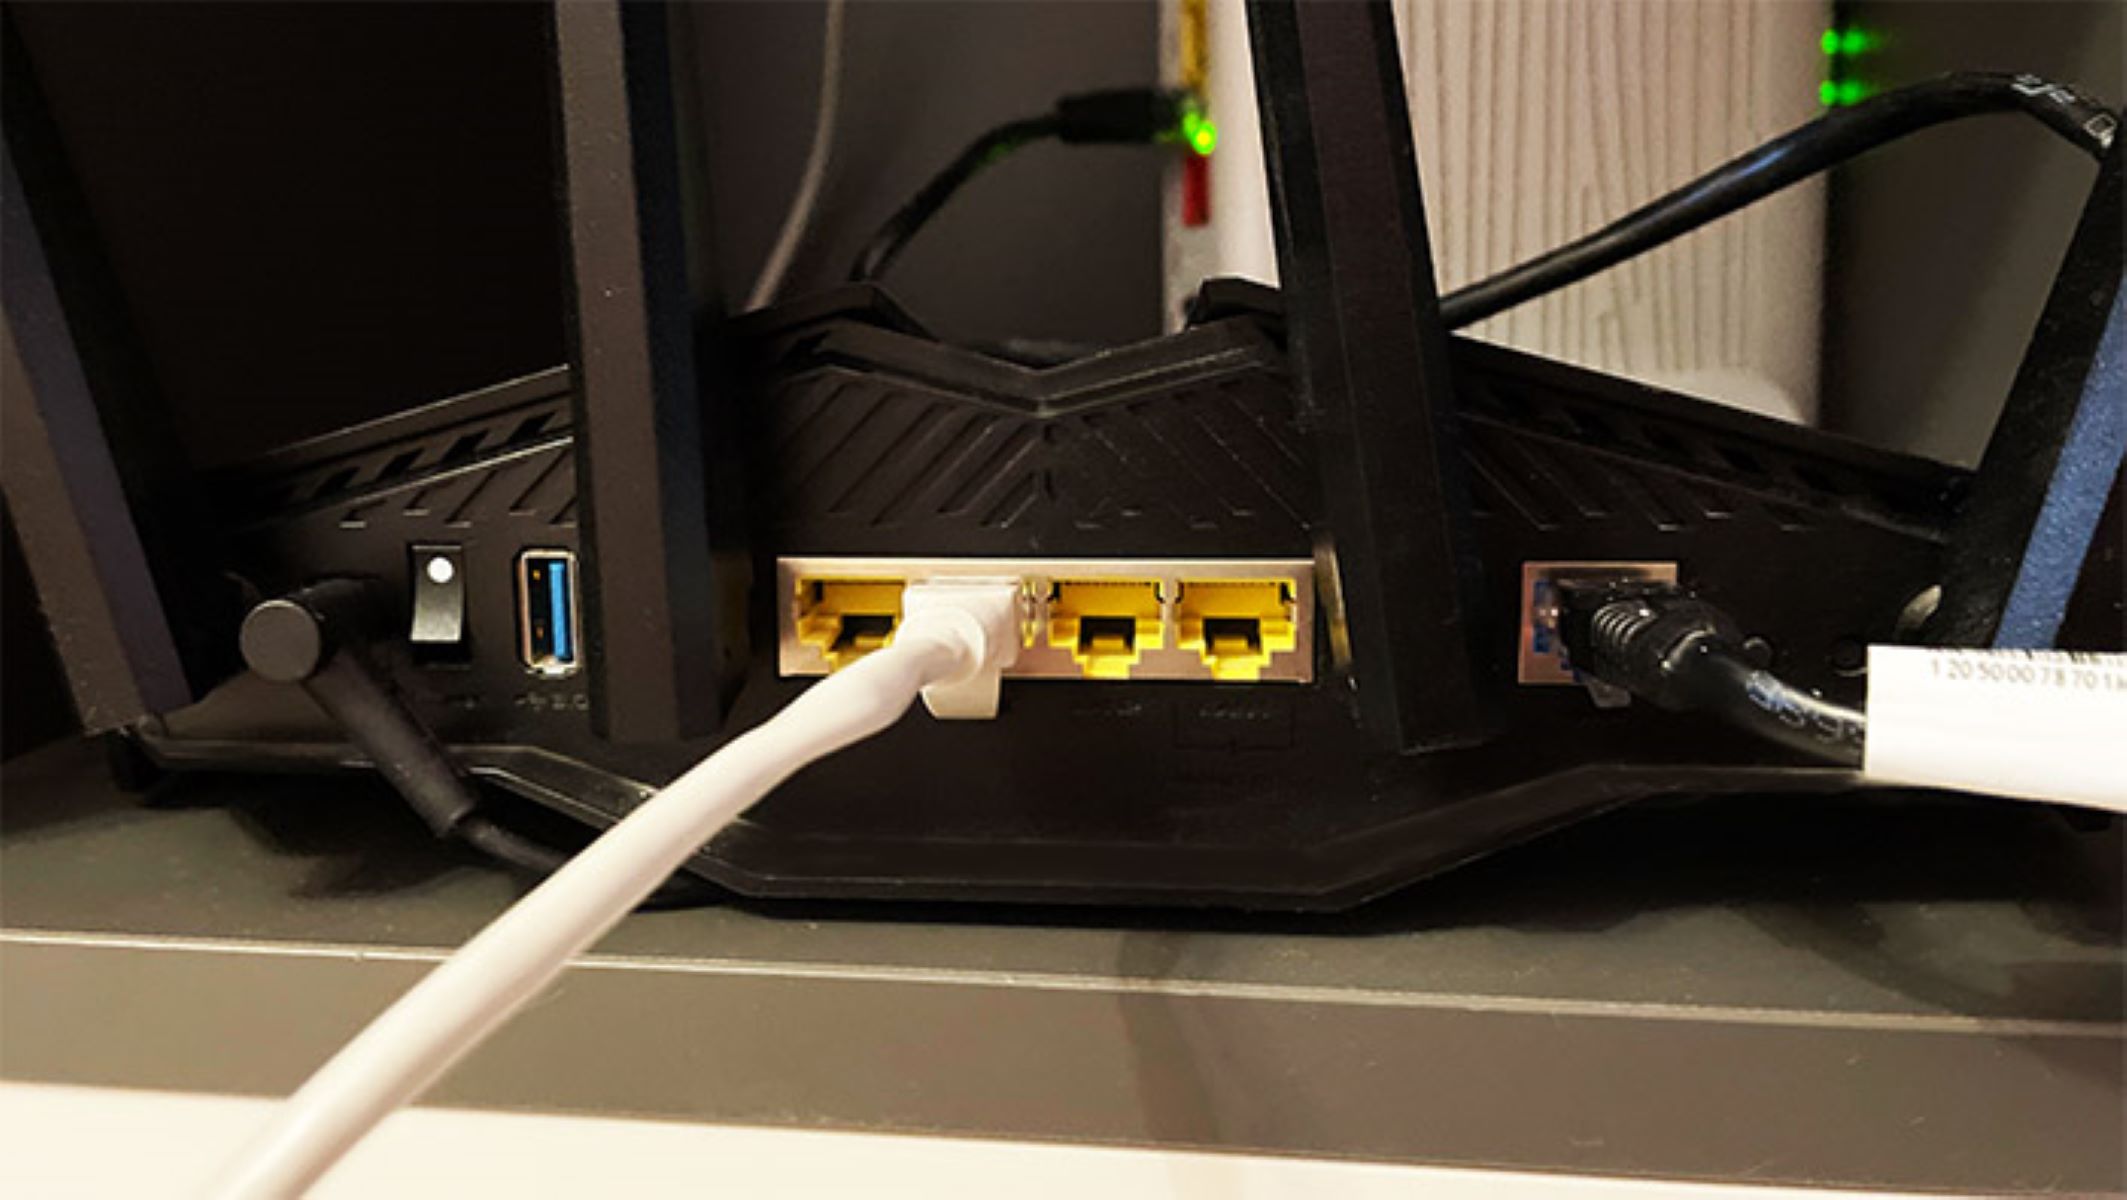
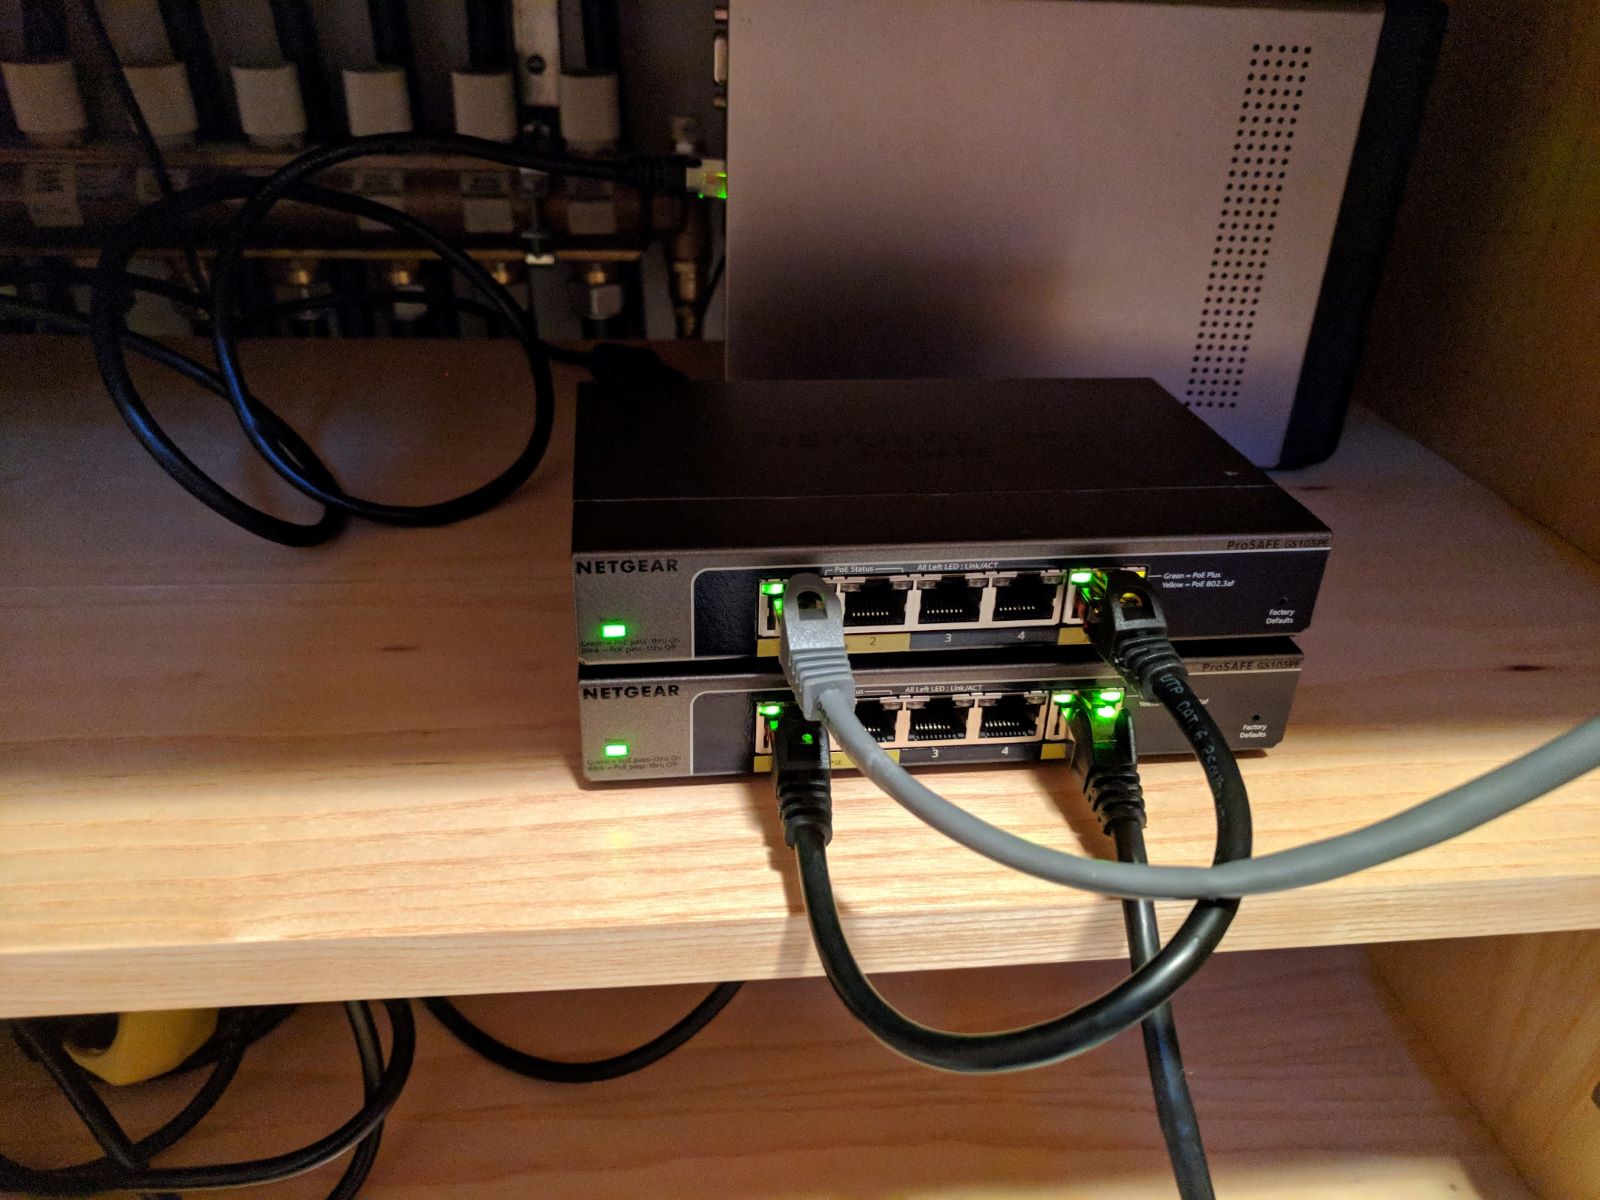
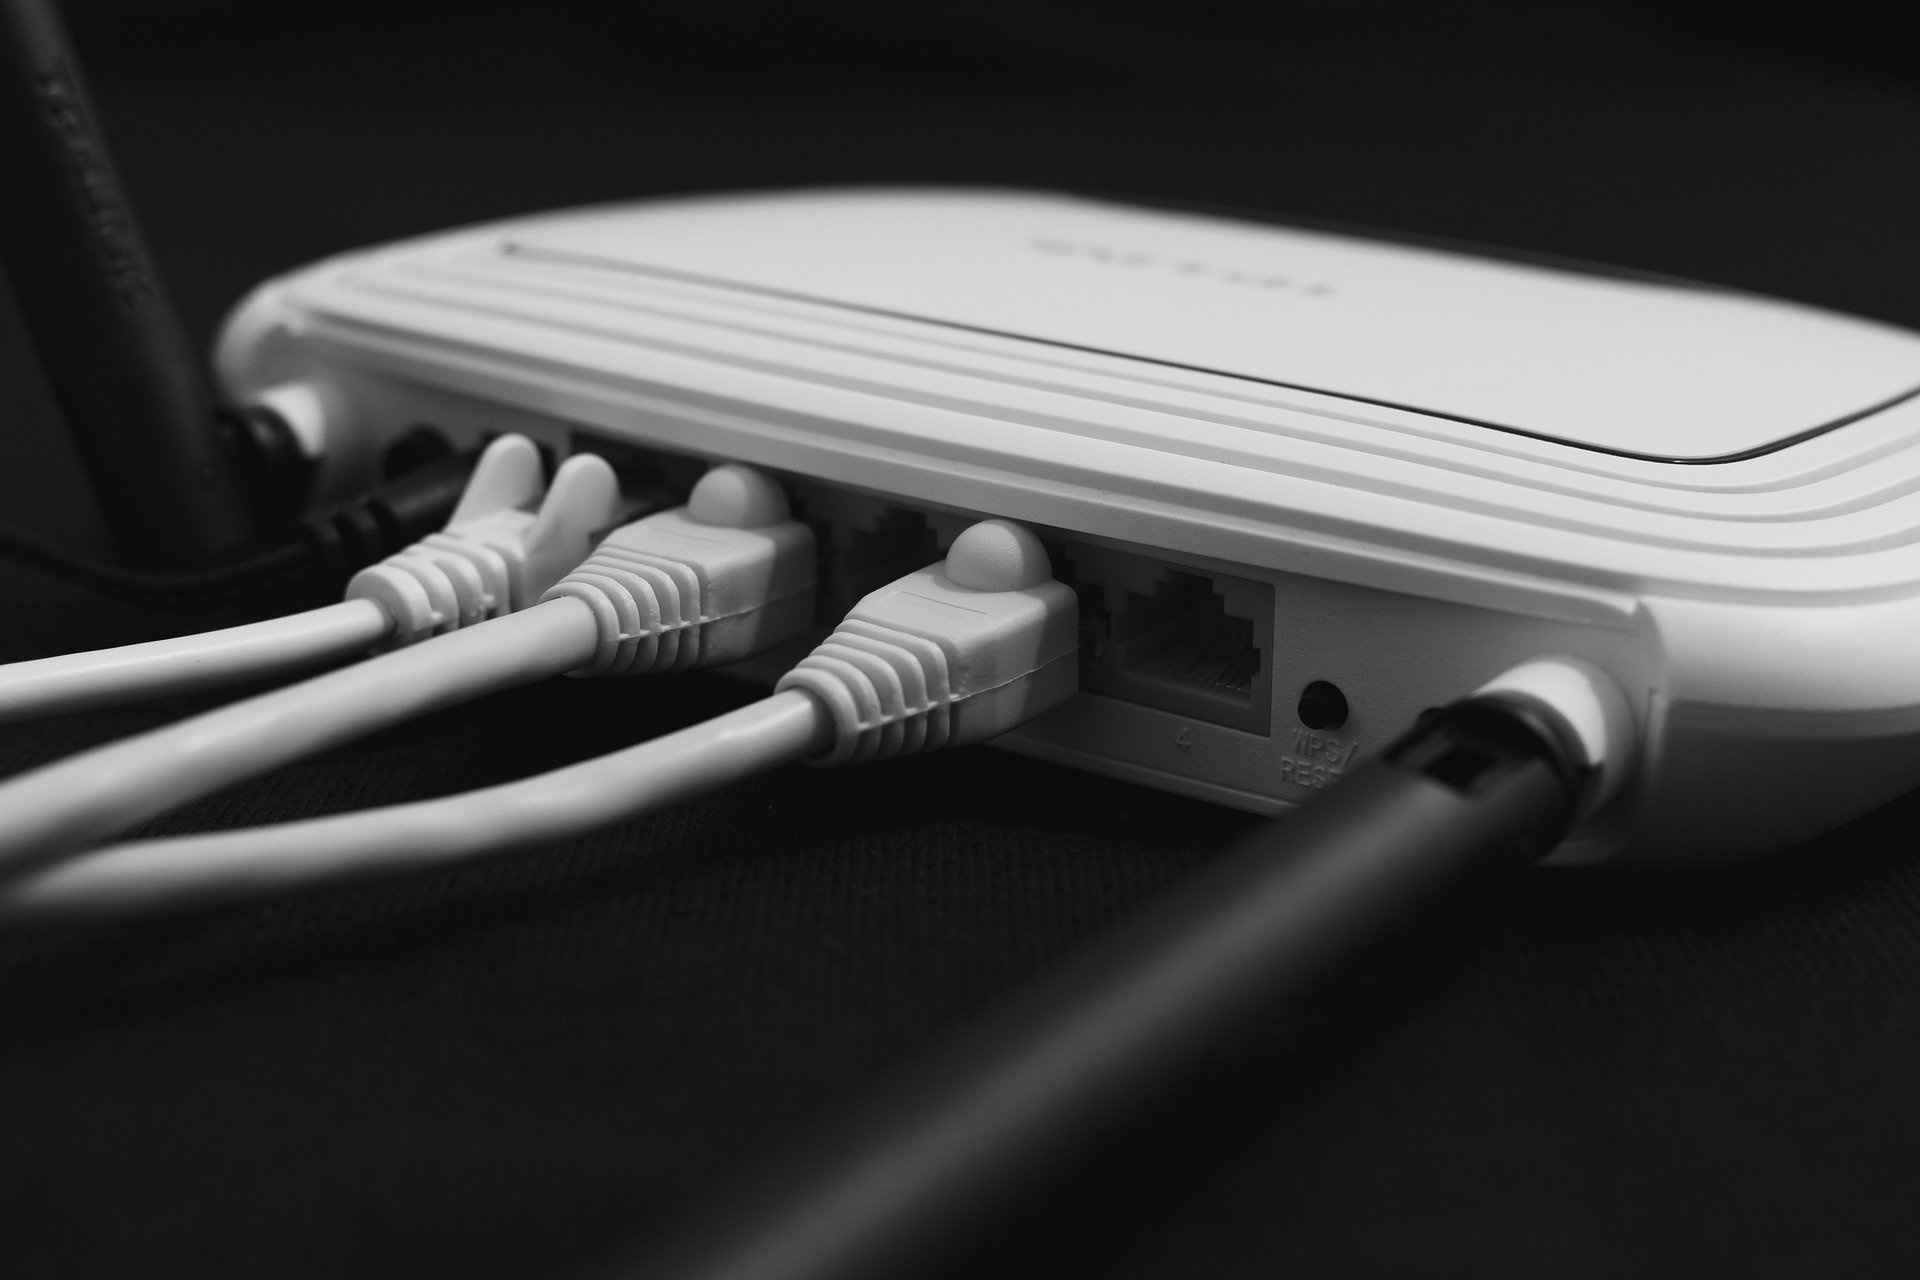
Select a Cat5e or Cat6 Ethernet cable of sufficient length to reach your secondary device’s location. Plug one end of the cable into an available LAN port on the back of your main router. Avoid using the WAN port on the main router for this connection.
Step 3: Locate the ideal position for your secondary device
Place the secondary router or access point in a central area within the Wi-Fi dead zone. Ensure the location is within reach of the Ethernet cable and has a nearby power outlet. This positioning maximizes coverage for the extended network.
Step 4: Connect the Ethernet cable to the secondary device's LAN port
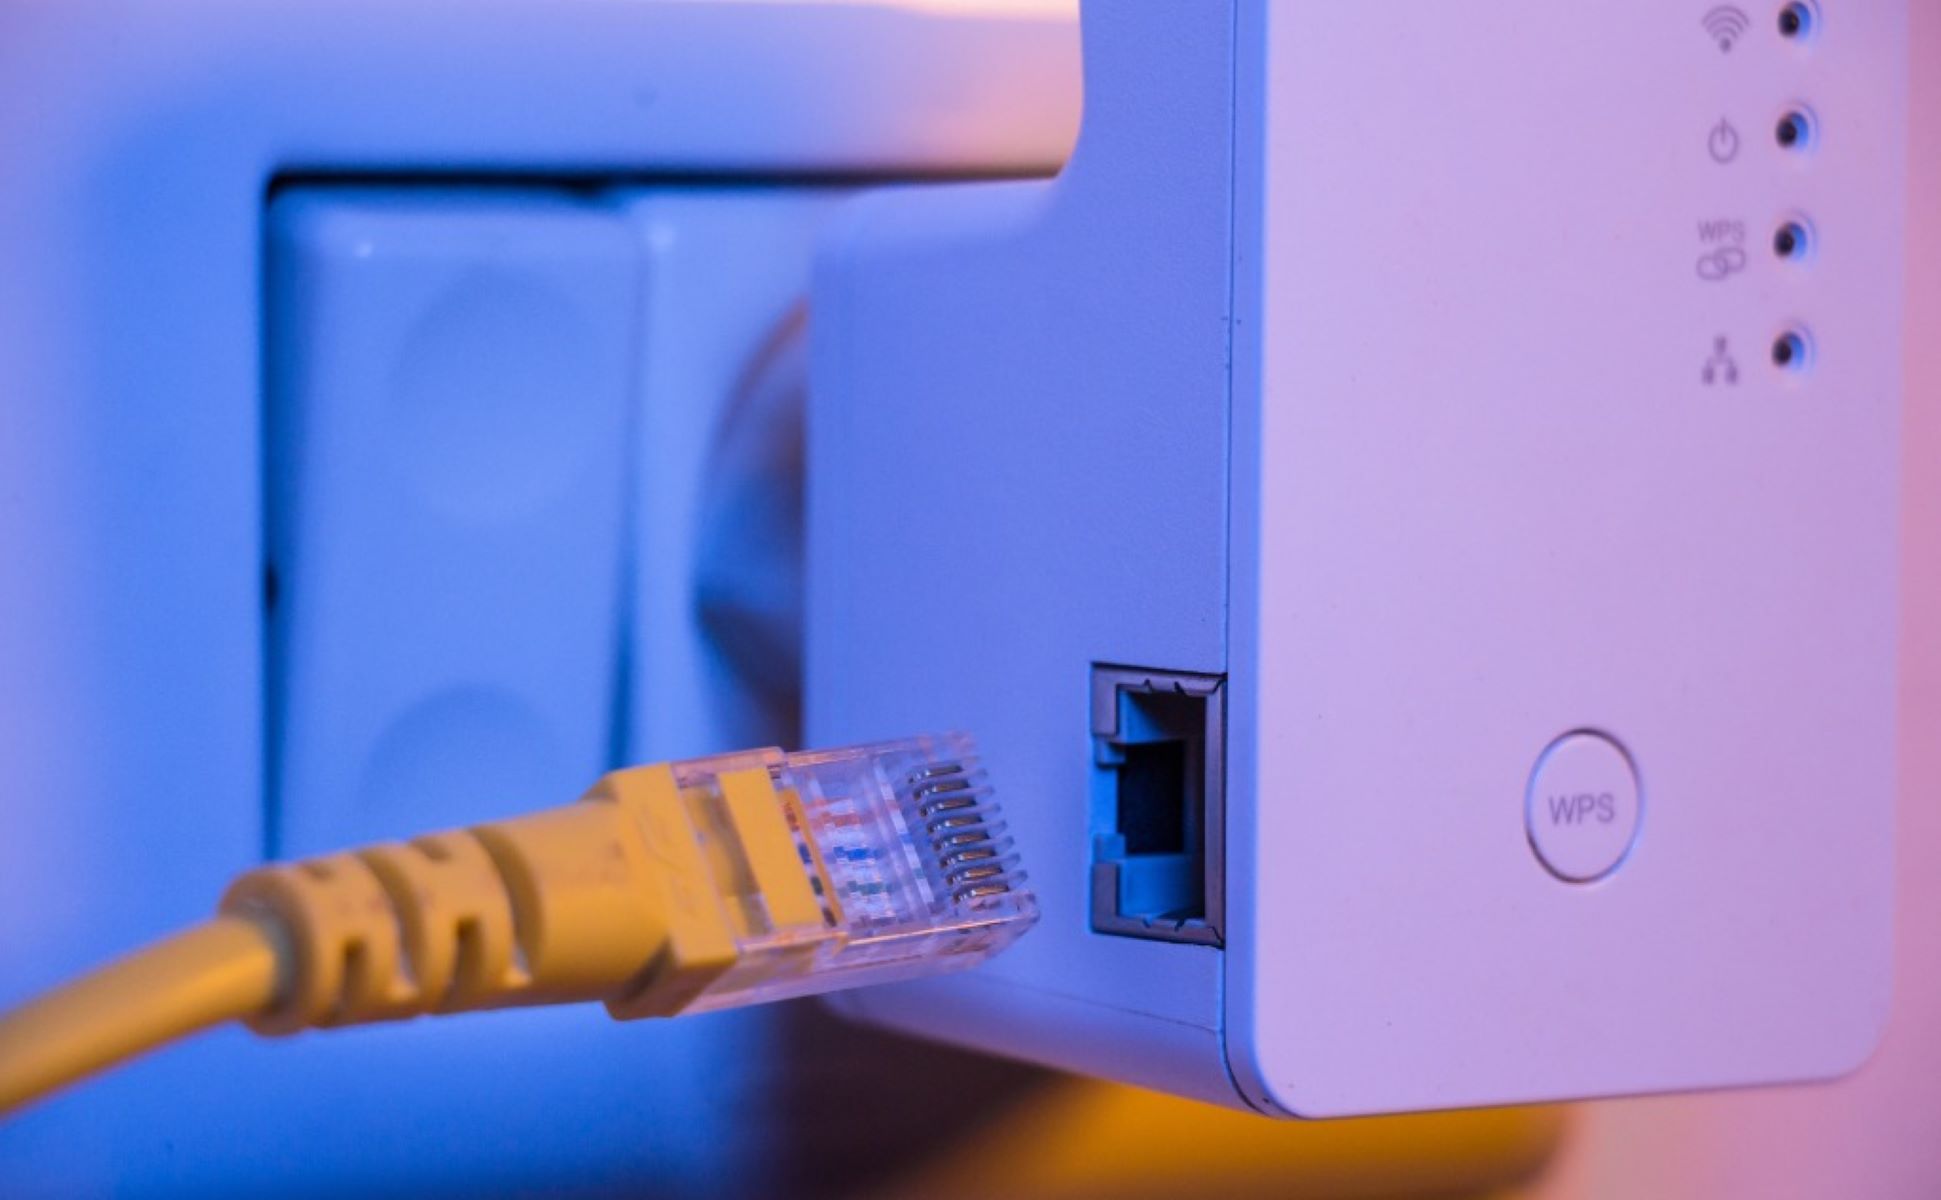
Plug the other end of the Ethernet cable into a LAN port on the secondary router or the main Ethernet port on the access point. Do not use the WAN port on the secondary router, as this can cause network issues. If you later need to move the device, you can unplug Ethernet cable and reposition it as needed.
Step 5: Access the secondary device's settings
Power on the secondary device. Connect a computer to it, either via another Ethernet cable or by joining its default Wi-Fi network, if your computer lacks an Ethernet port, you can still connect PC to wifi without Ethernet cable to complete this step. Open a web browser and enter the device’s default IP address (such as 192.168.0.1 or 192.168.1.1) or its specific URL (for example, http://tplinkwifi.net or http://tplinkap.net) to reach the web management page.
Step 6: Configure the device as an access point
There are two clear paths to set up the device as an access point:
- Automatic access point mode: If the secondary router has an "Operation Mode" menu, select "Access Point Mode" and follow the on-screen instructions to configure the Wi-Fi network name (SSID) and password.
- Manual configuration: If no operation mode menu exists, change the secondary router’s LAN IP address to be on the same subnet as your main router but outside its DHCP range. For example, if the main router is 192.168.1.1, set the secondary to 192.168.1.254. Then manually disable the DHCP server on the secondary router to prevent IP address conflicts.
Step 7: Set up your extended Wi-Fi network
Configure the wireless settings for the new network, including the SSID and password. For seamless roaming between the main router and the secondary device, use the same SSID and password as your primary network. Alternatively, you can use a different name if you prefer to distinguish the extended network.
Step 8: Save, reboot, and test your extended network
Save all settings and reboot the secondary device for the changes to take effect. After the reboot, test the signal strength and connection stability in the previously dead zones. Move through the area with a device to confirm consistent coverage and reliable performance.