Introduction
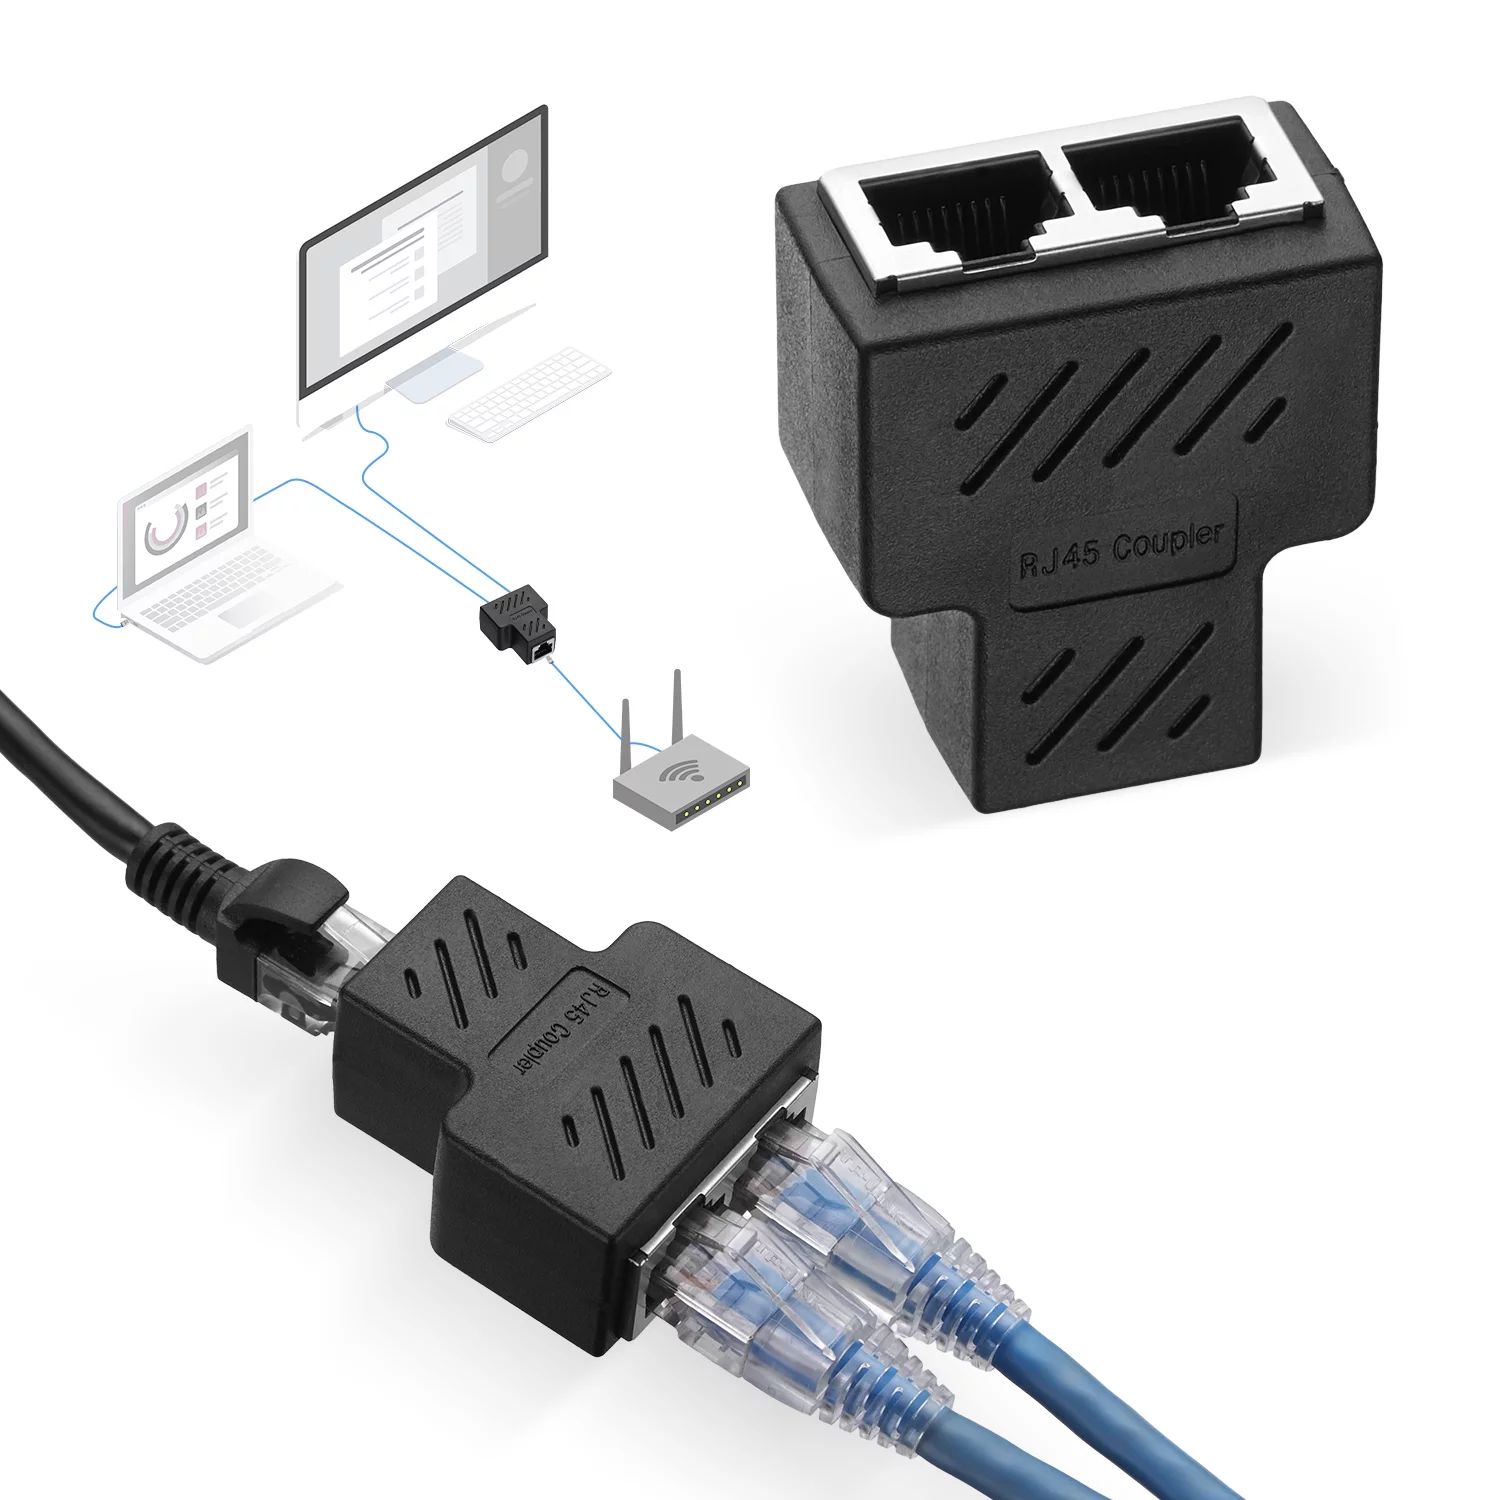
Connecting two Ethernet cables together can be a useful solution in certain situations. Whether you need to extend the length of a cable or join two separate cables, understanding how to properly connect them is vital. By following the right steps and using the appropriate tools, you can seamlessly connect two Ethernet cables to maintain a stable and reliable network connection.
Ethernet cables, commonly known as Cat5, Cat5e, or Cat6 cables, play a crucial role in transmitting data between devices on a Local Area Network (LAN). They are widely used for connecting computers, routers, switches, and other networking devices. While these cables come in various lengths, there may be instances where the available length falls short of your requirements. Instead of purchasing longer cables, you can save time and money by connecting two cables together.
In this guide, we will walk you through the step-by-step process of connecting two Ethernet cables. We will cover the tools and materials you need, as well as the necessary preparations and techniques to ensure a secure and reliable connection. Whether you’re a tech-savvy individual or a novice in networking, this guide will provide you with the knowledge and guidance needed to successfully connect two Ethernet cables.
Tools and Materials Needed
Before you begin the process of connecting two Ethernet cables, it’s essential to gather the necessary tools and materials. Having these items on hand will make the task easier and ensure a successful connection. Here’s what you’ll need:
- Two Ethernet cables: Make sure you have two Ethernet cables that you want to connect. They should be of the same category (Cat5, Cat5e, or Cat6).
- Wire Strippers: These tools are used to remove the outer insulation of the cables and expose the individual wires inside.
- Electrician’s Scissors: These specialized scissors are designed to cut wires cleanly and precisely, making them ideal for trimming and preparing the cables.
- Crimping Tool: This tool is necessary if you’re planning to terminate the connected cables with RJ-45 connectors. Depending on your requirements, you may or may not need a crimping tool.
- Connector Boots (optional): Connector boots provide additional protection and strain relief for the connectors. While they are not mandatory, they can help enhance the durability of the connection.
Make sure to have a clean and well-lit workspace for this task. Having a clean area will prevent any dust or debris from interfering with the connection. Additionally, good lighting will help you clearly see the wiring and ensure accurate stripping and arrangement.
By gathering these tools and materials, you’ll be well-prepared to connect your Ethernet cables with ease and confidence. Remember to double-check that you have everything before proceeding to the next steps.
Step 1: Gather the Cables
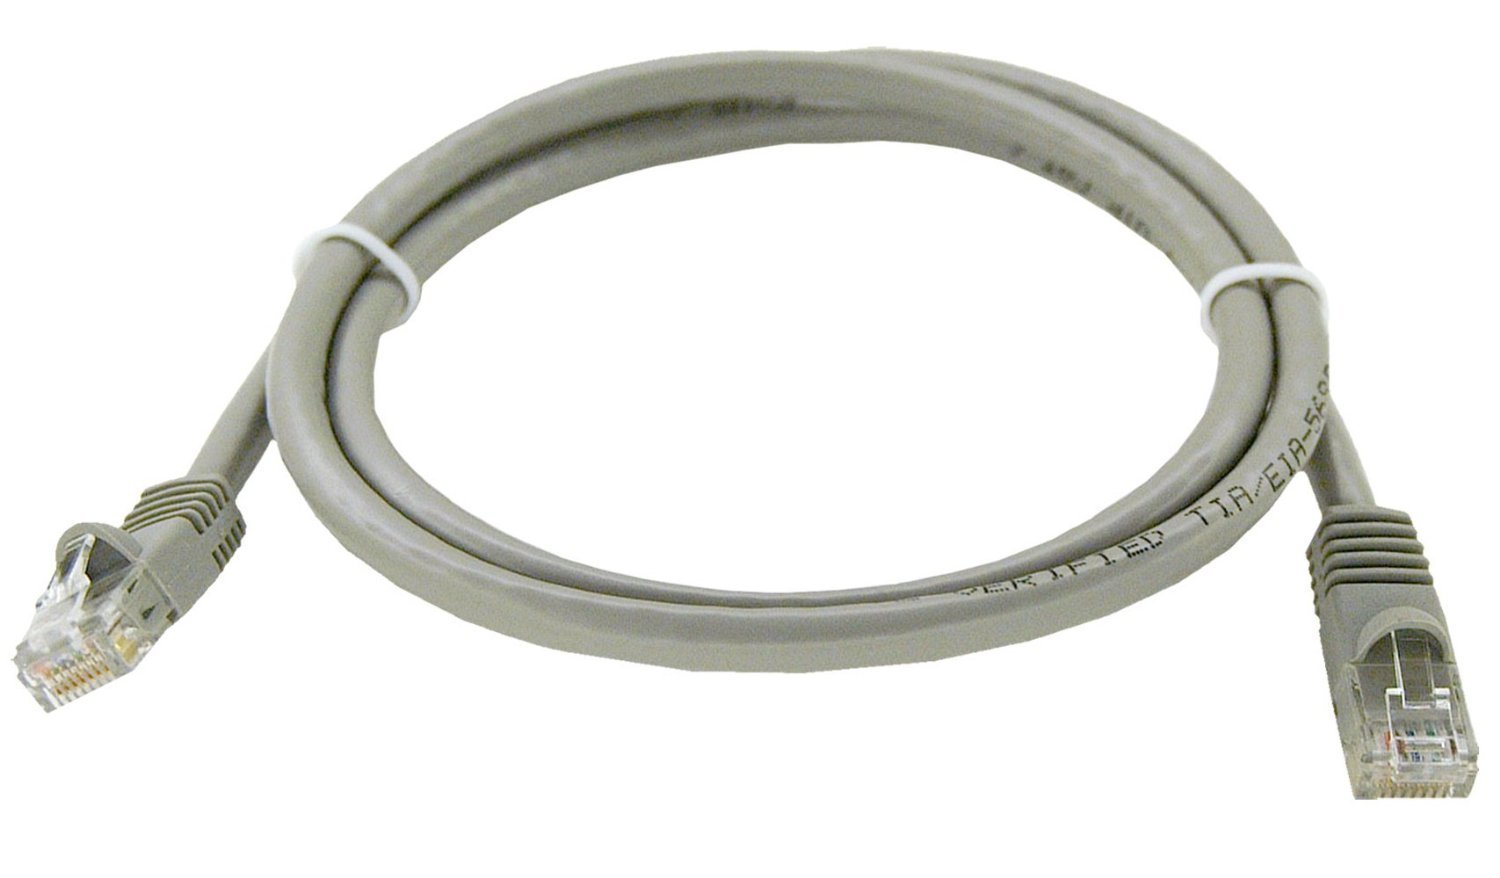
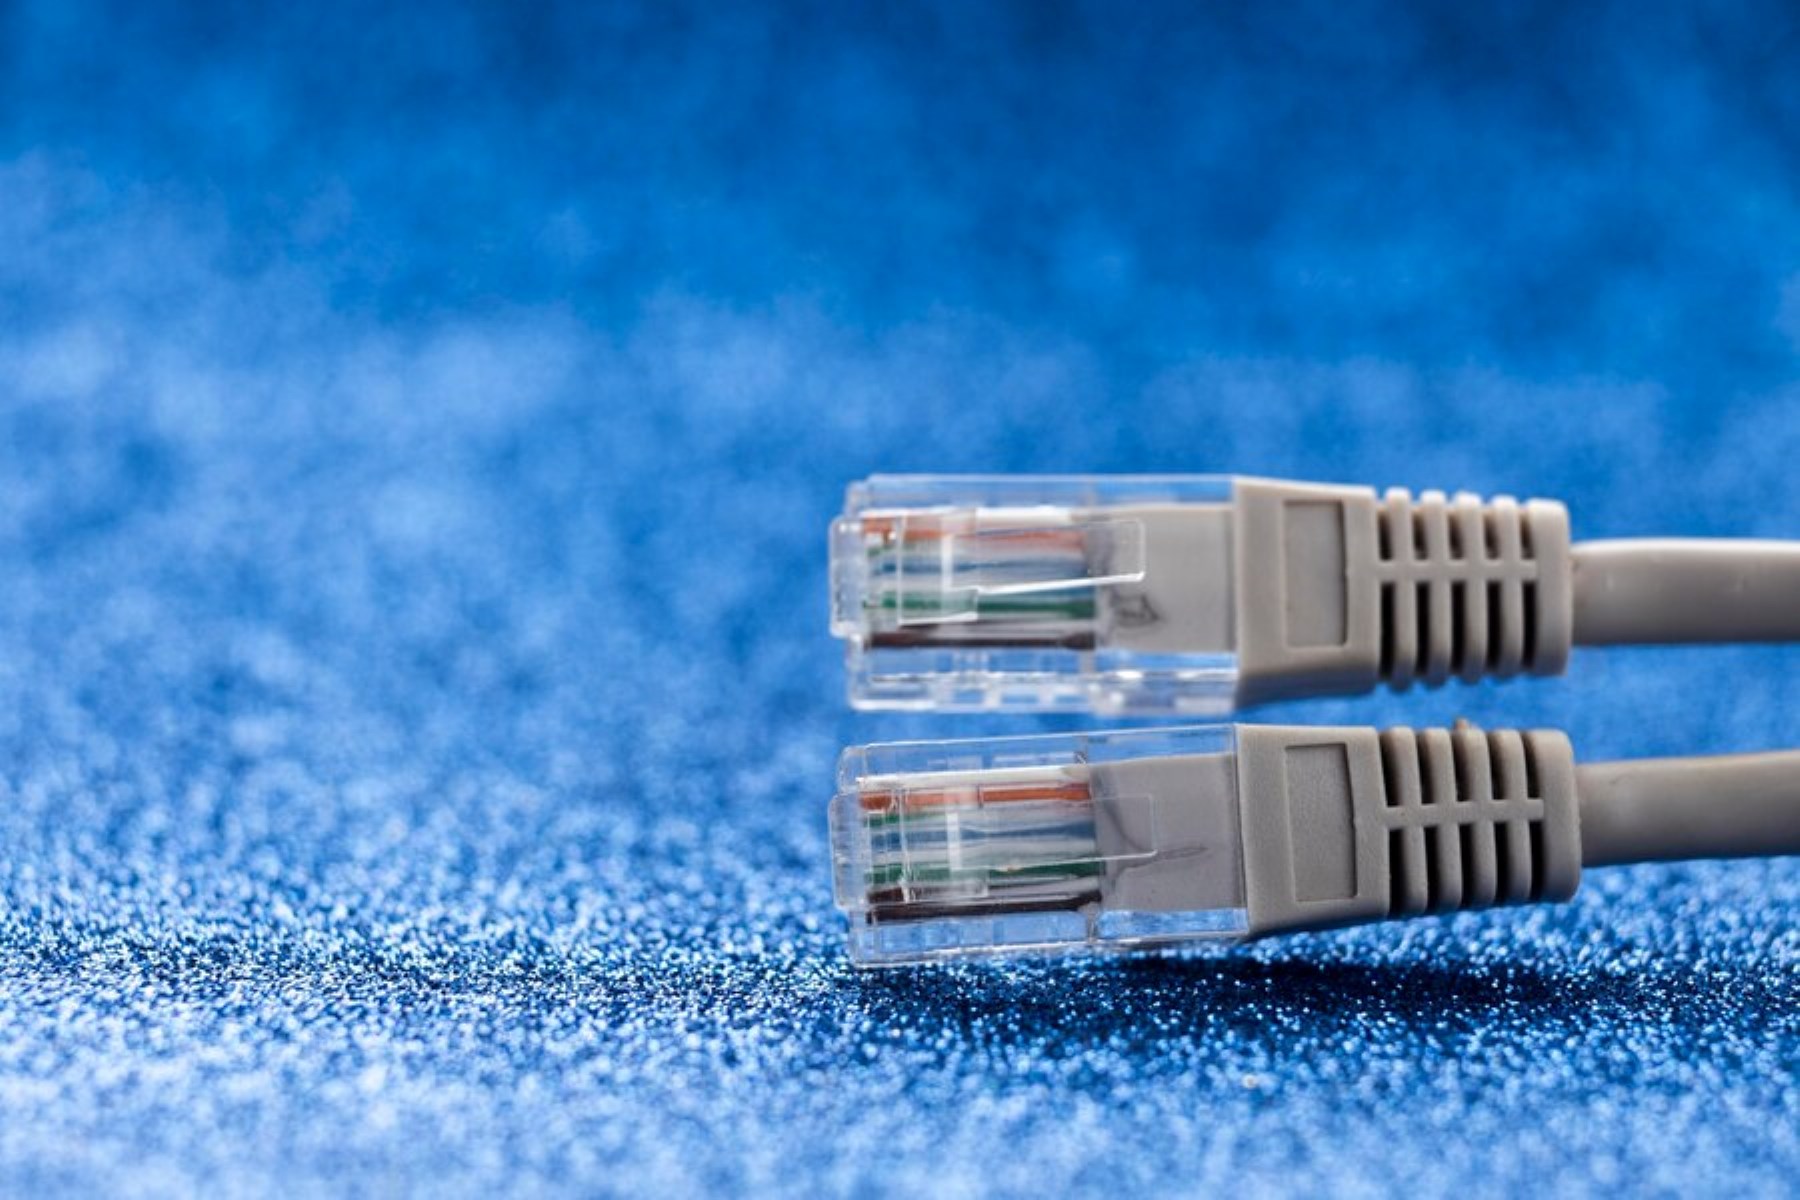
The first step in connecting two Ethernet cables is to gather the cables that you want to join. Ensure that you have two Ethernet cables of the same category (Cat5, Cat5e, or Cat6). These cables are typically color-coded, with four or eight wires inside, known as twisted pairs. Each wire has a specific purpose in transmitting data between devices.
If you don’t have extra Ethernet cables, you can purchase them from a local electronics store or online retailer. It is essential to choose cables of the appropriate length to meet your specific networking needs. Keep in mind that using excessively long cables can lead to signal loss.
Before proceeding, make sure that the cables you have are in good condition. Inspect them for any signs of damage, such as frayed wires or bent connectors. Damaged cables may result in a poor or unstable connection, so it’s best to replace them if necessary.
Once you have gathered the cables and ensured their quality, you’re ready to move on to the next step. Proceed with caution and take your time to ensure a successful and reliable connection between the Ethernet cables.
Step 2: Inspect the Cables
After gathering the Ethernet cables, it’s crucial to inspect them for any signs of damage or wear. Identifying any issues at this stage will help you determine if the cables are suitable for connecting.
Start by examining the outer insulation of each cable. Look for any cuts, tears, or frayed areas that could affect the cable’s integrity. If you notice any significant damage, it is recommended to replace the cable to ensure a reliable connection.
Next, inspect the connectors at both ends of each cable. Check for any signs of bent pins, loose connections, or corrosion. Damaged connectors can impede the proper transmission of data, so it’s important to address any issues before proceeding further.
In addition to the connectors, examine the length of the cables. Ensure they are long enough to reach the desired connection points without straining or stretching. Using cables that are too short may require adjustments to your setup, while cables that are too long may lead to signal degradation.
Remember to double-check that both cables are of the same category, whether it’s Cat5, Cat5e, or Cat6. Mixing different cable categories may result in compatibility issues and reduced performance.
By thoroughly inspecting the cables, you can identify any potential problems beforehand and take the necessary steps to address them. This will help ensure a seamless and reliable connection when connecting the Ethernet cables together in the following steps.
Step 3: Prepare the Cables
Once you have inspected the Ethernet cables and confirmed their suitability for connection, the next step is to prepare them for the joining process. Properly preparing the cables will ensure a secure and reliable connection between them.
Start by separating the two cables from one another, making it easier to work with each cable individually. Gently untangle any knots or twists in the cables, ensuring they are free from any entanglements.
Next, identify the end of each cable that you will be working with for the connection. You will need to strip the appropriate length of insulation from this end to expose the individual wires inside for proper arrangement.
To strip the insulation, use a wire stripper tool. Adjust the stripper’s cutting mechanism to match the gauge of the Ethernet cables and carefully score the outer insulation. Be cautious not to nick or damage the inner wires while stripping. Once scored, gently pull the insulation away to expose the twisted pairs of wires.
After stripping the cables, use electrician’s scissors to trim any excess insulation if necessary. This will ensure a clean and neat appearance while also preventing any interference or short circuits between the wires.
At this stage, it’s a good idea to double-check that the wires are properly exposed and not damaged during the stripping process. Check for any signs of fraying or severed wires. If you notice any issues, trim the wires back to eliminate the damaged section.
By properly preparing the cables, you set the foundation for a successful connection. Take your time to ensure that the cables are untangled, the insulation is stripped correctly, and the wires inside are in good condition. With the cables prepared, you are ready to move on to the next step of connecting them together.
Step 4: Strip the Cables
Stripping the insulation from the Ethernet cables is a crucial step in preparing them for connection. By properly stripping the cables, you will expose the individual wires inside and ensure a clean and secure connection.
To strip the cables, you will need a wire stripper tool. This tool is designed to remove the outer insulation without damaging the delicate wires inside. Follow these steps to strip the cables effectively:
- Select the appropriate gauge setting on the wire stripper tool to match the size of your Ethernet cables. It’s important to use the correct setting to avoid cutting into the wires.
- Position the tool around the cable, ensuring that the blade is aligned with the scored mark on the cable.
- Apply gentle pressure and rotate the wire stripper tool around the cable. This will score the outer insulation.
- Once you have made a complete rotation, carefully pull the stripper tool away from the cable. The outer insulation should peel away, exposing the wires.
After stripping the outer insulation, you should have a clean section of wires visible. Take a moment to inspect the wires and ensure that none of them are nicked or damaged. If you notice any issues with the wires, trim them back to eliminate any damaged sections.
Repeat the stripping process on the other Ethernet cable, ensuring that the stripped sections on both cables are of equal length. This will help ensure a balanced and secure connection.
By properly stripping the cables, you have prepared them for the next step of arranging the wires for connection. Take your time and be cautious to avoid damaging the delicate wires inside. With the cables stripped, you are ready to move on to the next step and proceed with joining the Ethernet cables together.
Step 5: Arrange the Wires
After stripping the Ethernet cables, the next step is to arrange the individual wires inside each cable. Properly arranging the wires is crucial for establishing a reliable connection between the two cables.
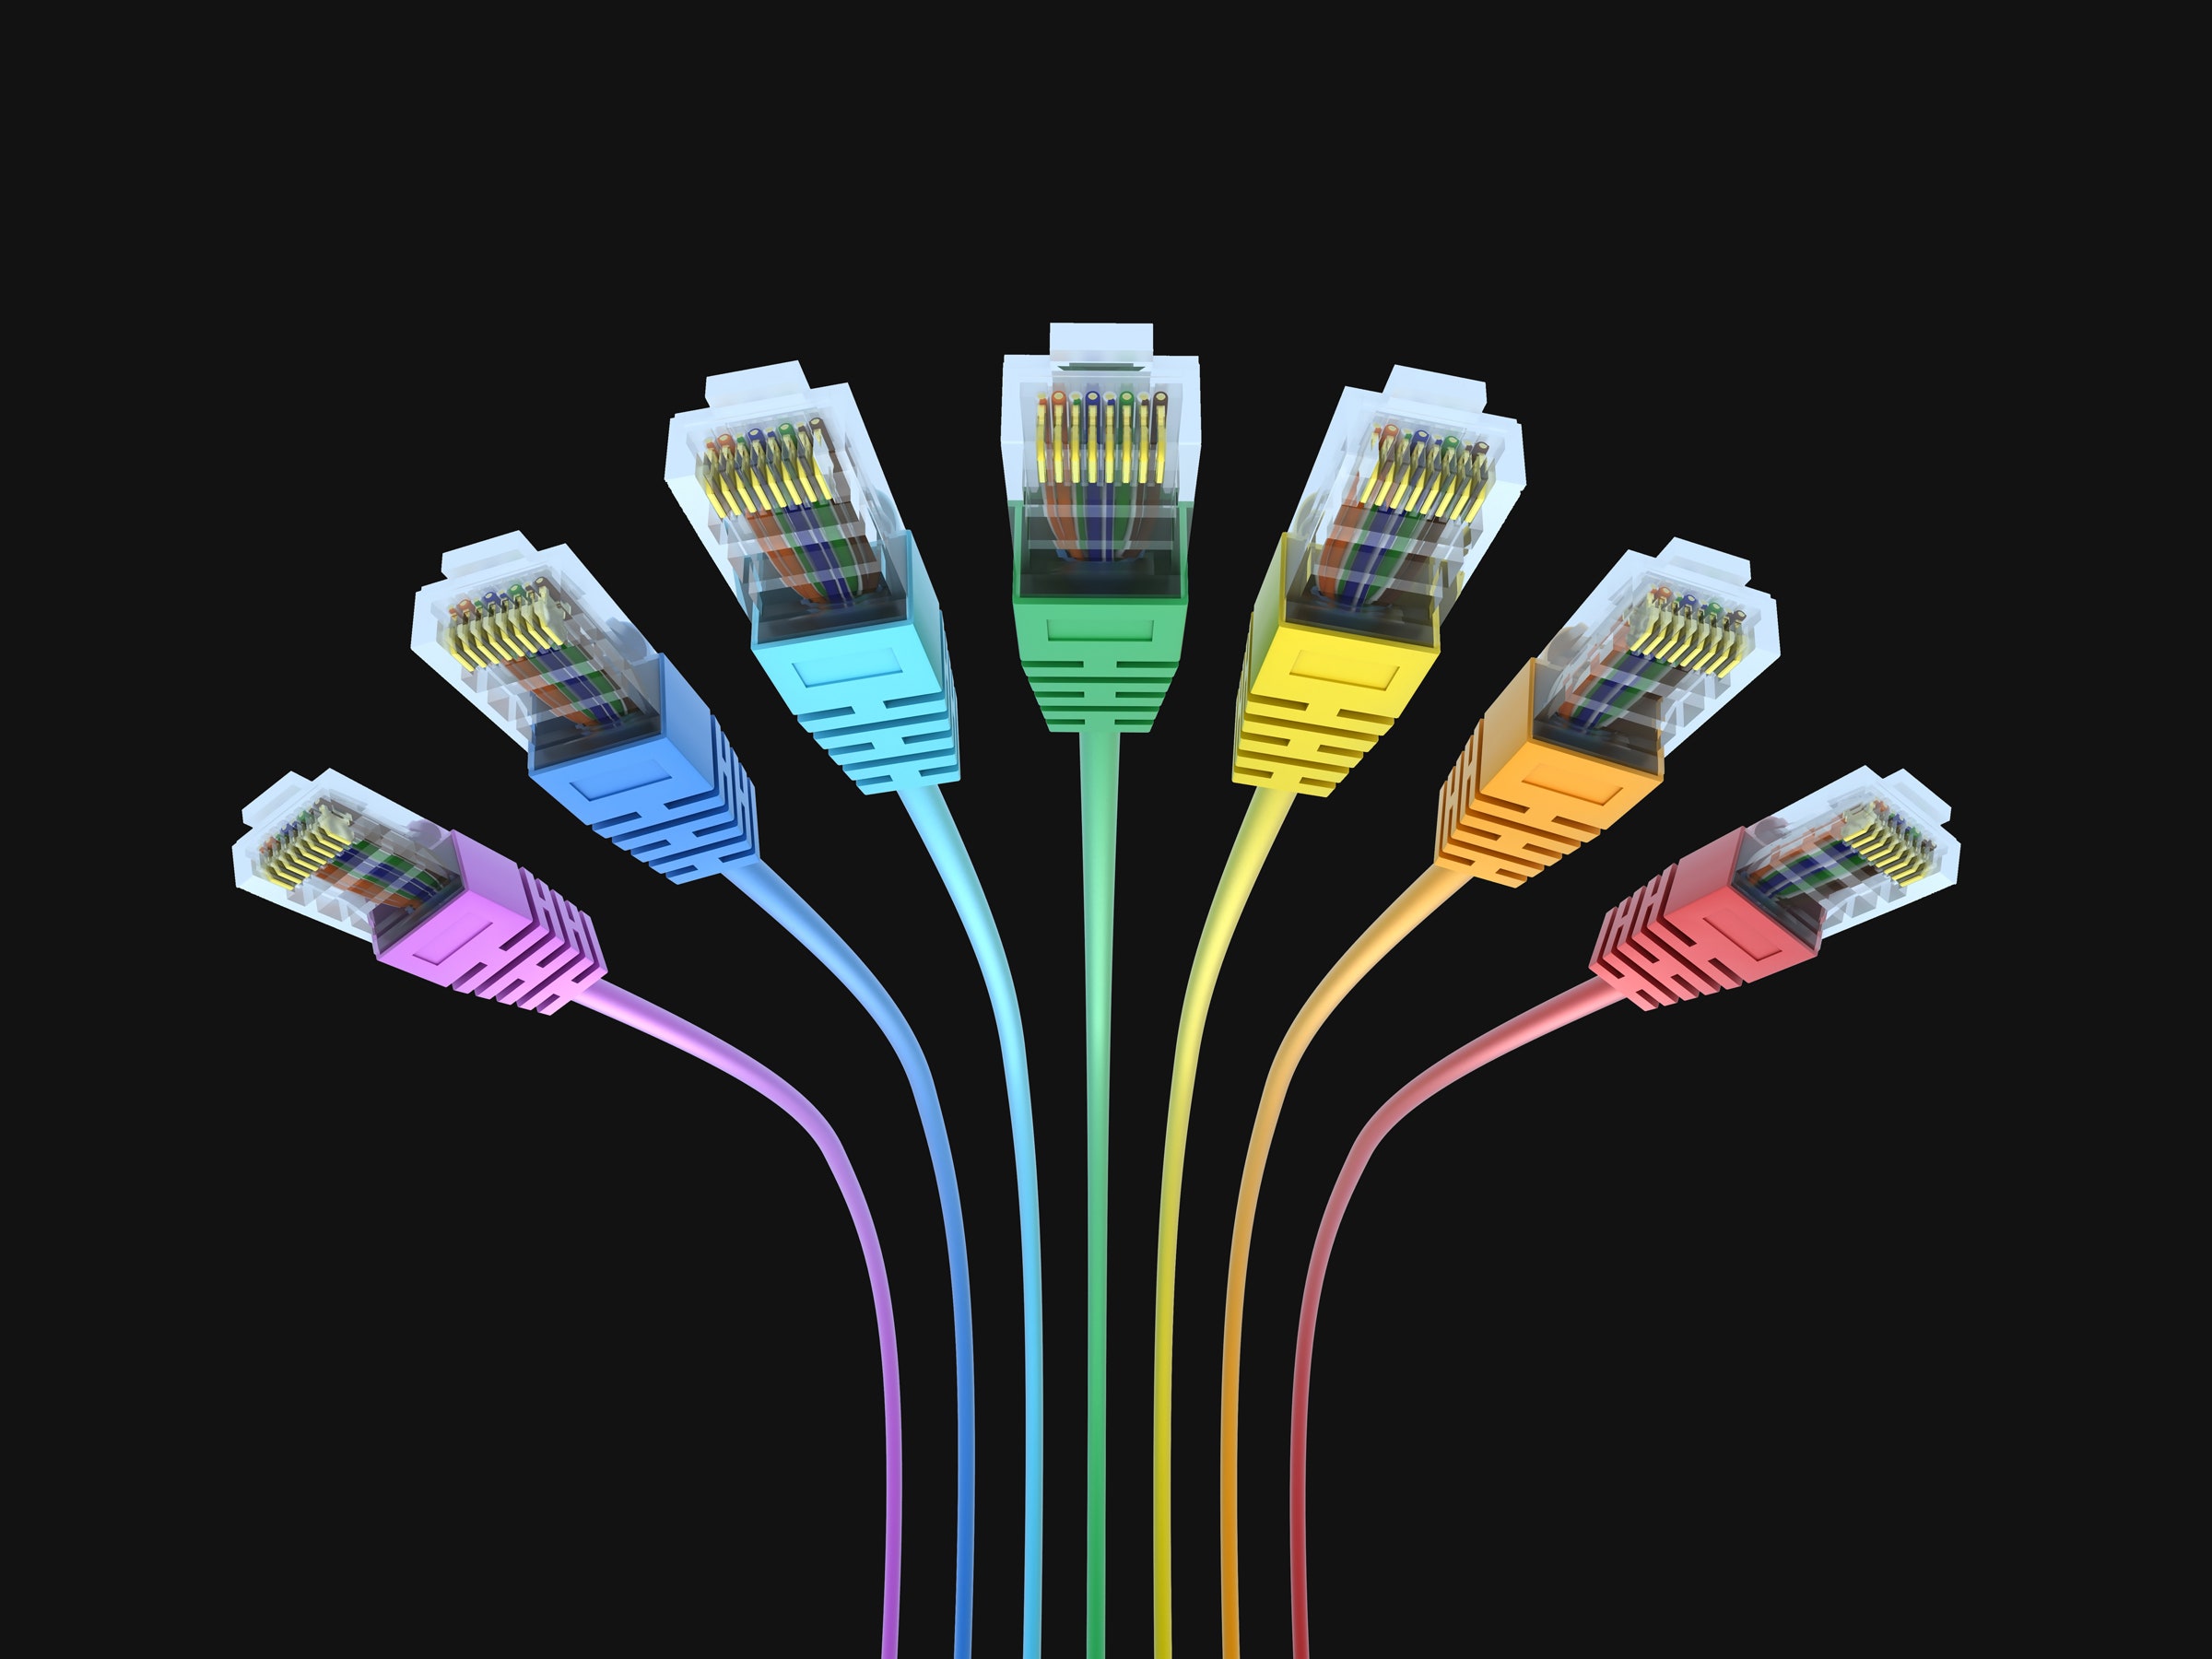
Ethernet cables typically consist of four twisted pairs of wires, each with a specific color coding pattern. The standard color code for Ethernet cables is as follows:
- Pair 1: Orange (O) and White with Orange (O/WO) wires
- Pair 2: Green (G) and White with Green (G/WG) wires
- Pair 3: Blue (B) and White with Blue (B/WB) wires
- Pair 4: Brown (BR) and White with Brown (BR/WBR) wires
To arrange the wires, follow these steps:
- Hold one of the stripped Ethernet cables with the exposed wires facing up.
- Starting from the left, arrange the wires in the following order: Orange, White with Orange, Green, White with Green, Blue, White with Blue, Brown, White with Brown.
- Ensure that each wire is neatly aligned and in the correct order without any crossovers or mix-ups.
Repeat the same wire arrangement process for the other Ethernet cable, ensuring that the wires are aligned in the same order.
By properly arranging the wires, you create consistency and compatibility between the two cables. This allows for a secure and reliable connection when connecting them together. Double-check your wire arrangement to ensure accuracy before proceeding to the next step of connecting the Ethernet cables together.
Step 6: Cross Over or Straight-Through?
Before connecting the Ethernet cables together, it’s important to determine whether you need a crossover or straight-through connection. This decision depends on the devices you are connecting and their network port types.
In a straight-through connection, the order of the wires remains the same on both ends of the cable. This type of connection is typically used when connecting different types of devices, such as a computer to a switch or a router to a modem. The majority of modern networking devices have built-in Auto-MDI/MDIX (Media Dependent Interface/Media Dependent Interface Crossover) technology, which automatically detects and adjusts for the cable type, making straight-through connections more common.
On the other hand, a crossover connection is required when connecting two similar devices, such as two computers or two switches, directly together. In this case, the transmit (TX) and receive (RX) pairs need to be crossed over so that each device’s transmit signal is connected to the other’s receive signal. Crossover cables are less commonly used nowadays due to the prevalence of Auto-MDI/MDIX technology.
To determine whether you need to create a crossover or straight-through connection, consider the network ports on the devices you are connecting. If both devices have Auto-MDI/MDIX ports, a straight-through cable can be used. However, if one or both devices have ports without Auto-MDI/MDIX, you will need to create a crossover cable.
If you determine that a crossover cable is needed, you can either purchase a pre-made crossover cable or create your own by manually crossing the wires in one of the Ethernet cables. However, if Auto-MDI/MDIX is supported by your devices, a straight-through cable will suffice for most connections.
Understanding whether you need a crossover or straight-through connection is crucial for establishing a successful and functional connection between the Ethernet cables. So, take the time to identify the requirements of your specific setup before deciding on the type of connection to use.
Step 7: Connect the Cables
Now that you have prepared the Ethernet cables and determined the type of connection you need, it’s time to connect the cables together. Follow these steps to establish a secure and reliable connection between the two cables:
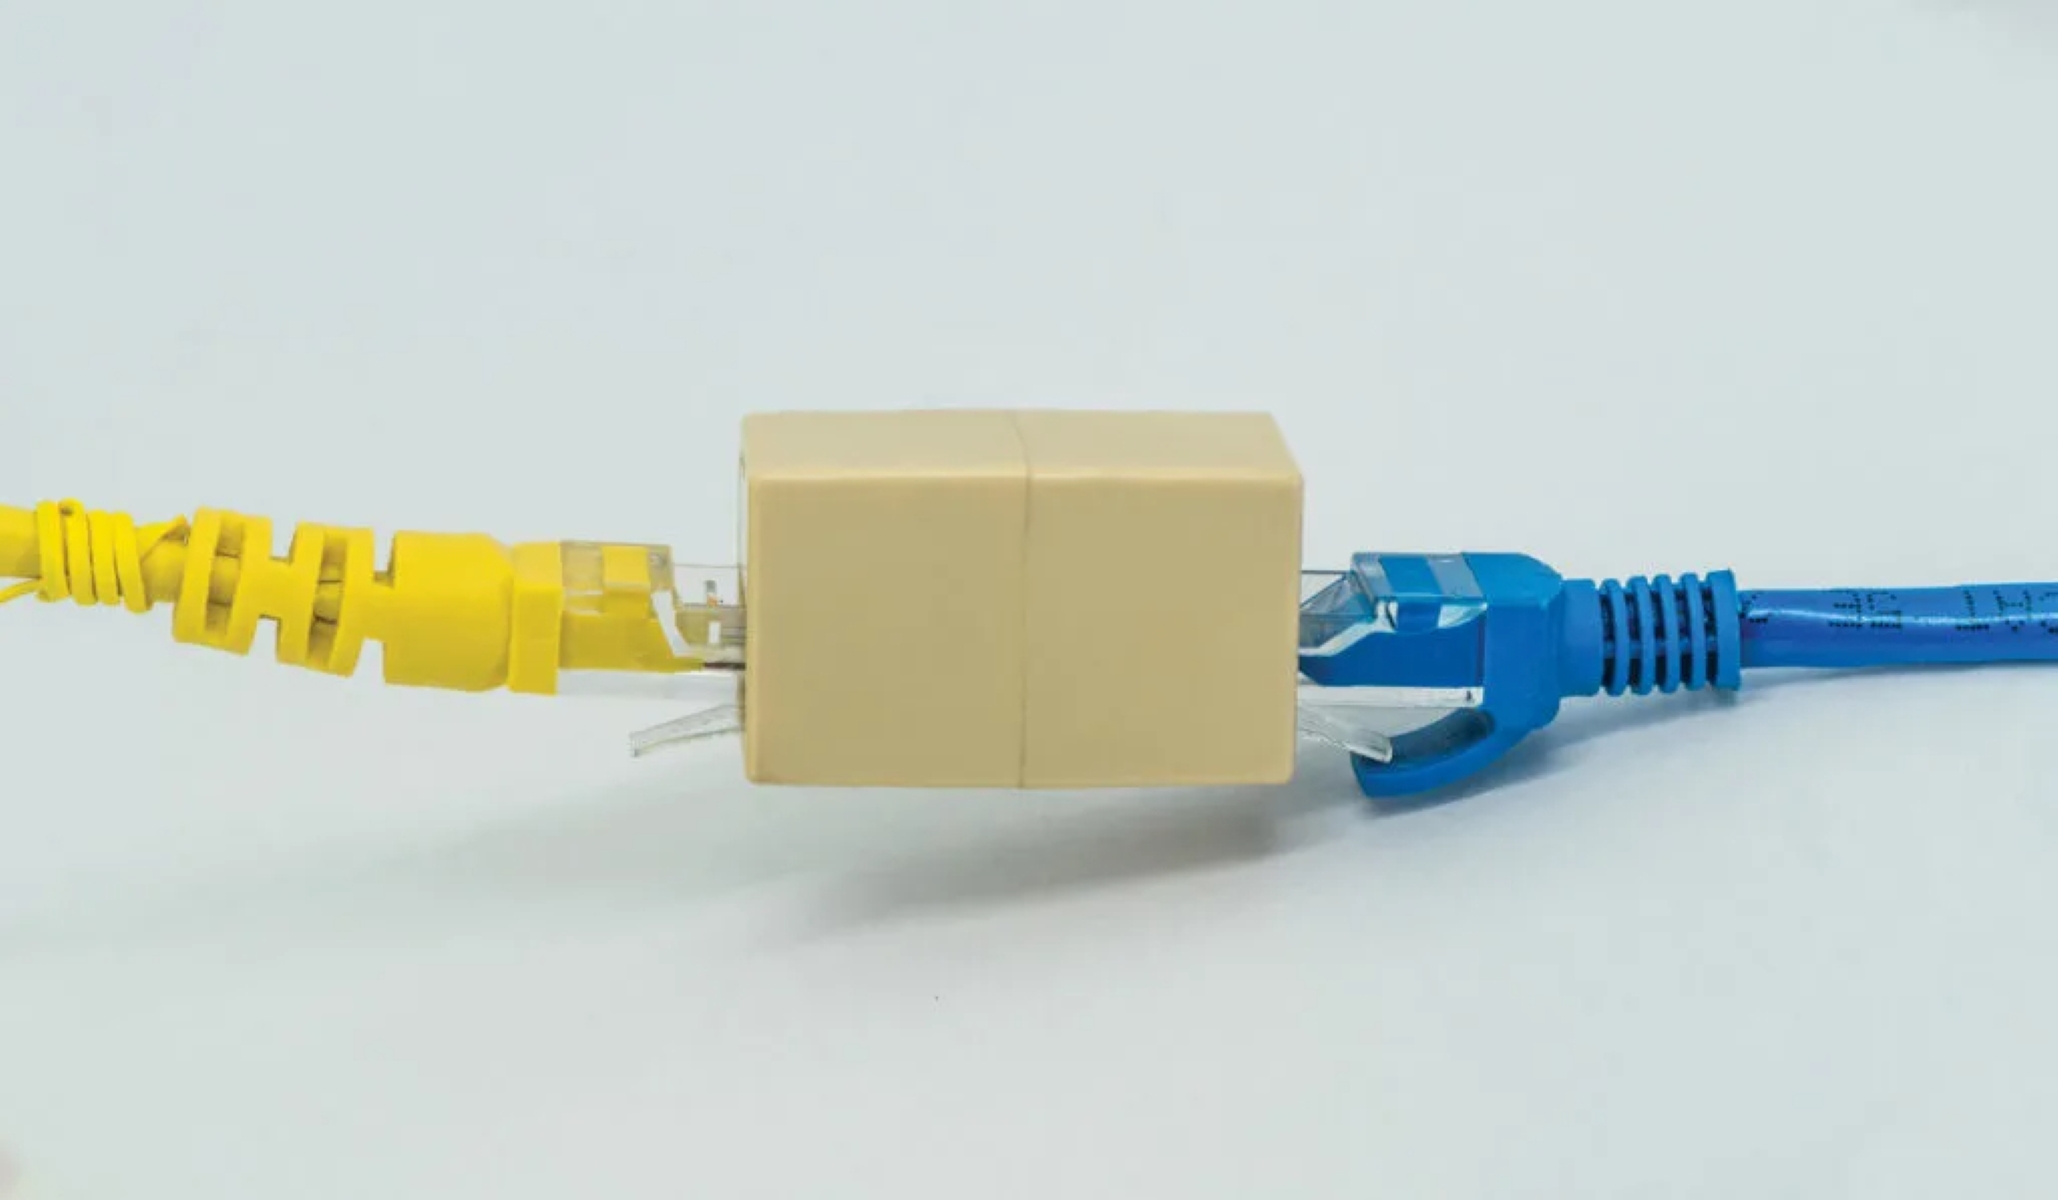
- Take the two prepared Ethernet cables and align their connectors.
- Insert one connector into the other, making sure they are firmly connected.
- If you are using a crossover cable, ensure that the transmit (TX) wires from one cable are connected to the receive (RX) wires of the other cable. Refer to the wire arrangement order to confirm the correct pairing.
- Gently push the connectors together until they click into place.
- Inspect the connected cables to ensure that the connection is secure and there are no loose or bent pins.
If you are using a crimping tool and plan to terminate the connected cables with RJ-45 connectors, you’ll need to follow the appropriate crimping procedure after connecting the cables. Otherwise, if you are using pre-made cables or not terminating the ends, you can skip this extra step.
After connecting the cables, it’s a good idea to give them a slight tug to ensure the connection is stable. If the connection feels loose or uncertain, remove and reconnect the cables, making sure they are inserted properly.
By following these steps, you will establish a physical connection between the Ethernet cables. This connection is the foundation for transmitting data across your network. Proceed to the next step to test the connection and ensure its functionality.
Step 8: Test the Connection
Once you have connected the Ethernet cables, it’s crucial to test the connection to ensure it is functioning correctly. Testing the connection will help you identify any issues or potential errors that may need to be addressed.
To test the connection, follow these steps:
- Ensure that both devices connected by the Ethernet cables are powered on and functioning properly.
- Open a web browser or any application that requires internet connectivity on one of the devices.
- Verify that the device connected to the other end of the Ethernet cables is receiving an internet connection and is able to transmit data.
- If the connection doesn’t seem to be working, try reconnecting the Ethernet cables, ensuring they are securely plugged in.
- If the problem persists, double-check the wiring arrangement and make sure that a straight-through or crossover connection is being used correctly, depending on your device requirements.
- If you are using a crossover cable and it doesn’t seem to work, try using a straight-through cable or vice versa, as some devices may have auto-sensing ports that can adapt to either type of cable.
Additionally, you can use network testing tools or software to perform further diagnostic tests on the connection. These tools can help identify issues with network speeds, latency, or packet loss.
By thoroughly testing the connection, you can ensure that the Ethernet cables are properly connected and transmitting data as expected. If any issues arise during the testing process, don’t hesitate to troubleshoot and make the necessary adjustments to establish a stable and reliable connection.
With a successful connection and confirmation of functionality, you can now enjoy a seamless network connection with your connected devices.
Conclusion
Connecting two Ethernet cables provides a practical solution for extending the reach of your network or joining separate cables together. By following the step-by-step process outlined in this guide, you can successfully connect the cables while ensuring a secure and reliable connection.
In this guide, we discussed the importance of gathering the necessary tools and materials, such as Ethernet cables, wire strippers, electrician’s scissors, and a crimping tool. We also covered the steps of inspecting and preparing the cables, including stripping the insulation and arranging the wires in the correct order.
We explored the difference between straight-through and crossover connections and how to determine which type of connection is needed based on the devices being connected. Additionally, we highlighted the importance of testing the connection after the cables are connected to ensure functionality and address any issues that may arise.
Remember, taking the time to properly prepare and connect the Ethernet cables is essential for establishing a stable and reliable network connection. By following the steps outlined in this guide and paying attention to the details, you can ensure a successful connection that meets your networking needs.
Whether you’re an expert in networking or a beginner, understanding how to connect Ethernet cables will empower you to optimize your network setup, extend your network reach, and overcome connectivity challenges.
By utilizing the knowledge and skills gained from this guide, you’ll be ready to connect Ethernet cables with confidence, enhancing your network connectivity and enabling seamless communication between your devices. Happy networking!