Introduction
Transferring files from one computer to another is a common task, especially when you are upgrading to a new computer or need to share files between multiple devices. While there are several methods available, using an Ethernet cable is a reliable and efficient way to transfer files quickly and securely. By directly connecting two computers using an Ethernet cable, you can establish a local network and transfer files seamlessly.
In this article, we will guide you through the step-by-step process of transferring files from one PC to another using an Ethernet cable. Whether you are a tech-savvy individual or a beginner, this method is simple and accessible to all.
Beyond its simplicity, using an Ethernet cable for file transfer offers several advantages. Firstly, it eliminates the need for an external storage device or an internet connection, which can be beneficial in situations where you have limited data or no internet access. Additionally, transferring files via Ethernet cable is generally faster than using a wireless connection or other transfer methods.
To successfully transfer files using an Ethernet cable, you will need to ensure the hardware requirements are met, configure the network settings, and set up file sharing on the sending computer. Once everything is set up, transferring files between the computers becomes a seamless process.
So, if you’re ready to learn how to transfer files from one PC to another using an Ethernet cable, let’s jump right into the step-by-step guide.
Step 1: Check the hardware requirements
Before you start the file transfer process using an Ethernet cable, it is essential to ensure that you have the necessary hardware requirements. Here are the things you will need:
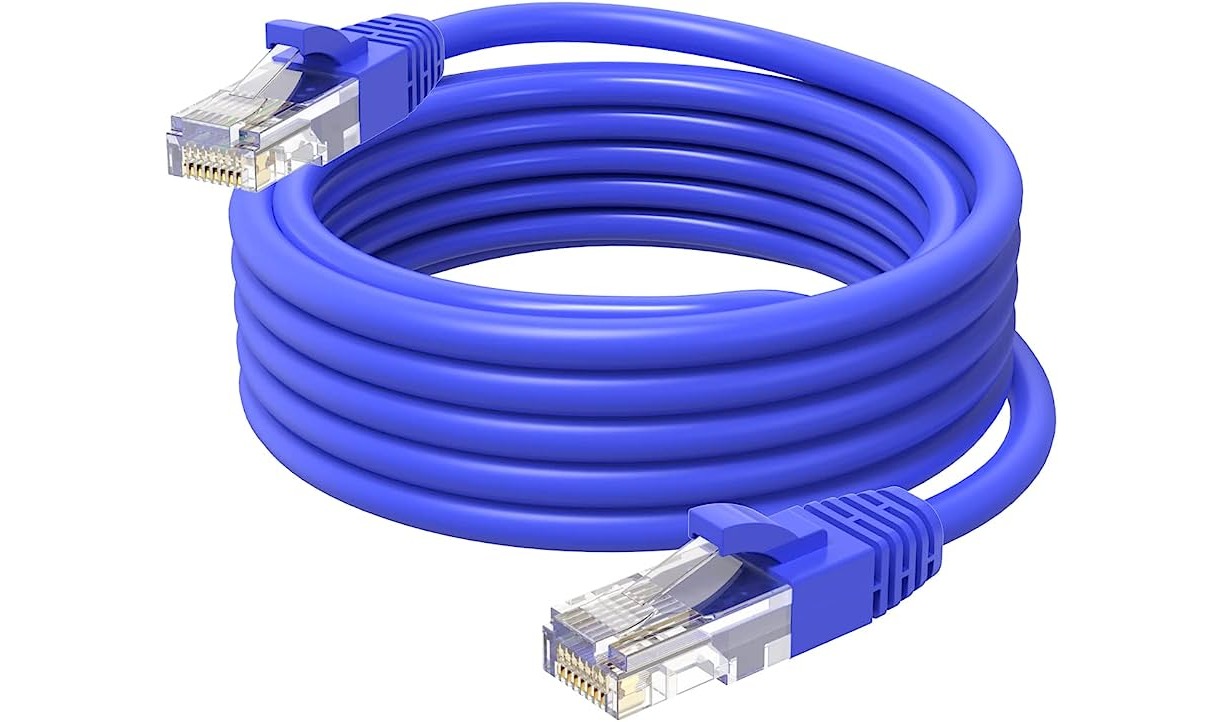
- Ethernet cable: The first item on the checklist is an Ethernet cable. This cable will be used to connect the two computers together. Make sure you have a suitable Ethernet cable that matches the ports on your computers. Most computers nowadays come with an Ethernet port, commonly known as an RJ-45 port.
- Computers with Ethernet ports: The second requirement is to have two computers that both have Ethernet ports. These ports are typically located on the back of the computers and are labeled as “Ethernet” or “LAN”. It’s important to ensure that both computers have functioning Ethernet ports before proceeding.
- Compatible operating systems: Another consideration is the compatibility of the operating systems on both computers. While file transfer via Ethernet is generally supported on most operating systems, it’s always a good idea to check if both computers are running compatible versions. This will ensure a smooth transfer process and reduce any potential compatibility issues.
Once you have confirmed that you have all the necessary hardware requirements, you are ready to move on to the next step: connecting the computers using the Ethernet cable.
Step 2: Connect the two computers using an Ethernet cable
After ensuring that you have the required hardware, it’s time to connect the two computers using an Ethernet cable. Follow these steps:
- Power off both computers: Before connecting the cables, make sure to power off both computers. This will prevent any possible electrical damage or interference during the process.
- Locate the Ethernet ports: On each computer, locate the Ethernet port. It is usually located on the back of the computer and looks similar to a telephone jack, but slightly larger. The Ethernet port is typically labeled “Ethernet” or “LAN” and has a series of small LED lights near it.
- Connect one end of the Ethernet cable: Take one end of the Ethernet cable and firmly insert it into one of the Ethernet ports on Computer A. Ensure that the cable is securely in place, and you may hear a click or feel a slight resistance when it is properly inserted.
- Connect the other end of the Ethernet cable: Take the other end of the Ethernet cable and insert it into the Ethernet port on Computer B. Again, make sure it is firmly connected.
- Power on both computers: Now that the Ethernet cable is connected, power on both computers. Allow them to boot up completely before proceeding to the next step.
Once you have successfully connected the two computers using the Ethernet cable, you are ready to move on to the next step: configuring the network settings.
Step 3: Configure the network settings
After connecting the computers using an Ethernet cable, you need to configure the network settings to establish a connection between them. Follow these steps to configure the network settings:
- Open the Control Panel: On both computers, open the Control Panel. You can do this by clicking on the Start menu, searching for “Control Panel,” and selecting it from the search results.
- Select “Network and Sharing Center”: In the Control Panel, find and select the option labeled “Network and Sharing Center.” This will open a new window with various network settings.
- Change adapter settings: In the Network and Sharing Center window, look for the link labeled “Change adapter settings” and click on it. This will display a list of network adapters on your computer.
- Identify the Ethernet connection: In the list of network adapters, you should see the Ethernet connection that you just established. It will be labeled as “Local Area Connection” or “Ethernet.” Right-click on the Ethernet connection and select “Properties” from the context menu.
- Select IPv4 properties: In the Ethernet Properties window, locate and select the option labeled “Internet Protocol Version 4 (TCP/IPv4)” and click on the “Properties” button below it. This will open the IPv4 Properties window.
- Configure IP addresses: In the IPv4 Properties window, you will see two options: “Obtain an IP address automatically” and “Use the following IP address.” Select the option “Use the following IP address” and enter the IP address, subnet mask, and default gateway for each computer. The IP addresses should be similar, but the last number should be different. For example, Computer A could have the IP address 192.168.0.1, while Computer B could have the IP address 192.168.0.2. Make sure to use a subnet mask of 255.255.255.0 and the same default gateway for both computers.
Once you have successfully configured the network settings, the computers are ready to communicate with each other over the Ethernet connection. In the next step, we will learn how to share files and folders on the sending computer.
Step 4: Share files and folders on the sending computer
Before you can transfer files from the sending computer to the receiving computer, you need to enable file sharing on the sending computer. Follow these steps to share files and folders:
- Open File Explorer: On the sending computer, open File Explorer by clicking on the folder icon located on the taskbar or by pressing the Windows key + E on your keyboard.
- Navigate to the folder you want to share: In File Explorer, navigate to the folder or files that you want to share with the receiving computer. It can be a specific folder, multiple folders, or individual files.
- Right-click on the folder or files: Once you have selected the folder or files, right-click on them to open the context menu.
- Select “Properties”: In the context menu, select the option labeled “Properties.” This will open the Properties window for the selected folder or files.
- Go to the “Sharing” tab: In the Properties window, navigate to the “Sharing” tab. Here, you can control the sharing settings for the selected folder or files.
- Click on “Share…”: In the “Sharing” tab, click on the button labeled “Share…”. This will open the File Sharing window.
- Select the users to share with: In the File Sharing window, you can choose which users you want to share the folder or files with. You can select specific users or choose the “Everyone” option to make the folder or files accessible to all users on the network. Click on the “Add” button to add the selected users.
- Set permissions: Once you have added the users, you can set the desired permissions for each user. You can choose between “Read” or “Read/Write” permissions, depending on whether you only want them to view the files or also make changes to them.
After completing these steps, the selected folder or files on the sending computer will be shared with the receiving computer over the network. Now, let’s move on to the next step and learn how to access the shared files on the receiving computer.
Step 5: Access shared files on the receiving computer
Now that you have successfully shared files and folders on the sending computer, you can proceed to access those shared files on the receiving computer. Follow these steps to access shared files:
- Open File Explorer: On the receiving computer, open File Explorer by clicking on the folder icon located on the taskbar or by pressing the Windows key + E on your keyboard.
- Click on “Network”: In the left-hand pane of File Explorer, locate and click on the “Network” option. This will display a list of available network devices and computers.
- Locate the sending computer: In the Network window, you should see the name of the sending computer. Double-click on its name to access the shared files and folders.
- Browse the shared files: Once you have accessed the sending computer, you will see the shared files and folders. You can navigate through the folders and browse the files, just like you would with files on your own computer.
- Open or copy the shared files: To access a specific file, simply double-click on it to open it or right-click on it and select the desired action, such as copying or moving it to a different location on the receiving computer.
Now you can easily access and work with the shared files from the sending computer on the receiving computer. In the next step, we will learn how to transfer files between the two computers using the established network connection.
Step 6: Transfer files between computers
With the files shared and accessible between the two computers, it’s time to transfer files from the sending computer to the receiving computer using the established network connection. Follow these steps to transfer files:
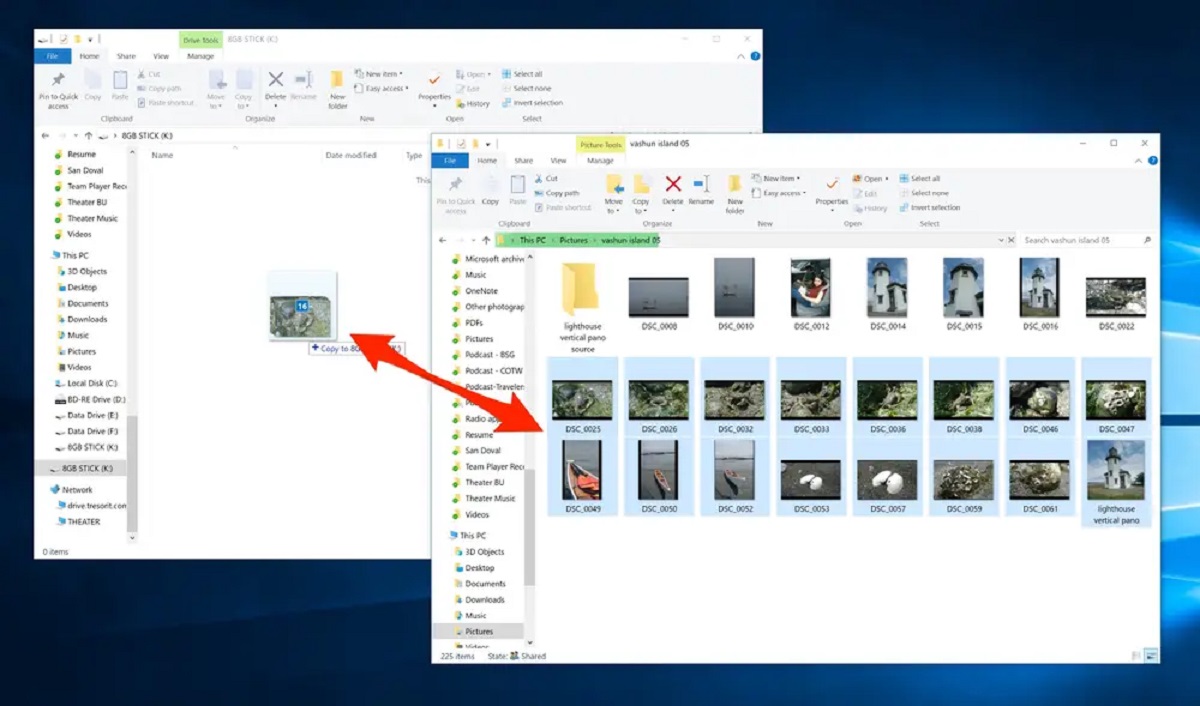
- Select the files to transfer: On the sending computer, navigate to the files or folders that you want to transfer to the receiving computer.
- Copy the files: Select the files or folders and right-click on them. From the context menu, choose the “Copy” option.
- Go to the receiving computer: Switch to the File Explorer window on the receiving computer, which should still be open and displaying the shared files from the sending computer.
- Paste the files: Right-click on an empty area in the File Explorer window and select the “Paste” option from the context menu. This will initiate the file transfer process.
- Monitor the file transfer progress: Depending on the size of the files and the network speed, the file transfer process may take some time. You can monitor the progress in the File Explorer window, where a progress bar or indicator will show the status of the transfer.
- Verify file transfer completion: Once the file transfer is complete, you should see the transferred files or folders appear in the desired location on the receiving computer.
Repeat these steps for each file or folder that you want to transfer from the sending computer to the receiving computer. By following these steps, you can easily and efficiently transfer files between the two computers using the established network connection.
Once you have finished transferring all the necessary files, you can proceed to the final step: disconnecting the Ethernet cable between the two computers.
Step 7: Disconnect the Ethernet cable
After successfully transferring files between the two computers, it’s time to disconnect the Ethernet cable and complete the file transfer process. Follow these steps to disconnect the Ethernet cable:
- Safely eject any external drives: Before disconnecting the Ethernet cable, make sure to safely eject any external drives or devices that were connected to either of the computers during the file transfer process.
- Power off both computers: Ensure that both computers are powered off before disconnecting the Ethernet cable. This will prevent any potential electrical damage while handling the cable.
- Gently remove the Ethernet cable: Locate the Ethernet cable that is connecting the two computers. Hold the cable securely and gently remove it from the Ethernet ports on both computers. Avoid pulling on the cable itself to prevent any damage.
- Store the Ethernet cable safely: After disconnecting the Ethernet cable, carefully coil it and store it in a safe place, away from any potential damage or tangling. This will keep the cable in good condition for future use.
With the Ethernet cable safely disconnected, the file transfer process using the cable is complete. You have successfully transferred files from one computer to another using the Ethernet connection. Now, you can power on the computers and use the transferred files as needed.
Congratulations on completing the file transfer process using an Ethernet cable! This method provides a fast and efficient way to transfer files between computers without the need for external storage devices or an internet connection. Remember, you can always repeat these steps whenever you need to transfer files in the future.
Conclusion
Transferring files from one PC to another using an Ethernet cable is a convenient and straightforward method that allows you to quickly and securely transfer files between computers. By following the step-by-step process outlined in this guide, you can easily share, access, and transfer files without the need for external storage devices or an internet connection.
Throughout the process, it’s important to ensure that you have the necessary hardware requirements, such as an Ethernet cable and computers with functioning Ethernet ports. Additionally, configuring the network settings and enabling file sharing on the sending computer are crucial steps in establishing a successful connection.
Once the network connection is established and the files are shared, you can effortlessly access and transfer files between the two computers. The file transfer process can be monitored, and upon completion, the transferred files can be accessed on the receiving computer.
Remember to disconnect the Ethernet cable once the file transfer is complete, and safely store it for future use.
Overall, transferring files from one PC to another using an Ethernet cable is a reliable and efficient method that provides a direct, fast, and secure way to transfer files between computers. Whether you are upgrading to a new computer or need to share files between devices, following the steps outlined in this guide will ensure a smooth and successful file transfer process.
So, the next time you need to transfer files between computers, consider using an Ethernet cable and follow the steps in this guide for a hassle-free experience.