Introduction
Welcome to this guide on how to make an Ethernet crossover cable. In today’s digital age, having a reliable and efficient network connection is essential for both personal and professional use. Ethernet cables play a crucial role in connecting devices to networks, allowing for seamless data transmission.
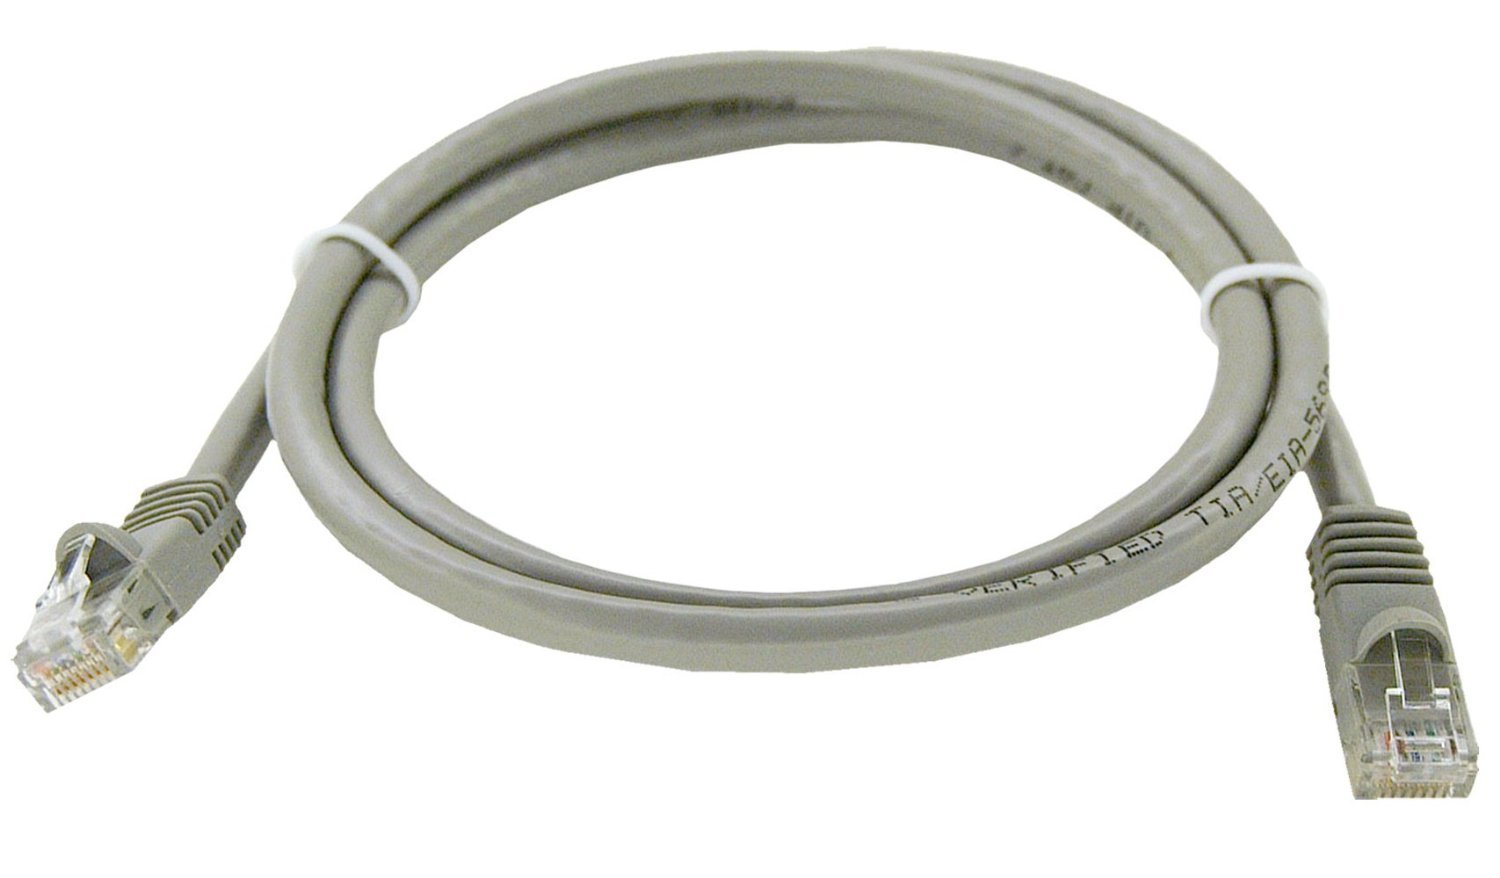
An Ethernet crossover cable is a specialized type of Ethernet cable that allows you to directly connect two similar devices, such as two computers or two switches, without the need for an intermediary device, such as a router. Unlike a standard Ethernet cable, which connects different types of devices, a crossover cable is wired in a way that enables direct communication between the two devices.
Whether you’re setting up a home network, troubleshooting connection issues, or simply want to expand your networking knowledge, knowing how to make an Ethernet crossover cable can be incredibly useful.
In this guide, we’ll walk you through the step-by-step process of creating your own Ethernet crossover cable. We’ll cover the materials you’ll need, the different wiring configurations, and how to test the cable’s functionality. So, let’s dive in and get started!
What is an Ethernet Crossover Cable?
An Ethernet crossover cable is a type of twisted-pair Ethernet cable that is specifically designed for connecting similar devices directly to each other. It is used when you want to establish a network connection between two computers, two switches, or other similar devices without the need for an intermediary device like a router.
Unlike a standard Ethernet cable, which has a specific wiring configuration that allows communication between different types of devices, a crossover cable has its wires crossed in a specific manner to enable direct device-to-device connection. This crossing of the wires is necessary because in a typical Ethernet connection, one device transmits data on certain pins and receives data on different pins. In a direct connection between two similar devices, the transmitting and receiving pins need to be crossed in order for the devices to communicate effectively.
An Ethernet crossover cable is typically used in scenarios where you need to:
- Connect two computers directly for file sharing or network gaming.
- Link two switches together to expand your local network.
- Establish a direct connection between two routers for specific networking purposes.
It is important to note that most modern networking devices, such as routers and switches, are equipped with Auto-MDI/MDIX technology, which allows them to automatically detect the type of cable being used and adjust their interface accordingly. This means that in many cases, a crossover cable may not be necessary as the devices can automatically adapt to the wiring configuration. However, it is still good to have a basic understanding of crossover cables and how to make them, especially in scenarios where Auto-MDI/MDIX is not available or not functioning properly.
Now that we have a clear understanding of what an Ethernet crossover cable is and its purpose, let’s move on to the next section where we will discuss why you might need to use one.
Why would you need an Ethernet Crossover Cable?
There are several situations where you might find yourself in need of an Ethernet crossover cable. While modern networking devices often have Auto-MDI/MDIX technology that eliminates the need for a crossover cable, there are still some scenarios where a direct device-to-device connection is necessary. Let’s explore some common reasons why you might need an Ethernet crossover cable:
- Connecting two computers: If you want to establish a direct network connection between two computers without using a router or network switch, an Ethernet crossover cable is your go-to solution. This can be useful for tasks like file sharing, network gaming, or transferring large amounts of data between the two computers.
- Expanding your network: When you need to connect two switches together to expand your local network, using an Ethernet crossover cable is often the simplest and most efficient method. It allows you to easily create additional network connections without the need for a router.
- Testing network devices: If you are troubleshooting network connectivity issues, using an Ethernet crossover cable can help you isolate problems. By directly connecting your computer to a suspect device, such as a router or switch, you can determine if the issue lies with the device or with the network infrastructure.
- Building a specific network configuration: In certain situations where you have specific network requirements, such as setting up a network bridge between two routers or establishing a direct connection between two specific devices, an Ethernet crossover cable may be necessary to achieve your desired network configuration.
While the need for Ethernet crossover cables has decreased with the widespread adoption of Auto-MDI/MDIX technology, it is still important to have a basic understanding of when and how to use them. By being able to create and utilize crossover cables, you have greater flexibility in your network setup and troubleshooting capabilities.
In the next section, we will discuss the materials you will need to make your own Ethernet crossover cable.
What materials do you need?
To make an Ethernet crossover cable, you’ll need a few essential materials. Here’s a list of what you’ll need to gather before you get started:
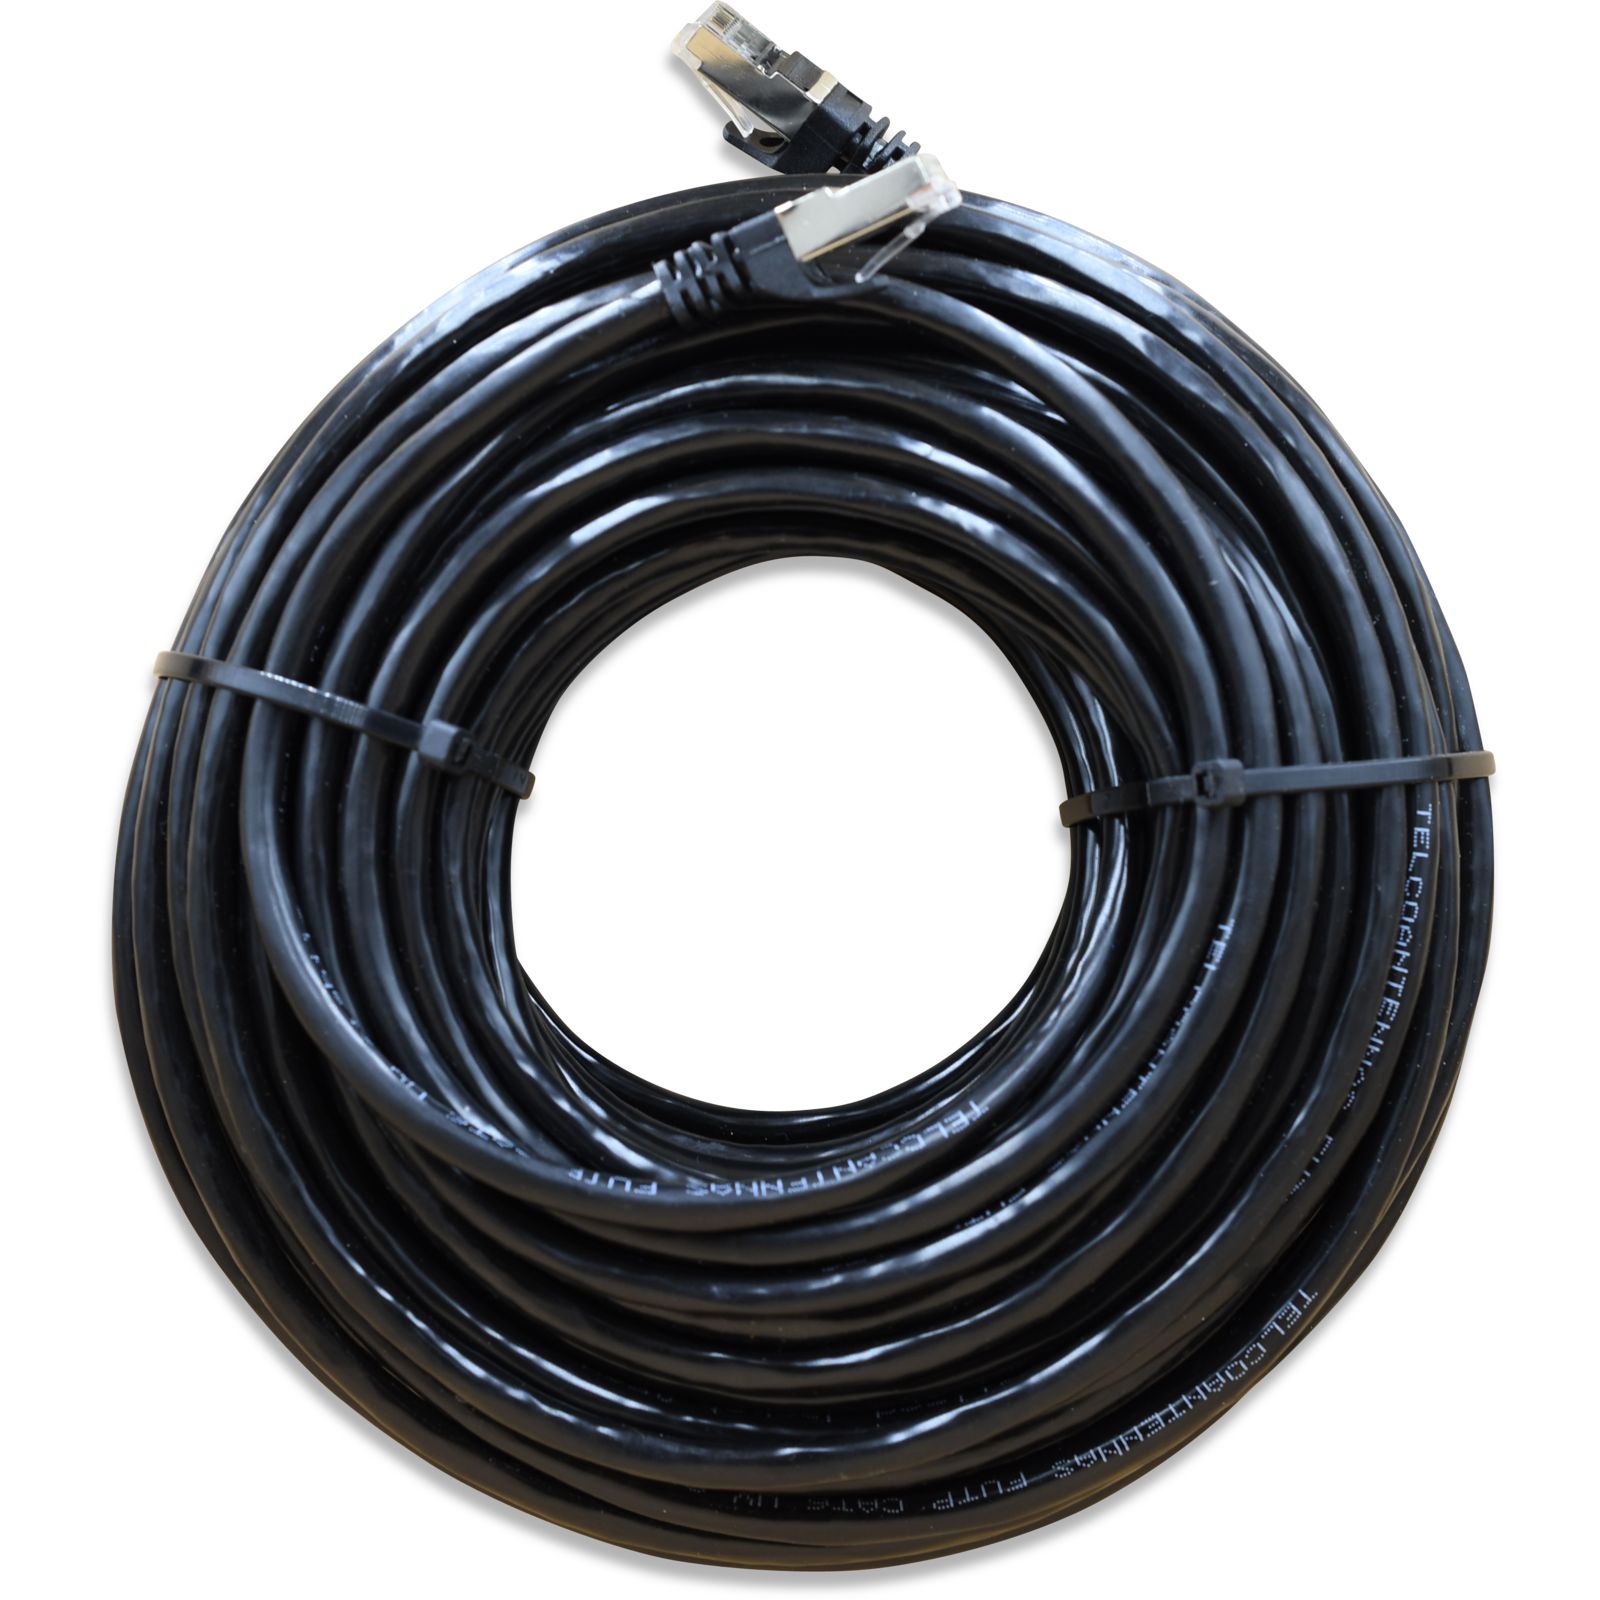
- Cat5e or Cat6 Ethernet Cable: You’ll need a length of Cat5e or Cat6 Ethernet cable to make your crossover cable. These types of cables are commonly used for Ethernet connections and are readily available at most electronics stores or online.
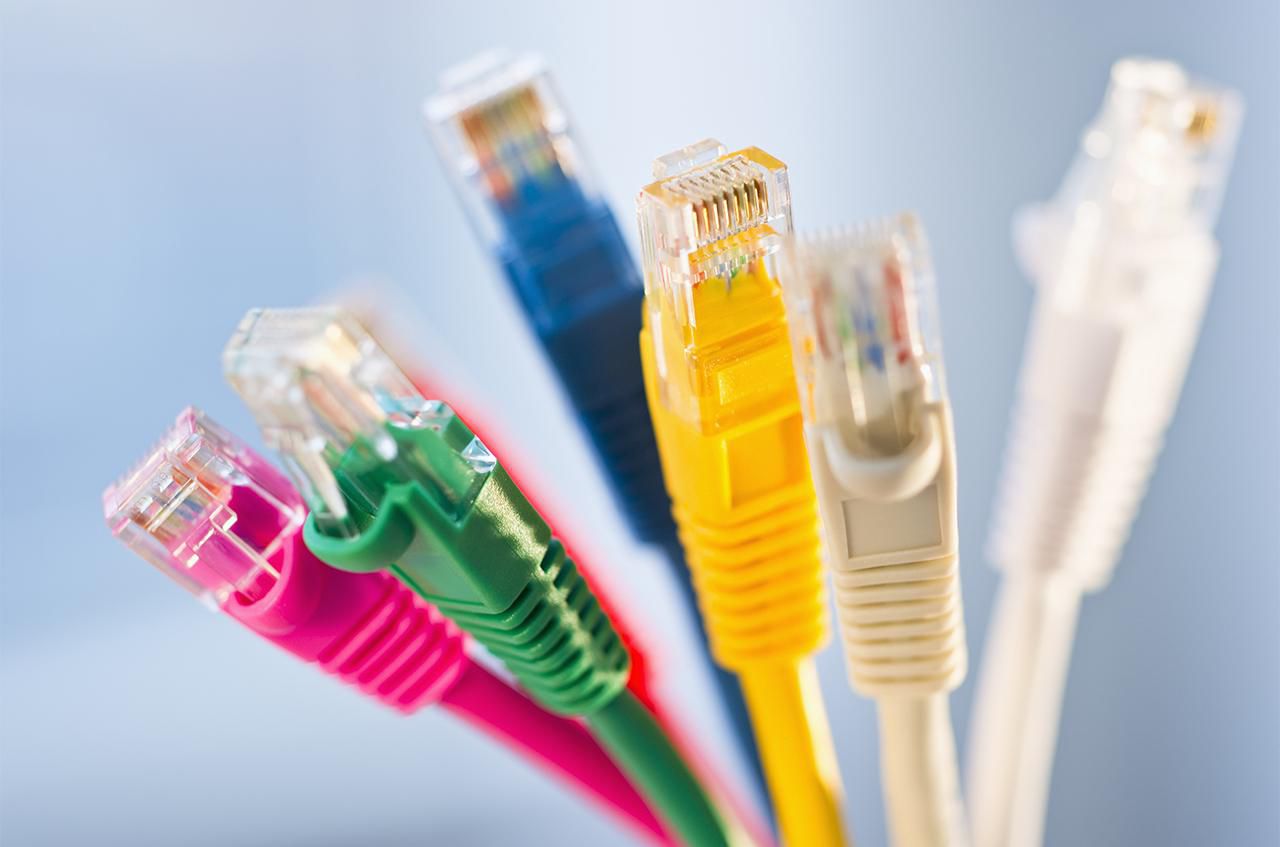
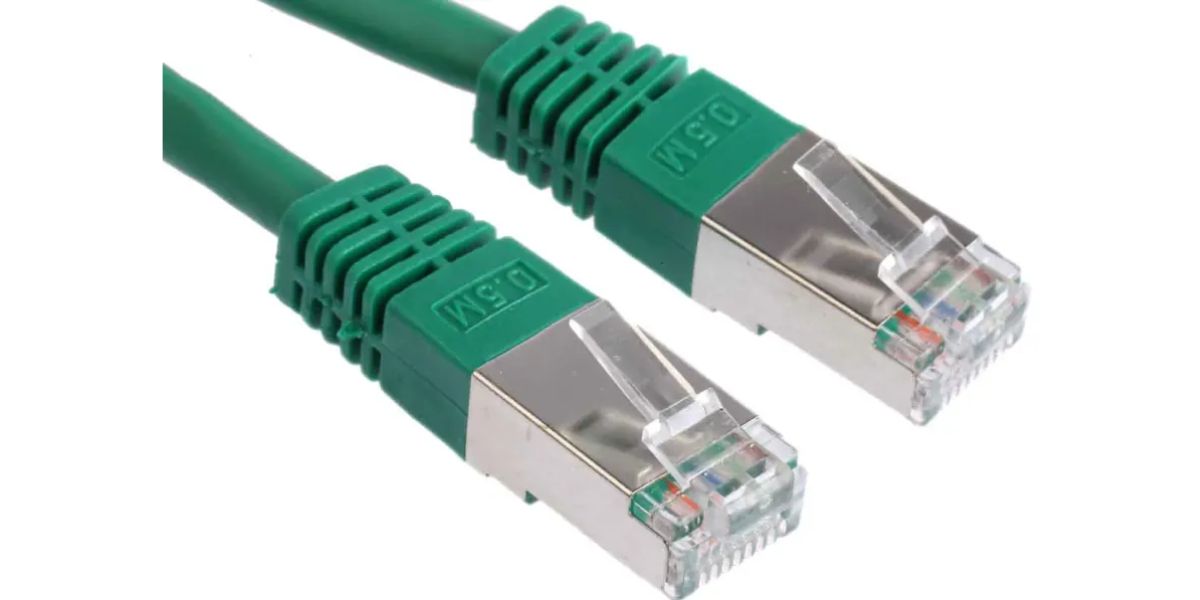
- RJ-45 Connectors: RJ-45 connectors are used to terminate the ends of the Ethernet cable and create a secure connection. Make sure you have enough connectors for both ends of the cable.
- Crimping Tool: A crimping tool is essential for attaching the RJ-45 connectors to the Ethernet cable. It allows you to securely fasten the connectors and ensure a reliable connection.
- Wire Cutters: Wire cutters are used to trim the excess cable after crimping the connectors. They help give your finished cable a professional and tidy look.
- Wire Strippers: Wire strippers are necessary for stripping the outer jacket of the Ethernet cable, exposing the individual wires underneath. This allows you to properly arrange and connect the wires in the correct order.
- Color Code Chart: A color code chart or reference guide is useful for ensuring the correct wiring sequence. It provides a visual representation of how to arrange the wires in the cable connectors.
Make sure to gather all the necessary materials before you start making your Ethernet crossover cable. This will help ensure a smooth and efficient process.
In the next section, we will walk you through the step-by-step process of making an Ethernet crossover cable.
Step-by-step guide to make an Ethernet Crossover Cable
Now that you have all the necessary materials, let’s dive into the step-by-step process of making an Ethernet crossover cable. Follow these instructions carefully:
- Prepare the cable: Begin by cutting the desired length of Ethernet cable for your crossover cable. Using your wire cutters, make a clean cut to ensure both ends are even.
- Strip the outer jacket: Use your wire strippers to carefully remove approximately 1 inch (2.5 cm) of the outer jacket from each end of the Ethernet cable. Be cautious not to damage the internal wires during this process.
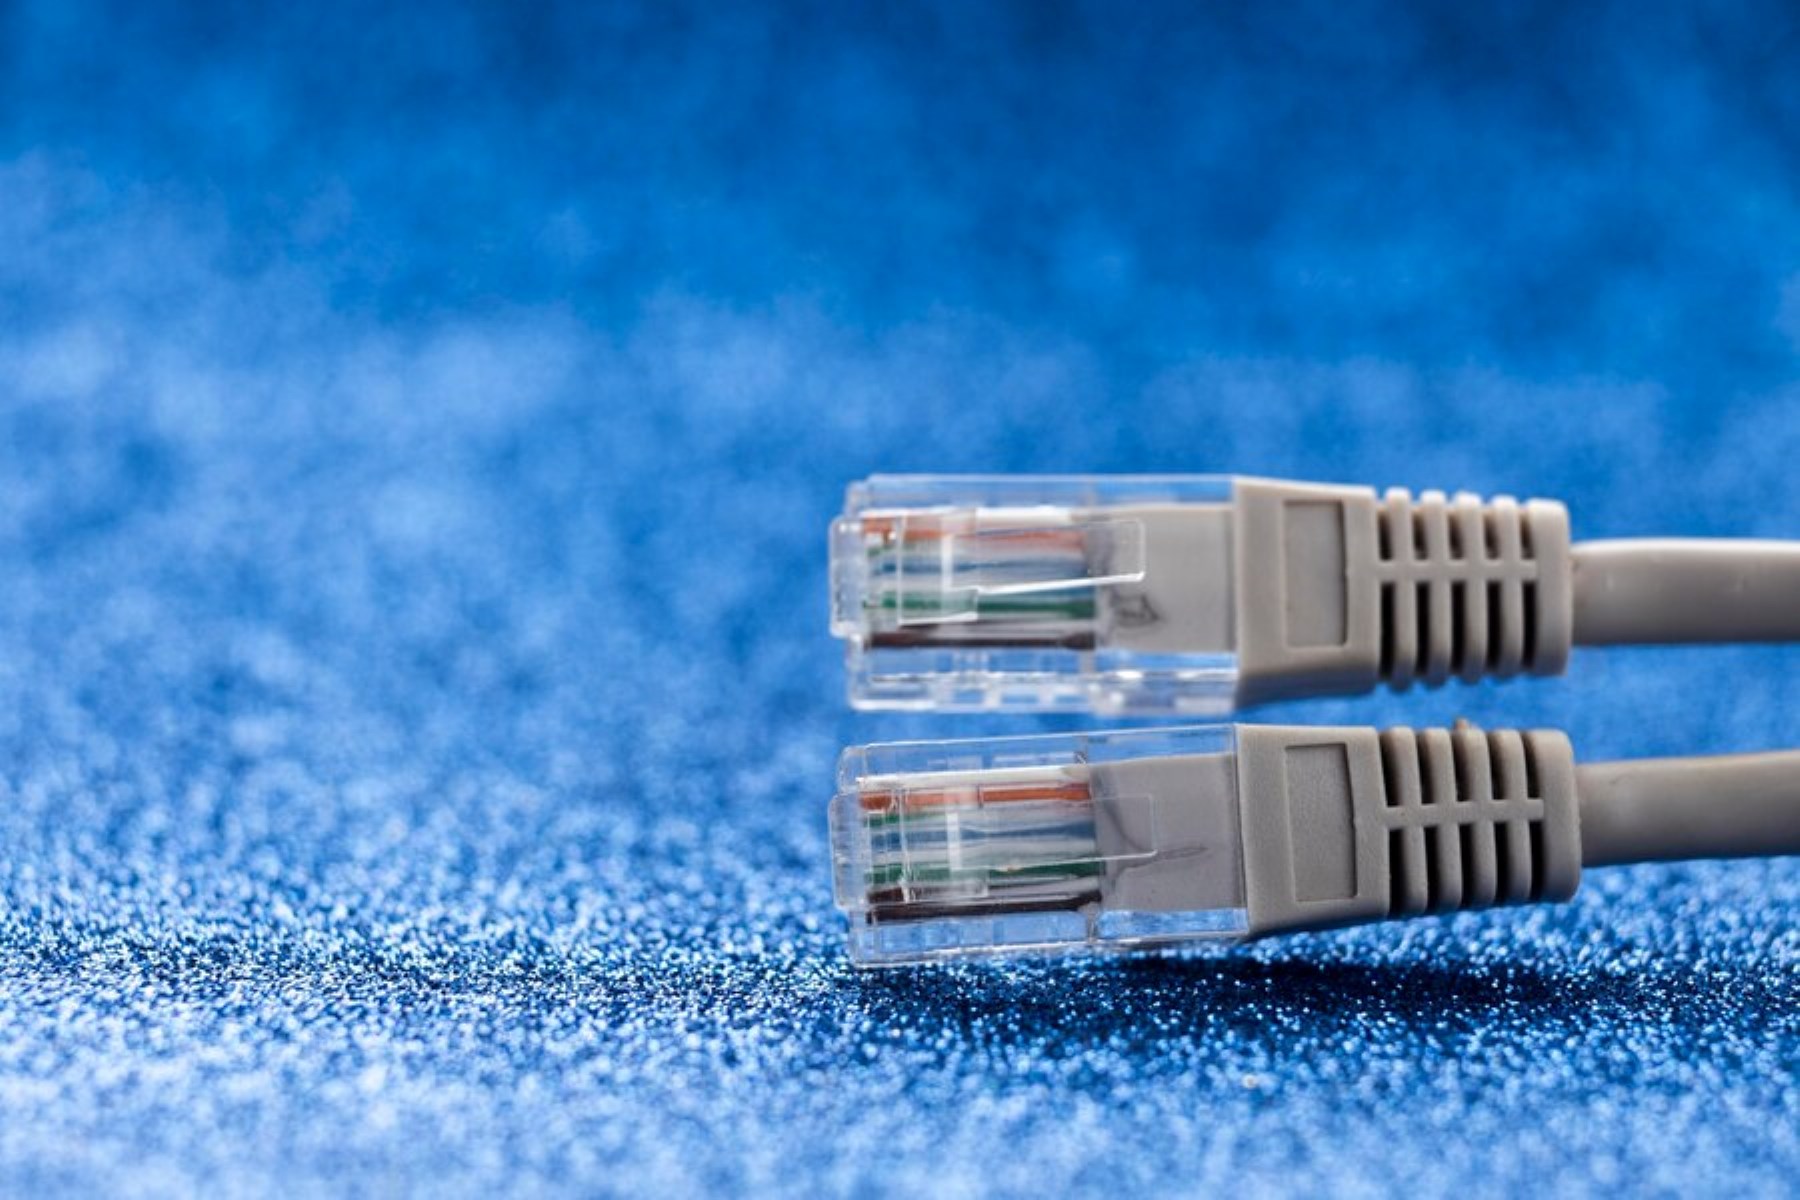
- Arrange the wires: Refer to the color code chart or reference guide to determine the correct wiring sequence for your crossover cable. Arrange the eight internal wires in the following order, starting from the left: white-orange, orange, white-green, blue, white-blue, green, white-brown, and brown.
- Trim and align the wires: Using your wire cutters, carefully trim any excess wire length to ensure all the wires are even and aligned properly.
- Insert the wires into the connector: Take one end of the Ethernet cable and carefully insert the arranged wires into the RJ-45 connector. Ensure that the wires are properly seated and extend all the way to the front of the connector.
- Crimp the connector: Use your crimping tool to securely crimp the connector onto the Ethernet cable. Apply firm pressure to create a strong and reliable connection. Repeat this process for the other end of the cable.
- Trim any excess wires: After crimping both ends of the cable, use your wire cutters to trim any excess wire length, leaving a clean and professional finish.
That’s it! You have successfully made your own Ethernet crossover cable. Now, you can use this cable to establish a direct connection between two devices or troubleshoot network connectivity issues.
Before using your newly made Ethernet crossover cable, it’s important to test its functionality. The next section will guide you on how to test your Ethernet crossover cable.
Testing your Ethernet Crossover Cable
After making your Ethernet crossover cable, it’s essential to test its functionality before using it in your network setup. Here’s a step-by-step guide to help you test your cable:
- Prepare the devices: Connect one end of your Ethernet crossover cable to the Ethernet port of one device, such as a computer or a switch. Connect the other end of the cable to the Ethernet port of the other device.
- Power on the devices: Ensure that both devices are powered on and functioning properly. This will allow them to establish a connection once the cable is connected.
- Check for link lights: Look for link lights on both devices’ Ethernet ports. These lights indicate a successful physical connection between the devices. If the link lights are illuminated, it means that the cable is properly connected.
- Check network connectivity: Once the cable is connected and the link lights are on, check for network connectivity between the devices. You can do this by attempting to transfer a file, accessing shared folders, or pinging the other device’s IP address.
- Monitor network performance: While testing, monitor the network performance to ensure that data is being transmitted at the expected speeds and without any packet loss or errors. This can be done using network monitoring tools or by simply observing the data transfer process.
- Repeat the process: If the network connection and performance tests are successful, you can repeat the testing process with different devices or in different network configurations to ensure the cable’s versatility and reliability.
If your Ethernet crossover cable passes these tests, congratulations! You have made a functional and reliable cable that can be used for direct device-to-device connections.
If you encounter any issues during the testing process, double-check the cable’s wiring, connectors, and connections to make sure everything is properly set up. If necessary, you can refer to the color code chart or consult a networking professional for assistance.
In the next section, we will wrap up this guide on making an Ethernet crossover cable.
Conclusion
Congratulations on successfully completing the guide on how to make an Ethernet crossover cable! You now have the knowledge and skills to create your own cable and establish direct device-to-device connections in your network setup.
We covered the basics of what an Ethernet crossover cable is and why you might need one. Although modern networking devices often have Auto-MDI/MDIX technology that eliminates the need for a crossover cable, there are still situations where having one on hand can be extremely useful.
We discussed the materials you will need, such as Cat5e or Cat6 Ethernet cable, RJ-45 connectors, a crimping tool, wire cutters, wire strippers, and a color code chart. Gathering these materials ensures you have everything you need to create a functional crossover cable.
The step-by-step guide provided clear instructions on how to make your Ethernet crossover cable, from preparing the cable and stripping the outer jacket to arranging and connecting the internal wires. By following these steps carefully, you can create a reliable cable for your networking needs.
Lastly, we covered the importance of testing your Ethernet crossover cable to ensure its functionality. By checking for link lights, verifying network connectivity, and monitoring network performance, you can be confident that your cable is working as intended.
Now that you have mastered the art of making an Ethernet crossover cable, you can easily connect two similar devices without the need for additional networking equipment. Whether you’re setting up a home network, expanding your network, or troubleshooting connectivity issues, having the ability to create your own crossover cables gives you greater flexibility and control.
Remember, networking technology is constantly evolving, so it’s always beneficial to stay updated on the latest advancements and best practices. With your newfound knowledge, you’re well-equipped to adapt and thrive in the ever-changing world of networking.
Thank you for following this guide, and happy networking!