Introduction
Welcome to the world of HDMI Ethernet! In this digital age, connectivity is essential, and HDMI (High-Definition Multimedia Interface) has become the standard for transferring audio and video signals between devices. But what exactly is HDMI Ethernet, and how can it enhance your multimedia experience?
HDMI Ethernet is a feature that allows internet connectivity to be transmitted through an HDMI cable. In addition to transmitting high-definition audio and video, it also enables internet connectivity between HDMI-enabled devices. This means you can have a single HDMI cable handling both your audiovisual data and your internet connection.
Gone are the days of tangled cables and separate connections for internet and multimedia devices. With HDMI Ethernet, you can streamline your setup and enjoy a seamless multimedia experience. Whether you’re streaming a movie, playing online games, or browsing the web, HDMI Ethernet offers a convenient solution for connectivity.
But why should you consider using HDMI Ethernet? What are the benefits of this technology? Let’s delve deeper to discover how HDMI Ethernet can enhance your connectivity experience.
What is HDMI Ethernet?
HDMI Ethernet, also known as HDMI with Ethernet, is a feature that expands the capabilities of the HDMI interface by incorporating Ethernet connectivity into the HDMI cable. It allows for the transmission of both audiovisual data and internet signals through a single cable, eliminating the need for separate connections.
In traditional HDMI setups, you would typically connect your devices using HDMI cables to transfer audio and video signals. However, if you wanted to establish an internet connection, you would need to rely on additional cables such as Ethernet or Wi-Fi.
With HDMI Ethernet, you can have all your connectivity needs met through a single cable. This technology combines the convenience of HDMI’s high-definition audiovisual capabilities with the ability to transmit internet data. It integrates Ethernet channels within the HDMI cable, allowing for simultaneous audiovisual transmission and internet connectivity.
By incorporating Ethernet into the HDMI cable, HDMI Ethernet provides a more streamlined and clutter-free setup. You no longer have to deal with multiple cables running between devices or worry about finding additional ports for an Ethernet connection. HDMI Ethernet simplifies your multimedia and internet setup, offering a convenient and efficient solution.
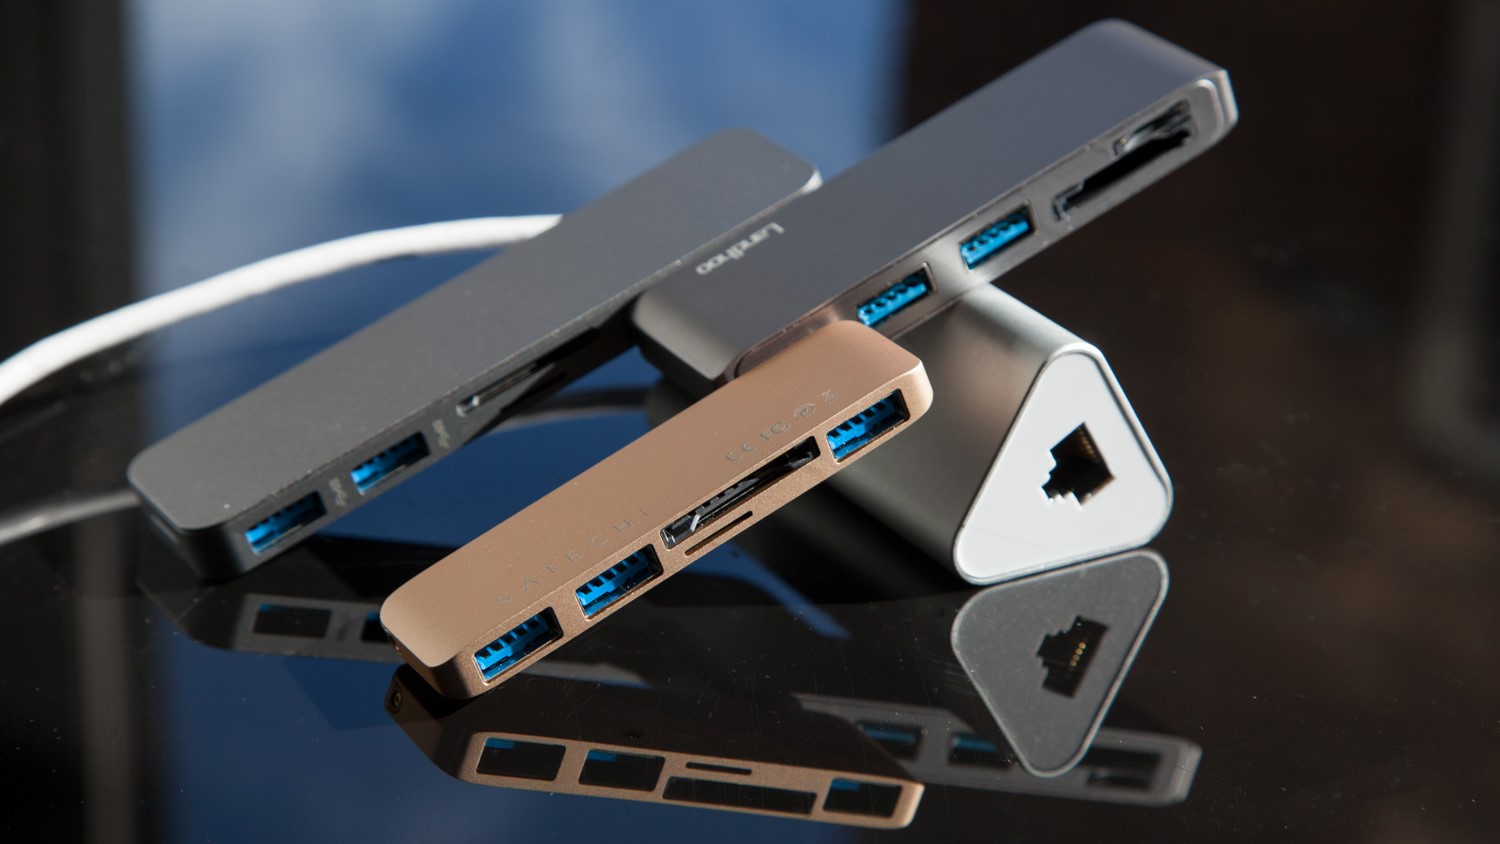
It’s worth noting that HDMI Ethernet requires HDMI devices that are HDMI Ethernet Channel (HEC) compatible. These devices have an additional wire dedicated to carrying Ethernet signals. While most modern HDMI devices support HDMI with Ethernet, it’s essential to check the specifications of your devices to ensure compatibility.
In the next section, we will explore the various benefits of using HDMI Ethernet and how it can enhance your multimedia experience.
Benefits of HDMI Ethernet
HDMI Ethernet offers a range of benefits that enhance your multimedia experience and simplify your connectivity setup. Let’s explore some of the key advantages of using HDMI Ethernet:
- Simplified Setup: One of the primary benefits of HDMI Ethernet is the simplification of your connectivity setup. With this feature, you can eliminate the need for separate Ethernet cables, reducing cable clutter and making your multimedia setup more organized and streamlined.
- Convenience: HDMI Ethernet provides a convenient solution for both audiovisual and internet connectivity. You no longer have to switch between different cables or worry about finding additional ports for an Ethernet connection. HDMI Ethernet offers a seamless experience by integrating audiovisual and internet signals into a single cable.
- Cost-effective: By using HDMI Ethernet, you can save money on purchasing separate Ethernet cables. This feature eliminates the need for additional cables and accessories, reducing costs associated with multiple connectivity options.
- Improved Signal Quality: HDMI Ethernet ensures high-quality audiovisual and internet signals. The HDMI interface is designed to deliver uncompressed audio and video, providing a superior multimedia experience. With HDMI Ethernet, you can expect reliable and consistent signal transmission for both your audiovisual content and internet connection.
- Compatibility: HDMI Ethernet is compatible with a wide range of HDMI devices. You can use this feature with HDMI-enabled devices such as televisions, Blu-ray players, gaming consoles, and more. Most modern HDMI devices support HDMI with Ethernet, making it accessible for a variety of multimedia setups.
- Flexibility: HDMI Ethernet offers flexibility in terms of connectivity options. You can choose to connect your devices directly using HDMI cables with Ethernet support or utilize HDMI switches or extenders to expand your connectivity range. This flexibility allows you to customize your setup according to your specific needs and preferences.
These are just some of the benefits that HDMI Ethernet brings to the table. By using HDMI Ethernet, you can simplify your connectivity setup, enhance your multimedia experience, and enjoy seamless audiovisual and internet connectivity.
How to Connect HDMI Ethernet
Connecting HDMI Ethernet is a straightforward process that requires a few simple steps. Here’s how you can set up HDMI Ethernet:
- Ensure HDMI Ethernet Compatibility: Before you begin, check the compatibility of your HDMI-enabled devices. Look for the HDMI Ethernet Channel (HEC) logo on the devices or consult the product specifications to confirm that they support HDMI with Ethernet.
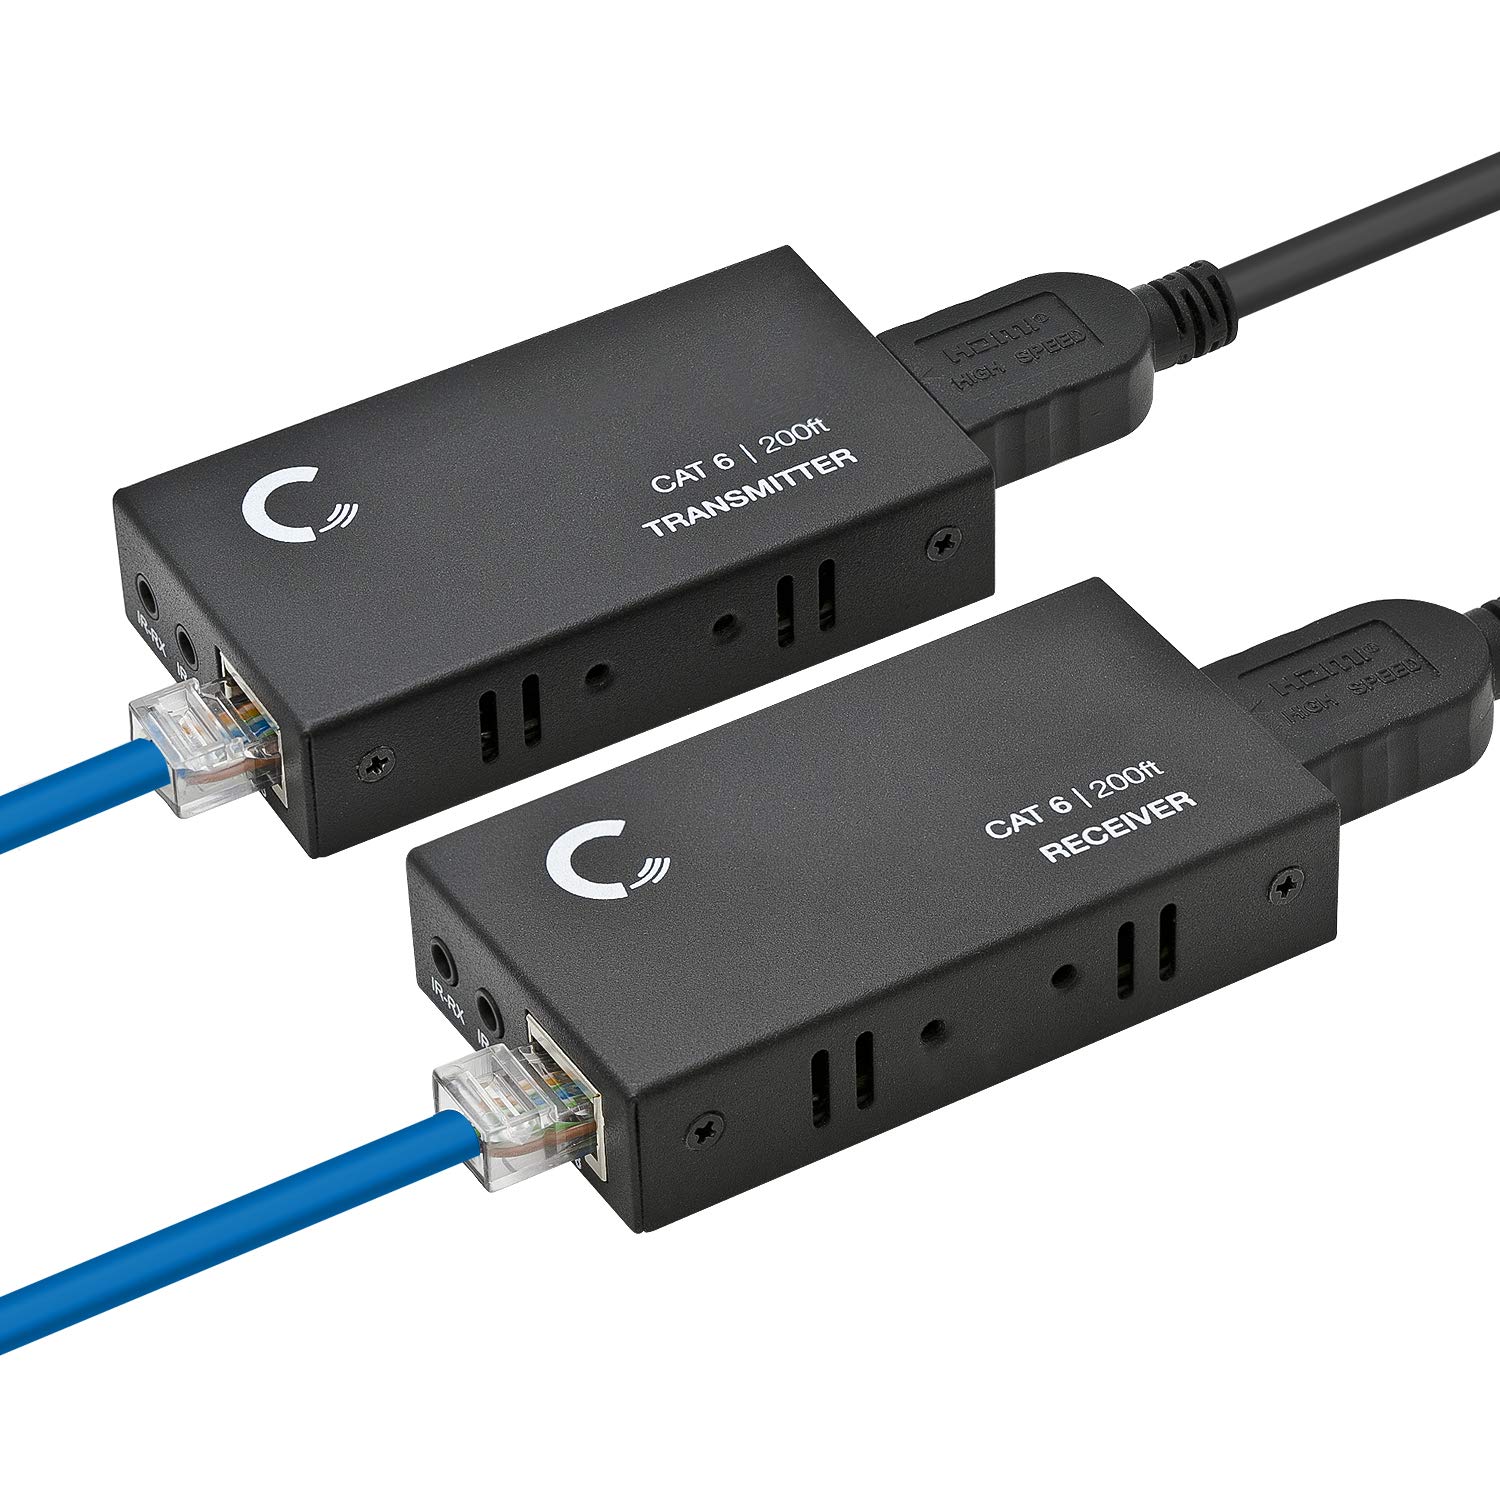
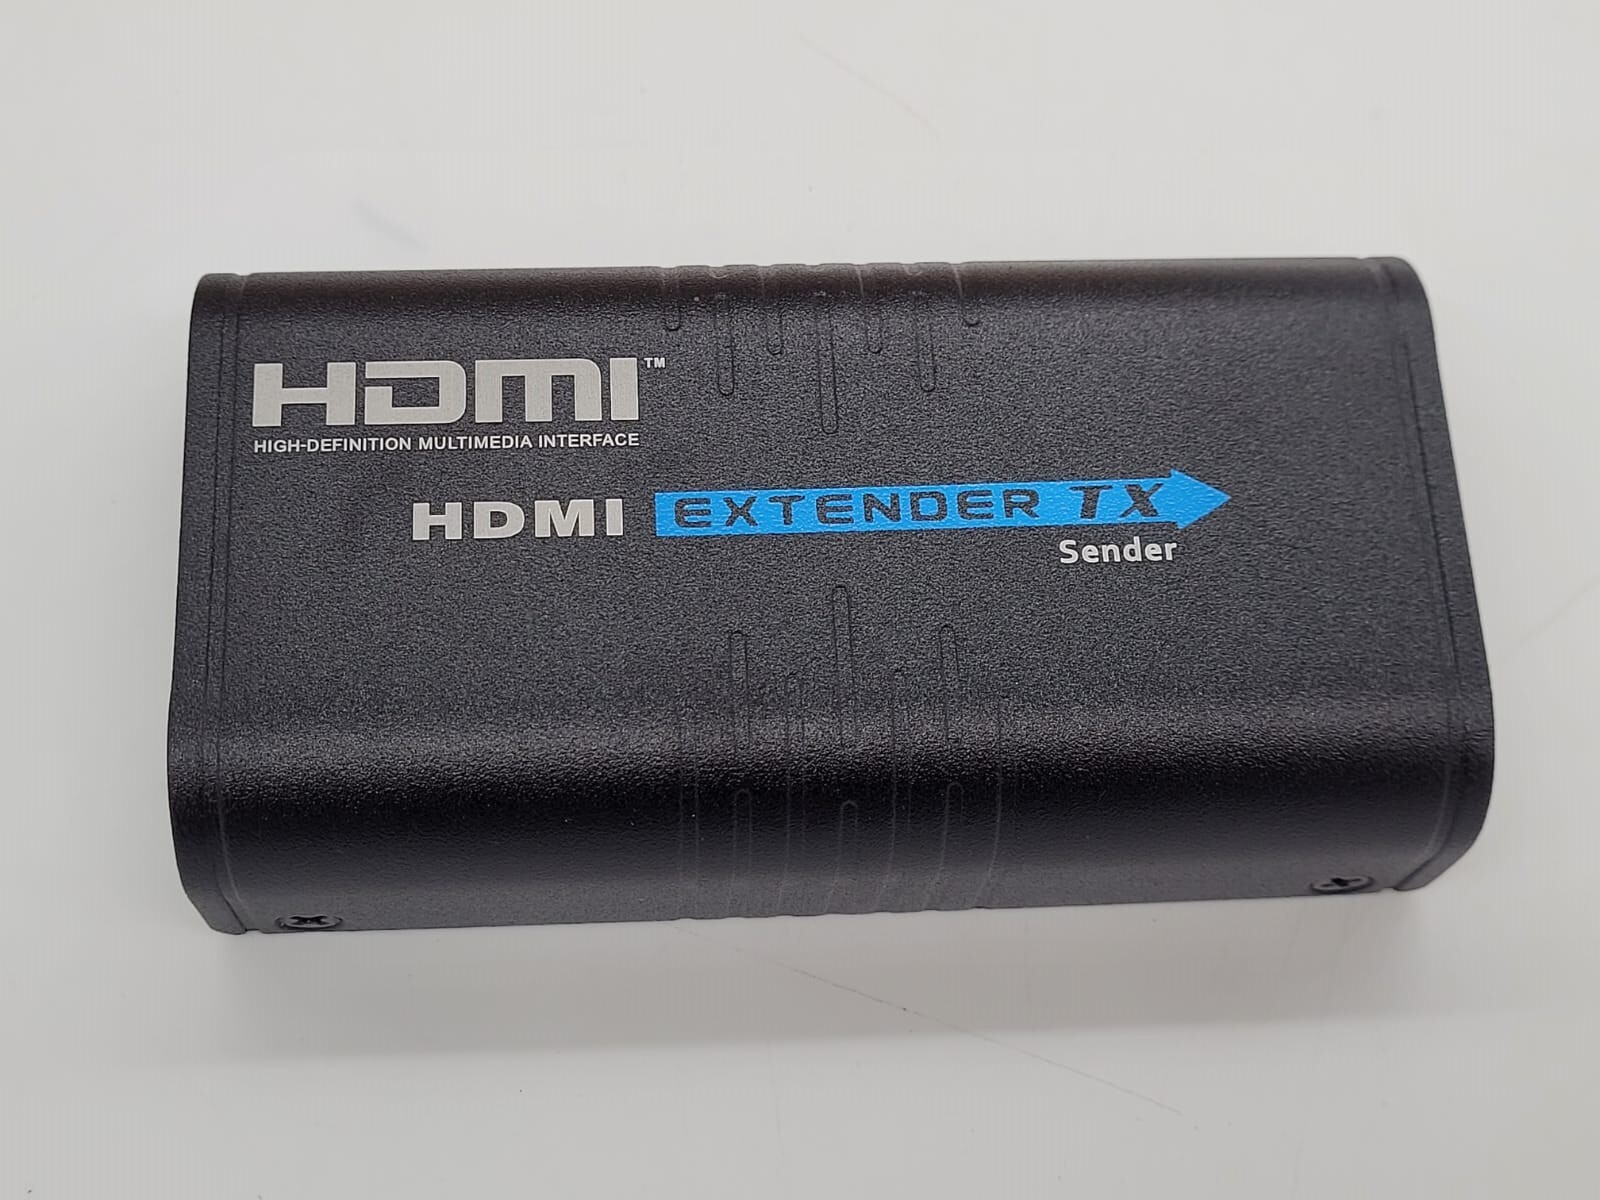
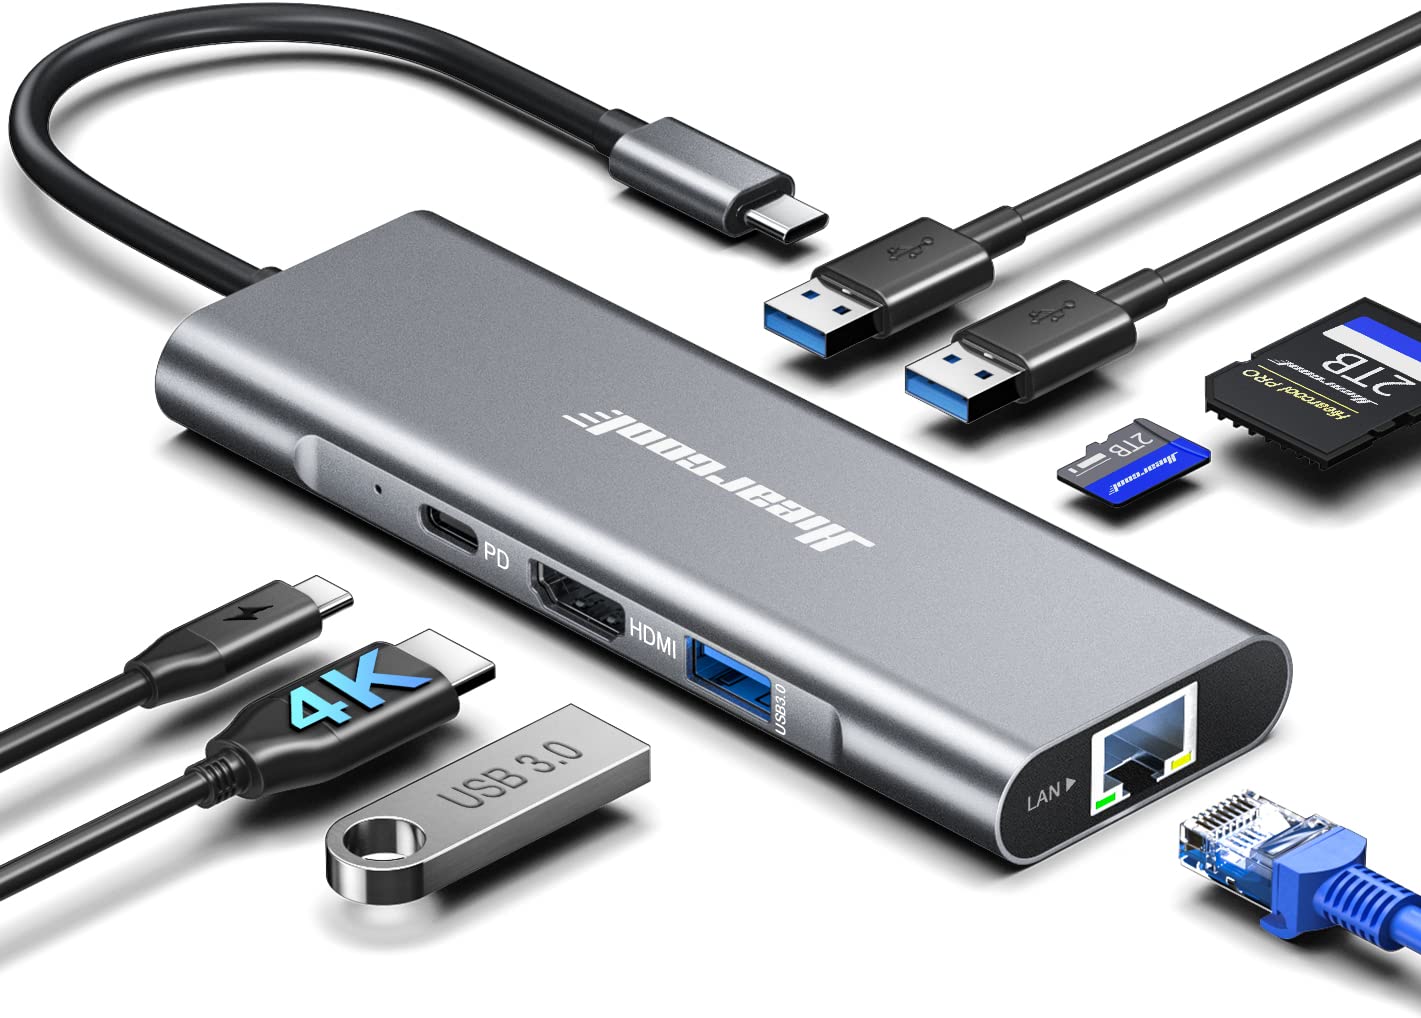
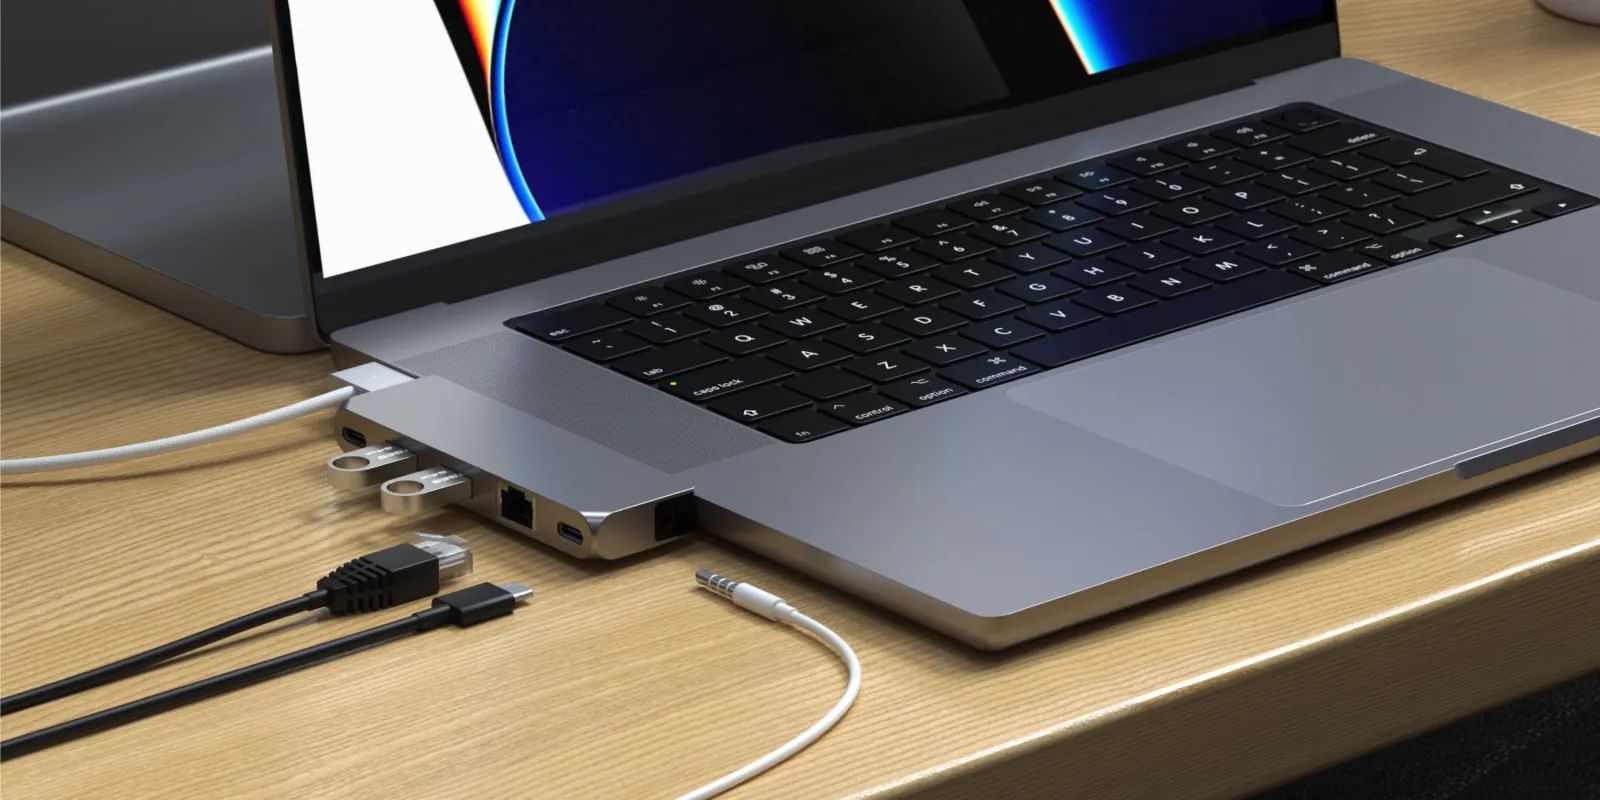
- Gather the Necessary Equipment: Make sure you have all the required equipment. You will need HDMI cables with Ethernet support, HDMI-enabled devices (such as a TV, gaming console, or Blu-ray player), and an internet source (such as a router).
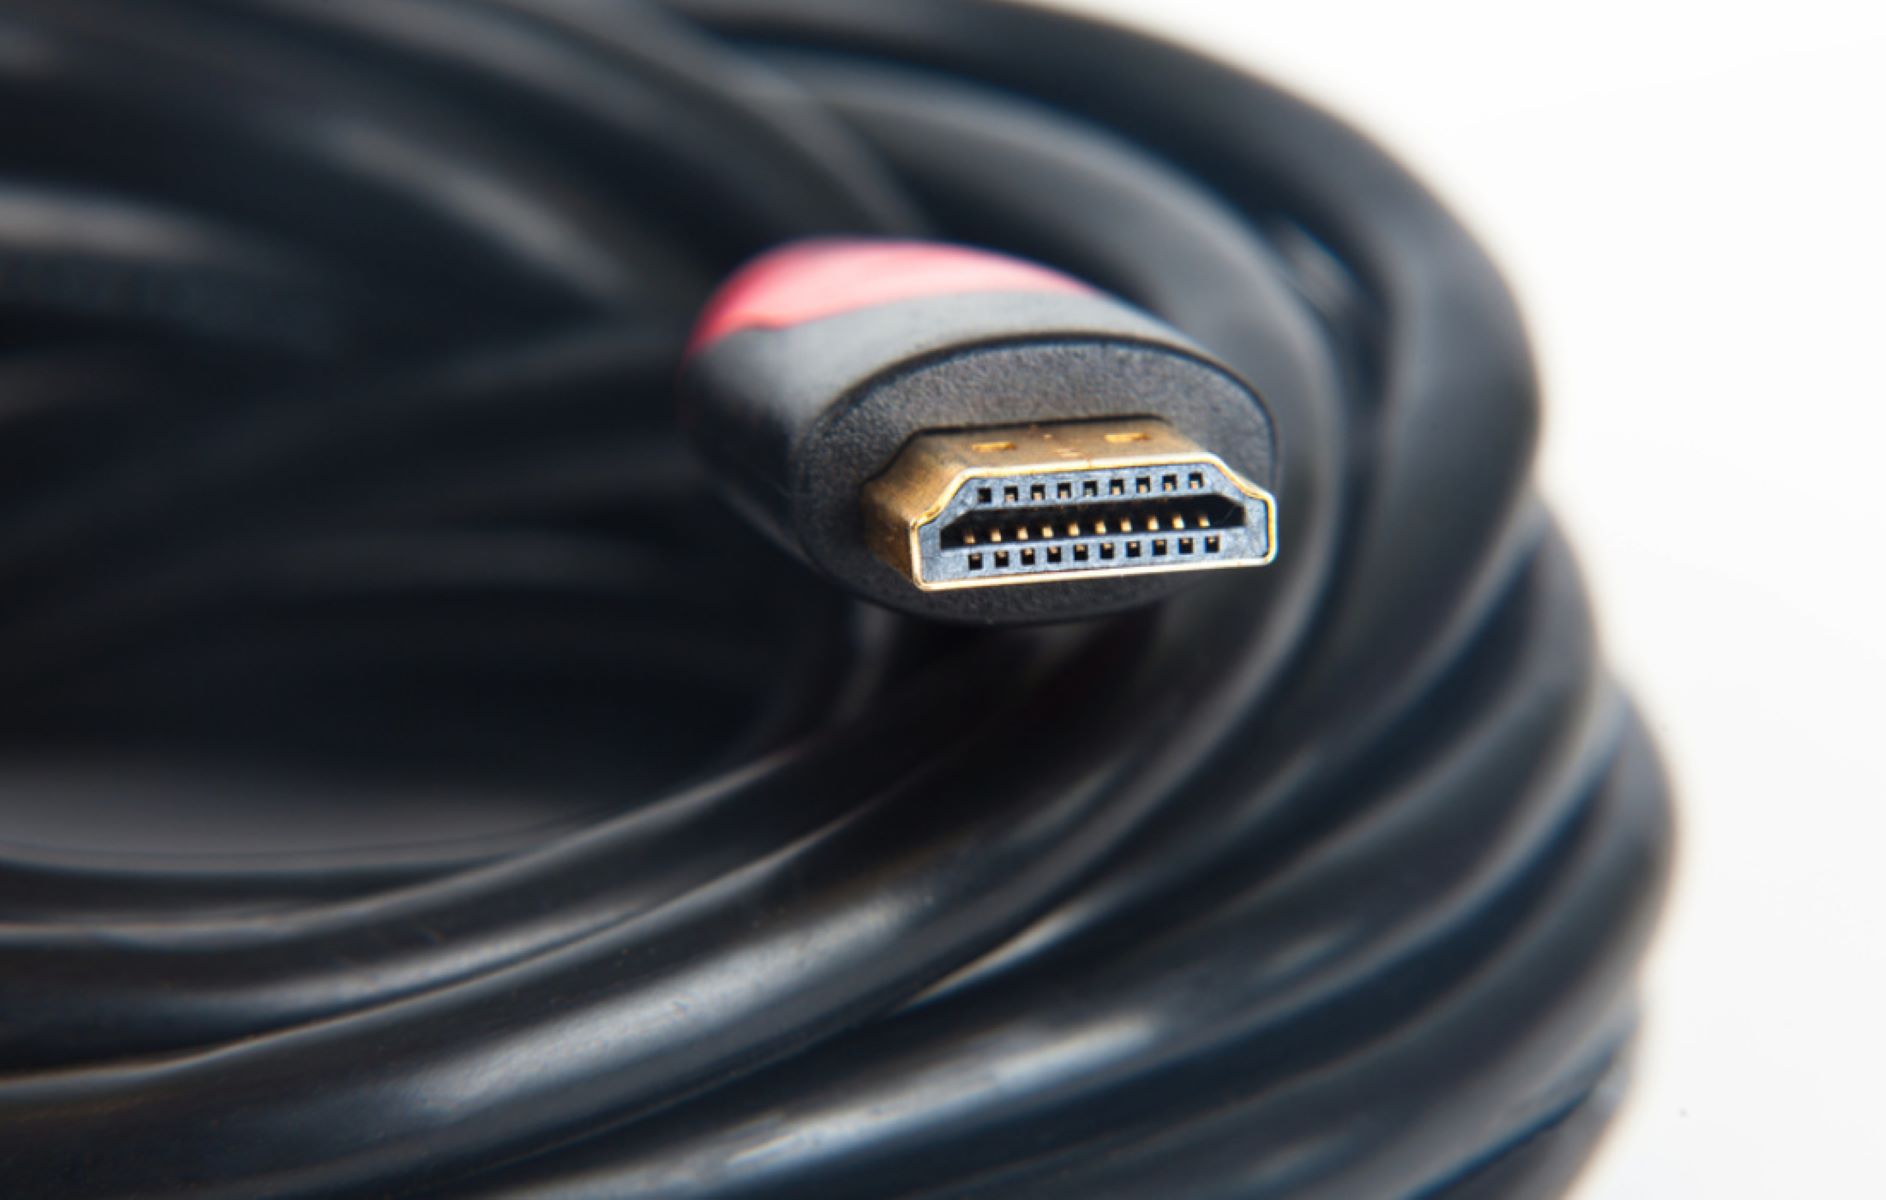
- Connect the HDMI Cables: Plug one end of an HDMI cable with Ethernet support into the HDMI output port of your source device (e.g., gaming console) and connect the other end to the HDMI input port of the display device (e.g., TV).
- Establish Internet Connection: Connect one end of an Ethernet cable to the Ethernet port of your internet source, such as a router or modem. Insert the other end of the Ethernet cable into the Ethernet port on your HDMI-enabled device that supports HDMI Ethernet.
- Power on the Devices: Turn on all the connected devices, including the source device, display device, and internet source (router or modem).
- Configure Network Settings: Once the devices are powered on, access the settings menu on your HDMI-enabled device that supports HDMI Ethernet. Navigate to the network settings and configure the required network details, such as IP address and DNS settings.
- Test the Connection: After configuring the network settings, test the HDMI Ethernet connection by accessing the internet on your HDMI-enabled device. Browse the web, stream content, or perform other online activities to confirm that the HDMI Ethernet connection is working correctly.
Following these steps, you can successfully connect HDMI Ethernet and enjoy a combined audiovisual and internet experience through a single HDMI cable.
Setting up HDMI Ethernet
Setting up HDMI Ethernet involves a few additional steps beyond the initial connection process. Here’s a guide to help you configure your HDMI Ethernet setup:
- Access the Device Settings: On your HDMI-enabled device, navigate to the settings menu. Look for the network or internet settings option to access the configuration options for HDMI Ethernet.
- Select HDMI Ethernet Channel: Within the network settings, locate the option to enable HDMI Ethernet or HDMI Ethernet Channel (HEC). Toggle this option to turn on HDMI Ethernet functionality.
- Configure IP Settings: Depending on your network configuration, you may need to manually configure the IP address settings for HDMI Ethernet. Select the option to assign a static IP address or choose to obtain the IP address automatically via DHCP (Dynamic Host Configuration Protocol).
- Enter DNS Settings: To enable internet connectivity, you may be required to input DNS (Domain Name System) settings. These settings define the server responsible for translating domain names to IP addresses. You can either manually enter the DNS server addresses or choose the automatic DNS assignment option.
- Set Subnet Mask and Gateway: In some cases, you might need to specify the subnet mask and gateway for HDMI Ethernet. These settings determine the network’s range and the device’s connection to the internet. Refer to your network administrator or consult your router’s documentation to obtain the correct subnet mask and gateway information.
- Save and Apply Settings: Once you have configured the IP, DNS, subnet mask, and gateway settings, select the option to save and apply the changes. The device will then finalize the configuration process.
- Verify the Connection: After saving the settings, verify the HDMI Ethernet connection by conducting an internet connectivity test. Open a web browser or use any online application to confirm that your device can access the internet through the HDMI Ethernet connection.
By following these steps, you can properly set up HDMI Ethernet and ensure seamless audiovisual transmission along with internet connectivity.
Troubleshooting Common Issues
While setting up HDMI Ethernet is generally straightforward, you may encounter some common issues along the way. Here are a few troubleshooting steps to help you address and resolve these problems:
- No Internet Connection: If you’re unable to establish an internet connection through HDMI Ethernet, first check your Ethernet cable connections. Ensure that the cable is securely plugged into both the HDMI-enabled device and the internet source (router or modem). Also, verify that your internet source is working correctly.
- Incorrect IP or DNS Settings: If you’ve manually entered IP or DNS settings, double-check that you’ve entered them correctly. A small mistake in these settings can prevent proper connectivity. Consider reverting to automatic IP and DNS assignment to ensure accurate configuration.
- Compatibility Issues: Confirm that all HDMI-enabled devices in your setup are compatible with HDMI Ethernet. Check for the HDMI Ethernet Channel (HEC) logo or consult the device specifications. Incompatibility can lead to a lack of HDMI Ethernet functionality.
- Network Firewall or Security Settings: If you’re connecting to a network with advanced security settings or a firewall, ensure that it allows HDMI Ethernet traffic. Adjust any security settings that may be blocking the HDMI Ethernet connection.
- Updating Firmware or Drivers: Outdated firmware or drivers on your HDMI-enabled devices may cause connectivity issues. Check for any available firmware or driver updates on the manufacturer’s website or through the device’s settings menu. Install the latest updates to ensure optimal HDMI Ethernet performance.
- Resetting Network Settings: If you’re still experiencing issues, try resetting the network settings on your HDMI-enabled devices. This can clear any configuration errors and restore the default network settings. Keep in mind that resetting network settings will remove any previously saved network configurations.
If you’ve attempted these troubleshooting steps and are still facing issues with HDMI Ethernet, it may be beneficial to consult the user manuals or contact the technical support of your HDMI-enabled devices for further assistance. They can provide specific guidance based on your device models and help resolve any persistent connectivity problems.
Conclusion
HDMI Ethernet brings a new level of convenience and efficiency to multimedia connectivity. By combining audiovisual transmission with internet connectivity through a single HDMI cable, HDMI Ethernet offers a streamlined solution for your multimedia setup. With HDMI Ethernet, you can enjoy simplified connections, cost-effectiveness, and improved signal quality.
By setting up HDMI Ethernet properly, you can enhance your multimedia experience and eliminate the need for multiple cables and connections. Remember to check for HDMI Ethernet compatibility in your devices and follow the step-by-step instructions for connecting and configuring HDMI Ethernet. Troubleshoot common issues that may arise to ensure a seamless experience.
The benefits of HDMI Ethernet extend beyond just convenience and streamlined connections. It allows for flexible connectivity options, compatibility with various HDMI devices, and the ability to consolidate your setup for a clean and organized environment. HDMI Ethernet truly revolutionizes the way we connect and enjoy our audiovisual content.
As technology continues to evolve, HDMI Ethernet represents a significant step forward in simplifying connectivity. Embrace this feature and make the most out of your HDMI-enabled devices by taking advantage of HDMI Ethernet’s seamless integration of audiovisual and internet signals.
So, go ahead and enjoy the benefits of HDMI Ethernet – simplify your setup, enhance your multimedia experience, and immerse yourself in the world of seamless connectivity.