Introduction
Welcome to the world of high-speed internet connectivity! If you want to take advantage of the fastest and most reliable internet speeds, connecting your PC to an Ethernet cable is the way to go. Ethernet cables provide a direct and stable connection, making them ideal for tasks that require a seamless online experience, such as gaming, streaming, or downloading large files. In this guide, we will walk you through the steps of connecting an Ethernet cable to your PC, ensuring you have a smooth and hassle-free setup.
While the process may seem intimidating for beginners, fear not! Connecting an Ethernet cable to your PC is actually a simple and straightforward task. All you need are a few essential tools and a basic understanding of how to identify and connect the cables correctly. Soon enough, you’ll be enjoying a fast and reliable internet connection that will significantly enhance your online experience.
Before we dive into the step-by-step process, let’s briefly discuss the benefits of using an Ethernet cable over other connection methods. While Wi-Fi is convenient, it can sometimes be unreliable due to signal interference or distance from the router. In contrast, Ethernet cables provide a dedicated and stable connection between your PC and the router, ensuring a more consistent and faster internet experience. This makes them particularly beneficial for activities that require a high bandwidth connection, such as online gaming or streaming high-definition videos.
So, if you’re ready to experience the full potential of your internet connection, let’s get started with the process of connecting an Ethernet cable to your PC. By following the steps outlined in this guide, you’ll have your PC connected to the Ethernet cable in no time, ready to enjoy fast and uninterrupted internet browsing, gaming, and media streaming.
Step 1: Gather the necessary equipment
Before you begin the process of connecting your PC to an Ethernet cable, it’s important to ensure you have the necessary equipment. Here’s a list of items you’ll need:
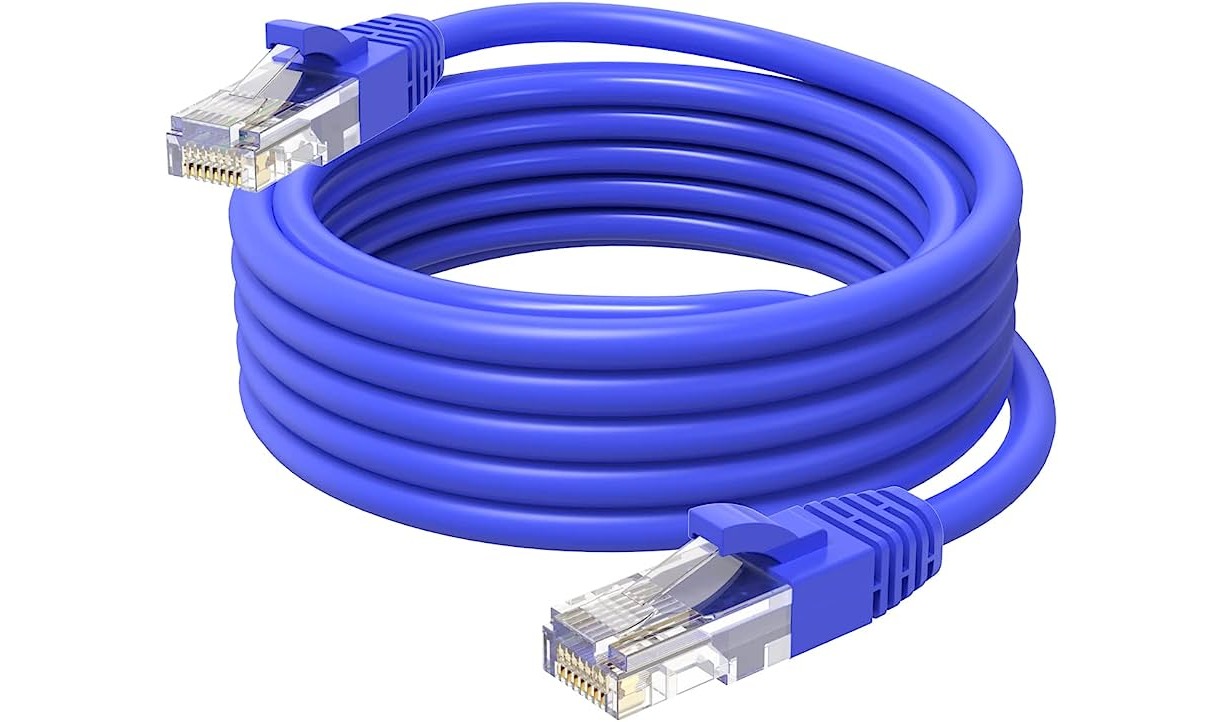
- Ethernet cable: Ensure you have a standard Ethernet cable that is long enough to reach from your PC to the router. Ethernet cables come in different categories, such as Cat5e, Cat6, or Cat7, with each offering varying speeds and capabilities. While Cat5e is suitable for most home networks, if you require faster speeds or plan to upgrade your network in the future, consider opting for Cat6 or Cat7 cables.
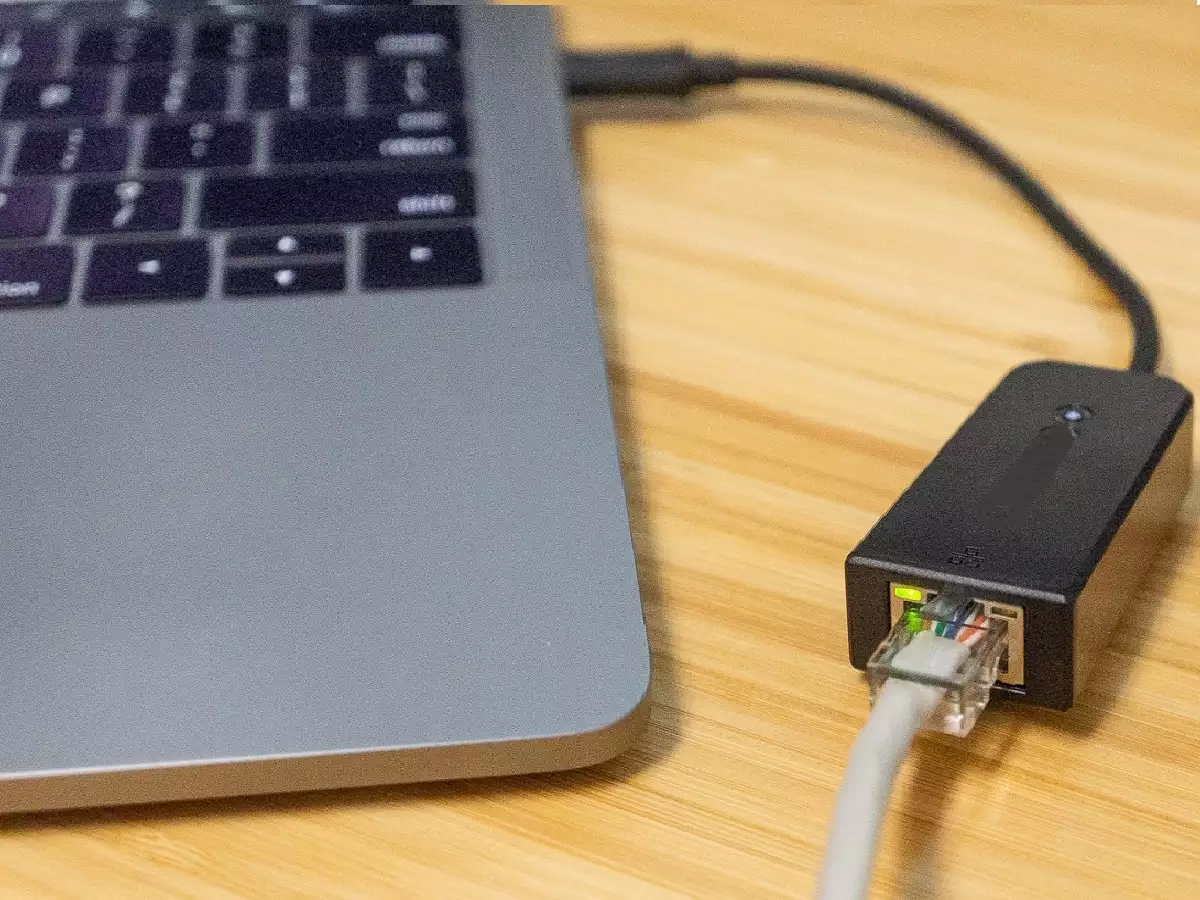
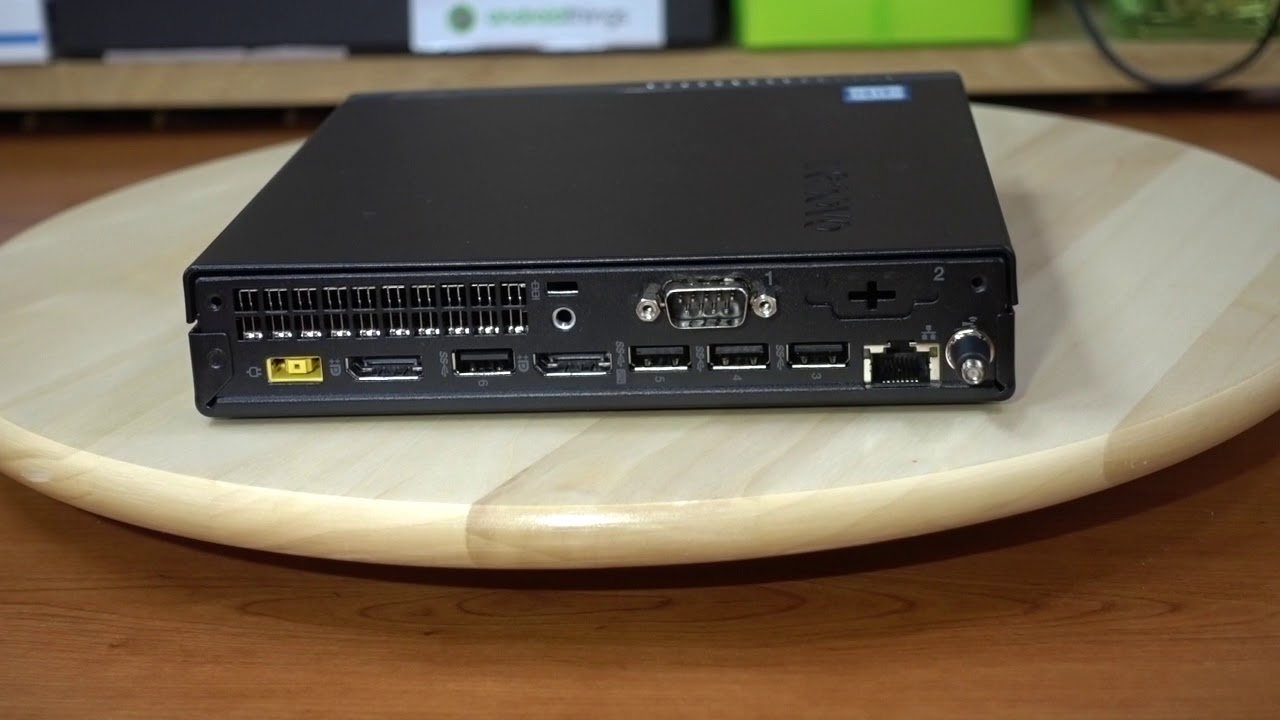
- PC with an Ethernet port: Check if your PC has an Ethernet port. Most desktop computers come with an Ethernet port built-in, typically located on the back of the CPU. Laptops may have an Ethernet port on the side, rear, or bottom of the device. If your PC does not have an Ethernet port, you can purchase an Ethernet adapter that connects to a USB port.
- Router: Ensure you have a functioning router that is connected to the internet. The router acts as the central hub for your network and is responsible for distributing the internet connection to connected devices.
- Power source: Make sure your router is plugged into a power source and turned on. This ensures that the router is active and capable of providing internet connectivity to your PC.
Once you have gathered these essential items, you are ready to move on to the next step of the process. Having all the necessary equipment ensures a smooth and uninterrupted setup, saving you time and frustration along the way.
Step 2: Identify the Ethernet port
Now that you have the necessary equipment ready, the next step is to identify the Ethernet port on your PC. The Ethernet port is where you will connect one end of the Ethernet cable to establish a wired connection between your PC and router. Here’s how you can locate the Ethernet port:
- Desktop computers: In most cases, the Ethernet port is located at the back of the CPU. Look for a square-shaped port with a row of small metal pins inside. It is usually labeled with the word “Ethernet” or represented by a symbol that looks like a computer with a wired connection.
- Laptops: The Ethernet port on laptops can be found on the side, rear, or bottom of the device, depending on the model. Look for a similar square-shaped port with small metal pins inside, labeled “Ethernet” or represented by the familiar symbol.
- Ethernet adapter: If your PC does not have a built-in Ethernet port, but you have an Ethernet adapter, connect the adapter to a USB port on your PC. The adapter will have an Ethernet port on the opposite side where you can attach the Ethernet cable.
Once you have located the Ethernet port, you are now ready to proceed to the next step of preparing the Ethernet cable for connection. Identifying the Ethernet port ensures that you can easily connect the cable without any confusion, making the setup process much smoother and efficient.
Step 3: Prepare the Ethernet cable
With the Ethernet port identified, it’s time to prepare the Ethernet cable for connection. Follow these steps to ensure the cable is in optimal condition:
- Inspect the cable: Examine the Ethernet cable for any visible damage or frayed wires. It’s important to use a cable that is in good condition to ensure a reliable and stable connection.
- Unplug the cable: If the cable is already connected to another device, such as a modem or a different PC, disconnect it to avoid any confusion or interference during the setup process.
- Clean the connectors (optional): If the connectors on the cable appear dirty or dusty, gently wipe them with a clean, dry cloth. Dust and debris can sometimes affect the quality of the connection, so it’s good to ensure the connectors are clean before connecting.
- Untangle the cable: Ethernet cables can sometimes become tangled or twisted, which can hinder the connection. Straighten out any knots or tangles in the cable, ensuring it is smooth and free from any obstructions.
- Leave some slack: Before connecting the Ethernet cable, leave a bit of slack or extra length near the end. This will give you some flexibility when positioning the PC and router and prevent the cable from becoming overly stretched or strained.
By preparing the Ethernet cable properly, you minimize the chances of encountering any issues during the setup process. Inspecting, unplugging, cleaning, untangling, and leaving some slack in the cable are simple yet crucial steps to ensure a smooth and seamless connection between your PC and the router.
Step 4: Connect the Ethernet cable to the PC
Now that the Ethernet cable is prepared, it’s time to connect it to your PC. Follow these steps to establish a secure and reliable connection:
- Locate the Ethernet port: Refer to the previous step to identify the Ethernet port on your PC.
- Align the cable connector: Take one end of the Ethernet cable and align the connector with the Ethernet port on your PC. The connector has a plastic tab on one side; make sure this tab is facing upward.
- Insert the cable: Gently push the Ethernet cable connector into the Ethernet port until it clicks into place. Ensure that the connector is fully inserted to establish a secure connection.
- Secure the cable: Once the cable is connected, you can use a cable clip or cable tie to secure the excess length of the cable, preventing it from getting tangled or accidentally disconnected.
That’s it! You have successfully connected the Ethernet cable to your PC. The cable should now be securely in place, establishing a wired connection between your PC and the router. This provides a more stable and reliable internet connection compared to relying solely on Wi-Fi.
Remember, for the best performance, ensure that the cable is fully inserted into the Ethernet port. This ensures a secure and uninterrupted connection, allowing you to take full advantage of the faster speeds and stability offered by the Ethernet cable.
Step 5: Test the connection
After connecting the Ethernet cable to your PC, it’s time to test the connection to ensure everything is working properly. Here’s what you need to do:
- Power on your PC: If your PC was not already turned on, power it on and give it a few moments to boot up.
- Check the network icon: Look at the taskbar or notification area of your PC for the network icon. It usually looks like a computer or a series of bars. If the Ethernet connection is established, the network icon should indicate a wired connection.
- Open a web browser: Launch your preferred web browser and try accessing a website, such as google.com or any other site of your choice. If the page loads successfully, it means you have a working internet connection.
- Perform a speed test: To check the speed and performance of your internet connection, you can use online speed testing tools such as Ookla or Fast.com. These tools measure your download and upload speeds, giving you an idea of the connection quality.
- Monitor for stability: Once the connection is established and tested, monitor its stability over time. Ensure that you do not encounter frequent interruptions or disconnections while using the internet. If you face any issues, check the cable connections and restart your PC and router if necessary.
Testing the connection ensures that your PC is successfully connected to the internet via the Ethernet cable. By opening a web browser and performing a speed test, you can gauge the performance and stability of your connection, ensuring it meets your expectations.
If everything is working smoothly, congratulations! You now have a reliable and fast internet connection for all your online activities. However, if you encounter any issues or experience slower than expected speeds, double-check the cable connections and troubleshoot any potential network or hardware issues.
It’s important to note that the performance of your internet connection can be influenced by various factors, such as the quality of your router, network congestion, or the speed provided by your internet service provider (ISP). If you consistently experience issues, you may want to reach out to your ISP for further assistance.
Conclusion
Connecting your PC to an Ethernet cable is a simple and effective way to enhance your internet experience. By following the steps outlined in this guide, you can establish a fast and reliable wired connection, ensuring a stable and seamless online experience.
Throughout this process, we covered the necessary equipment, including the Ethernet cable, PC with an Ethernet port, and a functioning router. It’s important to gather these items before starting the setup to avoid any delays or complications.
We also discussed how to identify the Ethernet port on your PC, allowing you to easily locate the port and connect the cable with confidence. Properly preparing the Ethernet cable ensured its optimal condition, minimizing the chances of any connection issues.
Once the cable was connected to your PC, we emphasized the importance of testing the connection. By checking the network icon, browsing the web, and running speed tests, you can verify that the connection is working correctly and meets your expectations.
Remember, an Ethernet connection offers faster speeds, greater stability, and reduced interference compared to relying solely on Wi-Fi. This makes it ideal for activities that require a reliable internet connection, such as gaming, streaming, or downloading large files.
By following the steps outlined in this guide, you can confidently connect your PC to an Ethernet cable and enjoy a faster and more reliable internet connection. If you encounter any issues along the way, refer back to the guide and troubleshoot accordingly.
Now that you are equipped with the knowledge and understanding of how to connect your PC to an Ethernet cable, go ahead and enjoy the benefits of a high-speed and stable internet connection. Happy browsing!