Introduction
Welcome to our guide on how to connect an Ethernet cable to your PC! Whether you’re setting up a new computer or looking to improve your internet connection speed, connecting your PC to the internet via an Ethernet cable can provide a fast and stable connection. Ethernet cables are widely used for networking purposes and offer a reliable and low-latency connection compared to wireless connections. In this article, we will walk you through the step-by-step process of connecting an Ethernet cable to your PC.
With the increasing demand for internet connectivity, especially when it comes to activities such as online gaming, video streaming, and file downloading, a wired connection can greatly enhance your overall experience. By using an Ethernet cable, you can connect your PC directly to your router or modem, bypassing any potential interference or signal loss experienced with wireless connections.
Whether you’re a beginner or have some technical knowledge, you will find this guide easy to follow. We will provide clear instructions and useful tips to help you successfully connect your Ethernet cable to your PC. So, let’s get started and improve your internet connectivity!
Step 1: Gather the necessary materials
Before you begin connecting an Ethernet cable to your PC, it is important to gather all the necessary materials. Having everything ready will ensure a smooth and hassle-free setup process. Here’s what you’ll need:
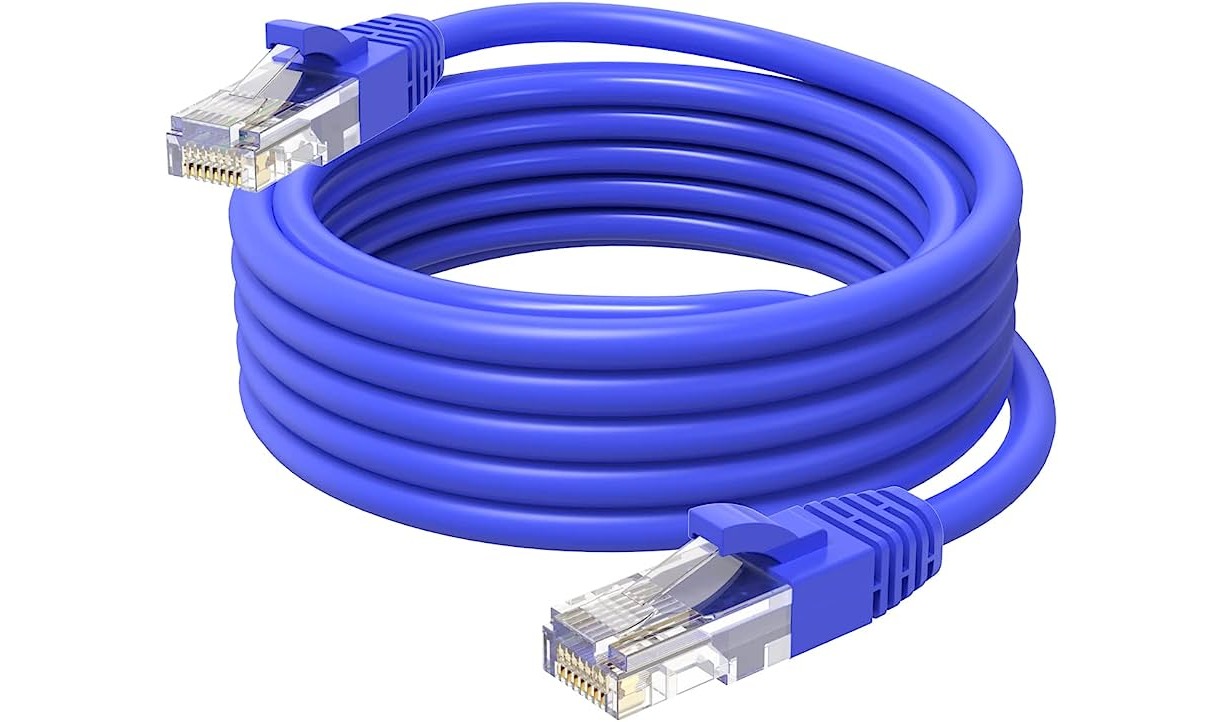
- An Ethernet cable: Make sure you have a reliable Ethernet cable of the desired length. These cables are typically categorized by the speed they support, such as Cat5e or Cat6. If you’re unsure, it’s best to opt for a Cat6 cable, which offers better performance and future-proofing.
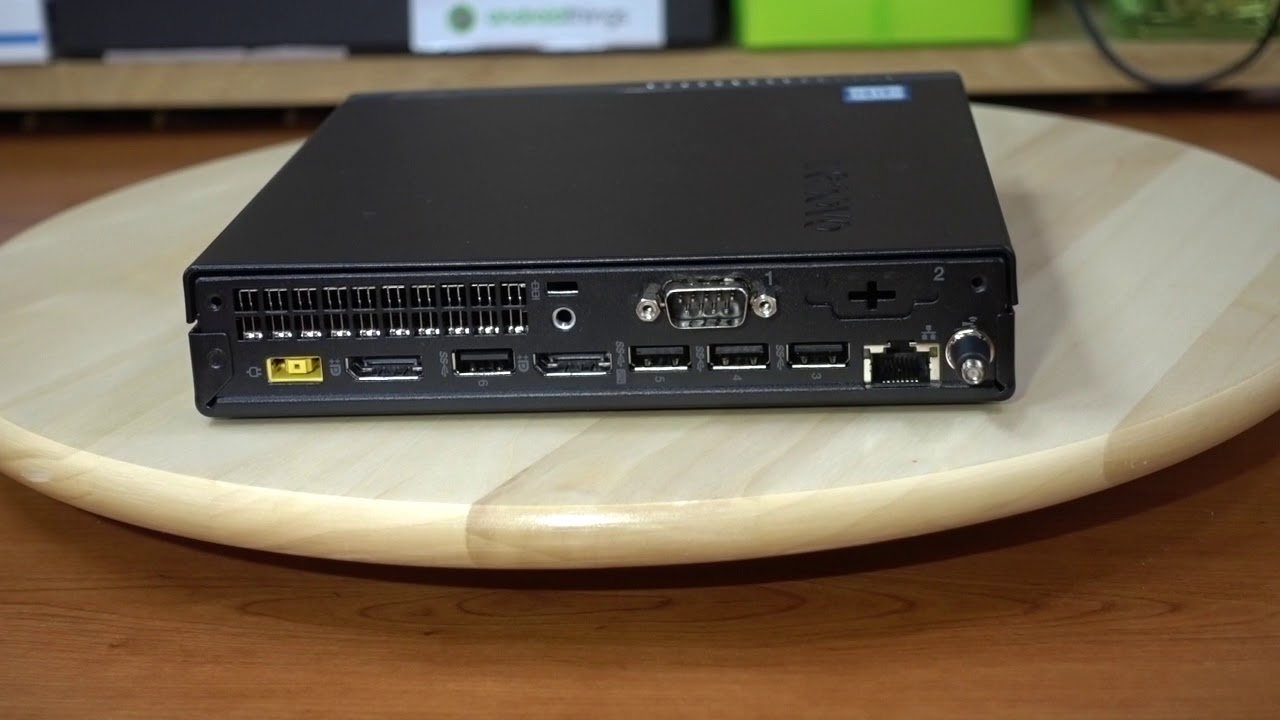
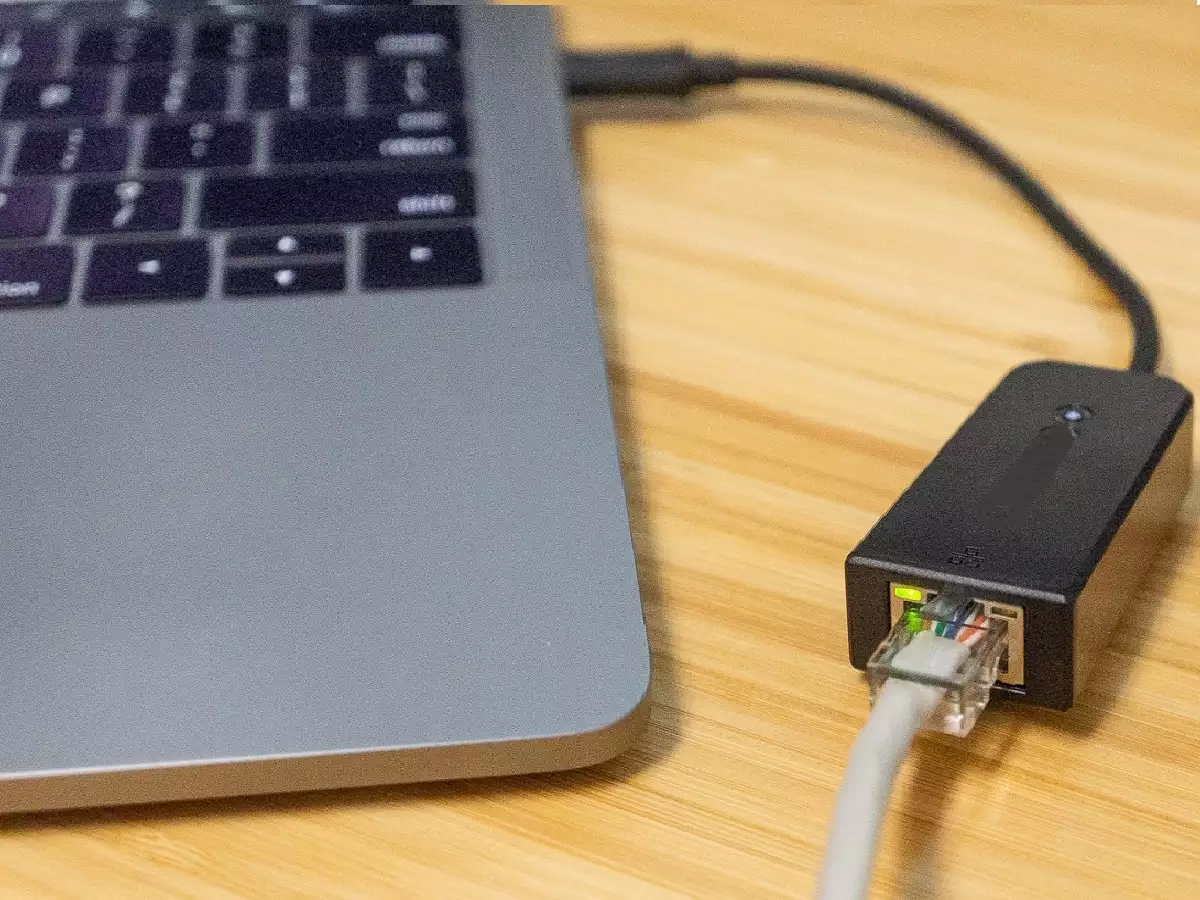
- A PC with an Ethernet port: Check if your PC has an Ethernet port. Most modern desktop computers have built-in Ethernet ports, identifiable as a small rectangular socket with an RJ-45 label near it. However, laptops and some smaller form factor PCs might require an Ethernet adapter.
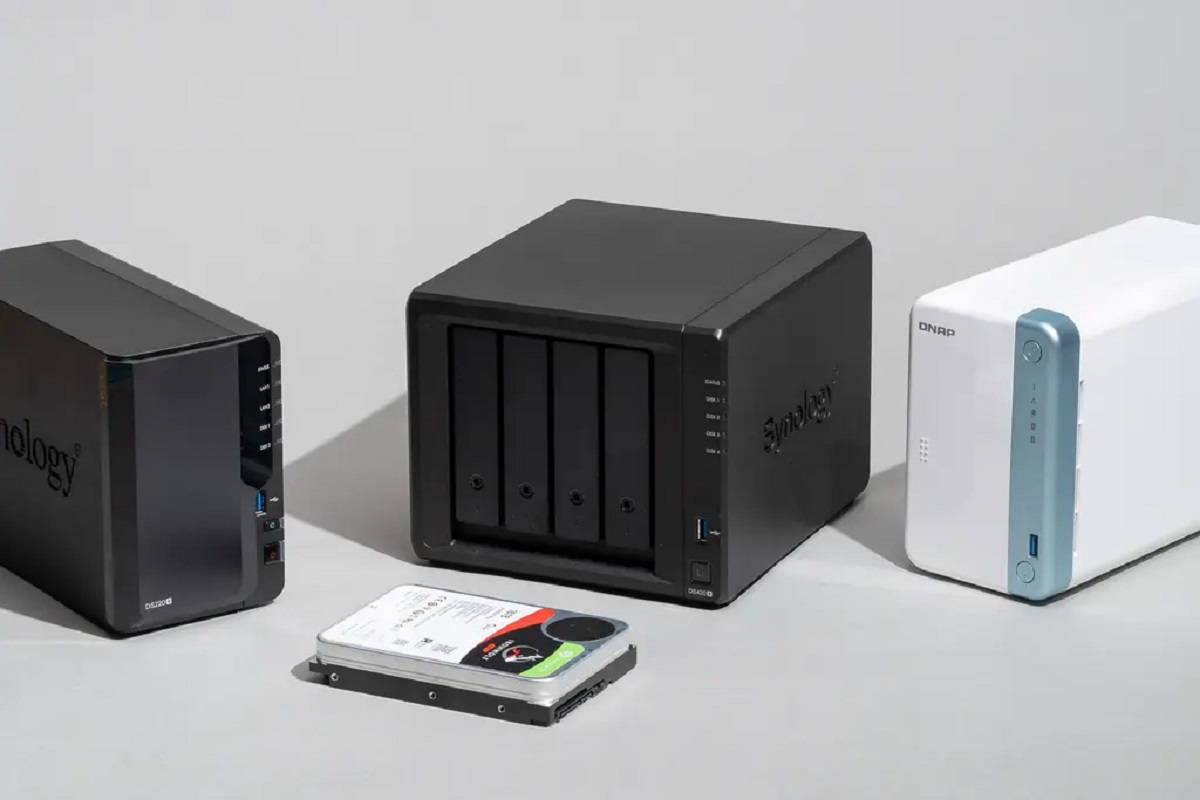
- A router or modem: You’ll also need a router or modem that provides an internet connection. Ensure that it has an available Ethernet port to connect your PC.
Once you have gathered these materials, you are one step closer to connecting your Ethernet cable to your PC. It’s important to note that if your router or modem is located far from your PC, you might need additional tools like cable clips or a cable management system to keep the Ethernet cable organized and prevent tripping hazards.
Now that you have all the necessary materials, you’re ready to move on to the next step: preparing your PC for the Ethernet cable connection.
Step 2: Prepare your PC
Before you can connect the Ethernet cable to your PC, it is important to prepare your computer for the setup process. Here are some essential steps to follow:
- Power off your PC: Ensure that your computer is turned off before making any connections. This is a crucial step to prevent any damage to your hardware.
- Clear the workspace: Remove any clutter or obstacles around your PC to make it easier to access the Ethernet port. This will prevent any accidental damage to the cable or the port itself.
- Inspect the Ethernet port: Take a moment to visually inspect the Ethernet port on your PC. Make sure there are no dust, debris, or obstructions that could interfere with the connection. If necessary, use a can of compressed air to blow out any dust.
- Prepare the cable: Straighten out the Ethernet cable and ensure that it is not tangled or damaged. This will make it easier to connect it to your PC later on.
By taking these preparatory steps, you can ensure a smooth and trouble-free setup process. Make sure to handle the Ethernet cable with care to avoid any damage to the connectors. With your PC now prepared, it’s time to move on to the next step: locating the Ethernet port on your PC.
Step 3: Locate the Ethernet port on your PC
In order to connect your Ethernet cable to your PC, you need to locate the Ethernet port. The Ethernet port is a small rectangular socket on your computer where you can plug in the Ethernet cable. Here’s how to find it:
- Desktop computers: If you have a desktop computer, the Ethernet port is usually located on the back of the CPU tower. Look for a small rectangular socket labeled “Ethernet” or “LAN”. It may also have the symbol of two arrows pointing towards each other.
- Laptops and smaller PCs: For laptops and smaller form factor PCs, the Ethernet port can be located on either side or the back of the device. It is typically indicated by the same Ethernet or LAN label and symbol.
If you are having trouble locating the Ethernet port on your PC, consult the user manual for your specific device model. This manual is often available as a digital resource on the manufacturer’s website or included with your computer’s packaging.
Once you have identified the Ethernet port, it’s time to move on to the next step: plugging in one end of the Ethernet cable.
Step 4: Plug in one end of the Ethernet cable
Now that you have located the Ethernet port on your PC, it’s time to connect one end of the Ethernet cable. Follow these steps:
- Take one end of the Ethernet cable and align the connector with the Ethernet port on your PC.
- Gently insert the connector into the port, making sure it is fully inserted. You may hear a click when it is properly connected.
- Ensure that the connector is securely in place by giving it a slight tug. It should not easily come out.
It is important to handle the Ethernet cable with care to prevent any damage to the connectors. Avoid bending or twisting the cable excessively, as this can degrade the performance or cause a poor connection.
Once you have successfully plugged in one end of the Ethernet cable into your PC, it’s time to move on to the next step: connecting the other end of the cable to your router or modem.
Step 5: Connect the other end of the Ethernet cable to your router or modem
With one end of the Ethernet cable successfully connected to your PC, it’s time to connect the other end to your router or modem. Follow these steps:
- Locate the Ethernet port on your router or modem. It is usually labeled as “LAN” or “Ethernet” and may have multiple ports available.
- Take the other end of the Ethernet cable and align the connector with one of the available Ethernet ports on your router or modem.
- Gently insert the connector into the port, ensuring a secure connection. You may hear a click when it is properly inserted.
- Give the connector a slight tug to ensure it is securely in place. It should not easily come out.
It is important to note that if you are connecting the Ethernet cable to a router, you’ll want to choose an available LAN port and not the one labeled “WAN” or “Internet”. The LAN ports are typically grouped together and are used for connecting devices within your network.
If you are connecting the Ethernet cable to a modem, there is usually only one Ethernet port available, so you don’t need to worry about choosing the correct one.
Once you have successfully connected the other end of the Ethernet cable to your router or modem, it’s time to proceed to the final step: testing the connection.
Step 6: Test the connection
After connecting both ends of the Ethernet cable, it is important to test the connection to ensure everything is working properly. Follow these steps to test the connection:
- Power on your PC, router, and modem if they are not already turned on.
- Wait for a few moments to allow your devices to establish a connection.
- Open your preferred internet browser on your PC and visit a website to check if you have internet access. You can also perform a speed test to verify the connection speed.
- If you have successfully established a connection and can access the internet, congratulations! Your Ethernet cable is properly connected.
- If you are unable to access the internet, double-check your connections and ensure that the Ethernet cable is securely plugged into both your PC and router or modem.
- If the issue persists, try restarting your PC, router, and modem. This can sometimes resolve connectivity issues.
If you continue to experience problems with the connection, you may want to troubleshoot your network settings or consult your internet service provider for further assistance.
Testing the connection ensures that your Ethernet cable is working properly and that you can enjoy a fast and stable internet connection on your PC.
With the testing complete, you have successfully followed all the necessary steps to connect an Ethernet cable to your PC. Enjoy your improved internet experience!
Conclusion
Connecting an Ethernet cable to your PC is a straightforward process that can greatly enhance your internet experience. By utilizing a wired connection, you can enjoy faster and more stable internet speeds, especially when engaging in activities such as online gaming, video streaming, or large file transfers.
In this guide, we have walked you through the step-by-step process of connecting an Ethernet cable to your PC. We started by gathering the necessary materials, including an Ethernet cable, a PC with an Ethernet port, and a router or modem. We then prepared our PC, located the Ethernet port, and plugged in one end of the cable. After that, we connected the other end of the cable to our router or modem. Finally, we tested the connection to ensure everything was functioning correctly.
Remember, when connecting your Ethernet cable, it’s important to handle the cable with care, ensure a secure connection, and troubleshoot any issues that may arise. Additionally, make sure to periodically check your Ethernet cable and ports for any signs of damage or wear, as this can affect the reliability and performance of your connection.
We hope that this guide has provided you with the knowledge and confidence to successfully connect an Ethernet cable to your PC. Enjoy the benefits of a fast and stable internet connection for all your online activities!