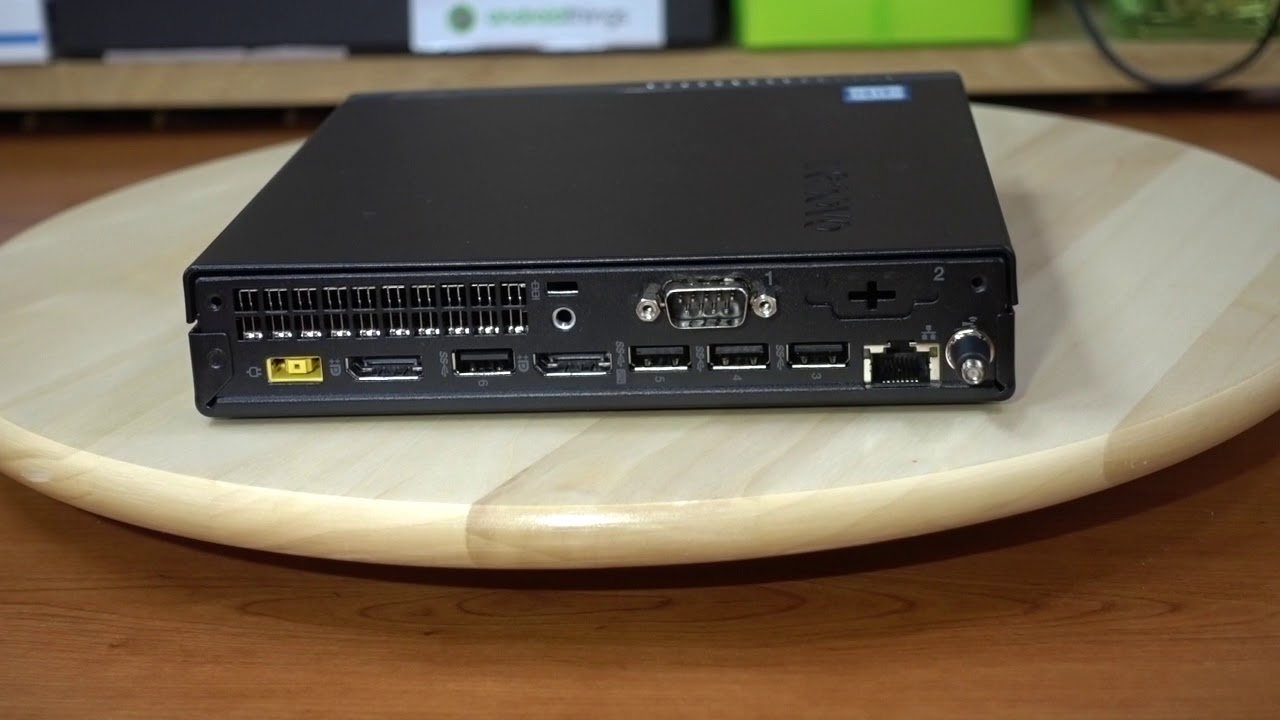
To add a second NIC to a mini PC for use as a DIY router, firewall, or home server, your two main paths are external USB/Thunderbolt adapters (easiest) or internal M.2/Mini PCIe cards (advanced). The best method depends on your available ports, required speed, and comfort level with opening your device.
Method 1: Use a USB to Ethernet adapter (easiest)
This is the most straightforward way to add a second NIC mini PC users can rely on. Plug the adapter into a USB 3.0 port (usually blue or marked with "SS") on your mini PC, then connect your Ethernet cable.
Windows 10/11 and macOS will typically auto-install the drivers via Windows Update or built-in support, making the process nearly plug-and-play. However, be aware that many budget adapters use Realtek chipsets, which may occasionally require manual driver installation or have documented packet-drop issues in some Linux environments. If you plan to use this with pfSense or OPNsense, check the chipset compatibility first, Intel-based USB adapters are more stable but cost more.
Method 2: Use a Thunderbolt to Ethernet adapter (fastest external)
If your mini PC has a Thunderbolt 3/4 or USB4 port, a Thunderbolt-to-10GbE adapter offers the highest external bandwidth possible. This is ideal for network-intensive tasks like running a high-throughput firewall or transferring large files between VLANs. Simply plug the adapter into the Thunderbolt port, and the OS will recognize it as a standard network interface.
These adapters are pricier than USB 3.0 versions, but they deliver genuine 10-gigabit performance without opening your chassis. For most home router use cases, a 2.5G Thunderbolt adapter provides a sweet spot between cost and speed. Verify that your mini PC's Thunderbolt controller supports the adapter's chipset (typically Intel or Aquantia) for best driver compatibility.
Method 3: Install an internal M.2 or Mini PCIe NIC (advanced)
Warning: This method is model-specific and often unsupported by manufacturers. Many mini PCs are not designed for internal NIC expansion, so proceed only if you've verified your exact model has a compatible slot. Check your device's manual or teardown videos for an available M.2 2280 PCIe slot (B or M key) or a half-length Mini PCIe slot.
Older Intel NUCs (up to 4th gen) commonly had a half-length Mini PCIe slot that accepts a second Gigabit NIC. Newer NUCs with M.2 slots may work with M.2 Ethernet adapters in speeds from 1G to 10G, but you must confirm physical clearance, some heatsinks require at least 15mm of space above the slot. If you find a compatible slot, shut down the mini PC, disconnect power, and ground yourself before handling components.
Install the NIC firmly into the slot, secure it with the provided screw, and replace the case. Boot up and install the manufacturer's drivers. Note that some M.2-to-PCIe adapter configurations are explicitly "in no way a supported configuration" and only for engineering purposes, so if you're not prepared to troubleshoot, stick with external adapters.
Sub-step: Check for NUC-specific lid modules
Some Intel Tall NUC models support add-on lids like the "Intel NUC LID with RJ45 and USB 2.0 Port" which adds a 100Mb NIC and an extra USB port. These snap onto the top of the unit, are easy to install, and usually need no extra drivers. The 100Mb speed is a limitation, but for a dedicated management port on a firewall, it's often sufficient.
How to configure your dual NIC mini PC as a firewall
Once your second NIC is recognized by the OS, you'll need to assign one interface as WAN (connected to your modem) and the other as LAN (connected to your switch or access point). Enable DHCP server on the LAN side, then set up NAT and firewall rules to allow outbound traffic from LAN to WAN.
For a quick test after configuration, ping a public IP from the firewall's console and then from a client on the LAN. If you need to transfer files between two machines on the LAN, you can use this second NIC to create a dedicated high-speed link, just assign static IPs on both ends and use SMB or FTP. This setup also lets you isolate IoT devices or guest networks without buying a managed switch.
Remember to disable any Wi-Fi on the mini PC if you're using it strictly as a wired router, and ensure both NICs have proper DNS settings. For advanced setups, you can use the second NIC for network segmentation (separate VLANs) or link aggregation (if your switch supports it).
Most USB and Thunderbolt adapters are plug-and-play with Windows 10/11 and macOS, but for pfSense/OPNsense, verify the chipset is supported before purchasing. If you're using the mini PC as a home server, a second NIC lets you separate storage traffic from user traffic, useful when you want to transfer files from PC to PC using Ethernet cable without saturating your main network.
After configuring the second NIC, test both interfaces with a speed test tool like iPerf3 to confirm you're getting full bandwidth. Check that the link lights on the adapter are active and that the OS shows the interface as "up." If you encounter issues, try a different USB port or update the drivers manually.
For internal NICs, verify that the system BIOS recognizes the card before booting into the OS. If not, check for BIOS updates that might add support for the specific chipset. In rare cases, you may need to disable secure boot to allow unsigned drivers to load.
Once everything works, you'll have a powerful dual-NIC mini PC capable of handling gigabit routing, VPN termination, and network monitoring, all in a compact, energy-efficient package. The flexibility to choose between external and internal methods means you can always find a solution that fits your hardware and skill level.
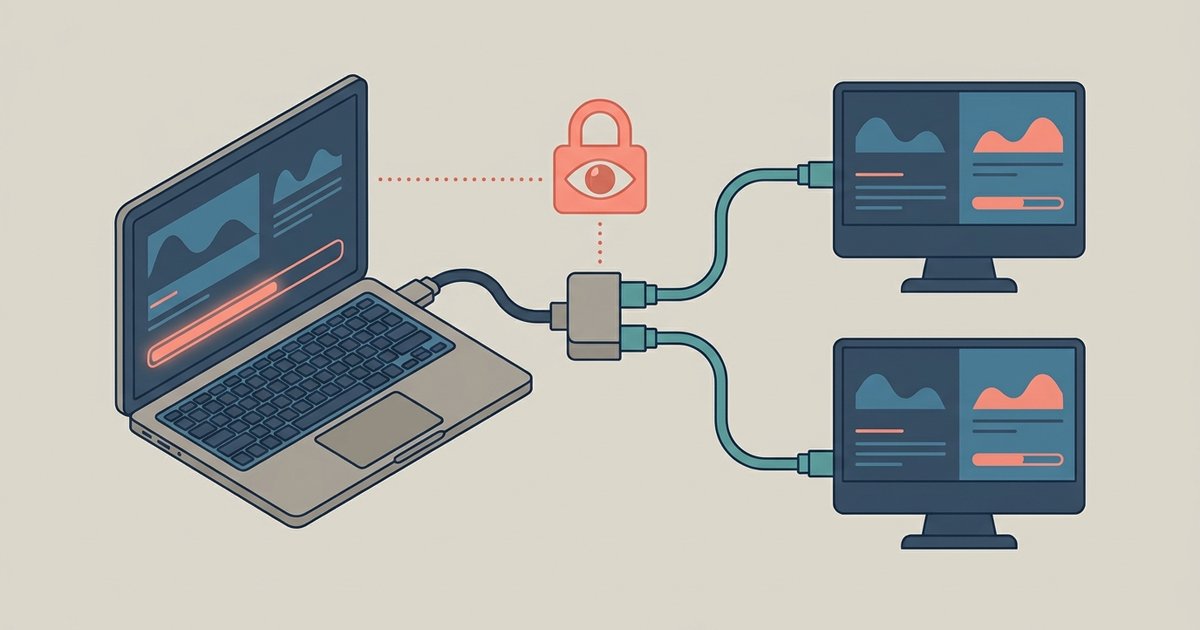
\nRelated reading: Can Lockdown Browser Detect A Second Monitor Or HDMI Splitter and Which New Balance Shoe Store Has A 3D Scanner For Feet.