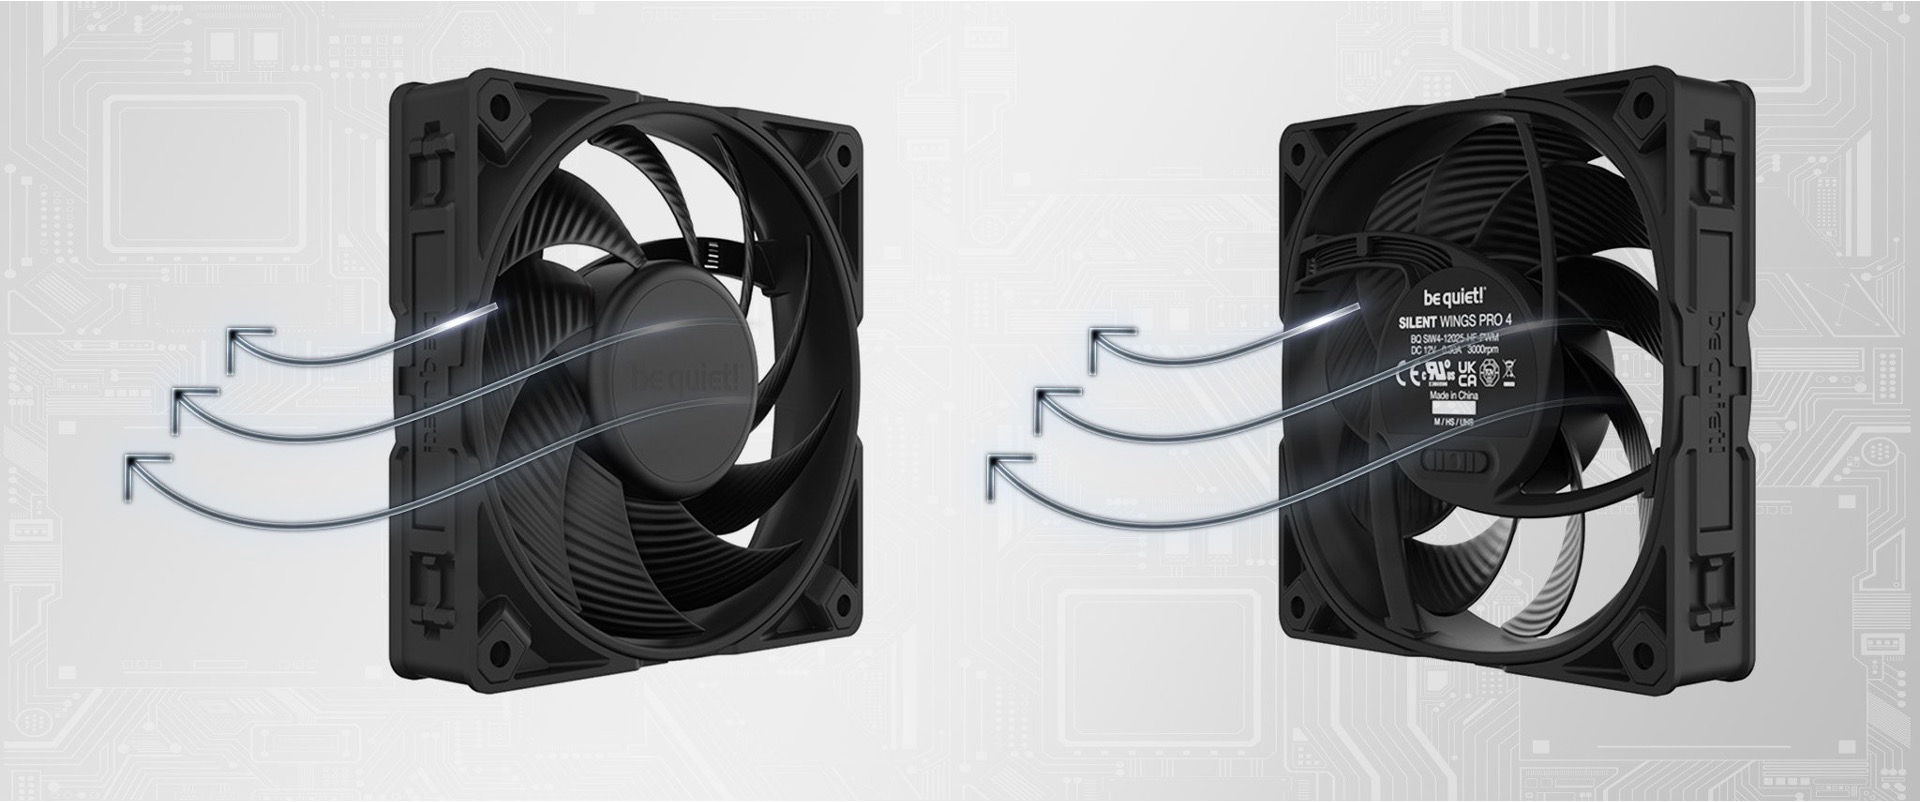
To remove rubber mount case fan, you need to pull the stretchy grommets through their mounting holes rather than unscrewing anything. The key is to work from the back of each grommet, stretching it thin so it slips through the chassis hole cleanly, and you can do this safely in a few minutes with no special tools beyond a screwdriver for the side panel.
Before you begin: Safety and tools
Shut down your PC completely and disconnect the power cord from the wall outlet or flip the PSU switch to off. This eliminates any risk of electrical shock or accidental fan spin while you work. The only tool you might need is a Phillips screwdriver to remove the side panel; rubber mounts require no screwdriver for the fan itself. If you have an anti-static wrist strap, wearing one is a good habit, but it is not required for this job.
Locate the rubber mounts and disconnect the fan cable
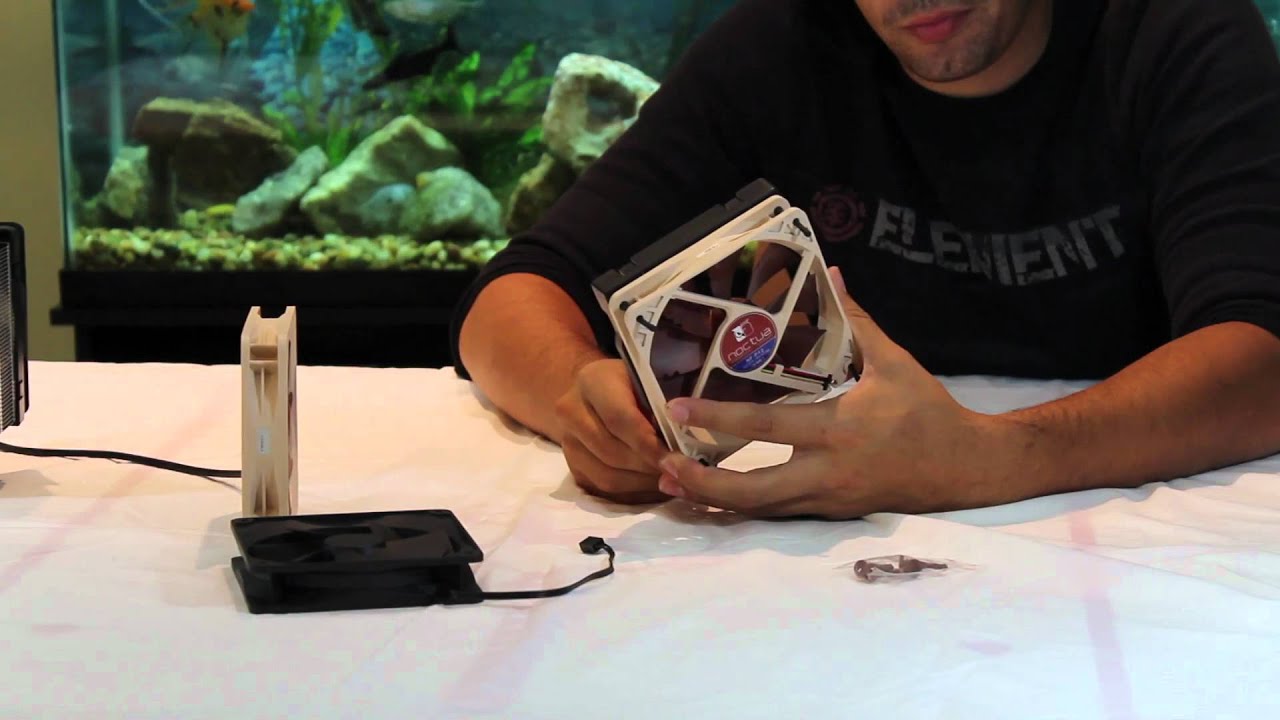
Open the case by removing the side panel that gives you access to the interior. Look at the corners of the case fan, you will see small, thick rubber grommets, usually four of them, pushed through holes in the chassis. Before touching the mounts, find the fan’s power cable and unplug it from the motherboard header. Gently pull the connector straight out; note its orientation so you can reconnect it later.
Pull the rubber grommets through the mounting holes
This is the core technique, and it works best if you go one corner at a time. Support the fan with one hand so it does not sag or pull on the remaining mounts. With your other hand, reach behind the chassis hole and grasp the back portion of the rubber grommet. Pull it away from the chassis slightly, this stretches the rubber thinner, making it easier to slide through the hole. Once the grommet is stretched, pull the fan toward the chassis opening while guiding the grommet through the hole from the back. Repeat this for each of the four rubber grommets until all are free.
- Support the fan with one hand to keep it stable.
- Reach behind the chassis and pinch the back of the first grommet.
- Pull the grommet away from the chassis to stretch it thin.
- Slide the stretched grommet through the hole while guiding the fan.
- Move to the next corner and repeat until all four mounts are out.
If a grommet feels stubborn, wiggle it slightly while pulling, do not yank, as the rubber can tear. The goal is to stretch, not force.
Lift the fan out and clean if needed
With all four grommets free, lift the fan straight up and out of the case. This is a good moment to inspect the fan blades and the surrounding area. Use compressed air in short bursts to blow dust off the blades and out of the motor housing. For sticky residue on the blades, a soft cloth lightly dampened with isopropyl alcohol works well, just let everything dry completely before reinstalling. Wipe down the chassis area around the mounting holes too, but avoid getting moisture near any connectors.
Reinstall or replace the fan
To put the fan back, reverse the removal process. Align the fan over the four chassis holes, then push each rubber grommet through from the front side. Stretch the grommet from the back and pull it through until the lip seats flush against the chassis. Once all four grommets are seated, reconnect the fan cable to the same motherboard header you unplugged earlier. If you are replacing the fan with a new one, use the new grommets that came with it or reuse the old ones if they are still pliable and free of cracks. After reconnecting power, boot the system and confirm the fan spins smoothly without wobble or excessive noise.
\nRelated reading: CPU Case Fan: How To Reverse Flow Direction, How To Remove Server Rack Rails, and Why My Tempered Glass Screen Protector Doesn't Fit Even With The Right Screen Size.