Introduction
Welcome to the exciting world of 3D printing! One of the fascinating aspects of this technology is the ability to create objects in vibrant and intricate colors. With a little know-how and the right tools, you can easily change the color of your 3D prints to bring your designs to life. In this article, we will walk you through the process of changing colors on a 3D printer, from choosing the right filament to mixing colors for unique effects.
Changing the color of your 3D prints can add a whole new dimension to your creations. Whether you’re working on a functional prototype or an artistic masterpiece, the ability to switch colors seamlessly allows you to experiment and personalize your designs.
Before we dive into the details, it’s important to note that the process may vary slightly depending on the type and model of your 3D printer. However, the fundamentals we discuss here will apply to most standard 3D printers.
In the next sections, we will guide you through the necessary steps to change colors on a 3D printer. We’ll cover everything from selecting the right filament to preparing your printer for color changes. We’ll also explore techniques for mixing colors to create custom shades and patterns. So let’s roll up our sleeves and get ready to bring your 3D prints to life with vibrant and eye-catching colors!
Choosing the Right Filament
When it comes to changing colors on a 3D printer, one of the most important factors to consider is the filament you use. Filament refers to the material that is melted and extruded through the nozzle of the 3D printer to create the actual printed object. There are various types of filaments available, each with its own unique properties and color options.
The most common filaments used in 3D printing are PLA (Polylactic Acid) and ABS (Acrylonitrile Butadiene Styrene). PLA is a biodegradable and environmentally friendly filament that comes in a wide range of colors. It is easy to print with, and its vibrant colors and glossy finish make it a popular choice for artistic and decorative prints.
On the other hand, ABS is a more durable and heat-resistant filament but can be challenging to print with due to its higher printing temperature. ABS also offers a wide range of color choices and is commonly used for functional prototypes and mechanical parts.
Aside from PLA and ABS, there are other specialty filaments such as PETG, TPU, and nylon, each with its own unique properties and color options. PETG is known for its strength and flexibility, making it suitable for functional parts. TPU is a flexible filament, ideal for producing objects like phone cases or shoe soles. Nylon is a strong and durable material often used for industrial applications.
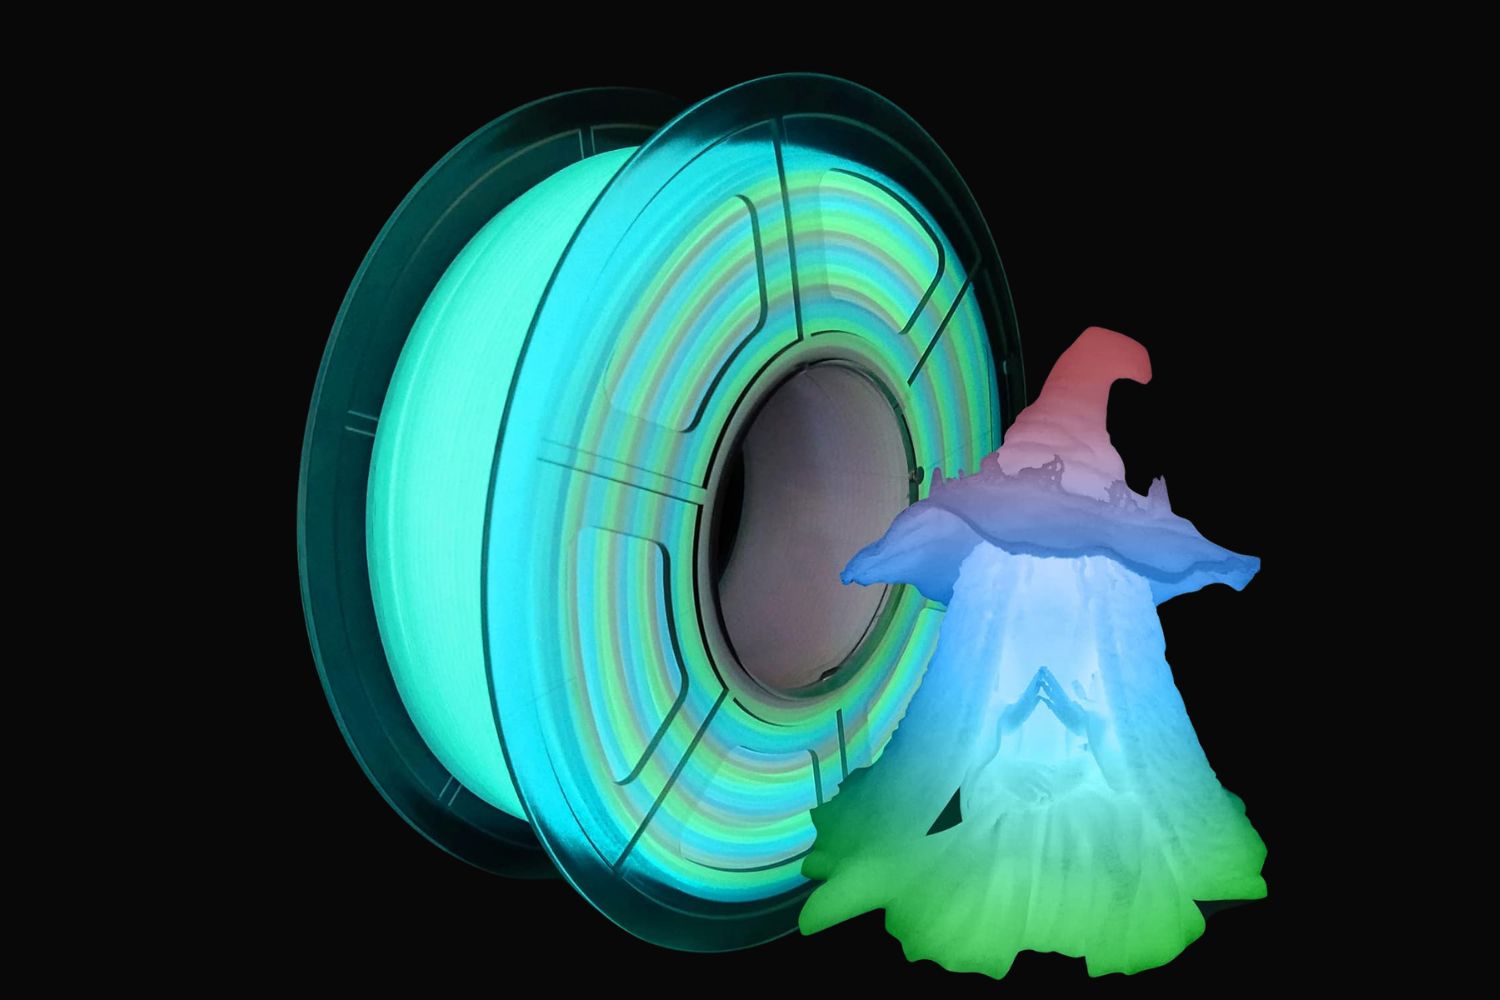
When choosing a filament, consider the characteristics required for your print, such as strength, flexibility, or thermal resistance. Additionally, think about the desired color or finish you want to achieve. Some filaments come in solid colors, while others offer transparent or translucent options for creating more visually appealing prints.
It’s also worth mentioning that some manufacturers offer specialty filaments with unique color-changing properties. These filaments are often sensitive to temperature or UV light, causing them to change color when exposed to certain conditions. While these specialty filaments can add an extra layer of excitement to your 3D prints, they may require specific printing parameters and post-processing techniques.
Take the time to explore the various filament options available and experiment with different colors and materials. The right filament choice can make a significant impact on the final appearance of your 3D prints. So select wisely to achieve the results you desire!
Preparing Your Printer
Before you can start changing colors on your 3D printer, it’s essential to ensure that your printer is properly prepared. This involves a few steps to guarantee smooth color transitions and prevent any issues during the printing process.
The first step is to ensure that your printer is calibrated correctly. Calibration ensures that the nozzle is at the appropriate height from the print bed, allowing for accurate filament deposition. Proper calibration minimizes potential issues such as uneven layers or adhesion problems.
Next, you’ll want to clean your print bed thoroughly. Any residue or debris on the print bed can interfere with the adhesion of the new color, resulting in poor print quality or even failed prints. Use isopropyl alcohol or a similar cleaning agent to wipe the print bed clean before each color change.
Additionally, make sure to remove any excess filament from the nozzle before starting a new print. This ensures that there are no remnants of the previous color that may mix with the new filament, causing unwanted color variations. Use the “purge” function in your 3D printer software to extrude a small amount of filament until the new color appears clean and consistent.
Another crucial step is to check the print settings in your slicing software. Adjust the temperature, speed, and layer height based on the requirements of the new filament color. Different colors may require slight variations in these settings to achieve optimal results.
If you are changing colors mid-print, consider using a “pause at height” or “pause at layer” feature in your slicing software. This allows you to manually change the filament at a specific point in the print, ensuring that the color transition is smooth and seamless.
Lastly, it’s always a good practice to have spare nozzles and cleaning tools on hand. Occasionally, during color changes, there may be small remnants of the previous color left in the nozzle. Having spare nozzles allows you to easily swap them out for clean ones, ensuring clean color transitions. Cleaning tools such as needle files or small brushes can also be used to clean the nozzle thoroughly.
By properly preparing your 3D printer for color changes, you can minimize any potential issues and achieve consistent and professional-looking prints. Remember to double-check your calibration, clean the print bed, check the print settings, and have spare nozzles and cleaning tools available. With these preparations in place, you are ready to dive into the exciting process of changing colors on your 3D printer!
Changing Filaments
Now that your printer is prepared, it’s time to learn how to change filaments and transition to a new color. The process of changing filaments will vary slightly depending on the type of 3D printer you have, but the following steps will give you a general idea of the procedure.
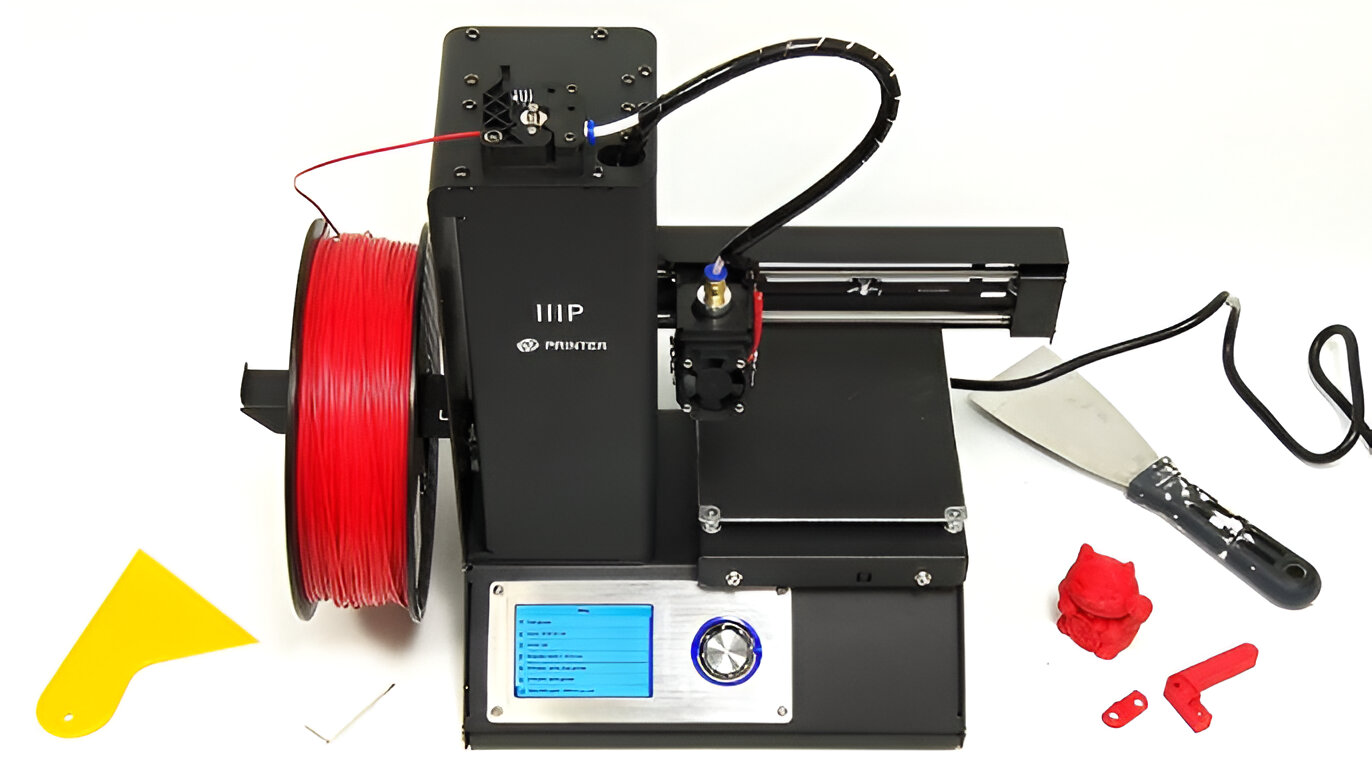
The first step is to unload the current filament from the printer. Most printers have an option in the menu or control panel to heat the nozzle. Once the nozzle is heated to the appropriate temperature for the filament being used, you can manually push the filament until it comes out of the extruder. Be sure to have a spool or container ready to catch the filament as it’s being removed.
Once the previous filament is removed, it’s time to load the new filament. Cut the end of the new filament at an angle to facilitate feeding it into the printer. Feed the filament through the filament guide tube or the extruder until it reaches the nozzle. It’s essential to ensure that the filament is properly inserted and reaches all the way down to the nozzle to ensure a smooth extrusion.
Next, follow the instructions specific to your printer to correctly load the filament. This may involve using the printer’s control panel to start the loading process, which will typically require the filament to be fed into the extruder until it starts to extrude smoothly.
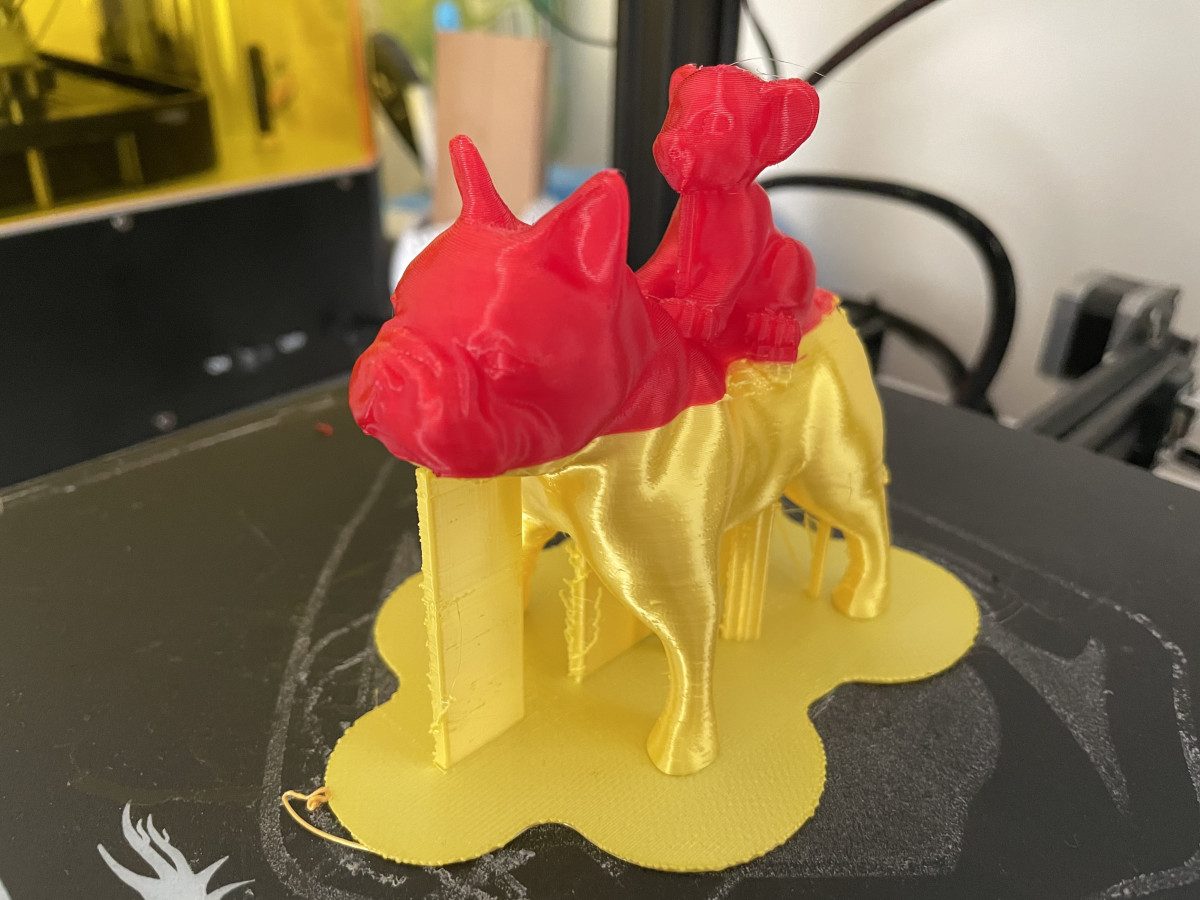
During the filament change, you may experience a brief period of mixed colors as the old color is flushed out and the new one takes over. This is normal and can usually be minimized by purging a few centimeters of filament before starting your print.
Once the new filament is securely loaded and extruding properly, your printer is ready to start printing with the new color. Make sure to monitor the initial layers of your print to ensure that the color transition is smooth and consistent.
Some advanced printers offer filament sensors, which can automatically pause the print when the filament runs out or needs to be changed. This feature is especially useful for long prints or when using larger spools of filament.
Remember to store your unused filaments in a cool and dry place to maintain their quality over time. Moisture or exposure to heat can affect the quality and performance of the filaments.
Changing filaments and transitioning to a new color on your 3D printer opens up a world of possibilities for creativity and customization. With practice and experience, you’ll become proficient in the process, allowing you to efficiently switch colors and bring your 3D prints to life!
Mixing Colors
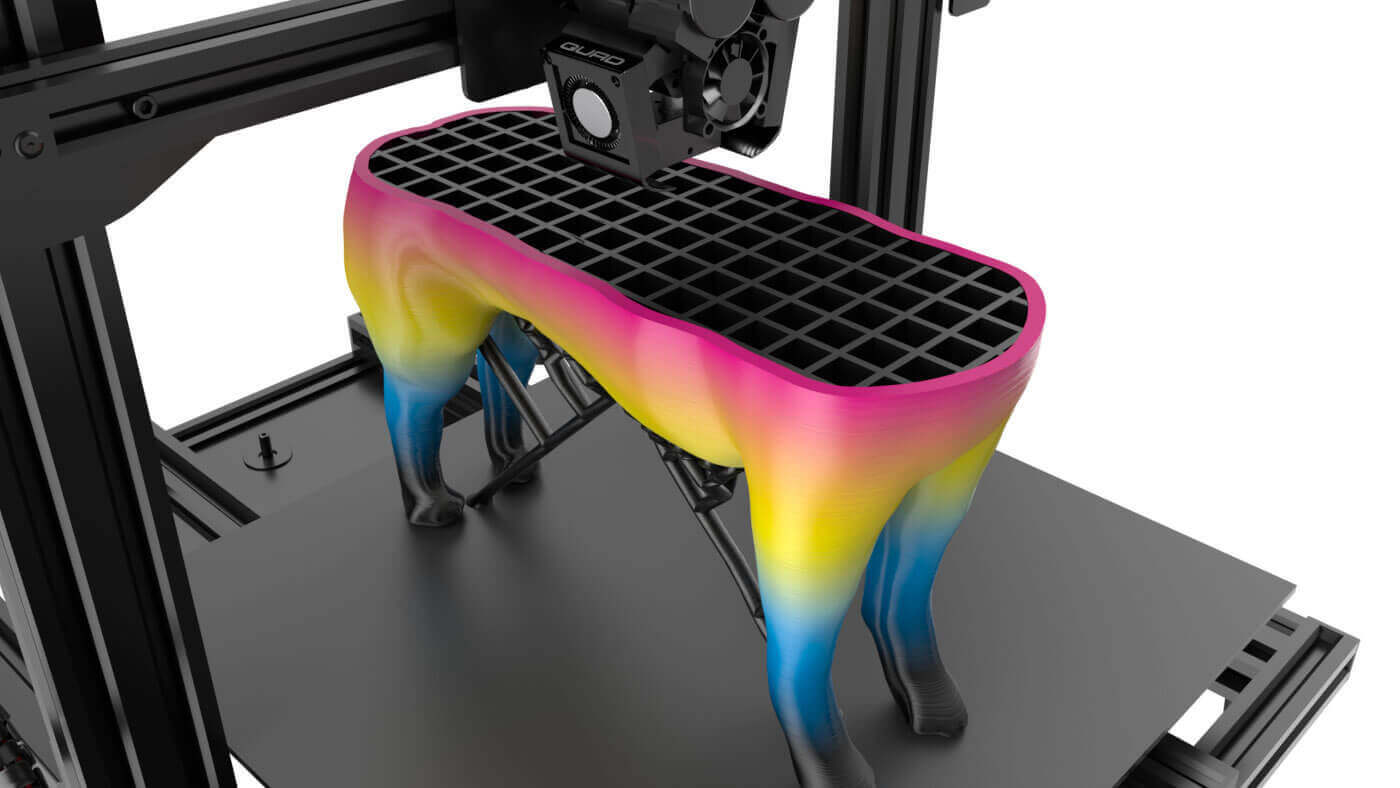
While changing filaments allows for a straightforward transition between colors, you can take your 3D prints to the next level by mixing colors. Mixing colors on a 3D printer opens up a whole new realm of creativity, enabling you to achieve unique shades, gradients, and even patterns.
One way to mix colors is by using a technique known as gradient printing. In this method, you gradually transition between two or more filaments to create a smooth color gradient. To achieve this effect, you’ll need to use a slicer software that supports color blending or layer-by-layer filament changes. By adjusting the color percentages for each layer, you can create visually stunning prints with seamlessly blended colors.
Another technique for mixing colors is by manually combining different filaments before feeding them into the printer. This technique works best with PLA filaments, as they have a lower melting temperature and are easier to blend. Start by cutting small pieces of different colored filaments and placing them together in a random or organized pattern. Once you have a bundle of combined filaments, feed them into the extruder and proceed with printing as usual. The extruder will melt and fuse the filaments together, resulting in a multi-colored print.
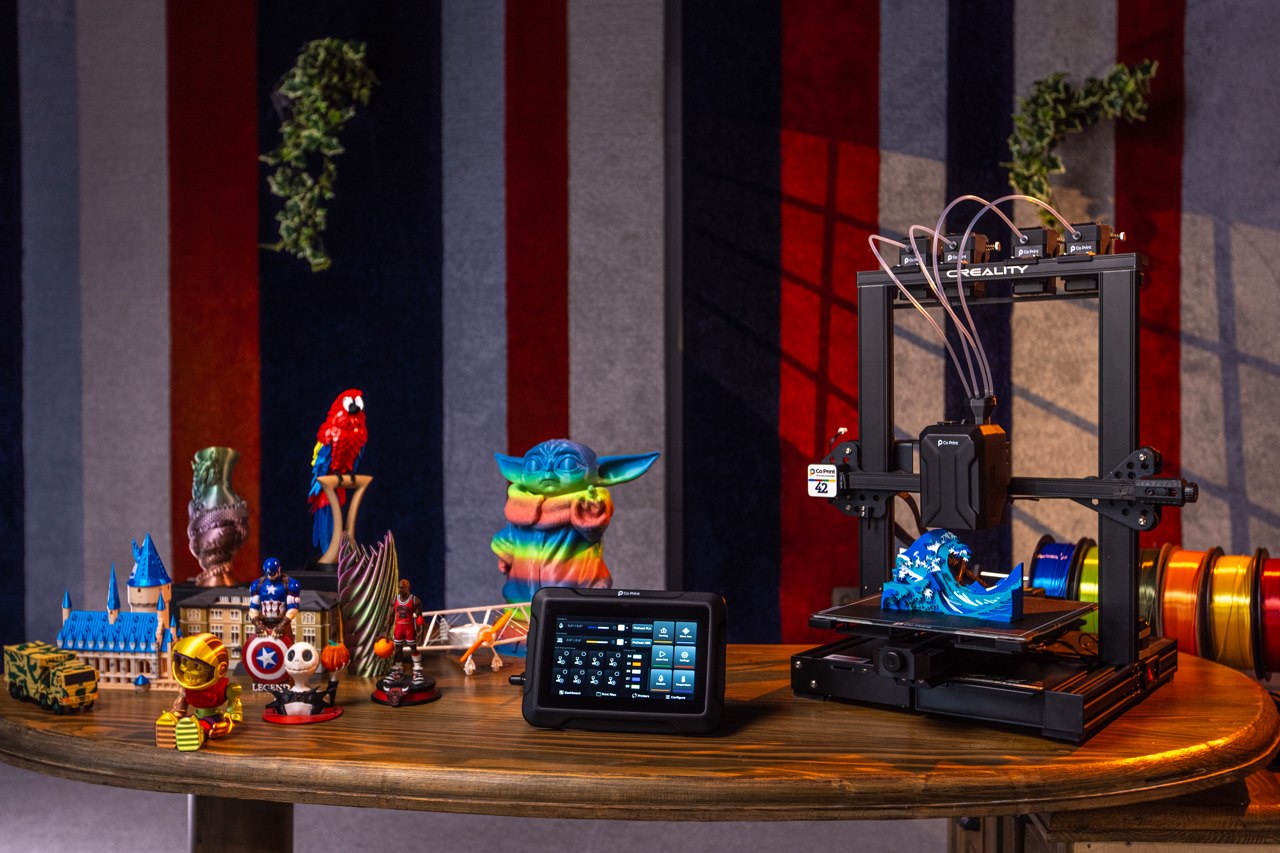
If you want to create more intricate patterns or color variations within your print, you can consider using multi-extruder printers. These printers have multiple extruders, each capable of printing with a different color or filament type simultaneously. With multi-extruder printers, you can achieve precise and complex color patterns, allowing for extraordinary detail and visual appeal.
Experimentation is key when it comes to mixing colors. Play around with different combinations, percentages, and patterns to discover the effects you desire. Keep in mind that the overall effect will depend on the colors used, the layer thickness, and the specific filament characteristics.
It’s essential to note that when mixing filaments, it’s crucial to ensure that the filaments used have similar properties and melt temperatures. Mixing incompatible filaments can lead to clogs, poor adhesion, or other printing issues.
By exploring various color mixing techniques, you can take your 3D prints to the next level of customization and artistry. From smooth gradients to intricate patterns, the possibilities are truly endless. So unleash your creativity and experiment with color mixing to create captivating and one-of-a-kind prints!
Tips and Tricks
When it comes to changing colors on a 3D printer, there are a few tips and tricks that can help you achieve better results and make the process smoother. Here are some valuable insights to keep in mind:
- Plan your color changes: Before starting a print, visualize the color changes you want to make. Consider where you want the transition points to be and plan the layer heights or specific points in the print where you will change the filament.
- Use transition towers: For more complex color changes or multicolor prints, you can design transition towers. These towers have multiple filament inputs and help to purge and transition filaments cleanly before moving on to the next color.
- Test print and document settings: When working on projects that involve color changes, it’s always a good idea to perform test prints to fine-tune your settings and ensure the colors transition smoothly. Keep a record of successful print settings for different filaments and color combinations for future reference.
- Consider using a prime tower or ooze shield: To minimize any unwanted color mixing or filament residue, utilize features such as a prime tower or ooze shield. These structures help to establish a clean extrusion path while preventing contamination between color transitions.
- Experiment with temperature and speed: Temperature and print speed can affect the appearance and adhesion of different colored filaments. Take the time to experiment with these settings to achieve the desired results. Keep in mind that different colors might require slightly different temperatures to ensure optimal print quality.
- Manage filament waste: Changing colors often results in leftover filament that can no longer be used for printing. Save and label these remnants, as some smaller projects may still have use for them. Additionally, consider recycling or repurposing the unused filament scraps.
- Clean and maintain your printer: Regularly clean your printer to prevent any clogs or issues caused by stray filament strands or debris. Pay attention to the nozzle and ensure it is free from any remnants of previous colors before starting a new print.
- Observe the printing process: When initiating a color change, closely monitor the first few layers to ensure that the transition is going smoothly. This will allow you to catch any issues early on and make necessary adjustments if needed.
Remember, practice makes perfect! Don’t be afraid to experiment and try new techniques to achieve the desired color effects. Over time, you’ll become more comfortable and adept at changing colors on your 3D printer, opening up a world of creative possibilities for your prints.
Conclusion
Changing colors on a 3D printer is an exciting and creative process that allows you to add depth and personality to your prints. By understanding the fundamentals of filament selection, printer preparation, color mixing, and utilizing useful tips and tricks, you can achieve stunning and unique results.
Choosing the right filament is essential in achieving the desired color and finish for your prints. Consider the properties of different filaments, such as PLA or ABS, as well as specialty filaments with unique color-changing capabilities.
Properly preparing your printer is crucial for smooth color transitions. Calibrating your printer, cleaning the print bed, and checking the print settings ensure optimal print quality and prevent issues during color changes.
While changing filaments allows for straightforward color transitions, exploring color mixing techniques opens up endless possibilities. Gradient printing, manually combining filaments, or utilizing multi-extruder printers are effective ways to achieve beautiful, multi-colored prints.
By following the tips and tricks, such as planning color changes, using transition towers, and experimenting with temperature and speed settings, you can enhance the quality and precision of your color prints.
Remember to be patient and practice to master the art of changing colors on your 3D printer. With time and experience, you will develop your techniques and discover unique ways to bring your 3D designs to life.
So, embrace your creativity, have fun, and let the colors flow as you dive into the colorful world of 3D printing!