Introduction
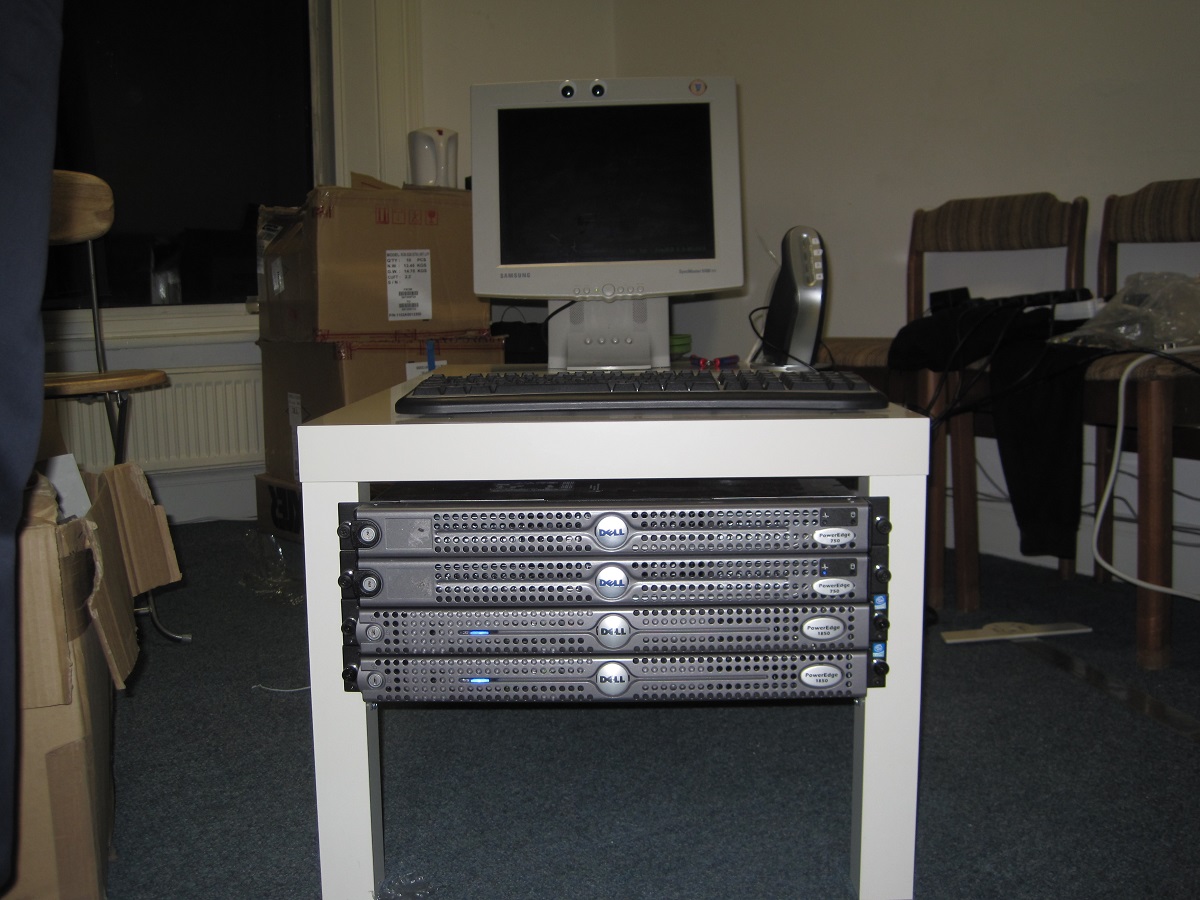
Welcome to this step-by-step guide on how to remove server rack rails. Whether you’re upgrading your servers, reconfiguring your rack setup, or performing maintenance, knowing how to properly remove server rack rails is essential. Rack rails are the metal sliding brackets that hold your servers securely in place within the rack. By following these instructions, you’ll be able to safely and efficiently remove the server rack rails, allowing you to access and work on your server effectively.
Before we begin, it’s important to note that server rack configurations can vary, so the specific steps may differ slightly depending on your setup. However, this guide will provide you with a general overview that should apply to most server rack systems.
Removing server rack rails requires some basic tools and materials to ensure a smooth process. Make sure you have the following items on hand:
- Screwdriver (compatible with the mounting screws)
- Anti-static wrist strap (optional but highly recommended)
- Clear workspace with ample room to maneuver
Now that you have the necessary tools, let’s get started on removing those server rack rails!
Tools and Materials Needed
Before you begin removing server rack rails, it’s important to gather the necessary tools and materials to ensure a smooth and effective process. Here’s what you’ll need:
- Screwdriver: You’ll need a screwdriver that is compatible with the mounting screws used to secure the server rack rails. The specific type of screwdriver will depend on your rack system, so make sure to have the appropriate size and type on hand.
- Anti-static wrist strap: While optional, it is highly recommended to wear an anti-static wrist strap during the removal process. This will help to protect the sensitive electronic components of the server from potential damage caused by static electricity.
- Clear workspace: Ensure you have a clear and open workspace with enough room to maneuver around the rack. This will make the removal process easier and safer.
By having these tools and materials ready, you’ll be well-equipped to carry out the server rack rail removal successfully. So, gather all the necessary items, and let’s move on to the next steps!
Step 1: Prepare Your Workspace
Before removing the server rack rails, it’s important to properly prepare your workspace. This will ensure that you have enough space to work comfortably and safely. Follow these steps to prepare your workspace:
- Clear the area around the server rack: Remove any obstacles or clutter that may hinder your movements. This includes cables, tools, and other items that could potentially get in the way.
- Ensure proper lighting: Adequate lighting is crucial for you to see and navigate around the rack effectively. Make sure you have sufficient lighting in the area before you begin.
- Secure the server rack: If possible, lock the wheels or stabilizers of the server rack to prevent any accidental movement or tipping during the removal process. This will ensure a stable and secure work environment.
- Wear appropriate safety gear: It’s recommended to wear protective gloves to protect your hands from potential injuries. Additionally, if you’re working in a dusty environment, consider wearing a dust mask to prevent inhalation of particles.
By taking the time to prepare your workspace properly, you’ll create a safer and more organized environment for removing the server rack rails. This will help you carry out the task more efficiently and reduce the risk of accidental damage to the equipment or injury to yourself. Once your workspace is ready, you can move on to the next step.
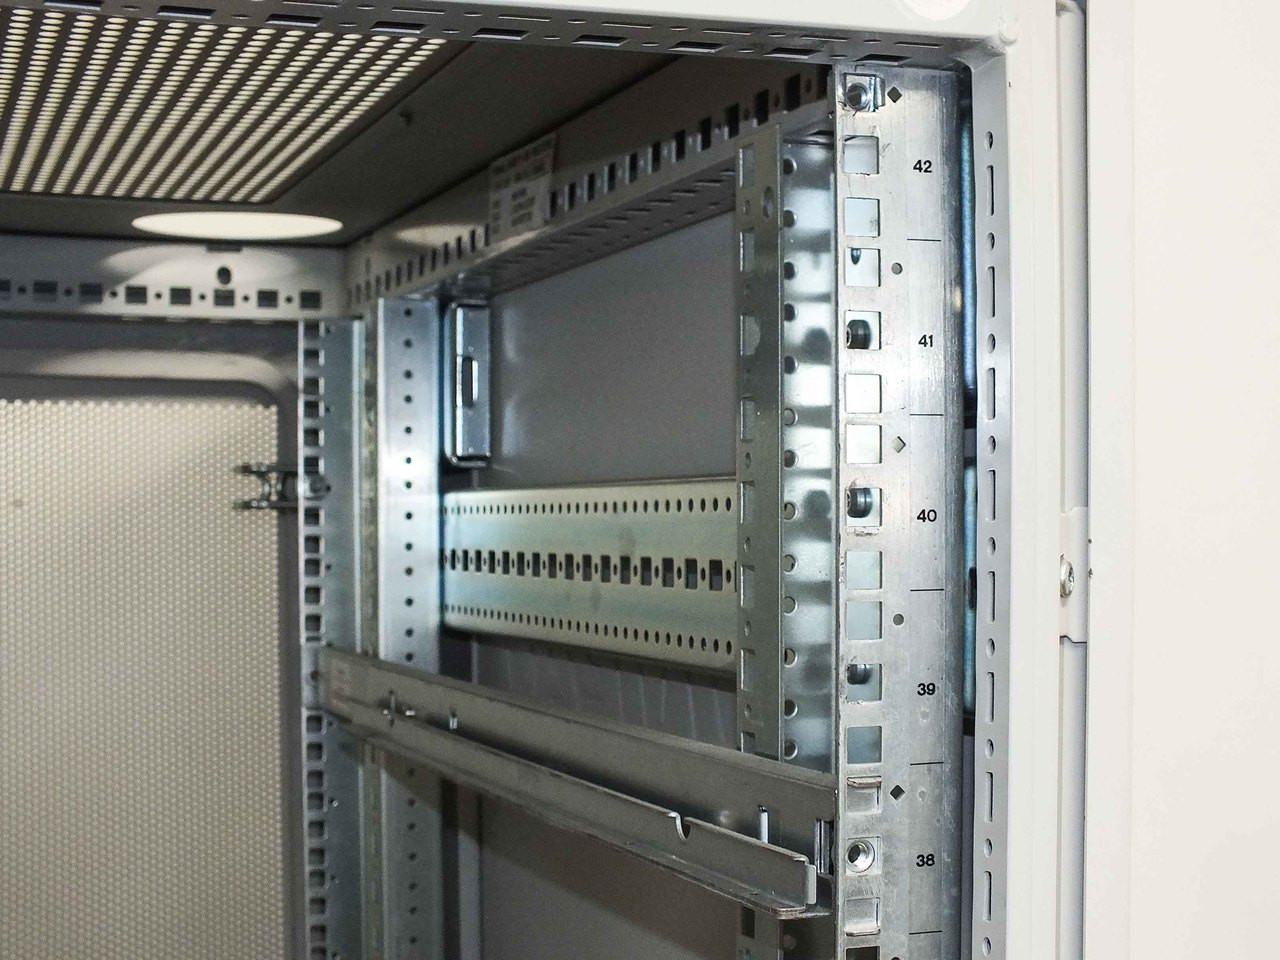
Step 2: Locate the Mounting Screws
Once your workspace is prepared, it’s time to locate the mounting screws that secure the server rack rails in place. These screws attach the rails to both the rack and the server itself. Here’s how you can locate the mounting screws:
- Inspect the sides of the server: Look for any visible screws or fasteners that connect the server to the rack rails. These screws are typically located on the outer edges of the server.
- Check the front and back of the server: Some server models may have mounting screws on the front or back panels. Carefully examine these areas to identify any screws that secure the server to the rack rails.
- Refer to the server documentation: If you’re having trouble finding the mounting screws, consult the server’s user manual or documentation. These resources often provide detailed diagrams and instructions on the location of the screws.
It’s important to locate and identify all the mounting screws before proceeding. This will ensure that you remove the server rack rails correctly, without causing any damage to the equipment. Once you have located the mounting screws, you can move on to the next step of removing the server from the rack.
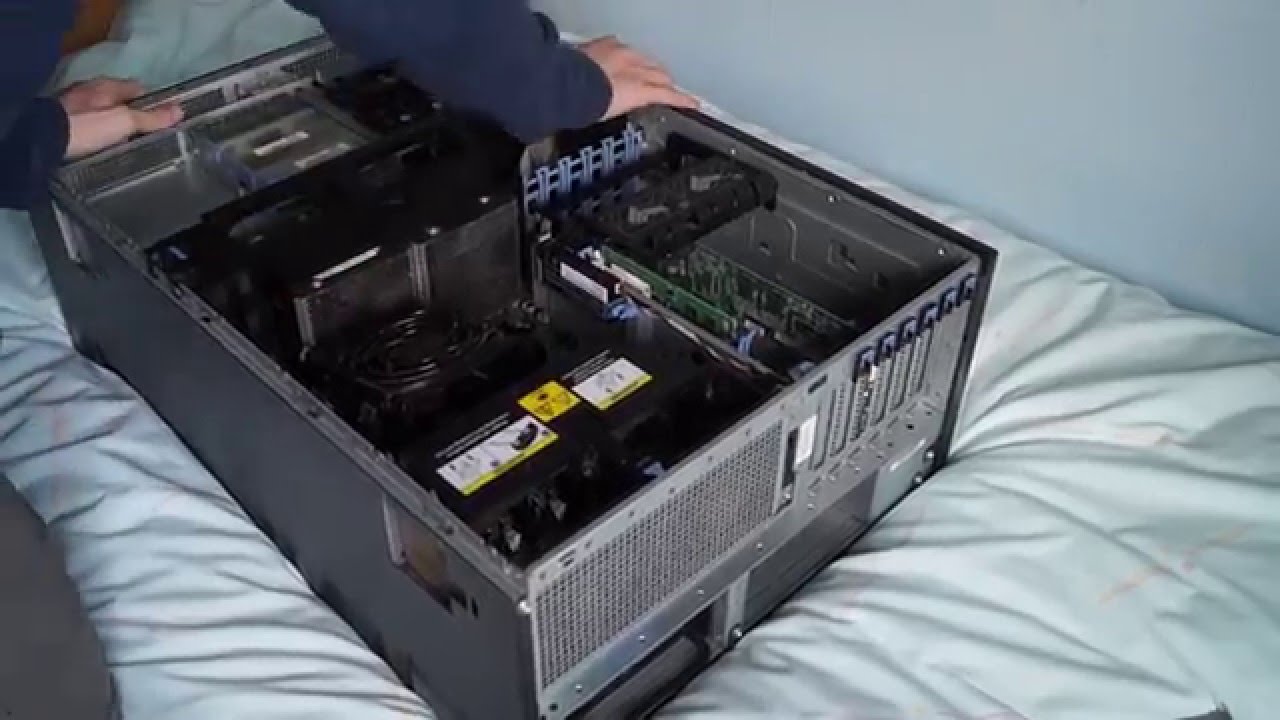
Step 3: Remove the Server from the Rack
With the mounting screws located, it’s time to remove the server from the rack. This step involves disconnecting any cables and carefully sliding the server out of the rack. Follow these instructions to safely remove the server:
- Power down the server: Before handling any cables or removing the server, ensure that it is powered off properly. This will prevent any accidental damage to the equipment or data loss.
- Disconnect cables: Carefully disconnect all cables connected to the server. This includes power cables, network cables, and any peripheral connections.
- Label cables (optional): If there are multiple cables connected to the server, it’s a good practice to label them or take photos for easy reconnection later on.
- Release the server’s retaining clips: Some server racks have retaining clips or latches that hold the server in place. Locate these clips and release them to free the server.
- Slide the server out: Grasp the server firmly and gently slide it out of the rack, using both hands to support its weight. Be cautious and do not force the server out if it feels stuck; check for any additional screws or fasteners that may need to be removed.
By following these steps, you can safely remove the server from the rack without causing any damage to the equipment or yourself. Remember to handle the server with care, as it may be heavy or contain delicate components. Once the server has been successfully removed, you can proceed to the next step of unscrewing the rail brackets.
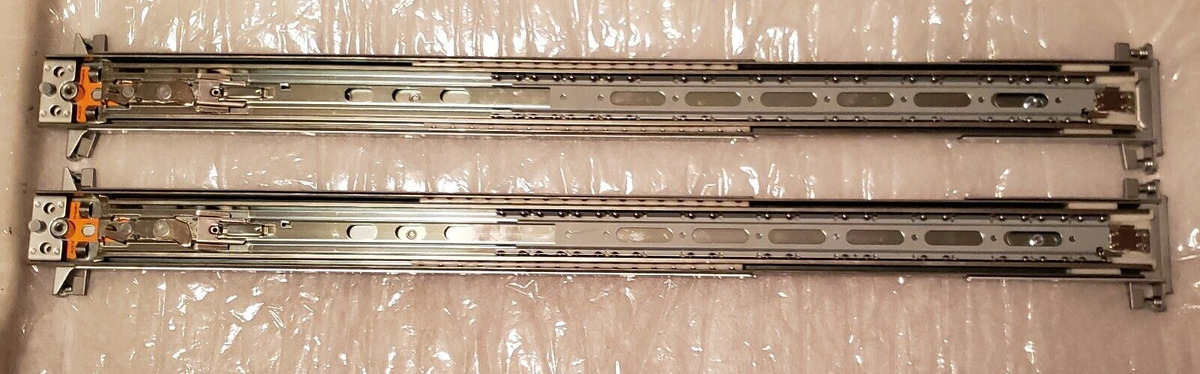
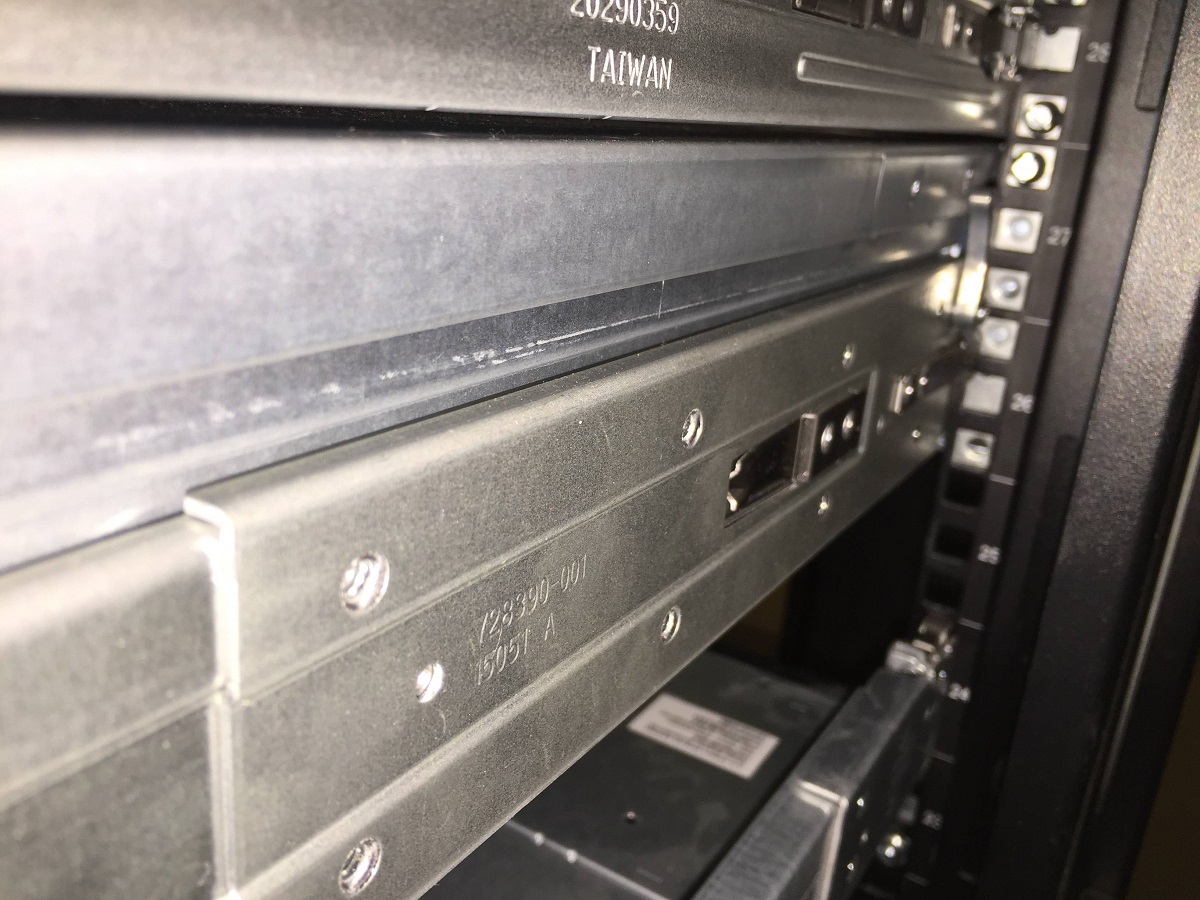
Step 4: Unscrew the Rail Brackets
Now that the server has been removed from the rack, it’s time to focus on unscrewing the rail brackets. These brackets are typically attached to both the server and the rack to provide stability and support. Follow these steps to remove the rail brackets:
- Locate the screws securing the rail brackets to the server: Inspect the rail brackets and identify the screws that secure them to the server. These screws are usually located near the front or back of the brackets.
- Using the appropriate screwdriver, carefully unscrew the mounting screws: Ensure that you have a firm grip on the screwdriver and apply steady pressure in a counterclockwise direction to loosen and remove the screws.
- Set aside the screws in a safe place: As you remove the screws, place them in a small container or bag to keep them organized and prevent loss.
- Repeat the process for all rail brackets: Depending on the rack configuration, there may be multiple rail brackets to remove. Repeat the above steps for each bracket until all are detached from the server.
It’s important to take your time and be cautious when unscrewing the rail brackets. Make sure to avoid overtightening or stripping the screws, as this could cause difficulty when reattaching the brackets. By following these steps, you will successfully remove the rail brackets from the server.
Step 5: Detach the Rail Brackets from the Server
With the rail brackets unscrewed, it’s time to detach them from the server. These brackets are typically designed to slide out or have release mechanisms. Follow these steps to detach the rail brackets from the server:
- Check for any locking mechanisms: Some rail brackets may have locking mechanisms to secure them in place. If present, locate and release these locks to free the brackets.
- Slide or release the rail brackets: Depending on the design of the rail brackets, gently slide them outwards or use any release levers or buttons to detach them from the server.
- Set aside the rail brackets in a safe place: Once detached, carefully place the rail brackets in a secure location to prevent them from getting damaged or misplaced.
- Inspect the server: Take a moment to inspect the server for any remaining screws, brackets, or cables that might still be attached. Remove any remaining components as necessary.
It’s important to handle the rail brackets and server with care during this step. Be mindful of delicate components and ensure a smooth removal process. Once the rail brackets have been successfully detached from the server, you can move on to the next step of removing them from the rack.
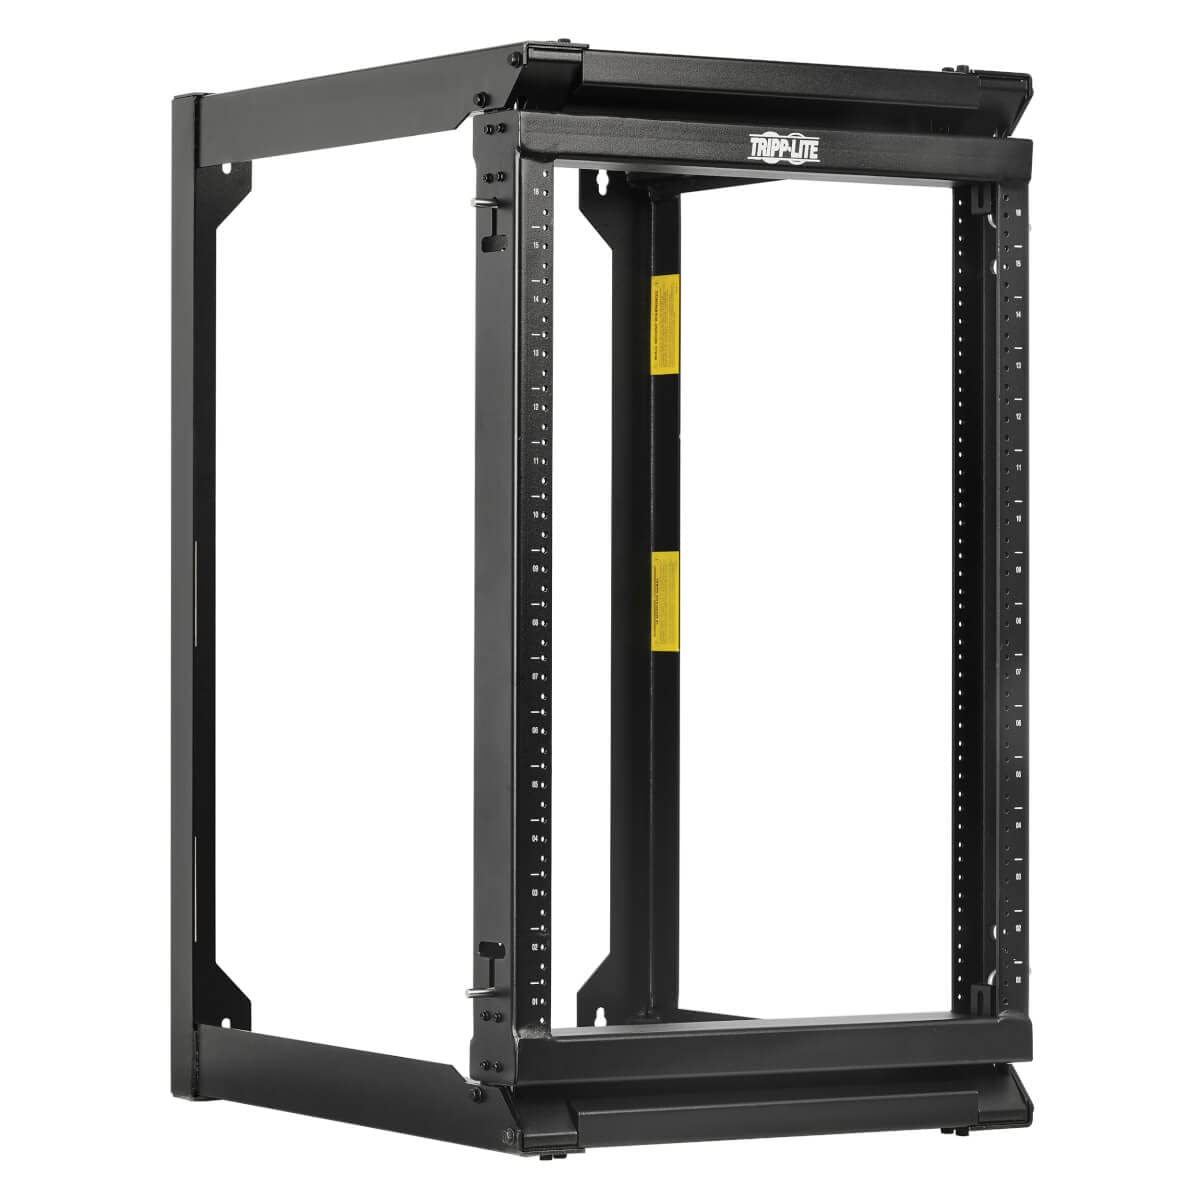
Step 6: Remove the Rail Brackets from the Rack
Now that the rail brackets are detached from the server, it’s time to remove them from the rack. This step will involve unscrewing the brackets from the rack itself. Follow these instructions to remove the rail brackets:
- Identify the screws securing the rail brackets to the rack: Look for the screws or fasteners that attach the rail brackets to the rack. These screws are typically located on both the front and back of the rack.
- Using your screwdriver, carefully unscrew the mounting screws: Turn the screwdriver counterclockwise to loosen and remove the screws. Make sure to support the weight of the rail brackets as you remove the last few screws to prevent them from falling or causing damage.
- Set aside the screws in a safe place: As you remove the screws, keep them organized and secure in a container or bag. This will ensure that they are easily accessible when you need to reattach the rail brackets later.
- Place the rail brackets aside: Once the mounting screws are removed, gently set the rail brackets aside, making sure not to place them in a location where they can be easily bumped or damaged.
Throughout this process, it’s important to take your time and be cautious when unscrewing the rail brackets. Ensure that the brackets are properly supported to prevent any accidents or damage to the rack or other equipment. Once the rail brackets have been safely removed from the rack, you can move on to the next step if needed.
Step 7: Re-Attach the Rail Brackets (Optional)
After removing the rail brackets from the rack, you may need to re-attach them at a later time. This step is optional and depends on your specific needs or if you plan on reinstalling the server in the same rack. Follow these steps to re-attach the rail brackets:
- Align the rail brackets with the rack holes: Position the rail brackets in the appropriate location on the rack, ensuring alignment with the holes or mounting points.
- Insert the mounting screws: Insert the screws into the holes on the rack and tighten them using a screwdriver. Be careful not to overtighten the screws, as this can damage the rack or brackets.
- Double-check the stability: Once the screws are tightened, gently test the stability of the rail brackets. Ensure that they are securely attached to the rack and can safely support the weight of the server.
Re-attaching the rail brackets is optional and should only be done if necessary. Make sure that the rail brackets are properly aligned and securely attached to the rack before considering the process complete. If you don’t need to re-attach the rail brackets, you can conclude the removal process at this step.
Conclusion
Congratulations! You have successfully learned how to remove server rack rails. By following the step-by-step instructions outlined in this guide, you can safely and efficiently remove the server rack rails to access and work on your server as needed.
Remember, it’s important to always prepare your workspace before starting the removal process. Clear the area, ensure proper lighting, and secure the server rack to create a safe and organized working environment.
Identifying and locating the mounting screws is crucial for the removal process. Take your time to locate the screws that secure the rail brackets to the server and the rack. Carefully unscrew and detach the rail brackets from both the server and the rack. If necessary, you can re-attach the rail brackets to the rack following the instructions provided.
Throughout the entire process, it’s important to handle the server, rail brackets, and associated components with care. Take precautionary measures to avoid any accidental damage or injury.
Now that you have successfully removed the server rack rails, you can proceed with your server maintenance, upgrades, or re-configuration. Follow the manufacturer’s guidelines and instructions for any further steps you plan to undertake.
Remember, if you’re ever unsure or uncomfortable with any part of the process, it’s always best to consult a professional or contact the manufacturer for guidance.
Thank you for following this guide. We hope you found it helpful and that it assists you in your server maintenance endeavors.