Introduction
A hard drive server rack bay is an essential component in any server infrastructure. It provides a secure and organized space for housing multiple hard drives, allowing for efficient data storage and retrieval. Whether you’re setting up a small home server or a large-scale data center, choosing the right rack bay and properly configuring it is crucial for optimal performance and reliability.
In this guide, we’ll explore the process of setting up a hard drive server rack bay from start to finish. We’ll cover everything from selecting the right rack bay to configuring it for seamless operation. By following these steps, you’ll be well on your way to creating a robust storage solution that meets your specific needs.
Before we dive into the details, it’s important to note that setting up a hard drive server rack bay requires some technical knowledge and familiarity with server hardware. It’s recommended to consult the manufacturer’s documentation and get assistance from a professional if you’re unsure about any step along the way.
With that said, let’s begin by discussing the key factors to consider when choosing the right hard drive server rack bay.
Choosing the Right Hard Drive Server Rack Bay
When it comes to selecting a hard drive server rack bay, there are several important factors to consider. These factors will help ensure that the rack bay is compatible with your server hardware and can provide the necessary storage capacity and functionality. Here are some key points to keep in mind:
- Size and Form Factor: Server rack bays are available in various sizes and form factors. It’s important to choose a rack bay that can accommodate the physical dimensions of your hard drives. Common form factors include 2.5-inch and 3.5-inch, so be sure to check the specifications of your hard drives before making a purchase.
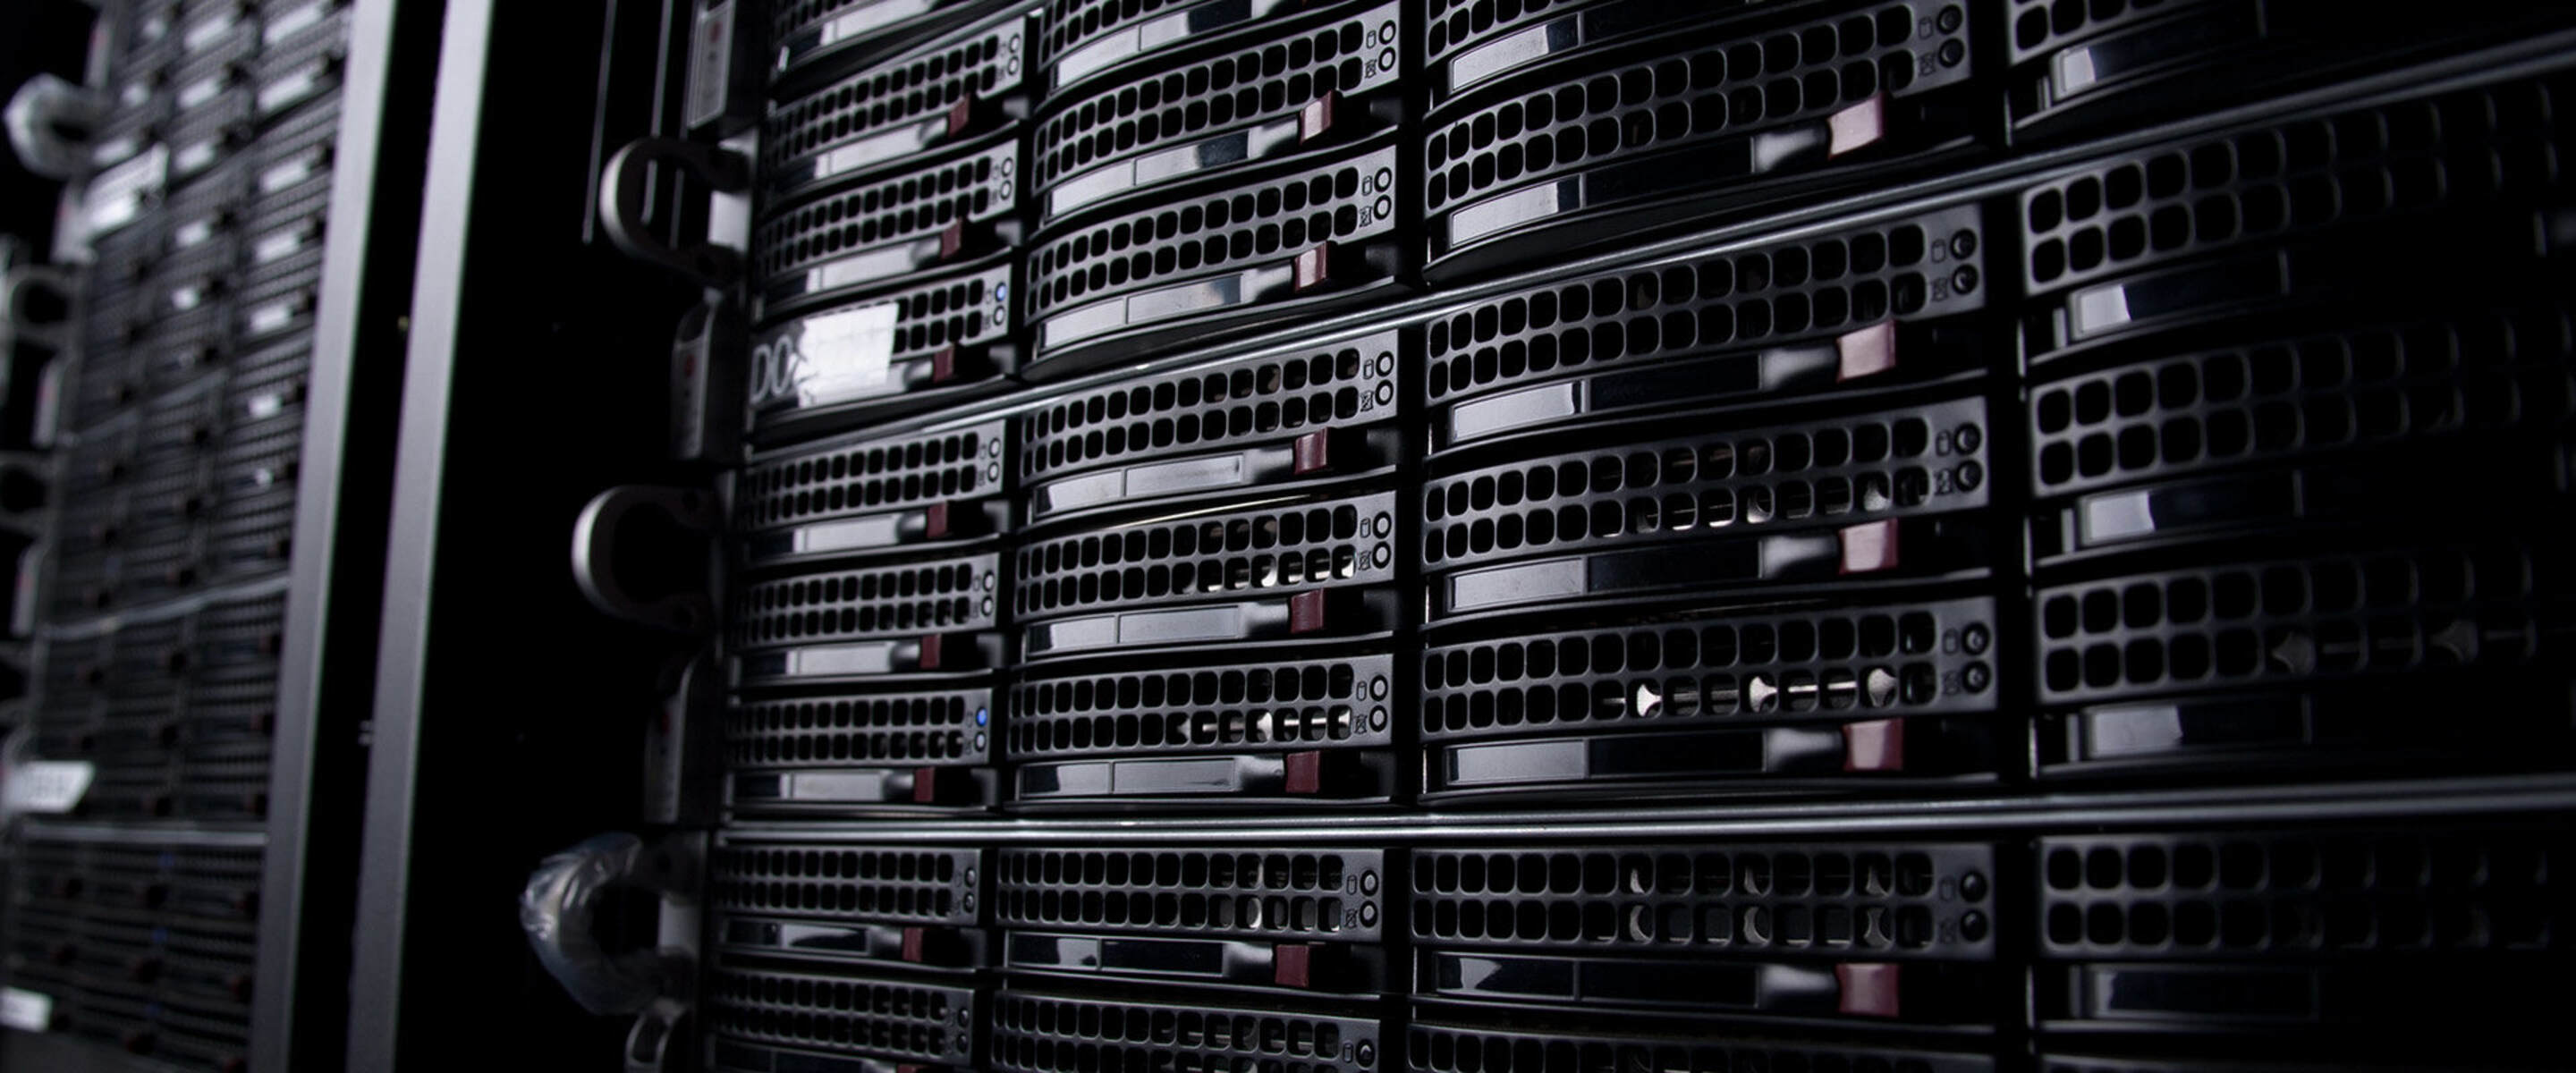
- Storage Capacity: Consider the total storage capacity you require for your server infrastructure. This will determine the number of hard drive bays you’ll need in the rack. Additionally, some rack bays offer expandability options, allowing you to easily add more hard drives in the future if needed.
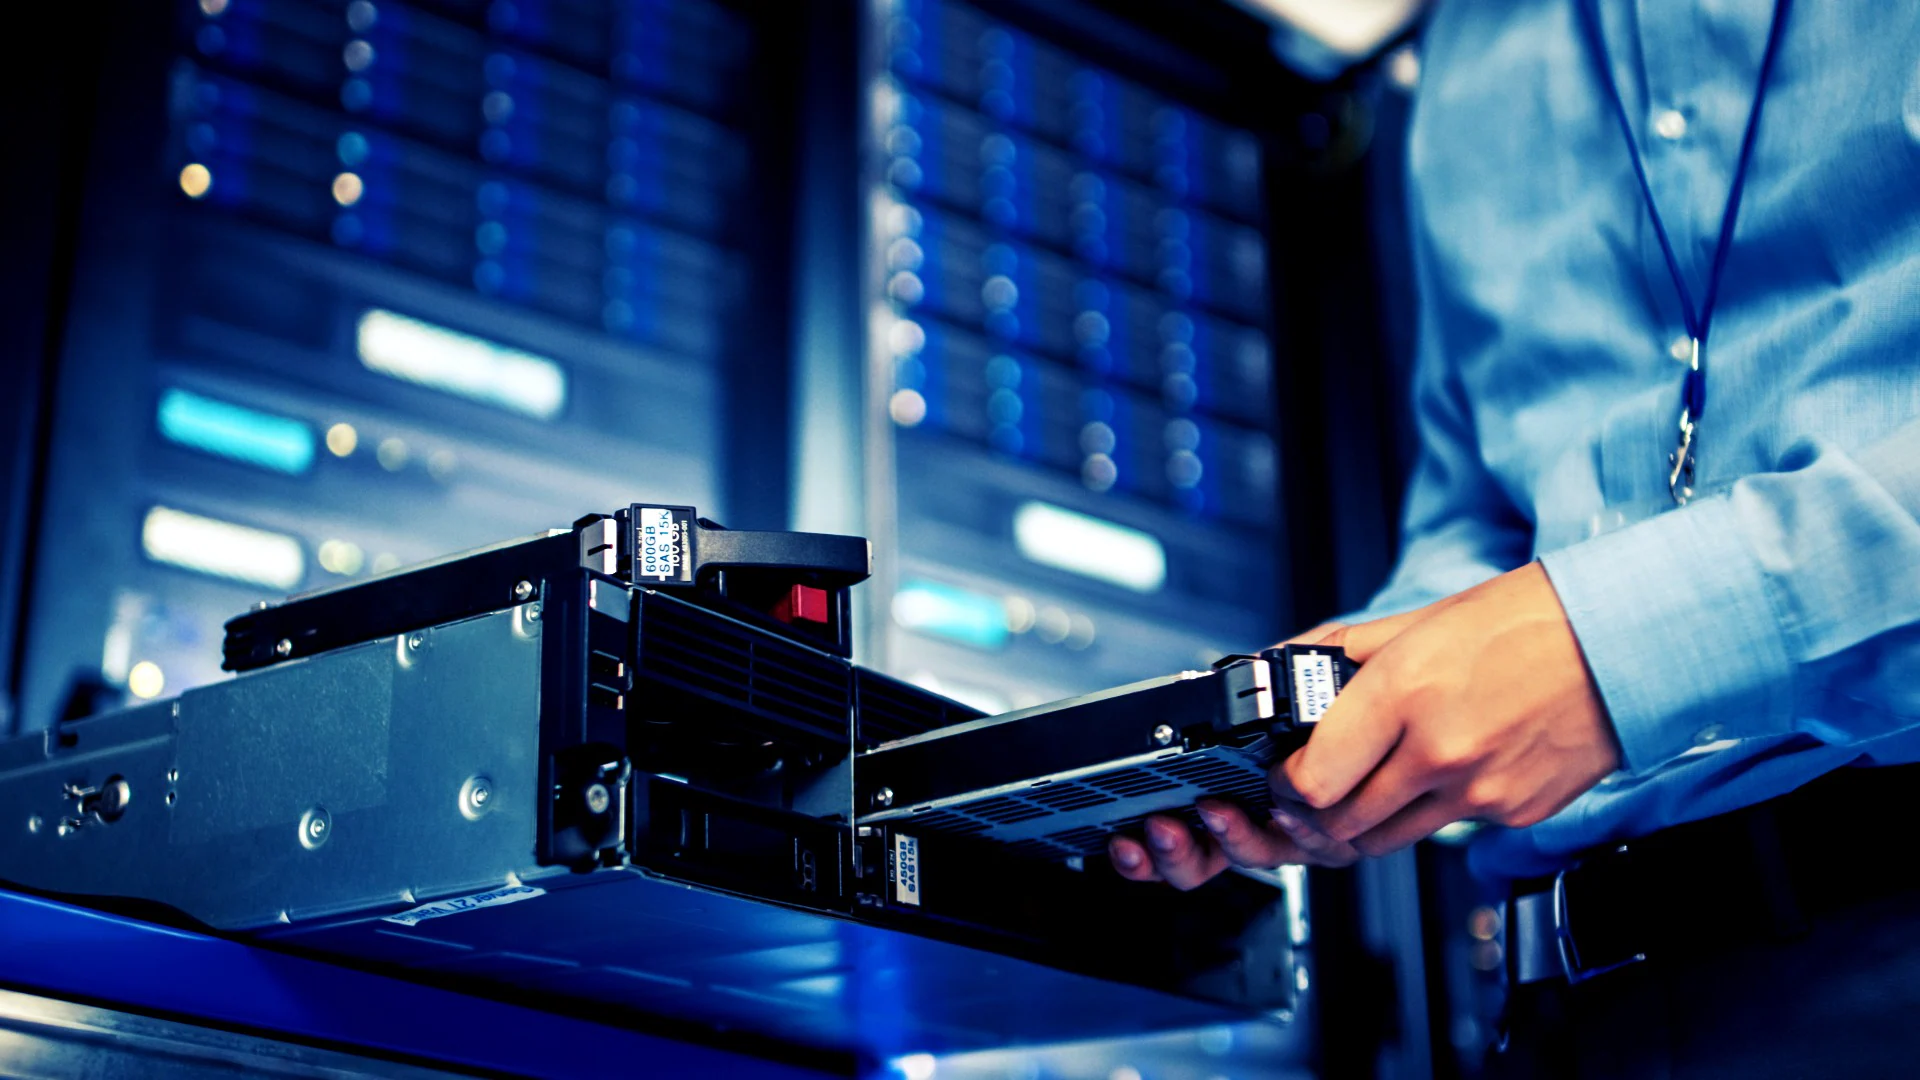
- Hot-Swappable Bays: Hot-swappable hard drive bays allow you to replace or add hard drives without shutting down the server. This feature can be extremely beneficial for minimizing downtime and ensuring continuous operation. If hot-swapping is a requirement for your server setup, make sure the rack bay supports this feature.
- Compatibility: Ensure that the rack bay is compatible with your server hardware. This includes factors such as the type of server rack you have (e.g., 1U, 2U, etc.), the mounting depth, and any specific requirements of your server model. Check the manufacturer’s documentation or consult with a professional to confirm compatibility.
- Quality and Durability: Choose a rack bay that is built with high-quality materials and offers durability and stability. It’s crucial to ensure that the rack bay can withstand the weight of the hard drives and any external forces that may be encountered in a server environment.
- Additional Features: Consider any additional features that may be valuable for your specific needs. This could include features like built-in cooling fans for improved airflow, lockable drive bays for added security, or cable management solutions to keep the wiring organized.
By carefully considering these factors, you’ll be able to choose a hard drive server rack bay that meets your requirements and provides a solid foundation for your storage infrastructure. Once you’ve selected the right rack bay, the next step is to prepare it for installation, which we’ll cover in the next section.
Preparing the Server Rack Bay for Installation
Before you begin installing the hard drive server rack bay, it’s essential to properly prepare the rack bay and the surrounding environment. Taking these preparatory steps will ensure a smooth and hassle-free installation process. Here’s what you need to do:
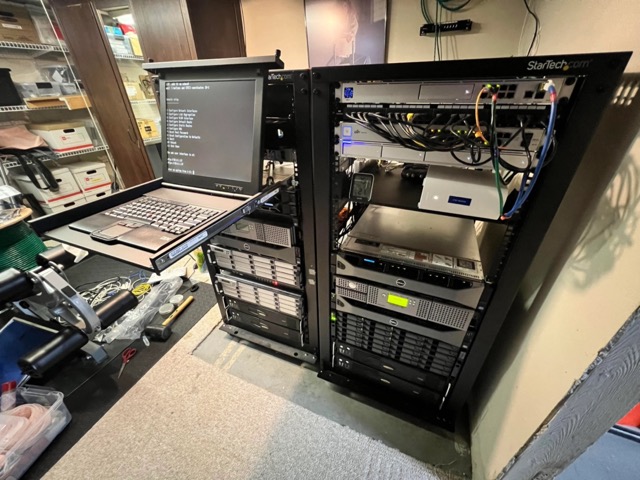
- Choose the location: Select a suitable location for the server rack bay. Ensure that there is adequate space around the rack for easy access to the hard drives and proper ventilation for cooling. Also, consider factors such as power availability and proximity to network connections.
- Inspect the rack bay: Thoroughly inspect the rack bay for any signs of damage or defects. Check for bent or misaligned metal, loose screws, or any other issues that may affect the integrity of the rack. If you notice any problems, contact the manufacturer for assistance or consider replacing the rack bay.
- Prepare the mounting hardware: Gather all the necessary mounting hardware, including screws, cage nuts, or any specialized brackets provided by the rack bay manufacturer. Make sure you have the correct hardware for your specific rack and server setup.
- Clean the rack bay: Clean the interior of the rack bay to remove any dust or debris that may interfere with the installation or affect the performance of the hard drives. Use a soft cloth or compressed air to clean the surfaces thoroughly.
- Organize the hard drives: If you have multiple hard drives, it’s helpful to organize them in the order in which you plan to install them. This will make the installation process more efficient and prevent any confusion or mistakes along the way.
- Prepare necessary tools: Gather the tools you’ll need for the installation, such as a screwdriver, cable ties, and a flashlight. Having everything prepared ahead of time will save you the hassle of searching for tools during the installation process.
By following these preparatory steps, you’ll ensure that the server rack bay is in optimal condition for installation. With the rack bay ready, the next step is to install the rackmount rails, which will securely hold the rack bay in place. We’ll discuss this process in detail in the next section.
Installing the Rackmount Rails
Once you have prepared the server rack bay for installation, the next step is to install the rackmount rails. These rails provide a stable and secure mounting solution for the rack bay within the server rack. Follow these steps to properly install the rackmount rails:
- Measure and position: Start by measuring the distance between the front and rear mounting holes in the server rack. Use these measurements to determine the position of the rackmount rails on both sides of the rack. Ensure that the rails are aligned and level.
- Attach the mounting ears: Depending on the design of the rackmount rails, you may need to attach the mounting ears to the side of the server rack. Use the provided screws to securely fasten the ears in place.
- Insert the rails: Carefully insert the rackmount rails into the mounting ears or directly into the rack’s mounting holes. Ensure that the rails are fully inserted and securely locked into place.
- Tighten the screws: With the rackmount rails in position, use a screwdriver to tighten the screws on the front and rear of the rails. This will ensure that the rails are securely attached to the rack and won’t shift or move during the installation process.
- Test the stability: Give the rackmount rails a gentle shake to ensure that they are firmly installed and can support the weight of the server rack bay. If you notice any instability or movement, double-check the screws and make any necessary adjustments.
- Repeat for the other side: Once you have completed the installation of one set of rackmount rails, repeat the same process for the other side of the server rack. This will provide balanced and secure support for the rack bay.
After successfully installing the rackmount rails, you are now ready to mount the server rack bay within the rack. In the next section, we will cover the steps to properly mount the rack bay and connect the hard drives.
Mounting the Server Rack Bay in the Rack
With the rackmount rails securely installed, it’s time to mount the server rack bay within the rack. Properly mounting the rack bay ensures stability and easy access to the hard drives. Follow these steps to successfully mount the server rack bay:
- Position the rack bay: Slide the server rack bay onto the rackmount rails, aligning the screw holes on the sides of the rack bay with the holes on the rails. Ensure that the rack bay is evenly positioned between the front and rear mounting rails.
- Secure the rack bay: Once the rack bay is aligned, use the provided screws to secure and lock it into place. Insert the screws through the screw holes on the rack bay and into the corresponding holes on the rackmount rails. Use a screwdriver to tighten the screws, ensuring a secure attachment.
- Check stability: Give the rack bay a gentle shake to ensure that it is securely mounted and does not move or wobble. If you notice any instability, double-check the screws and make any necessary adjustments to ensure a solid and stable mount.
- Confirm alignment: Verify that the front face of the rack bay is aligned with the front face of the server rack. Alignment is important both for proper aesthetics and to ensure compatibility with other rack-mounted devices.
- Label or document: Consider labeling or documenting the position of the server rack bay for future reference. This can be helpful for identifying specific hard drives or troubleshooting any issues that may arise.
Once the server rack bay is securely mounted in the rack, the next step is to connect the hard drives. In the following section, we’ll discuss the process of connecting the hard drives in the rack bay and ensuring proper cable management.
Connecting the Hard Drives
Now that the server rack bay is securely mounted, it’s time to connect the hard drives. Properly connecting the hard drives ensures that they are recognized by the server and allows for seamless data access and storage. Follow these steps to successfully connect the hard drives:
- Power off the server: Before connecting any cables, it’s important to power off the server. This ensures that there is no risk of electrical shock and prevents any potential damage to the hard drives or server.
- Insert the hard drives: Depending on the design of the rack bay, you may need to open the drive bays and insert the hard drives. Follow the manufacturer’s instructions to properly insert the hard drives into the designated drive bays.
- Secure the hard drives: Once the hard drives are inserted, secure them in place using the provided mechanisms, such as screws or drive caddies. This ensures that the hard drives are firmly seated and prevents any accidental removal during operation.
- Connect the data cables: Connect the data cables to the hard drives and the server’s motherboard or RAID controller. Depending on your setup, you may use SATA, SAS, or other data cables. Ensure that the cables are securely plugged in and properly aligned with the corresponding connectors.
- Connect the power cables: Attach the power cables to the hard drives, ensuring a secure connection. Check that all connections are tight and properly seated to provide a stable power supply to the drives.
- Verify connections: Double-check all connections to ensure that they are properly attached and secure. Loose or improperly connected cables can cause data transfer issues or lead to hardware malfunctions, so take the time to verify each connection.
With the hard drives successfully connected, you are one step closer to having a fully functional hard drive server rack bay. However, to ensure optimal performance and organization, proper cable management is essential. In the next section, we’ll discuss the importance of cable management within the server rack bay.
Cable Management in the Server Rack Bay
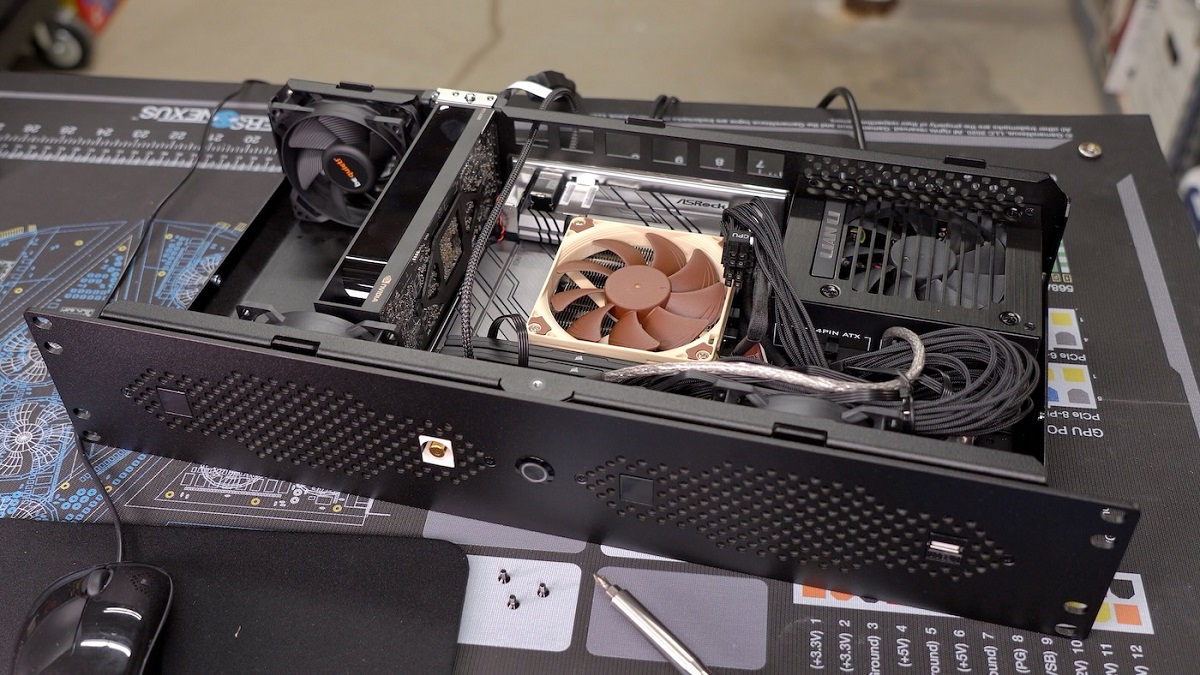
Proper cable management is crucial in a server rack bay to ensure efficient airflow, prevent cable damage, and maintain a tidy and organized setup. Messy and tangled cables not only make it difficult to troubleshoot and maintain the server infrastructure but can also obstruct airflow, leading to overheating issues. Follow these steps for effective cable management in the server rack bay:
- Plan your cable routing: Before connecting the cables, take a moment to plan out the optimal cable routing. Consider grouping cables based on their function or destination, and plan paths that minimize cable crossings and obstructions.
- Use cable management solutions: Utilize cable management solutions such as cable ties, Velcro straps, or cable management panels to neatly organize and secure the cables. These solutions help to prevent cable tangling and make future maintenance or changes easier.
- Label the cables: Labeling the cables can significantly simplify troubleshooting and maintenance in the future. Use label tags or color-coded labels to identify each cable’s purpose, destination, or source.
- Separate power and data cables: Whenever possible, separate power and data cables to minimize interference and potential data corruption. This separation also helps with identifying and tracing cables during future maintenance or upgrades.
- Ensure proper cable lengths: Use cables that are appropriate in length for the rack bay setup. Avoid excessive cable lengths as they can create clutter and hinder airflow. However, ensure that the cables are long enough to comfortably reach from the hard drives to their respective connectors.
- Secure cables to prevent movement: Use cable ties or clips to secure cables along their route. This helps to prevent them from dangling or causing obstructions within the rack bay. Be mindful not to overtighten the ties, as this could damage the cables.
- Regularly check and reorganize: Schedule regular checks of the cable management within the server rack bay. Over time, cables may get loose or become disorganized due to maintenance or equipment changes. Take the opportunity to reorganize and tidy up the cables as needed.
By implementing effective cable management practices, you will not only maintain a neat and organized server rack bay but also improve airflow, minimize downtime, and simplify future troubleshooting and maintenance tasks. With the cables properly managed, the next step is to configure the hard drive server rack bay for optimal performance, which we’ll explore in the following section.
Configuring the Hard Drive Server Rack Bay
Once the hard drives are connected and cable management is taken care of, it’s time to configure the hard drive server rack bay for optimal performance. This involves setting up the necessary configurations and ensuring compatibility with your server infrastructure. Here are the steps to configuring the server rack bay:
- Access the server bay management interface: Most server rack bays come with a management interface that allows you to configure settings and monitor the status of the hard drives. Locate the IP address or designated access method for the management interface and connect to it using a web browser.
- Set up RAID levels: If you plan to use RAID (Redundant Array of Independent Disks) for data redundancy and performance optimization, configure the desired RAID levels on the server rack bay. Consult the documentation or the manufacturer’s website for instructions specific to your rack bay model.
- Create logical drive(s): Using the server bay management interface, create logical drives to define how the hard drives will be presented to the operating system and applications. Configure drive capacity, naming, and any desired performance settings.
- Configure security features: If your server rack bay supports security features such as user access control or encryption, set up the appropriate security settings. This helps protect the data stored on the hard drives from unauthorized access or data breaches.
- Update firmware: Check for any available firmware updates for your server rack bay and follow the manufacturer’s instructions to update the firmware. Keeping the firmware up to date ensures you have the latest features and improvements for the hardware.
- Perform system checks: Before putting the server rack bay into production, perform system checks to ensure that everything is functioning correctly. Verify the status of the hard drives, check for any error messages or warnings, and confirm that the configurations have been applied successfully.
- Document configurations: It’s crucial to document the configurations of the server rack bay for future reference and troubleshooting. Note the RAID settings, logical drive configurations, security settings, and any other important details. This documentation will be valuable in case of a system failure or when making future updates or changes.
By following these configuration steps, you’ll ensure that the hard drive server rack bay is set up correctly and ready for use. It’s important to periodically review and update the configurations as your server infrastructure evolves. In the next section, we’ll cover the testing and troubleshooting process to ensure the stability and reliability of the server rack bay.
Testing and Troubleshooting
After configuring the hard drive server rack bay, it’s essential to conduct thorough testing to ensure its stability, reliability, and proper functionality. Testing allows you to identify and rectify any potential issues before putting the server rack bay into production. Here are the steps to effectively test and troubleshoot the rack bay:
- Perform basic functionality tests: Start by verifying basic functionality. Power on the server and ensure that the hard drives are recognized by the system. Confirm that the logical drives are accessible and that data can be read from and written to the hard drives.
- Test data transfer speed: Measure the data transfer speed of the hard drives to ensure optimal performance. Perform read and write tests using benchmarking tools to assess the speed and responsiveness of the server rack bay. Compare the results with the expected performance based on the hardware specifications.
- Monitor temperature and airflow: Keep an eye on the temperature within the server rack bay during normal operation. Monitor the cooling systems and ensure that the temperature of the hard drives remains within acceptable limits. Additionally, check the airflow to confirm that it is unobstructed and sufficient for proper cooling.
- Check for error messages or warnings: Regularly review the server logs and the management interface for any error messages or warnings. Investigate and address any issues promptly to prevent potential data loss or system failure in the future.
- Test redundancy and fault tolerance: If RAID is configured, simulate drive failures to ensure that the redundancy and fault tolerance mechanisms are working as expected. Remove and replace drives to validate the automated rebuild process and ensure that data remains accessible during drive failures.
- Perform load testing: In a production-like environment, simulate heavy workloads and stress test the server rack bay. Monitor system performance, response times, and any potential bottlenecks. This testing will help identify any limitations or weaknesses in the configuration.
- Troubleshoot connectivity issues: If you encounter any connectivity issues, such as drives not being recognized or intermittent connectivity problems, check the cable connections, power supply, and any settings related to drive identification or communication protocols. Replace any faulty cables or components if necessary.
- Keep up-to-date backups: Regularly backup your data to external storage or cloud-based solutions. This ensures that in the event of a catastrophic failure or data corruption, you have the means to restore critical data without significant loss.
Testing and troubleshooting are ongoing processes, and it’s important to regularly perform these tasks to maintain the integrity and reliability of the hard drive server rack bay. By proactively identifying and addressing any issues, you can ensure optimal performance and minimize downtime. In the final section, we’ll conclude our guide on setting up a hard drive server rack bay.
Conclusion
Setting up a hard drive server rack bay is a crucial step in building a reliable and efficient server infrastructure. By carefully selecting the right rack bay, preparing the rack for installation, connecting the hard drives, managing cables effectively, and configuring the rack bay, you can create a robust storage solution tailored to your specific needs.
Throughout this guide, we have explored the key considerations and steps involved in each stage of setting up a hard drive server rack bay. From choosing the appropriate rack bay and preparing the installation, to mounting the rack bay and connecting the hard drives, we covered the essential aspects of the process. Additionally, we discussed the importance of cable management, configuring the rack bay, and performing thorough testing and troubleshooting.
Remember to consult the manufacturer’s documentation, seek professional assistance if needed, and regularly update and review your setup to ensure continued performance and reliability. A well-designed and properly configured hard drive server rack bay can provide efficient data storage, seamless accessibility, and contribute to the overall smooth operation of your server infrastructure.
By following the guidelines outlined in this guide, you are well on your way to setting up a hard drive server rack bay that meets the demands of your organization or personal requirements. As technology advances and your storage needs grow, always stay informed about the latest hardware and best practices to keep your server rack bay up to date and optimized for peak performance.