Introduction
Welcome to the world of server racks, where efficiency, scalability, and storage capabilities are crucial for businesses to thrive. As technology evolves and data requirements grow, the need for additional drives in server racks becomes inevitable. However, the misconception that adding drives necessitates the purchase of a new server is far from the truth. In this article, we will explore various methods and solutions to expand storage capacity in a server rack without the need for a new server.
Why is this important, you might wonder? Well, the cost and time associated with purchasing and setting up a new server can be daunting to many businesses. By learning how to add drives to an existing server rack, organizations can save money, increase storage capacity, and optimize server performance without the need for a complete server overhaul.
Throughout this article, we will delve into different storage solutions such as internal drives, external drive enclosures, network attached storage (NAS), direct-attached storage (DAS), and storage area networks (SAN). By understanding the pros and cons of each option, you will be equipped to make an informed decision based on your organization’s specific needs and requirements.
Whether you are a small business in need of extra storage space or a larger enterprise looking to optimize server performance, the information provided in this article will guide you on how to add drives to your server rack without the need for a new server. So let’s get started and explore the various possibilities for expanding your server rack’s storage capacity!
Reasons to Add Drives to Server Rack Without a New Server
There are several compelling reasons why businesses may find the need to add drives to their server rack without investing in a new server. Let’s explore some of these reasons:
- Cost savings: Acquiring a new server can be a significant financial investment. By adding drives to an existing server rack, businesses can save money by utilizing the infrastructure they already have in place.
- Scalability: As businesses grow, so does their data storage requirements. Instead of replacing the entire server, adding drives to the rack allows for easy scalability to accommodate increased storage demands.
- Optimal space utilization: Server rack space is often a valuable commodity. By maximizing storage within the existing rack, businesses can avoid the need for additional physical space or purchasing a larger rack.
- Minimal disruption: Introducing a new server into an existing network can cause disruptions and downtime. By adding drives to the server rack, businesses can avoid potential interruptions to their operations.
- Efficient resource allocation: Rather than investing in a new server with integrated resources, adding drives allows businesses to allocate resources more efficiently. It enables organizations to customize their storage solution based on specific needs.
By understanding these reasons, businesses can make informed decisions about whether adding drives to their server rack without a new server is the right approach for them. It provides the opportunity to optimize storage, scalability, and resource allocation without incurring unnecessary expenses or disruptions.
Now that we have explored the reasons behind adding drives to a server rack without a new server, the next step is to assess the current server rack capacity and requirements. Let’s delve into this exciting topic in the following section!
Assessing Server Rack Capacity and Requirements
Before adding drives to a server rack, it is crucial to assess its current capacity and understand the requirements of your organization. Proper evaluation will ensure that you choose the most suitable storage solution and avoid overloading the rack. Here are the key steps to assess server rack capacity and requirements:
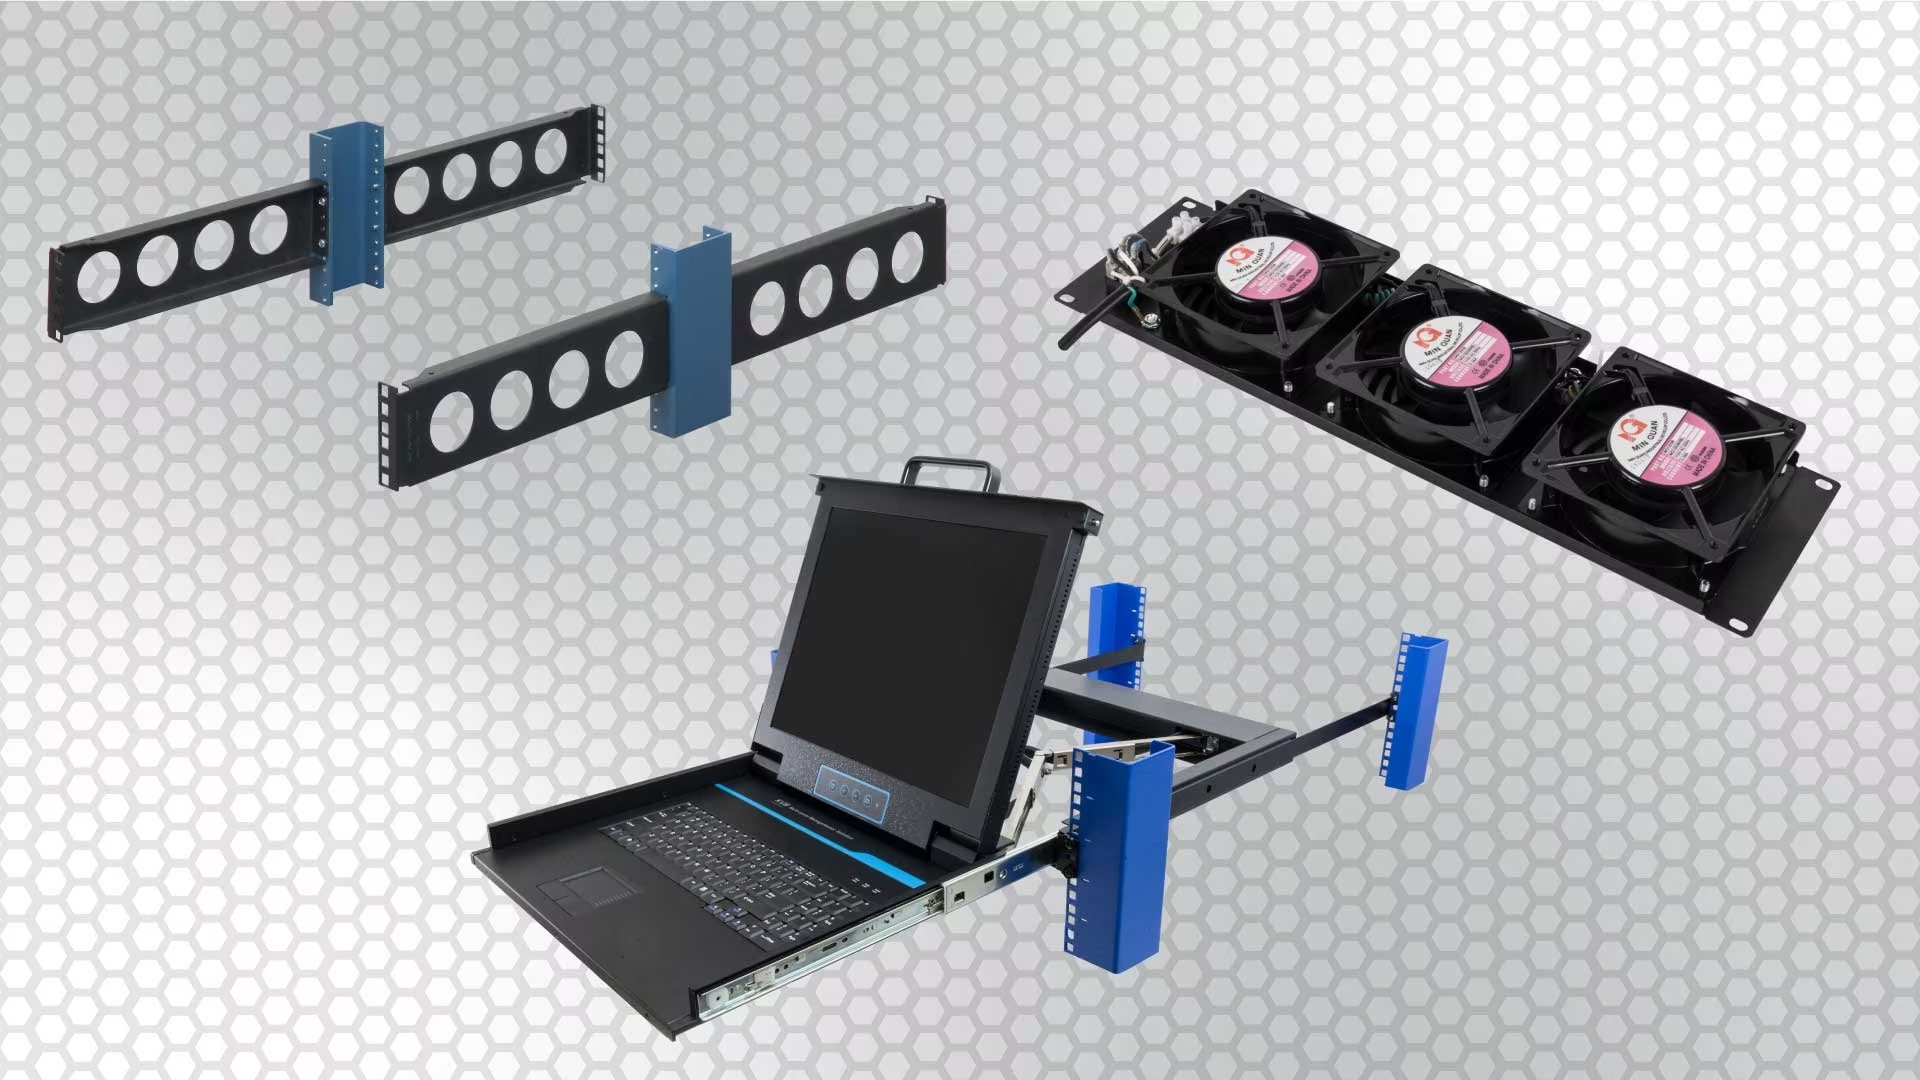
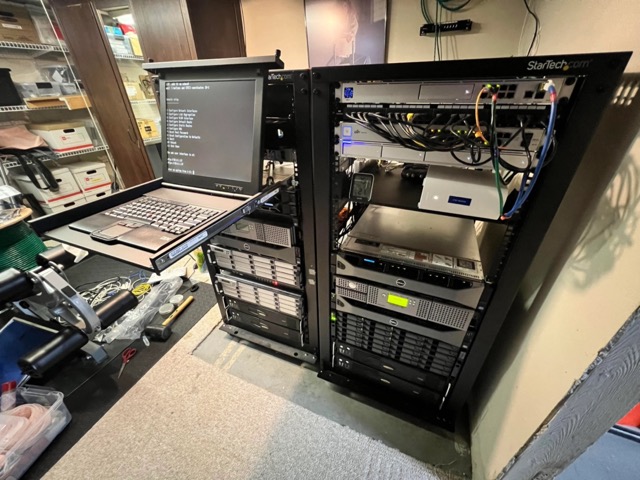
- Evaluate existing infrastructure: Start by examining the current server rack setup. Determine the available physical space, power supply, cooling capacity, and any limitations or restrictions that may exist.
- Calculate storage requirements: Determine how much storage space your organization requires both now and in the future. Take into account factors such as existing data volume, anticipated data growth, and any specific compliance or regulatory requirements.
- Consider future scalability: Anticipate future storage needs and factor in room for expansion. Plan for potential business growth and ensure that the chosen storage solution can accommodate increasing demands in the long run.
- Assess performance needs: Determine the performance requirements for your storage solution. Consider factors such as read/write speeds, IOPS (input/output operations per second), and latency. This assessment will help you choose a solution that meets your organization’s performance expectations.
- Budget considerations: Evaluate your organization’s budget and set realistic expectations for the investment required to add drives to the server rack. Consider not only the cost of the drives themselves but also any additional hardware or software required for integration.
By carefully assessing the server rack capacity and requirements, you will be equipped to make informed decisions about the storage solution that will best meet your organization’s needs. Whether you choose to expand internally or utilize external drive enclosures, network attached storage, direct-attached storage, or a storage area network, conducting this assessment will ensure optimal utilization of resources and minimize any potential issues that may arise.
Next up, we will explore the different storage solutions available and the criteria for choosing the right one for your server rack. Let’s dive into the exciting world of storage solutions in the following section!
Choosing the Right Storage Solution
With various storage solutions available, it is essential to choose the right one for your server rack. The decision will depend on factors such as your organization’s storage requirements, budget, scalability needs, and performance expectations. Here are some key considerations to help you select the most suitable storage solution:
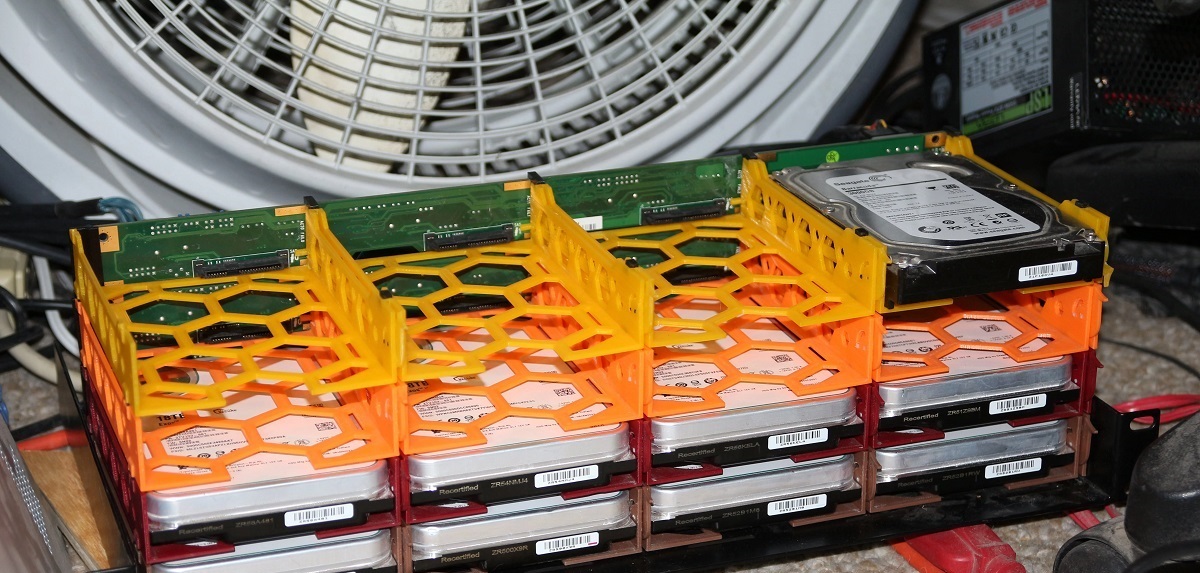
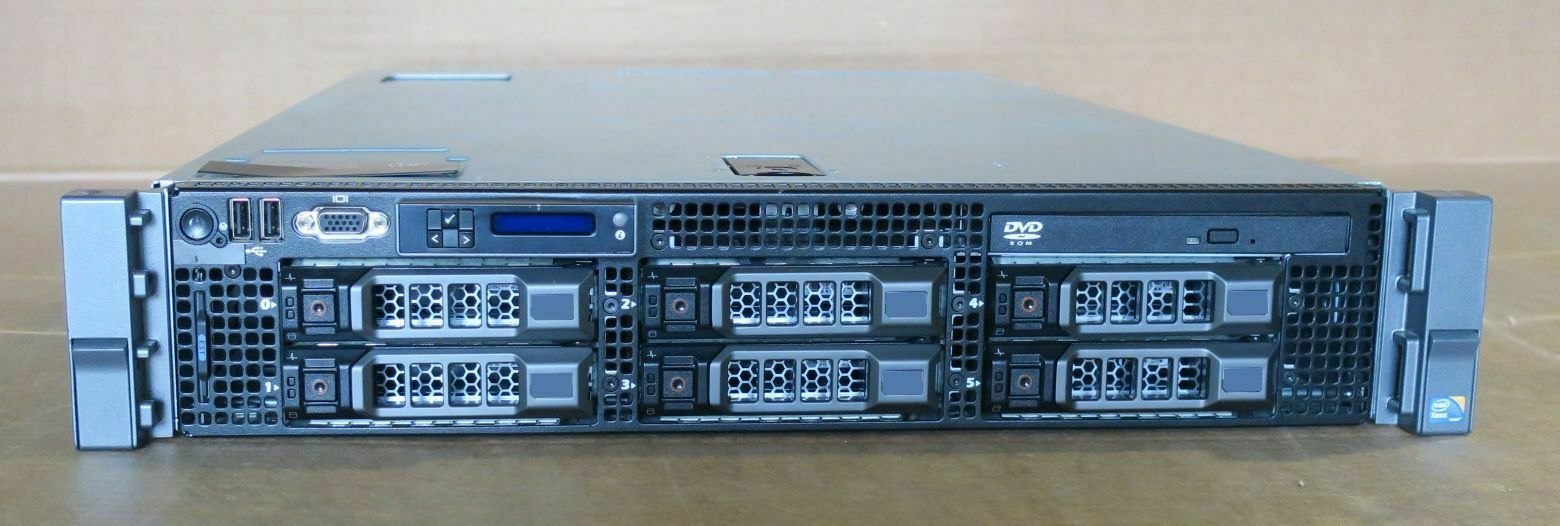
- Internal Drives: Adding internal drives to the existing server rack is a straightforward and cost-effective solution. It involves installing additional hard drives directly into the server itself, utilizing available drive bays. This solution is ideal for organizations that require localized storage and have the necessary physical space in the rack to accommodate additional drives.
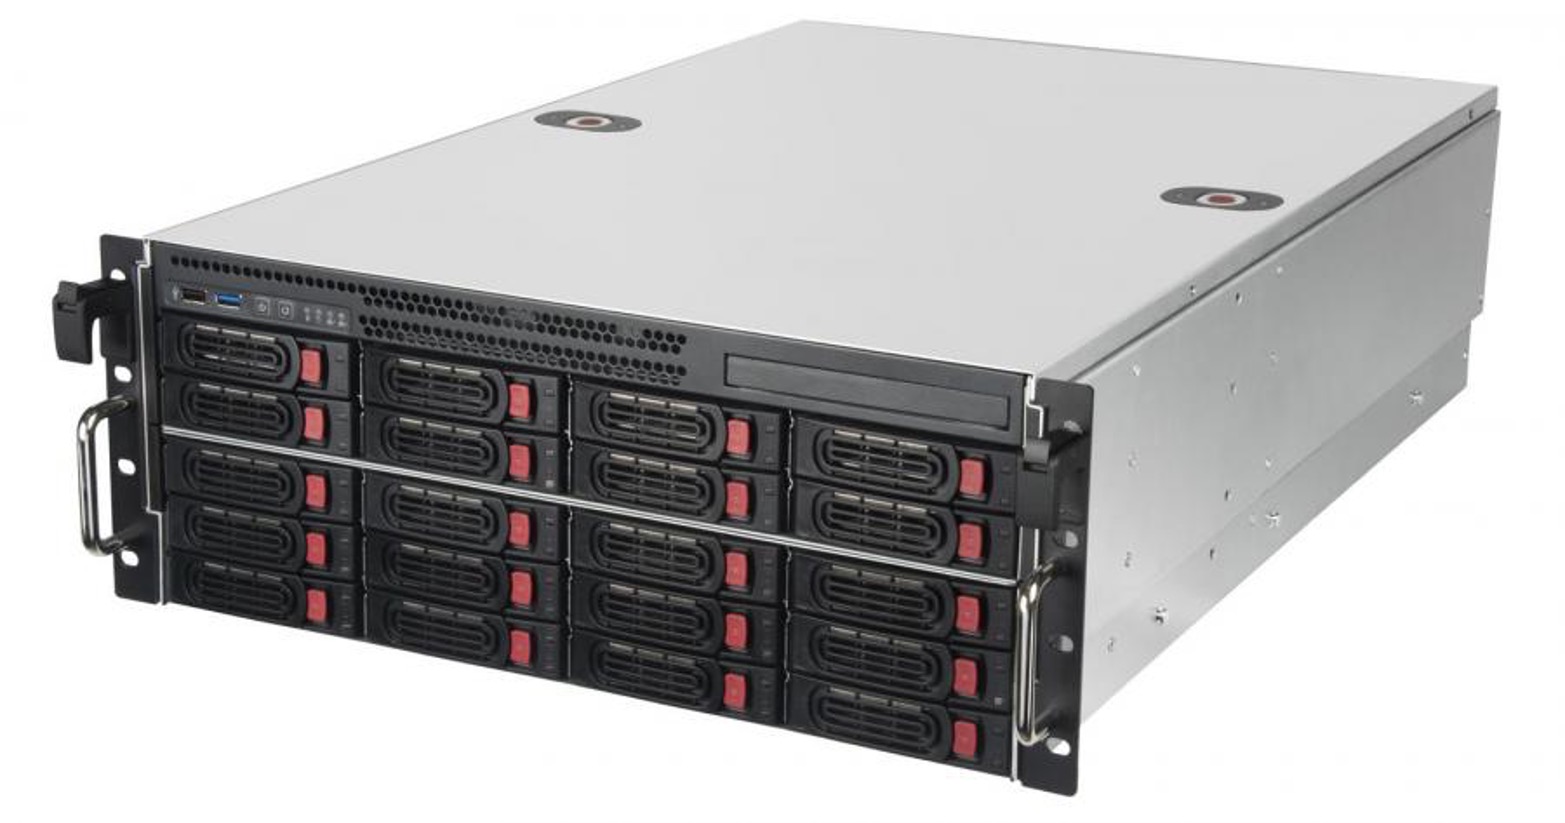
- External Drive Enclosures: External drive enclosures provide a flexible and scalable solution for adding drives to a server rack. These enclosures are connected to the server via USB, Thunderbolt, or other interfaces, allowing for easy expansion without the need for opening the server chassis. External drive enclosures are suitable when rapid scalability, easy accessibility, and portability are required.
- Network Attached Storage (NAS): NAS devices are dedicated network storage solutions that connect to the server rack via Ethernet. They offer a centralized storage system accessible to multiple users or devices on the network. NAS devices are an ideal choice for businesses that require shared storage, remote access, and data backup capabilities.
- Direct-Attached Storage (DAS): DAS solutions connect directly to the server via high-speed interfaces such as SCSI, SAS, or Fibre Channel. DAS provides high-performance storage and is suitable for applications that require low latency and high data transfer rates. It is a good option for organizations that prioritize speed and performance over shared access.
- Storage Area Network (SAN): SAN is a high-performance storage network that allows multiple servers to access a shared storage infrastructure. SANs utilize Fibre Channel or iSCSI protocols for connectivity and offer advanced features like storage virtualization, data replication, and centralized management. SANs are ideal for enterprises with large-scale storage needs, virtualized environments, or mission-critical applications.
Each storage solution comes with its own set of advantages and considerations. It is crucial to evaluate the specific needs of your organization and select the solution that aligns with your requirements, budget, and future scalability goals.
Now that we have explored the different storage solutions available, let’s move on to learning how to add internal drives to your existing server rack in the following section!
Adding Internal Drives to Existing Server Rack
If you have available space in your server rack and want a straightforward solution to add more storage, adding internal drives is a practical option. Here’s a step-by-step guide on how to add internal drives to your existing server rack:
- Identify available drive bays: Determine how many drive bays are available in your server rack. Most servers have multiple bays to accommodate additional drives.
- Choose the right hard drives: Select hard drives that match your storage needs and are compatible with your server. Consider factors like storage capacity, speed, and whether you need solid-state drives (SSDs) or traditional hard disk drives (HDDs).
- Power down the server: Ensure the server is powered off and disconnected from the power source. This step is crucial for safety and to prevent any potential damage to the server or drives.
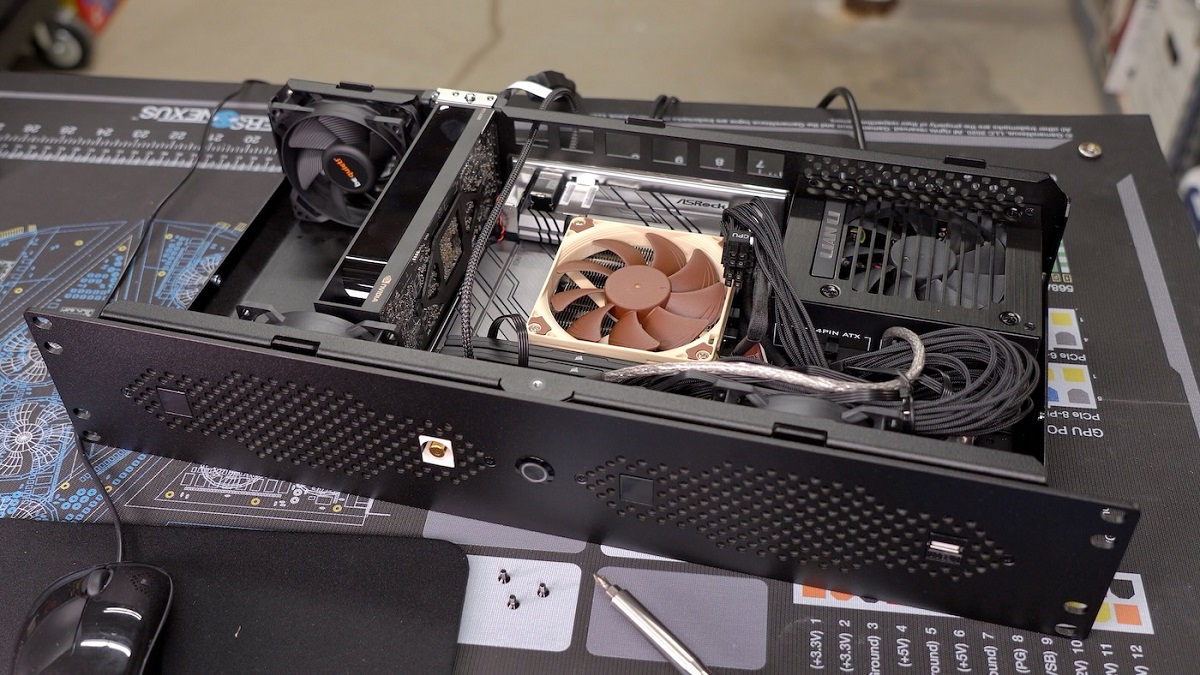
- Open the server chassis: Follow the manufacturer’s instructions to open the server chassis. This will provide access to the internal components and drive bays. Take precautions such as wearing an anti-static wristband to prevent damage from static electricity.
- Install the drives: Carefully place the drives into the available drive bays. Ensure they fit securely and align with the connectors inside the server.
- Connect the power and data cables: Use the appropriate power and data cables to connect the drives to the server’s power supply and motherboard. Follow the manufacturer’s instructions for correct connections.
- Secure the drives: Once the drives are connected, secure them in place using screws or brackets provided by the server manufacturer.
- Close the server chassis: Carefully close and secure the server chassis, ensuring that all screws or latches are properly tightened.
- Power on the server: Reconnect the server to the power source and power it on. The server should detect the newly installed drives, and you may need to configure them in the server’s operating system.
- Format and configure the drives: Use the server’s operating system or disk management tools to format and configure the newly added drives for use. Create partitions, assign drive letters, and set up any required RAID configurations.
By following these steps, you can add internal drives to your existing server rack, expanding your storage capacity effectively. However, it is essential to ensure compatibility between the drives and server, as well as observe proper safety precautions during the installation process.
Next, we will explore another solution for expanding storage capacity in your server rack – external drive enclosures. Let’s dive into the details in the following section!
Expanding Storage with External Drive Enclosures
If you prefer a more flexible and easily accessible solution for adding drives to your server rack, external drive enclosures are an excellent option. These enclosures allow you to expand storage capacity without the need to open the server chassis. Here’s how you can expand storage using external drive enclosures:
- Select the appropriate enclosure: Choose an external drive enclosure that meets your storage requirements and is compatible with your server and interface options. Consider factors such as the number of drive bays, supported drive types (HDD or SSD), and the interface (USB, Thunderbolt, eSATA, etc.).
- Prepare the enclosure: Follow the manufacturer’s instructions to prepare the external drive enclosure. This may involve inserting the drives into the available drive bays, connecting necessary cables, and securing the enclosure casing.
- Connect the enclosure to the server: Use the appropriate interface cable (USB, Thunderbolt, etc.) to connect the external drive enclosure to the server. Ensure that the connection is secure and that the interface is compatible with your server’s ports.
- Power on the enclosure: Connect the external drive enclosure to a power source and switch it on. This will power the drives and make them accessible to the server.
- Prepare the drives: Once the external drive enclosure is powered on, you may need to format and configure the drives for use. This can be done using the server’s operating system or disk management tools.
- Mount the drives: After preparing the drives, you can mount them to the server’s file system. This will make them visible and accessible for storing and retrieving data.
- Configure RAID (if desired): If you plan to use RAID (Redundant Array of Independent Disks) for data protection or performance purposes, configure the RAID settings using the server’s RAID management tools or software provided by the external drive enclosure manufacturer.
- Test the setup: Once the drives are mounted and configured, test the setup to ensure proper functionality. Transfer files, perform read/write tests, and check for any errors or issues.
- Monitor and maintain: Keep an eye on the external drive enclosure’s health and performance. Regularly monitor the drives for any signs of failure and perform necessary maintenance tasks like firmware updates.
By following these steps, you can easily expand your server rack’s storage capacity by utilizing external drive enclosures. This solution offers flexibility, scalability, and easy access to your data without the need to physically install drives inside the server.
Next, we will explore another storage solution – network attached storage (NAS), which provides centralized storage accessible by multiple users. Let’s dive into the details in the following section!
Utilizing Network Attached Storage (NAS)
If you require shared storage accessible to multiple users or devices in your network, network attached storage (NAS) is a solution worth considering. NAS provides a centralized storage system that can be easily integrated into your server rack. Here’s how you can utilize NAS:
- Select a NAS device: Choose a NAS device that meets your storage requirements, considering factors such as storage capacity, drive bays, RAID support, connectivity options, and compatibility with your server rack.
- Connect NAS to the network: Connect the NAS device to your network using an Ethernet cable. Ensure that it is properly connected to the network switch or router to establish network connectivity.
- Configure NAS settings: Access the NAS device’s management interface and configure necessary settings, such as network settings, user access permissions, security settings, and RAID configurations. Follow the manufacturer’s instructions for proper configuration.
- Create shared folders: Set up shared folders on the NAS device to provide access to users or devices on the network. Create folders for specific purposes, groups, or individuals, and assign appropriate access rights.
- Map network drives: On each client device, map network drives to the shared folders on the NAS device. This will allow users to access and store data in the shared folders as if they were local drives.
- Backup and data protection: Configure backup and data protection mechanisms on the NAS device, ensuring regular backups of important data. This can include scheduled backups to other storage devices or cloud services.
- Monitor and manage: Regularly monitor the NAS device’s health, performance, and storage utilization. Keep an eye on storage capacity, ensure firmware and software updates are installed, and perform routine maintenance tasks.
- Scale up if needed: If your storage needs grow, you can easily scale up by adding more drives or additional NAS devices to the server rack. This flexibility allows you to expand your storage capacity without significant disruptions.
By utilizing network attached storage (NAS), you can centralize your storage needs and provide shared access to files and data across your network. This solution is ideal for organizations that require collaborative storage, remote access, and data backup capabilities.
Now that we have explored NAS, let’s move on to another storage solution – direct-attached storage (DAS), which offers high-performance storage for specific applications. Let’s delve into the details in the following section!
Boosting Server Performance with Direct-Attached Storage (DAS)
If your organization prioritizes high-performance storage for specific applications, direct-attached storage (DAS) is a solution that can significantly boost server performance. DAS allows for direct connection between the storage devices and the server, minimizing latency and maximizing data transfer speeds. Here’s how you can benefit from DAS:
- Select the right DAS solution: Choose a DAS solution that suits your storage requirements and server rack setup. Consider factors such as drive type (HDD or SSD), supported interfaces (SAS, SCSI, or Fibre Channel), and compatibility with your server.
- Connect the DAS to the server: Use the appropriate cables and interfaces to connect the DAS solution directly to the server’s storage controller or PCIe slot. Ensure a secure and reliable connection for optimal performance.
- Configure RAID (if desired): If data redundancy or performance optimization is necessary, configure RAID levels using the server’s RAID management tools or software provided by the DAS solution. Choose the appropriate RAID configuration based on your needs.
- Initialize and format the drives: Once the DAS is connected and properly configured, initialize and format the drives using the server’s operating system or disk management tools. This will make the drives accessible for storing and retrieving data.
- Mount and assign drive letters: Assign drive letters to the DAS drives to make them visible and easily accessible within the server’s file system. This allows applications and users to interact with the DAS as if it were internal storage.
- Test and optimize: Perform benchmark tests and performance optimizations to ensure that the DAS is delivering the desired performance boost. Monitor metrics such as latency, throughput, and IOPS to fine-tune the configuration if necessary.
- Maintain and monitor: Regularly monitor the health and performance of the DAS solution. Keep firmware and drivers up to date, implement proper cooling and power management, and perform periodic maintenance tasks to ensure smooth operation.
- Expand as needed: If your performance or storage needs increase over time, you can easily expand your DAS solution by adding more drives or additional DAS units to your server rack. This scalability allows you to grow your storage and performance capabilities as necessary.
By leveraging direct-attached storage (DAS), you can experience improved server performance, reduced latency, and faster data transfer speeds. This solution is ideal for applications that demand high-performance storage, such as databases, virtualized environments, or multimedia processing.
Now, let’s explore another storage solution – storage area network (SAN), which offers advanced features for large-scale storage and enhanced flexibility. Discover more about SAN in the following section!
Implementing Storage Area Network (SAN)
If your organization requires a highly scalable and flexible storage solution with advanced features, implementing a storage area network (SAN) can be a valuable option. SAN provides centralized storage accessible by multiple servers, allowing for efficient management and utilization of storage resources. Here’s a guide on implementing SAN:
- Design the SAN architecture: Plan and design the SAN architecture based on your organization’s specific needs and requirements. Determine the number of SAN switches, storage arrays, and servers required, as well as the connectivity options such as Fibre Channel or iSCSI.
- Choose suitable SAN switches and storage arrays: Select SAN switches and storage arrays that align with your performance, capacity, and budgetary requirements. Ensure compatibility with the chosen architecture and verify that they support the necessary protocols and features for your SAN implementation.
- Configure the SAN switches and storage arrays: Set up and configure the SAN switches and storage arrays according to the manufacturer’s guidelines. This involves defining storage LUNs, setting up zoning and masking, and configuring advanced features like redundant paths, snapshots, or replication if desired.
- Connect the servers to the SAN: Establish connections between the servers and the SAN switches using Fibre Channel, iSCSI, or other supported protocols. Ensure proper zoning and mapping to provide access to the appropriate storage LUNs for each server.
- Configure the servers: On each server, configure the necessary host bus adapters (HBAs) or iSCSI initiators to enable communication with the SAN. Install any required device drivers or software provided by the SAN vendors.
- Create and manage storage LUNs: Create logical unit numbers (LUNs) on the storage arrays and assign them to the respective servers. Fine-tune LUN configurations such as RAID levels, caching, and striping to optimize performance and data protection.
- Set up monitoring and management: Implement monitoring and management tools to keep track of the SAN infrastructure’s health, performance, and storage utilization. This includes monitoring for any potential issues, scheduling backups, and ensuring firmware and software updates are applied as needed.
- Test and optimize performance: Perform benchmark tests and fine-tuning to optimize the SAN’s performance. Monitor metrics such as throughput, latency, and IOPS to identify and resolve any performance bottlenecks or configuration issues.
- Scale up as needed: SAN architectures are highly scalable, allowing for easy expansion of storage capacity and connectivity options. You can add more storage arrays, SAN switches, or servers to accommodate growing storage demands or changing business requirements.
By implementing a storage area network (SAN), you can achieve enhanced storage management, scalability, and flexibility. SAN is particularly beneficial for large-scale storage deployments, virtualized environments, or organizations with mission-critical storage needs.
Now that we have explored the implementation of a storage area network, let’s move on to discussing some best practices for adding drives to a server rack in the next section!
Best Practices for Adding Drives to Server Rack
When adding drives to a server rack, it is important to follow best practices to ensure a smooth and successful integration. Here are some key considerations and practices to keep in mind:
- Plan and assess: Before adding drives, carefully assess your storage needs, capacity, and infrastructure. Consider factors such as available physical space, power supply, cooling capacity, and performance requirements.
- Choose reliable drives: Select drives from reputable manufacturers known for their reliability and performance. Consider factors such as storage capacity, speed, interface type, and endurance when choosing the right drives for your server rack.
- Follow proper installation procedures: When installing internal drives, ensure that you follow the manufacturer’s instructions and guidelines. Take precautions to prevent electrostatic discharge (ESD) damage by wearing an anti-static wristband and working in a static-free environment.
- Organize and label cables: Properly organize and label cables to minimize the risk of confusion and troubleshooting issues. Use cable management solutions, such as cable ties and racks, to maintain a neat and organized server rack.
- Implement fault tolerance: If data redundancy is important, consider implementing RAID (Redundant Array of Independent Disks) for your drives. RAID configurations can provide fault tolerance, improved performance, and data protection in case of drive failures.
- Regularly monitor and maintain: Monitor the health and performance of your drives, server rack, and any associated storage infrastructures. Use monitoring tools to track metrics like temperature, drive health, and storage utilization. Perform regular maintenance tasks, such as firmware updates and disk checks, to ensure optimal performance.
- Backup your data: Implement a robust backup strategy to protect your data. Regularly back up critical data to external storage devices or cloud-based backups to safeguard against data loss.
- Document the changes: Maintain documentation of the added drives, including specifications, configurations, and any changes made to the server rack. This documentation will be useful for reference, troubleshooting, and future upgrades.
- Test and validate: After adding drives, thoroughly test and validate the storage solution to ensure it meets your performance and reliability expectations. Perform tests such as read/write checks, performance benchmarks, and data integrity tests to verify the stability and reliability of the added drives.
- Plan for future growth: Consider future scalability when adding drives to your server rack. Leave room for expansion and plan ahead for potential upgrades or additions to accommodate future storage requirements.
By following these best practices, you can ensure a successful addition of drives to your server rack, enhancing storage capacity, performance, and reliability. Taking the time to plan, select the right components, and adhere to proper installation and maintenance procedures will contribute to the long-term success of your storage solution.
Now that we have explored best practices, let’s summarize the key insights and recommendations covered in this article.
Conclusion
Expanding storage capacity in a server rack without the need for a new server is a cost-effective and efficient approach for businesses looking to optimize their storage capabilities. By assessing server rack capacity and requirements, choosing the right storage solution, and following best practices, organizations can seamlessly add drives to their server rack. Whether it’s through adding internal drives, utilizing external drive enclosures, implementing network attached storage (NAS), leveraging direct-attached storage (DAS), or building a storage area network (SAN), there are various options available to address different needs and scalability requirements.
Assessing the existing infrastructure, calculating storage requirements, and considering factors such as scalability, performance needs, and budgetary constraints are critical when selecting the appropriate storage solution. Internal drives provide a straightforward option, while external drive enclosures offer flexibility and portability. NAS enables shared storage across the network, DAS delivers high-speed performance for specific applications, and SAN provides advanced features for large-scale storage systems.
Throughout the process, following best practices is essential to ensure a smooth integration and optimal performance. Proper planning, careful selection of reliable drives, organized cable management, implementation of fault tolerance, regular monitoring and maintenance, and comprehensive data backups are crucial aspects to consider. By adhering to these best practices, businesses can mitigate risks, enhance performance, and protect their valuable data.
In conclusion, adding drives to a server rack without the need for a new server offers businesses a cost-effective and efficient way to expand storage capacity. By assessing requirements, choosing the right storage solution, and following best practices, organizations can optimize storage capabilities, improve performance, and effectively manage their data for current and future needs.