Introduction
Welcome to the world of server rack installations! If you are setting up a server rack or making adjustments to an existing one, you’ll need to have the right tools and know-how to properly install server rack nuts. Server rack nuts are essential for securely fastening equipment to the rack, ensuring stability and preventing any potential damage or accidents. In this guide, we will take you through the step-by-step process of installing server rack nuts, ensuring a safe and efficient installation.
Whether you are a seasoned IT professional or a DIY enthusiast looking to set up a home server rack, this guide will provide you with the necessary guidance to ensure a successful installation. We’ll cover everything from gathering the tools and materials to properly aligning the holes and tightening the nuts. By the end of this guide, you’ll have the knowledge and skills to confidently install server rack nuts.
Installing server rack nuts may seem like a daunting task if you’re new to it, but with the right information and a careful approach, the process can be straightforward. It’s important to take your time during each step to ensure accuracy and maintain the integrity of your server rack.
Step 1: Gather the Tools and Materials
Before diving into the installation process, it’s crucial to gather all the necessary tools and materials. Having everything readily available will make the installation smoother and more efficient. Here’s a list of items you’ll need:
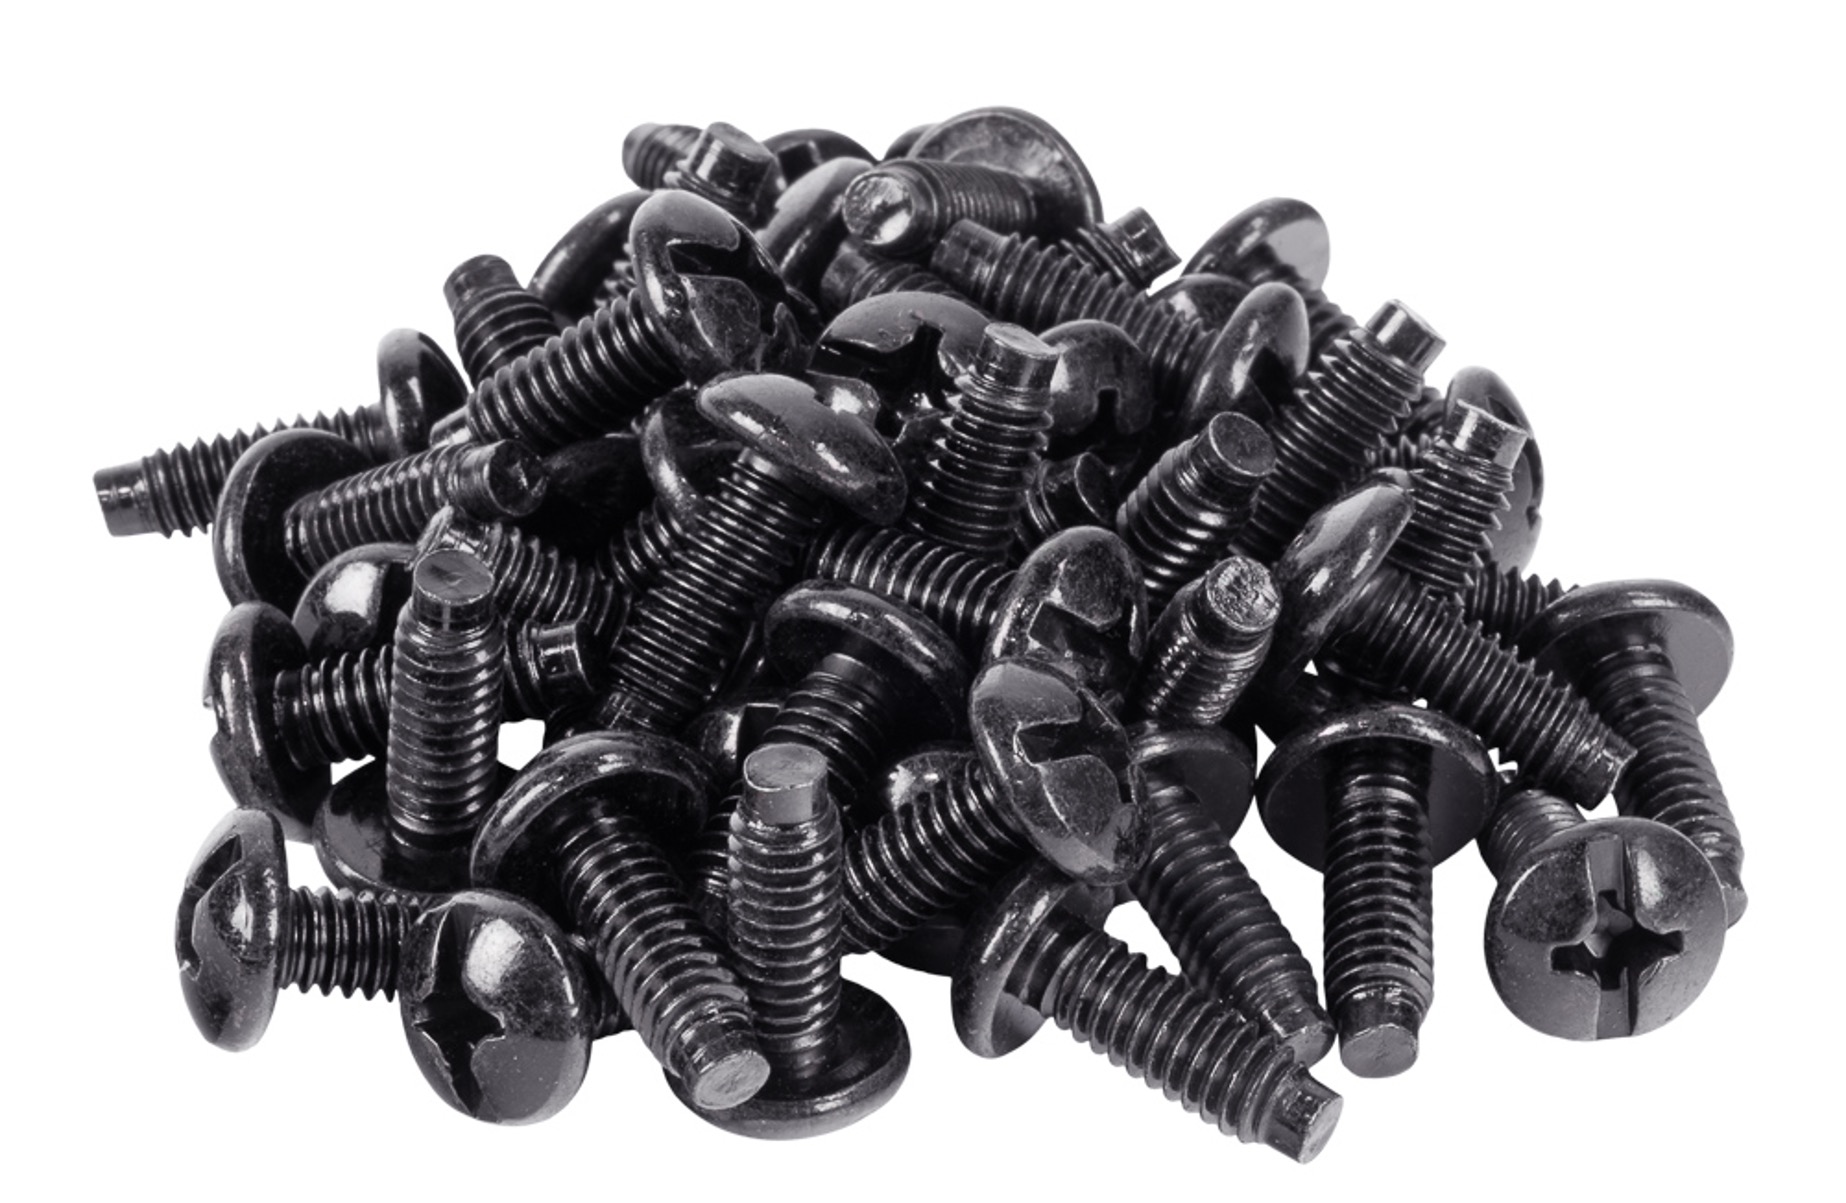
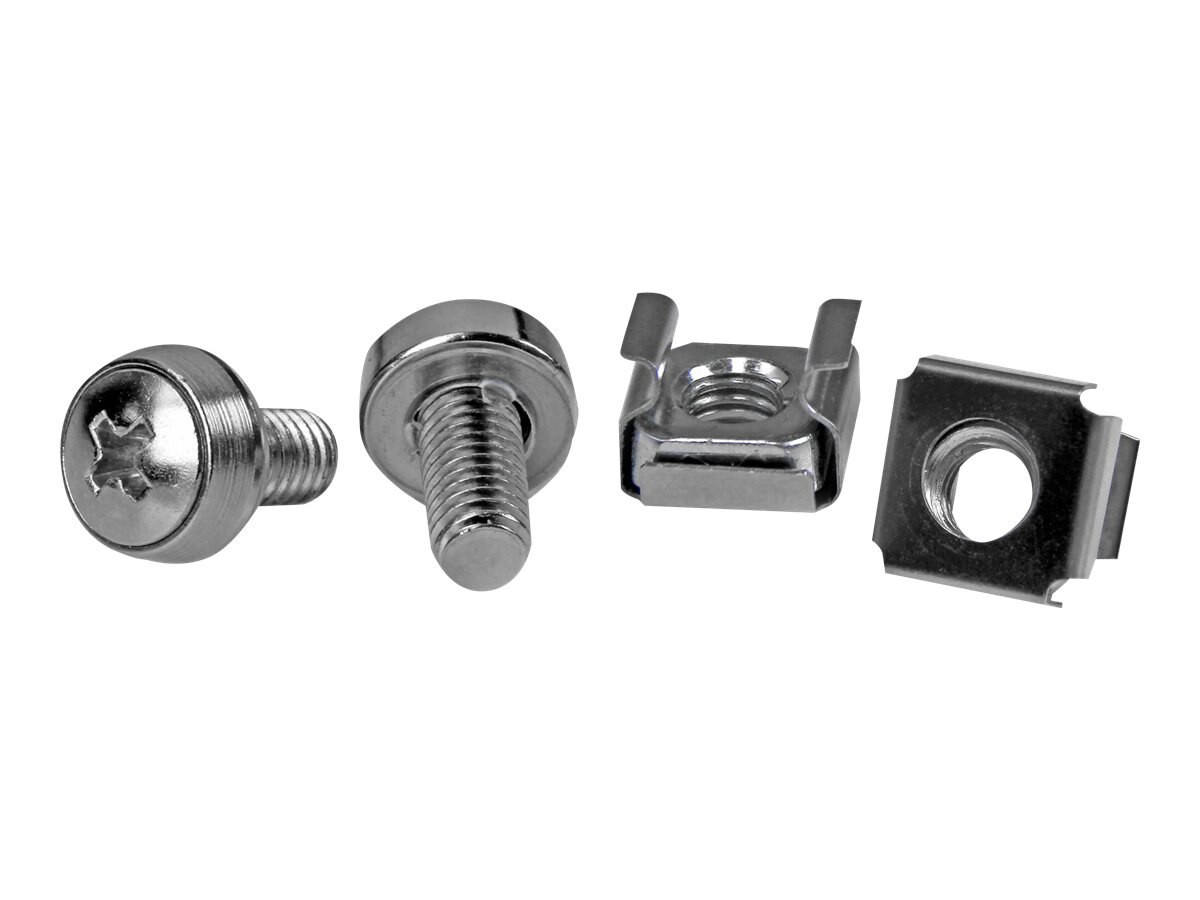
- Server Rack Nuts: These specialized nuts come in various sizes and are designed to fit into the holes of your server rack.
- Wrench or Socket Set: Depending on the type of nuts you have, you’ll need a wrench or socket set that matches the size of the nuts.
- Screwdriver: A Phillips or flathead screwdriver may be required to assist with aligning holes or tightening the nuts.
- Level: Using a level, either a bubble or digital, will help ensure that your server rack is installed straight and level.
- Tape Measure: Get accurate measurements of your server rack and equipment to ensure proper positioning of the nuts.
- Personal Protective Equipment (PPE): Wear appropriate PPE, such as safety glasses and gloves, to protect yourself during the installation process.
Once you have all the necessary tools and materials, you’ll be ready to proceed with the installation of the server rack nuts. Having everything in place before you start will save you time and prevent any unnecessary interruptions during the process.
Step 2: Prepare the Server Rack
Before you can begin installing the server rack nuts, it’s important to properly prepare the server rack itself. This ensures that the nuts will be securely fastened and provide a stable foundation for your equipment. Here are the steps to follow:
- Clean the Rack: Start by cleaning the inside of the server rack to remove any dirt, dust, or debris. Use a soft, dry cloth or a brush to gently clean the surfaces.
- Inspect the Rack: Carefully inspect the rack for any damage, such as bent or misaligned holes. If you notice any issues, address them before proceeding with the installation.
- Position the Equipment: Determine the optimal positioning of your equipment within the server rack. Take into account factors like ventilation, cable management, and accessibility.
- Measure and Mark: Use a tape measure to measure and mark the desired locations for the server rack nuts. Ensure that the marks are consistent and aligned to maintain symmetry.
- Align the Screw Holes: If necessary, gently align any misaligned or obstructed screw holes using a screwdriver. This will help facilitate the smooth insertion of the nuts.
By properly preparing the server rack, you’ll create a suitable environment for the installation of the server rack nuts. This step ensures that the nuts will be securely attached and provide a stable foundation for your valuable equipment.
Step 3: Align the Holes
With the server rack prepared, it’s time to align the holes in both the rack and the equipment you will be installing. Proper alignment is crucial to ensure a secure and stable installation. Follow these steps to align the holes:
- Position the Equipment: Place your equipment on the designated spots within the server rack, aligning them with the previously marked locations.
- Check the Alignment: Use a level or visual inspection to ensure that the equipment is straight and aligned with the rack. Adjust the positioning if needed.
- Align the Holes: Insert one server rack nut into each pre-marked hole on the rack, ensuring that they are aligned with the corresponding holes on the equipment.
- Double-Check Alignment: Verify that the holes on the rack and equipment are perfectly aligned before proceeding to the next step. This will prevent any issues during the tightening process.
Properly aligning the holes is crucial for a secure and stable installation. Take the time to ensure that everything is perfectly aligned before moving on to the next step. This will save you time and frustration in the long run.
Step 4: Insert the Nuts
Now that the holes are properly aligned, it’s time to insert the server rack nuts. The nuts will be locked into place and provide the necessary support for your equipment. Follow these steps to insert the nuts:
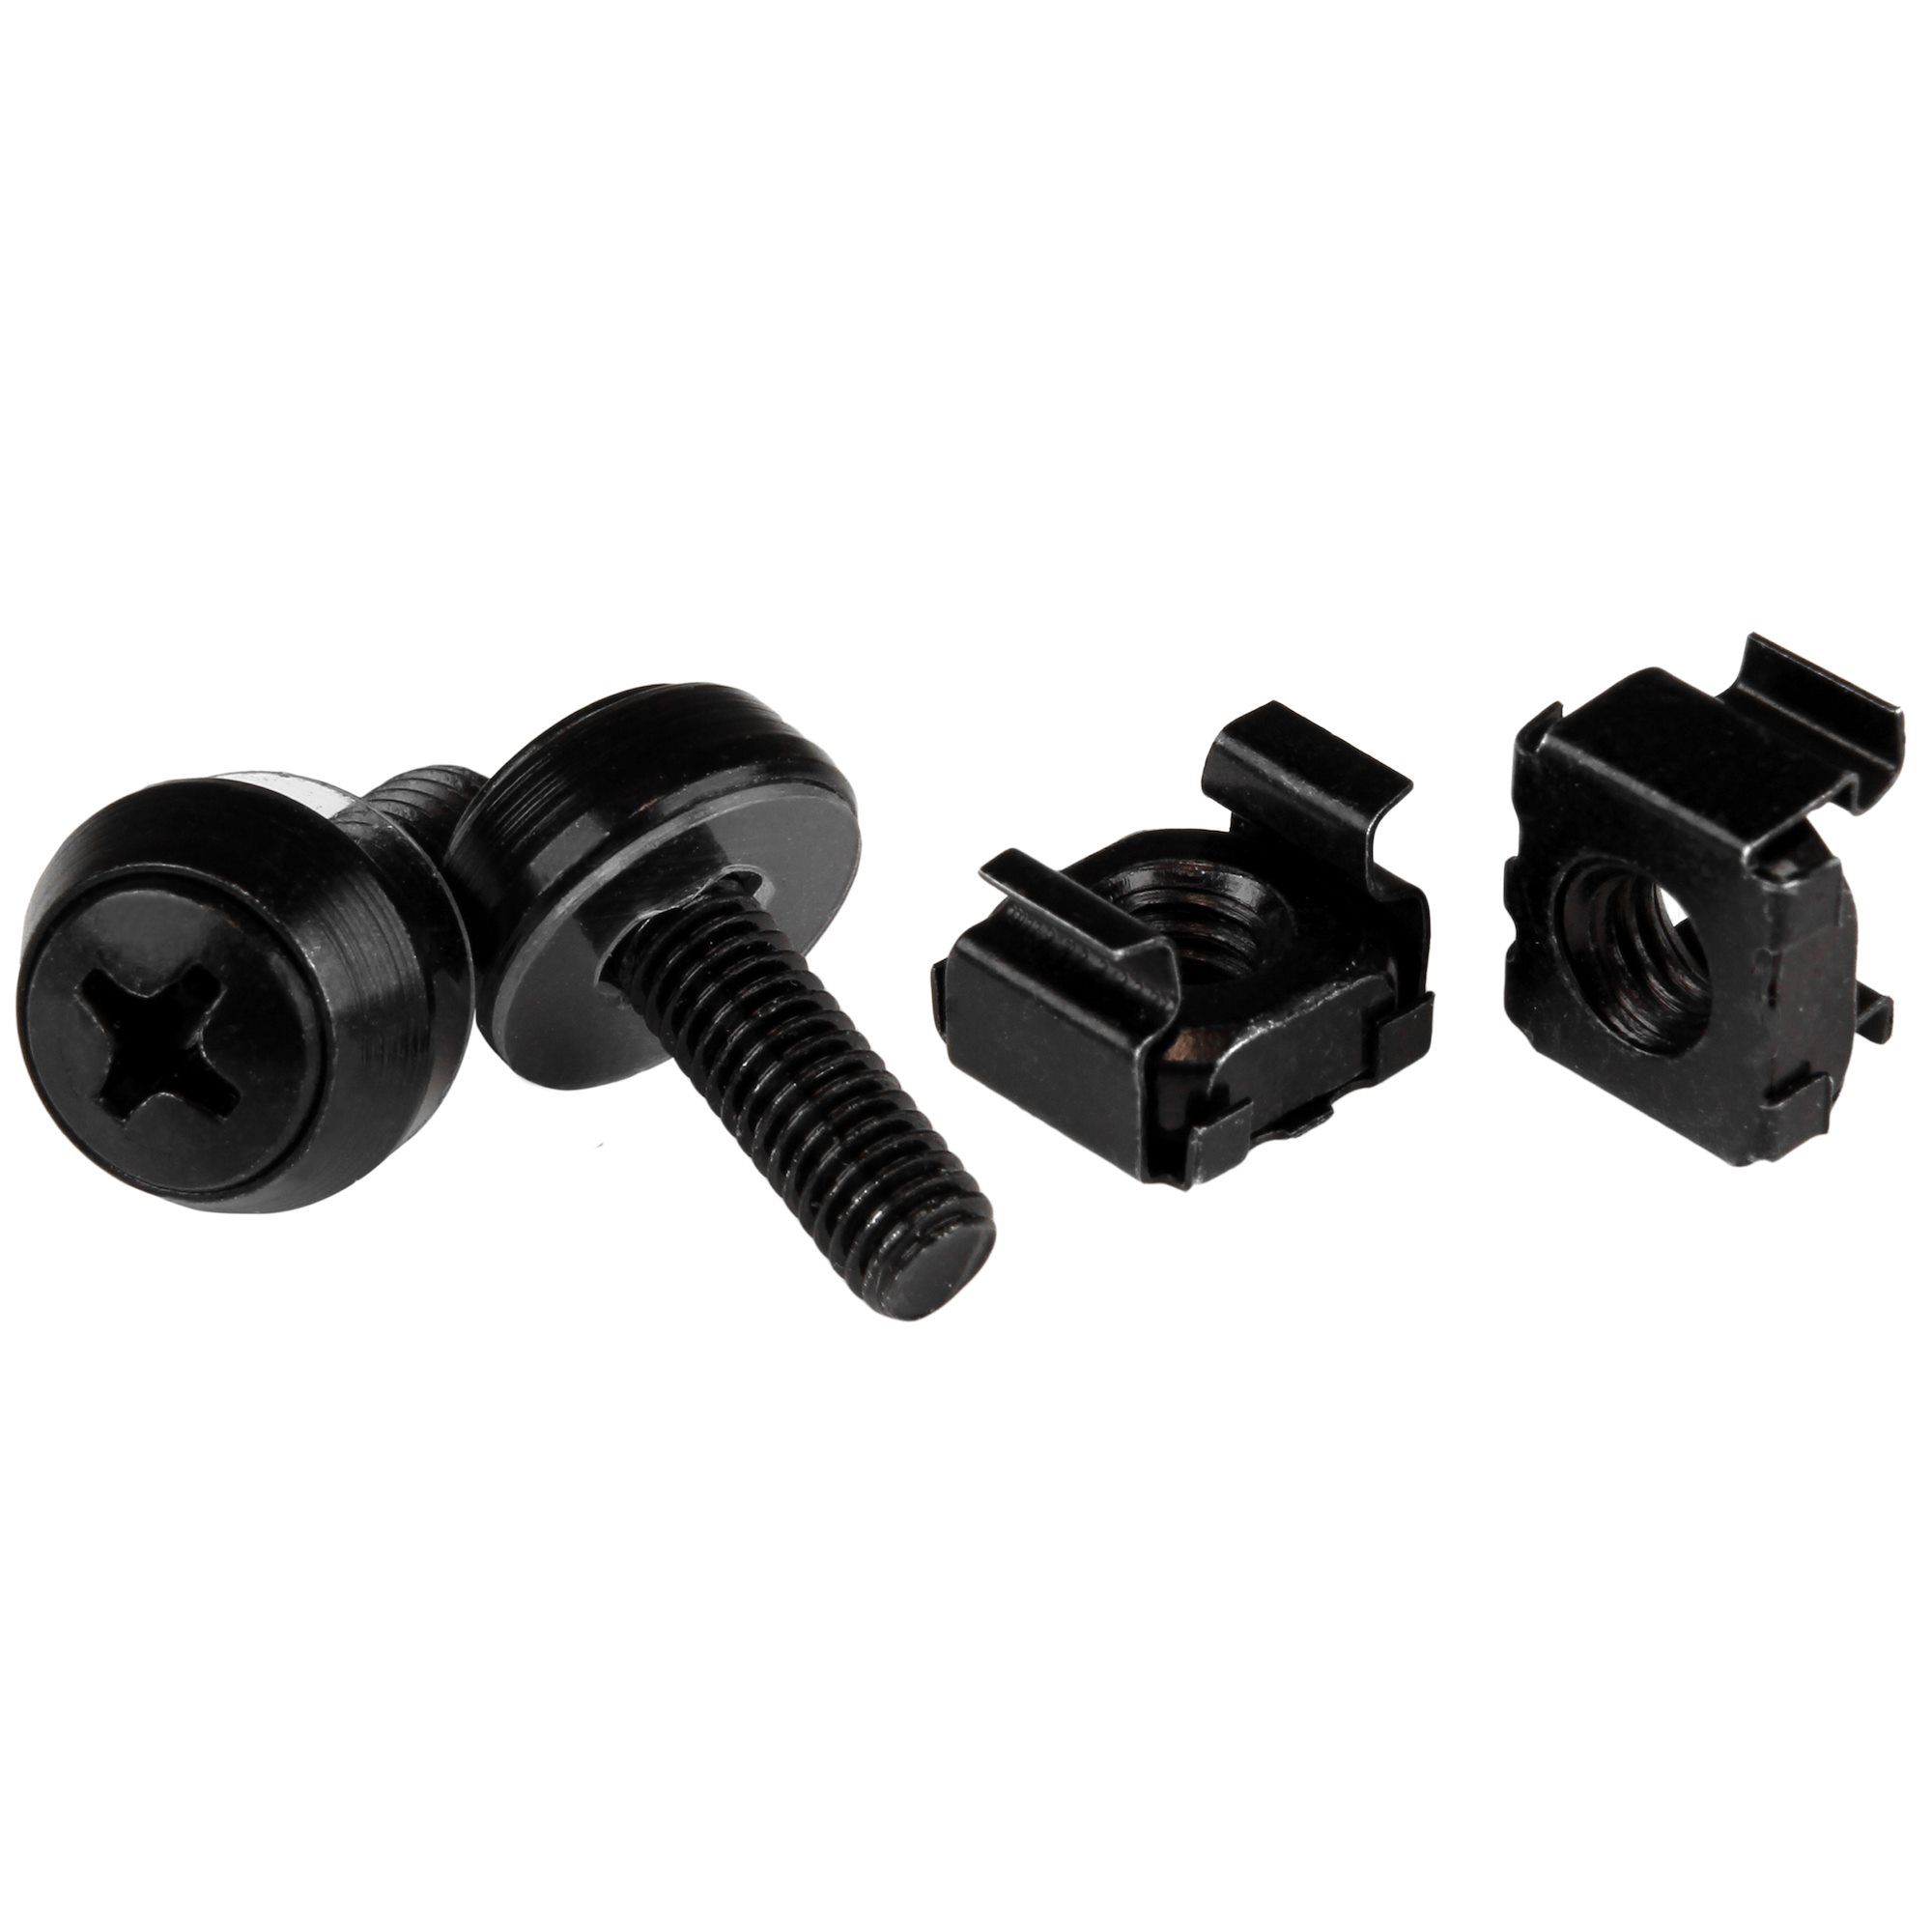
- Select the Correct Nut Size: Ensure you have the right size of server rack nuts that match the holes on your rack and equipment. Using the wrong size can result in ineffective fastening.
- Hold the Nut at the Opening: Take one server rack nut and hold it securely at the opening of the aligned hole on the rack.
- Insert the Nut: Carefully push the nut into the hole, applying gentle pressure until it fits snugly and securely. Repeat this step for all the aligned holes.
- Repeat for Each Piece of Equipment: If you have multiple pieces of equipment to install, repeat the process for each piece, ensuring the proper alignment and insertion of the nuts.
When inserting the server rack nuts, it’s important to work meticulously and ensure a proper fit. The nuts should be snugly inserted, providing a secure foundation for the equipment. Take your time in this step to avoid any potential issues during the tightening process.
Step 5: Tighten the Nuts
After inserting the server rack nuts, it’s time to tighten them to secure your equipment in place. Properly tightened nuts ensure stability and prevent any accidental movement or dislodging of the equipment. Follow these steps to tighten the nuts:
- Select the Correct Wrench or Socket: Use the appropriate wrench or socket size that matches the server rack nuts you have installed.
- Position the Wrench or Socket: Place the wrench or socket securely over the nut, ensuring a tight fit.
- Tighten the Nuts: Apply gentle pressure to begin tightening the nuts in a clockwise motion. Be careful not to overtighten, as this can damage the equipment or strip the threads.
- Ensure Equal Tightness: As you tighten each nut, ensure that they are all tightened to the same degree. This helps maintain balance and stability within the server rack.
It’s important to exercise caution while tightening the nuts. Over-tightening can cause damage, while under-tightening can result in loose equipment. Finding the right balance ensures proper security and stability of the installed equipment.
When tightening the nuts, use firm but controlled pressure. This will help prevent any accidental slips that could damage the equipment or rack. Take your time and ensure that each nut is tightened evenly for optimal results.
Step 6: Test the Stability
Once you have tightened the server rack nuts, it’s essential to test the stability of the installation. Testing the stability ensures that your equipment is securely fastened and minimizes the risk of any potential accidents or damage. Follow these steps to test the stability:
- Gently Shake the Rack: Give the server rack a gentle shake to check if there is any noticeable movement or instability. A properly installed rack should be solid and stationary.
- Check for Loose Nuts: Inspect the nuts to ensure they are still tightly fastened. If you notice any loose nuts, use the wrench or socket to tighten them further.
- Verify Equipment Stability: Examine the installed equipment to confirm that it is securely held in place and not wobbling or shifting in the rack.
- Perform Load Tests: If applicable, load the rack with the intended equipment and check for any signs of instability or strain. Make any necessary adjustments to enhance stability.
By testing the stability of the server rack installation, you can identify and address any potential issues before they become larger problems. It’s crucial to ensure that the rack and equipment are firmly secured to guarantee the safety and efficient functioning of your hardware.
If you encounter any stability issues during the testing phase, reevaluate the installation and make the necessary adjustments. It’s better to spend a little extra time ensuring a stable installation than to risk damage to your equipment or compromise its performance.
Conclusion
Installing server rack nuts is a critical step in setting up a stable and secure server rack. By following the step-by-step process outlined in this guide, you can ensure that your equipment is properly fastened and protected. Let’s recap the key points:
- Gather the Tools and Materials: Collect all the necessary tools and materials before starting the installation.
- Prepare the Server Rack: Clean, inspect, and position the rack to create a suitable environment for the nuts.
- Align the Holes: Properly align the holes in the rack and equipment to ensure a smooth installation.
- Insert the Nuts: Insert the server rack nuts securely into the aligned holes.
- Tighten the Nuts: Use the appropriate wrench or socket to tighten the nuts without overtightening.
- Test the Stability: Shake the rack and check for stability, making any necessary adjustments.
Remember to approach each step with precision and attention to detail. Taking the time to properly install server rack nuts will provide a solid foundation for your equipment and reduce the risk of accidents or damage.
Whether you’re setting up a small home server rack or a large data center, the installation of server rack nuts is a vital component of the process. By following the steps outlined in this guide, you can ensure the longevity and stability of your server rack setup.
Now that you have the knowledge and skills to install server rack nuts, you can confidently embark on your server rack installation journey. Enjoy the secure and efficient use of your equipment in a properly aligned and stable server rack!