Introduction
Changing your power supply unit (PSU) is an essential task for any computer user. Whether you’re looking to replace a faulty unit or upgrading to a more powerful one, installing a new PSU can greatly improve your computer’s performance and reliability. This guide will walk you through the steps of changing your power supply unit, ensuring a smooth and successful installation.
Before we dive into the installation process, it’s important to note that working with computer hardware requires caution and attention to detail. Make sure to take necessary safety precautions such as wearing an anti-static wristband and working in a well-lit, static-free area. Additionally, verify that you have the correct PSU that is compatible with your computer’s hardware specifications.
In this guide, we will cover everything you need to know to successfully change your power supply unit. From preparing for the installation and removing the old PSU to installing the new unit and testing it, we’ve got you covered. So, let’s get started!
Things You Will Need
Before you begin the process of changing your power supply unit, it’s important to gather all the necessary tools and materials. Having everything ready beforehand will help streamline the installation process and ensure you have a smooth experience. Here are the things you will need:
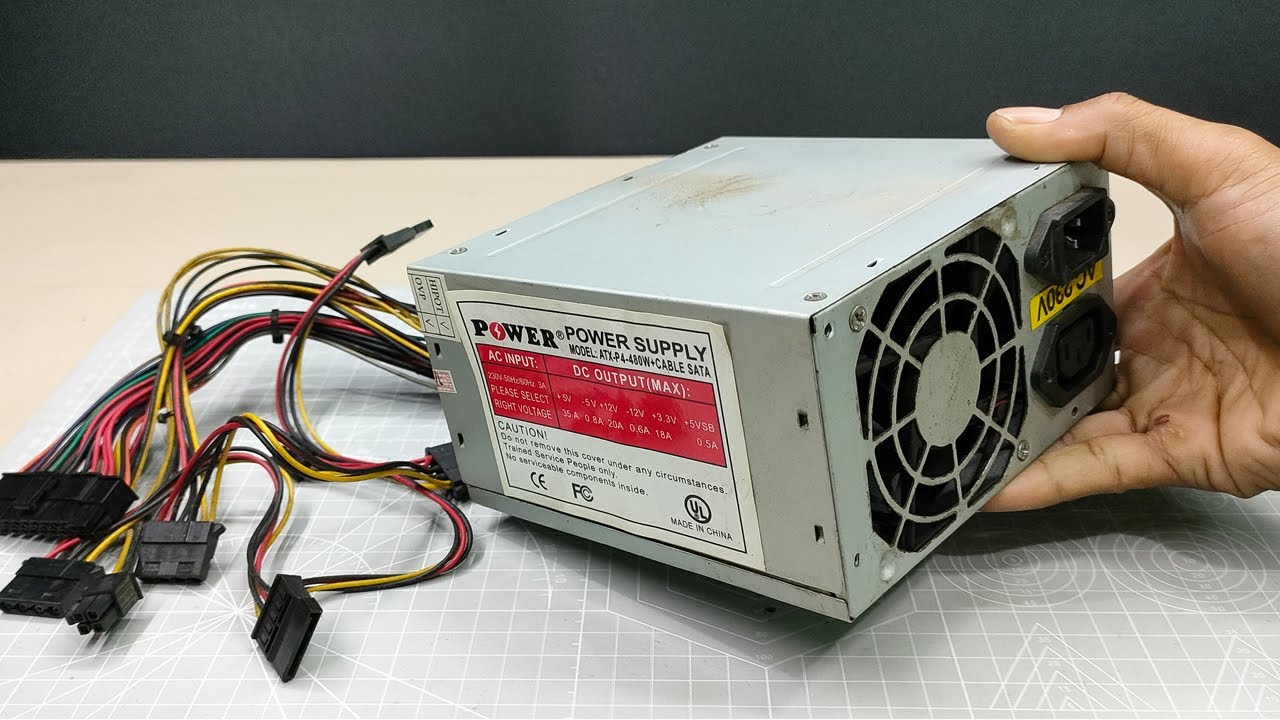
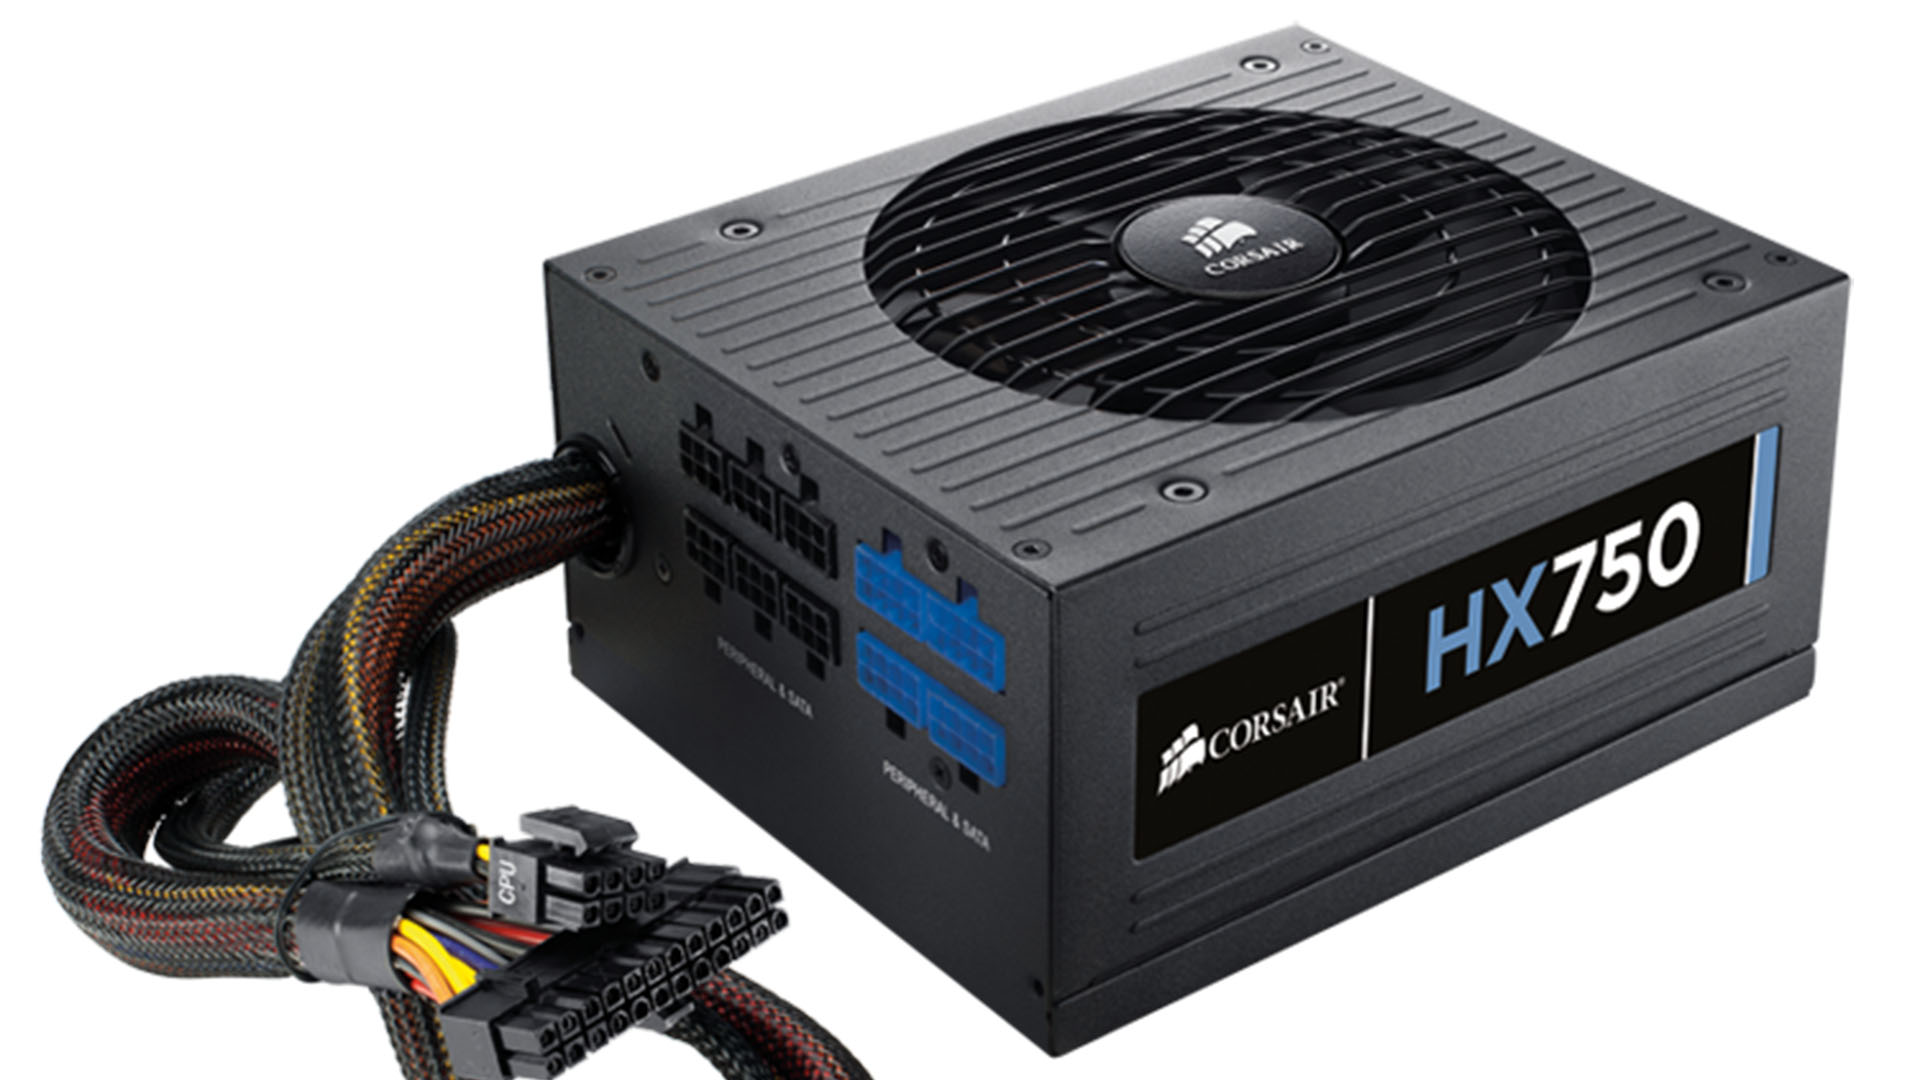
- A new power supply unit: Make sure to choose a PSU that is compatible with your computer’s hardware specifications. Check the wattage, connectors, and form factor to ensure a proper fit.
- Anti-static wristband: This will help protect your computer’s components from static discharge, which can cause damage. Wear it while working on your computer.
- Screwdriver: Most PSUs are secured to the chassis with screws. Have a suitable screwdriver on hand to remove and install these screws.
- Cable ties or zip ties: These will come in handy for managing the cables and keeping them organized inside your computer case.
- Clean cloth or compressed air: It’s a good idea to have a clean cloth or compressed air cans to remove any dust or debris that may have accumulated inside your computer case.
In addition to these items, it’s always a good idea to have the instruction manual for your computer and the new power supply unit handy. The manual will provide specific information about your computer’s hardware and assist you throughout the installation process.
By having all these things ready to go, you’ll be well-prepared to tackle the task of changing your power supply unit and ensure a successful installation.
Step 1: Preparing for the Installation
Before you start changing the power supply unit, there are a few important preparations you need to make to ensure a smooth and safe installation process:
1. Turn off the computer: Shut down your computer completely and unplug the power cord from the wall outlet. This will prevent any risk of electric shock during the installation process.
2. Prepare a clean workspace: Find a clean and well-lit area where you can work comfortably. Make sure the surface is static-free to prevent any static electricity from damaging the sensitive computer components.
3. Take antistatic precautions: To avoid static discharge that could harm your computer’s components, wear an antistatic wristband and connect it to a grounded surface. Alternatively, you can periodically touch a grounded metal object to discharge any static buildup.
4. Assess the space and compatibility: Take a look inside your computer case to evaluate the available space and check the dimensions of your new power supply unit to ensure it fits properly. Refer to your computer and PSU manuals for compatibility information.
5. Read the manuals: Familiarize yourself with the instruction manual provided with your new PSU. This will give you a better understanding of the installation process specific to your model. The computer manual may also provide additional instructions and guidelines.
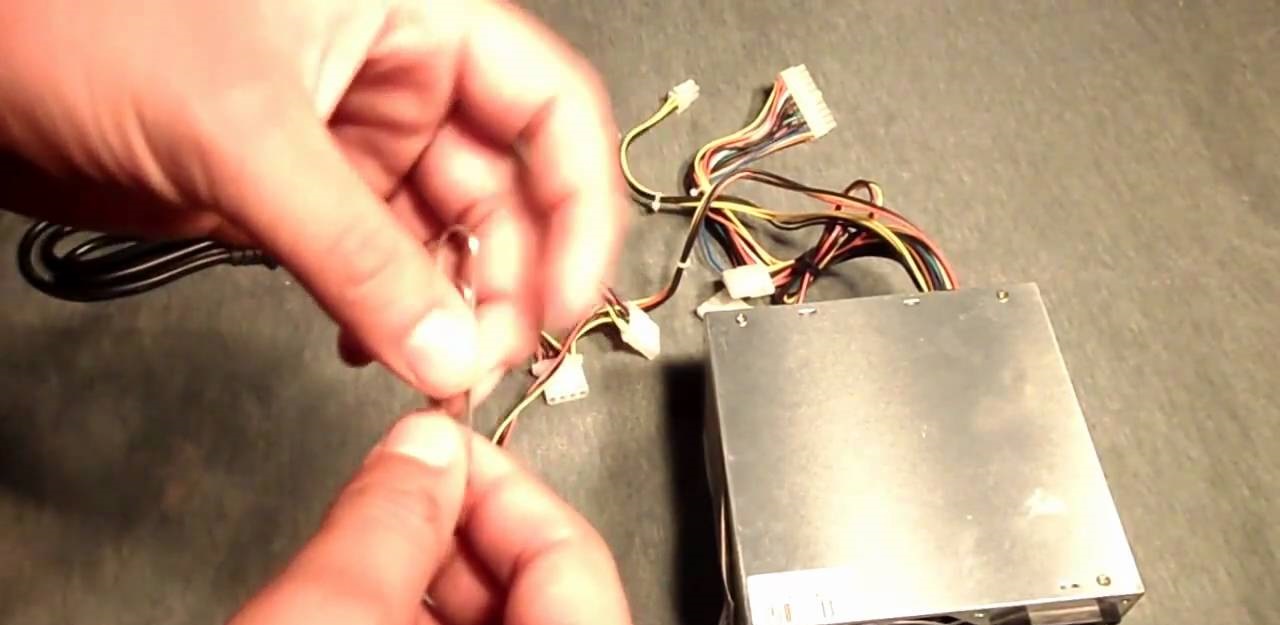
6. Prepare the cables: Take a moment to organize and untangle the cables from the old power supply unit. This will make it easier to remove and install the new PSU without any unnecessary tugging or tangling.
By preparing your workspace, taking antistatic precautions, assessing compatibility, and familiarizing yourself with the manuals, you’ll ensure a smooth and efficient installation process. Taking the time to complete these initial steps will help minimize any potential issues and set you up for success. Once you’ve completed these preparations, you can move on to the next step of removing the old power supply unit.
Step 2: Unplugging and Removing the Old Power Supply Unit
Now that you’ve prepared for the installation, it’s time to proceed with removing the old power supply unit from your computer. Follow these steps:
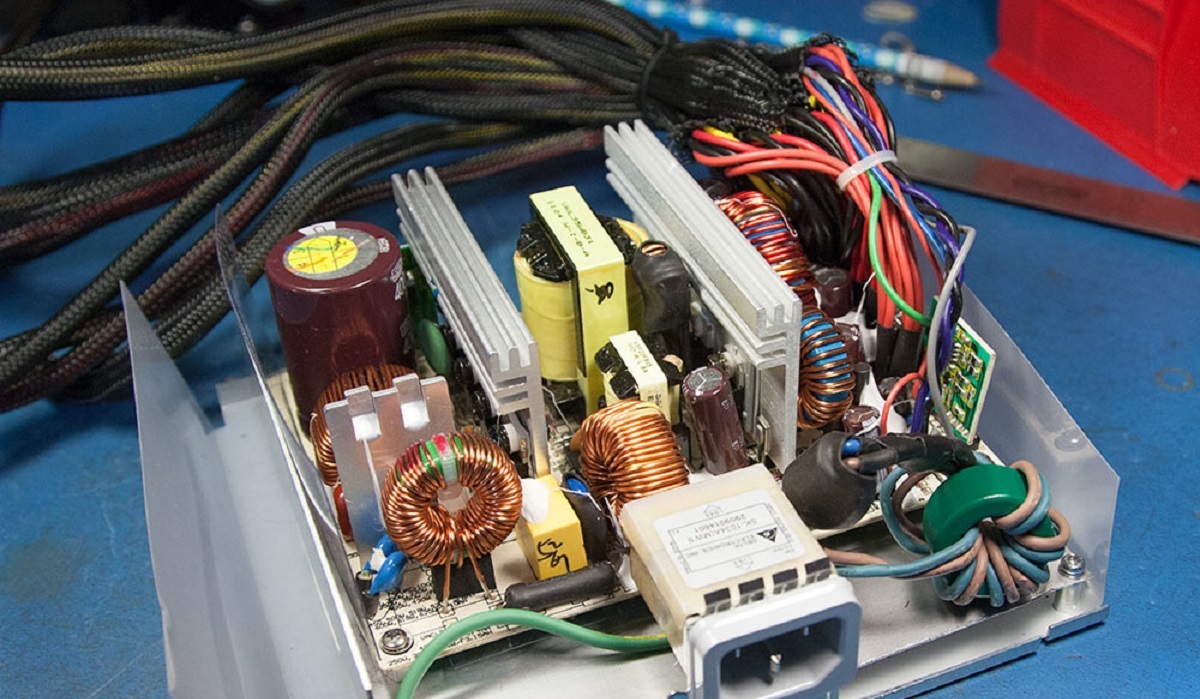
1. Locate the power supply unit: Identify the current power supply unit inside your computer case. It’s typically located at the top or bottom rear of the case. Take note of how it is mounted and connected to the other components.
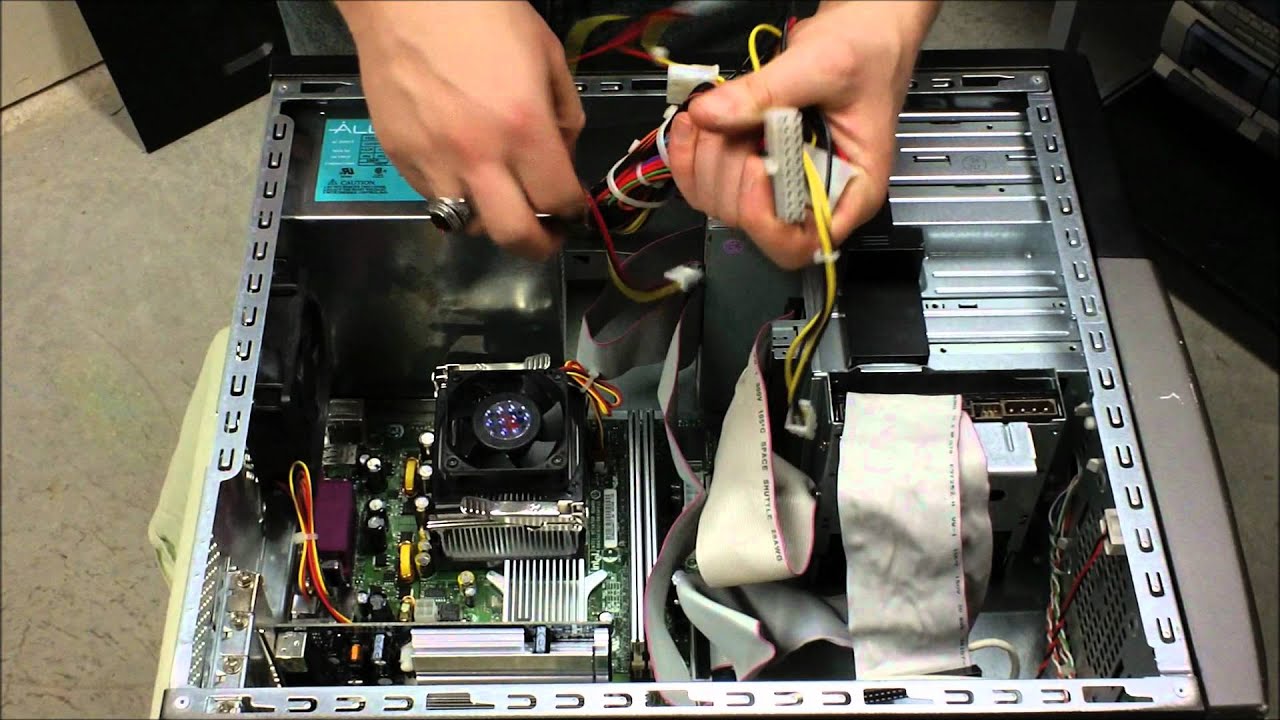
2. Unplug all cables: Carefully disconnect all cables connected to the power supply unit. These may include the motherboard’s main power connector, peripheral connectors like SATA or Molex, graphics card power connectors, and any other devices connected directly to the PSU.
3. Remove the mounting screws: Use a screwdriver to remove any screws securing the power supply unit to the computer case. There may be multiple screws holding it in place. Set the screws aside in a safe place as you will need them later.
4. Slide out the old power supply unit: Gently slide the old power supply unit out of its mounting position. Be cautious of any other components or cables that may be obstructing its removal. Take your time to avoid damaging any of the computer’s internal parts.
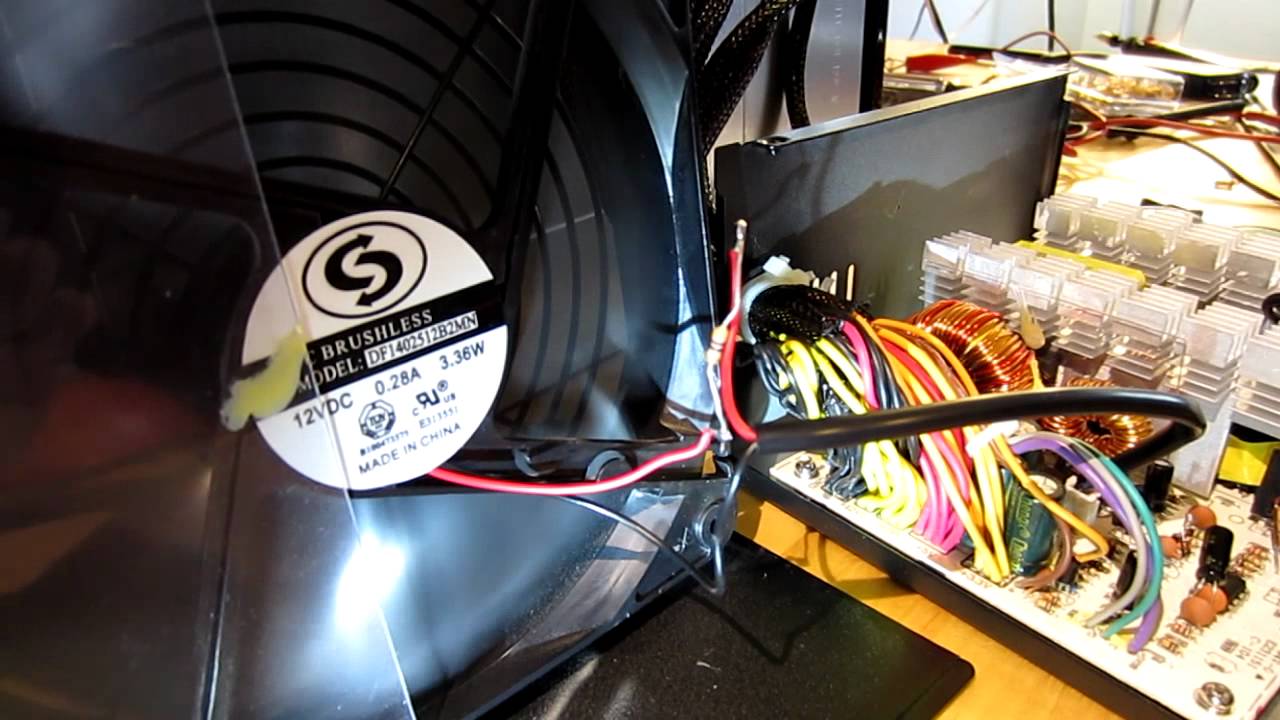
5. Clean any dust or debris: While the power supply unit is removed, take the opportunity to clean any dust or debris that may have accumulated inside the computer case. Use a clean cloth or compressed air to carefully remove any buildup, ensuring proper airflow for the new PSU.
By following these steps, you will safely and effectively remove the old power supply unit from your computer. Take your time to ensure all cables are disconnected, and be gentle when sliding out the PSU. Once the old unit is removed, you can move on to the next step of installing the new power supply unit.
Step 3: Installing the New Power Supply Unit
Now that you have successfully removed the old power supply unit, it’s time to install the new one. Follow these steps to ensure a proper installation:
1. Position the new power supply unit: Carefully slide the new power supply unit into the vacant spot in the computer case. Align it with the mounting holes, ensuring that it sits flush and secure.
2. Secure the unit with screws: Using the screws you set aside earlier, firmly attach the new power supply unit to the computer case. Make sure you tighten the screws enough to hold the PSU in place, but be careful not to overtighten and damage the unit or the case.
3. Connect the main power cable: Locate the main power cable from the PSU. It typically has a large 20+4 pin connector that connects to the motherboard. Align the pins with the corresponding slot on the motherboard and gently push it in until it clicks into place.
4. Connect the peripheral cables: Take the necessary cables from the power supply that correspond to the peripherals in your computer, such as SATA or Molex connectors for hard drives or graphics card power connectors. Connect each cable to the respective component securely.
5. Organize the cables: Use cable ties or zip ties to neatly manage the cables inside the computer case. This will improve airflow and prevent any interference with other components. Make sure the cables are arranged in a way that doesn’t obstruct the fans or block any air vents.
By following these steps, you will successfully install the new power supply unit in your computer. Take your time to ensure everything is securely connected and that the cables are properly organized. Once you’ve completed these steps, you’re ready to move on to the next step of connecting the cables.
Step 4: Connecting the Cables
After installing the new power supply unit, it’s time to connect the necessary cables to ensure proper functionality. Follow these steps to effectively connect the cables:
1. Motherboard connections: Locate the various power connectors on the power supply unit that are meant for the motherboard. These typically include the 24-pin main power connector and an additional 4 or 8-pin CPU power connector. Align the connectors with the corresponding ports on the motherboard and firmly plug them in until they click into place.
2. Peripheral connections: Next, identify the peripheral connectors on the power supply unit. Depending on your computer’s configuration, these connectors may include SATA, Molex, or PCIe connectors. Connect the appropriate cables from the power supply to the corresponding peripherals, such as hard drives, optical drives, and expansion cards.
3. Graphics card connections: If you have a dedicated graphics card, it may require additional power connectors from the power supply unit. Check the graphics card’s specifications and locate the necessary PCIe power connectors. Connect these cables securely to the graphics card to provide the necessary power for optimal performance.
4. Other component connections: Depending on your specific computer setup, you may have additional components that require power connections. These can include case fans, RGB lighting systems, or other accessories. Connect the necessary cables from the power supply unit to these components, ensuring a secure and proper fit.
5. Double-check the connections: Once all the cables are connected, take a moment to double-check and ensure that each connection is secure. Make sure there are no loose cables or any connectors that are not fully inserted.
By following these steps, you will effectively connect the necessary cables to your new power supply unit. Take your time to properly align and secure each connection, ensuring that all components have the power they need to operate correctly. Once you’ve completed these steps, you’re ready to move on to the final step of testing the new power supply unit.
Step 5: Testing the New Power Supply Unit
After installing and connecting all the cables to your new power supply unit, it’s important to test it to ensure everything is functioning properly. Here are the steps to test the new PSU:
1. Reconnect the power cord: Plug the power cord back into the wall outlet and connect the other end to the power supply unit.
2. Turn on the computer: Press the power button on your computer to turn it on. If everything is connected properly, the computer should boot up as usual.
3. Check for unusual sounds or smells: Listen carefully for any unusual noises, such as buzzing or whining sounds. Also, be on the lookout for any unusual smells, which could indicate a potential issue with the power supply unit.
4. Monitor the power supply unit: Keep an eye on the power supply unit during the initial startup and while the computer is running. Look for any signs of overheating, such as excessive heat radiating from the PSU or abnormal fan speeds. If you notice anything out of the ordinary, shut down the computer immediately and investigate the issue further.
5. Monitor system stability: Once the computer has booted up, test its stability by performing various tasks, such as running applications or playing games. Pay attention to any unexpected system crashes, freezes, or unusual behavior. These could be indications of a power supply-related issue.
If everything appears to be working properly and the computer is running smoothly without any issues, congratulations! You have successfully installed and tested your new power supply unit. However, if you encounter any problems or abnormalities during the testing process, it’s essential to troubleshoot and address the issue as soon as possible.
Remember, a faulty power supply unit can cause system instability or damage to other computer components, so it’s crucial to resolve any issues promptly. Consult the product manual or seek professional assistance if you’re unsure or need further guidance.
By following these steps and testing the new power supply unit, you can ensure the proper functioning of your computer and enjoy its improved performance and reliability.
Conclusion
Changing your power supply unit may seem like a daunting task, but with the proper preparation and step-by-step guidance, it can be a straightforward process. By following the steps outlined in this guide, you should now be equipped with the knowledge and confidence to replace your old power supply unit with a new and improved one.
Remember to always prioritize safety by ensuring the computer is powered off and unplugged during the installation process. Take the necessary precautions to prevent static discharge and make sure you have the right tools and materials needed for the job.
We covered the importance of preparing for the installation, including assessing compatibility and reading the manuals. Additionally, we discussed the process of removing the old power supply unit, installing the new one, connecting the necessary cables, and testing the unit for proper functionality.
Following these steps will not only ensure that your new power supply unit is installed correctly, but it will also enhance the performance and stability of your computer. A reliable PSU is essential for providing consistent and clean power to your components, which can result in improved overall system performance and longevity.
If you encounter any issues during the installation or testing process, don’t hesitate to consult the instruction manuals or seek assistance from a professional. It’s better to address any problems promptly to prevent further complications or potential damage to your computer.
Now, armed with the knowledge gained from this guide, you can confidently upgrade your power supply unit and enjoy a more efficient and reliable computing experience. Happy computing!