Introduction
When it comes to powering our electronic devices, the power supply unit plays a crucial role. It ensures that the correct amount of electricity is delivered to all the components, allowing them to function properly. However, like any other component, the power supply unit can sometimes encounter issues or fail completely, leaving us in a state of frustration and inconvenience.
In this article, we will guide you through the process of jump-starting your power supply unit, a practical troubleshooting technique that can help get your devices up and running again. Whether it’s a malfunctioning power supply or a sudden power outage, knowing how to jump-start your power supply unit can save you time and money.
We’ll go through a step-by-step process to assess the problem, check the connections, reset the power supply unit, and test its functionality. If necessary, we’ll also discuss when it’s time to consider replacing the power supply unit.
By the end of this article, you’ll have a clear understanding of how to jump-start your power supply unit and get your devices back online in no time. So, let’s dive in and tackle those power supply issues!
Assessing the Problem
Before you can jump-start your power supply unit, it’s essential to assess the problem and determine the root cause of the issue. Start by checking if there is any obvious physical damage to the power supply unit, such as loose connections or visible signs of burning or corrosion. If you notice any physical damage, it may be necessary to replace the power supply unit altogether.
Next, consider any recent changes or events that could have triggered the power supply problem. Perhaps there was a power outage, or you recently installed new hardware or software that could have caused an overload. Understanding the context can help in diagnosing the issue.
Additionally, pay close attention to any error messages or unusual behavior exhibited by your electronic devices. This can provide valuable clues as to where the problem lies. If only one device is affected, it may indicate a specific component issue rather than a problem with the power supply unit itself.
Furthermore, consider testing the power outlet where the device is plugged in. Faulty outlets or power surges can also cause power supply problems. You can use a voltage tester or plug a different device into the outlet to check if it’s functioning correctly.
Finally, it’s worth noting that certain power supply issues may be more complex and require professional assistance. If you are unsure or uncomfortable with diagnosing the problem yourself, it’s always a good idea to consult a technician who can provide expert guidance.
By thoroughly assessing the problem and gathering as much information as possible, you will have a clear starting point for jump-starting your power supply unit and resolving the issue.
Checking the Connections
One of the most common causes of power supply issues is loose or faulty connections. It’s crucial to ensure that all the connections are secure and properly plugged in. Here are some steps to follow when checking the connections:
- Turn off and unplug the power supply unit. Safety should always be a priority when handling electrical components.
- Open the case of your device, if applicable, to gain access to the internal components and the power supply unit.
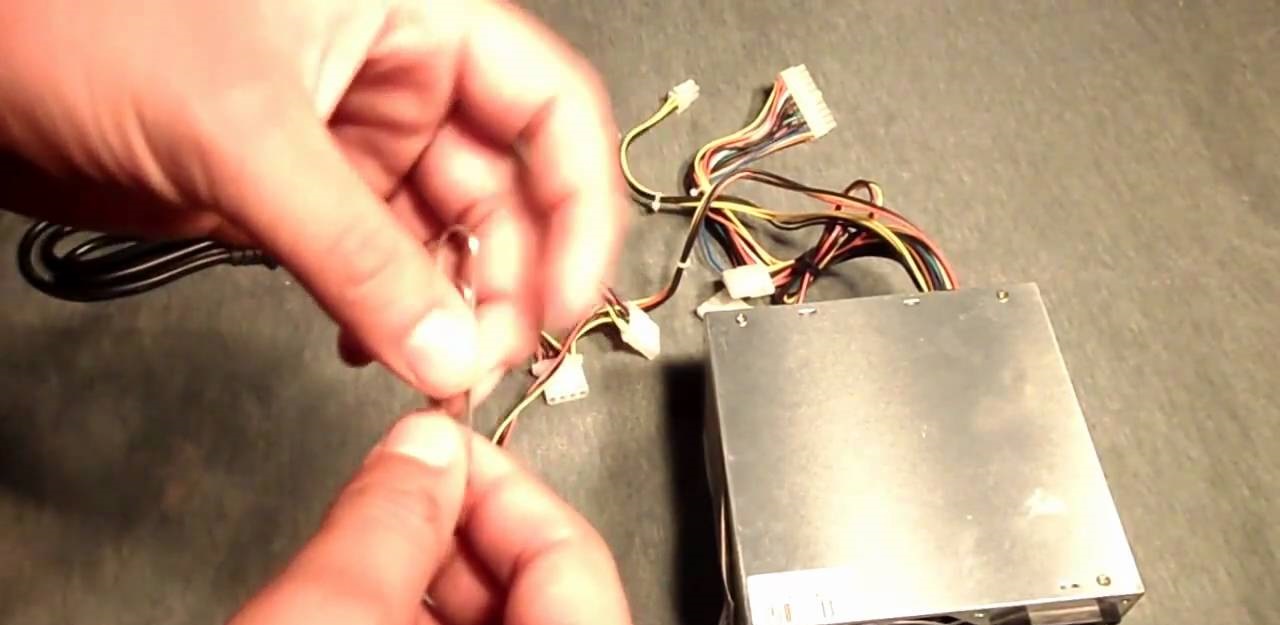
- Inspect the connections between the power supply unit and the motherboard, graphics card, hard drives, and any other devices that rely on the power supply.
- Ensure that all cables are firmly connected and that there are no bent pins or damaged wires.
- If you have modular cables, double-check that each connector is securely plugged into the power supply unit.
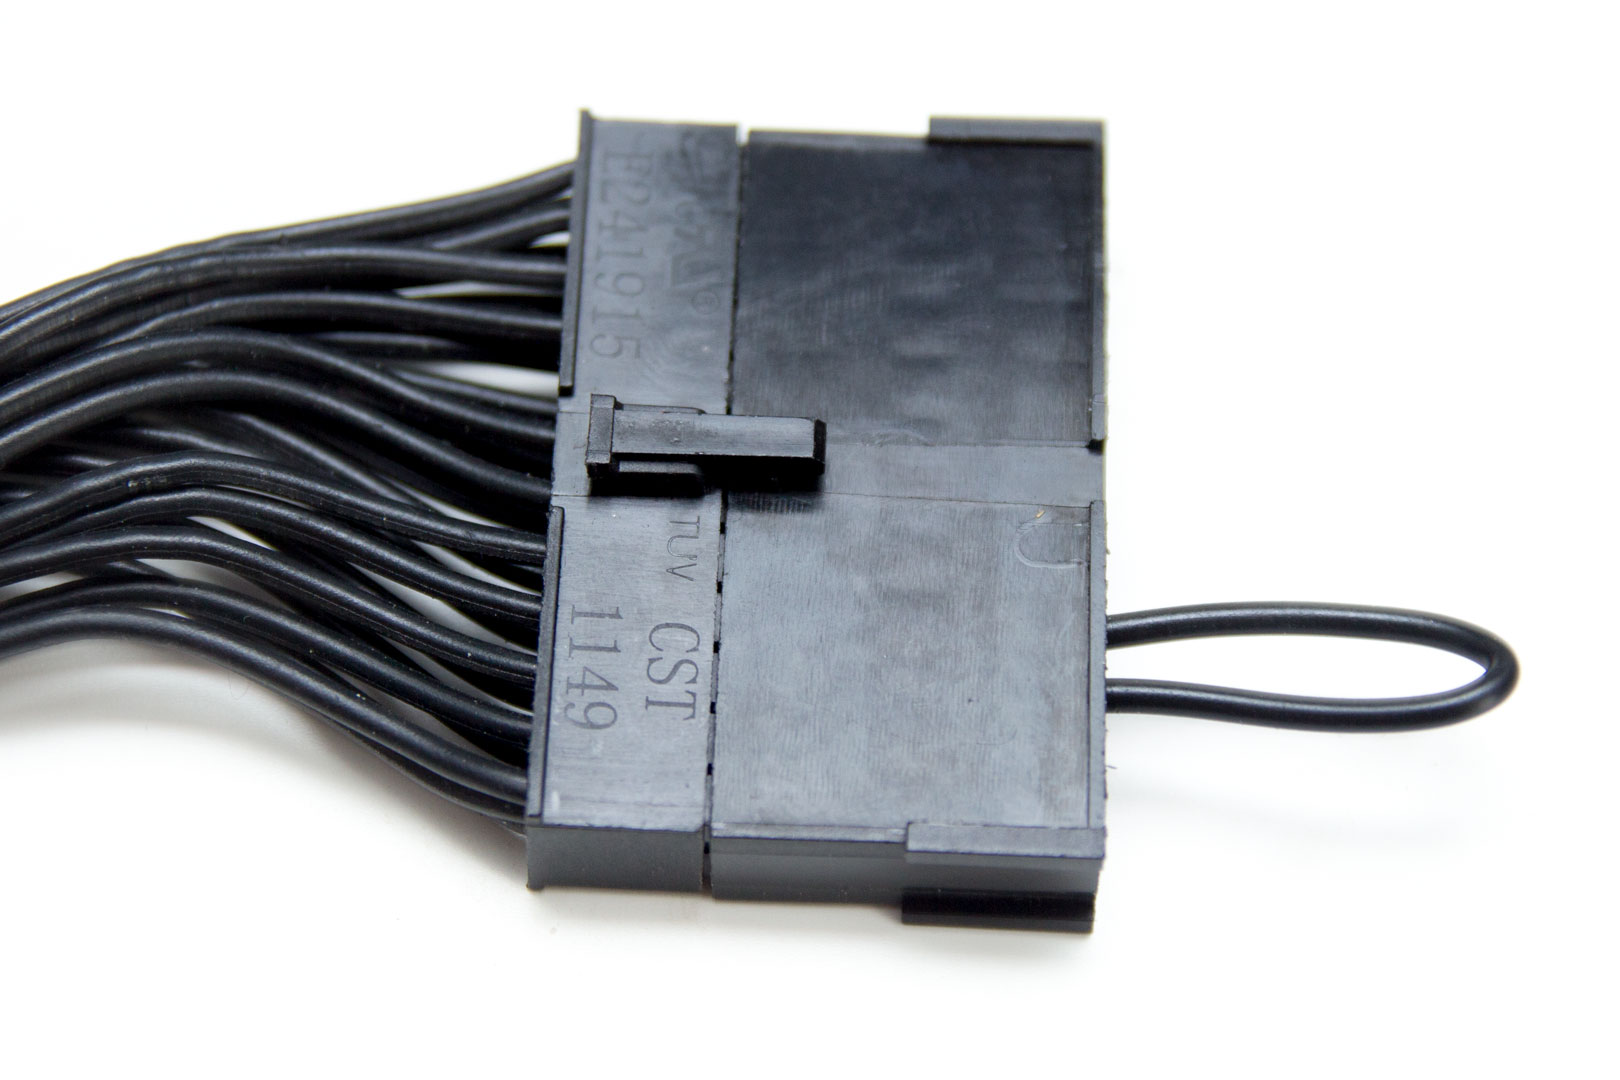
- Pay attention to the 24-pin ATX power connector and the 4 or 8-pin CPU power connector. These are essential for providing power to the motherboard and processor.
- Inspect the power cables leading to other components. Look for any signs of damage or fraying. Replace any cables that appear to be worn out.
- Once you have checked all the connections, close the case of your device and plug it back in.
- Turn on the power supply unit and observe if the issue persists. It’s important to keep an eye out for any error messages or unusual behavior.
By meticulously checking the connections, you can eliminate any potential issues caused by loose or faulty connections. However, if the problem persists, it’s time to move on to the next step: resetting the power supply unit.
Resetting the Power Supply Unit
If checking the connections doesn’t solve the power supply issue, the next step is to reset the power supply unit. Resetting the power supply can help clear any internal faults or errors that may be causing the problem. Here’s how you can reset the power supply unit:
- Turn off and unplug the power supply unit from the wall outlet.
- Locate the power supply switch, usually located on the back of the unit, and flip it to the “Off” position.
- Wait for about 30 seconds to 1 minute to allow any residual power to dissipate.
- With the power supply switch still in the “Off” position, plug the unit back into the wall outlet.
- Flip the power supply switch back to the “On” position.
- Wait for a few seconds and then turn on your device to see if the power supply issue has been resolved.
Resetting the power supply unit can sometimes fix minor issues or glitches that occur within the unit. It essentially reboots the power supply and allows it to start fresh. However, if the problem persists even after resetting, it may be an indication that the power supply unit needs to be replaced with a new one.
Before moving on to replacing the power supply unit, it’s important to test the functionality of the unit to ensure it’s not a different component causing the issue.
Testing the Power Supply Unit
After checking the connections and resetting the power supply unit, it’s essential to test its functionality before considering a replacement. Testing the power supply unit will help determine if it’s providing the correct voltage and power to your electronic devices. Here’s how you can test the power supply unit:
- Disconnect all devices from the power supply unit, including the motherboard, graphics card, and any other peripherals.
- Locate the 24-pin ATX power connector on the power supply unit.
- Use a power supply tester or a multimeter to measure the voltage levels of the 24-pin ATX power connector.
- Check the voltage levels against the specifications provided by the power supply manufacturer. This information can usually be found in the user manual or on the manufacturer’s website.
- If the voltage levels are within the acceptable range, it indicates that the power supply unit is functioning correctly.
- Reconnect the power supply unit to the motherboard and other devices.
- Turn on your device and observe if the power supply issue has been resolved.
If the voltage levels measured during the testing are outside the acceptable range or if the power supply unit is still experiencing issues, it’s highly likely that the unit is faulty and needs to be replaced.
Remember, power supply units are relatively affordable components, and it’s generally recommended to replace them rather than attempting to repair them. A faulty power supply unit can cause damage to other components, so it’s essential to address the issue promptly.
In the next section, we will discuss when it’s time to consider replacing the power supply unit and provide some guidance on the replacement process.
Replacing the Power Supply Unit
If all other troubleshooting steps have been exhausted and the power supply unit continues to cause issues, it’s time to consider replacing it. Here’s a step-by-step guide on how to replace the power supply unit:
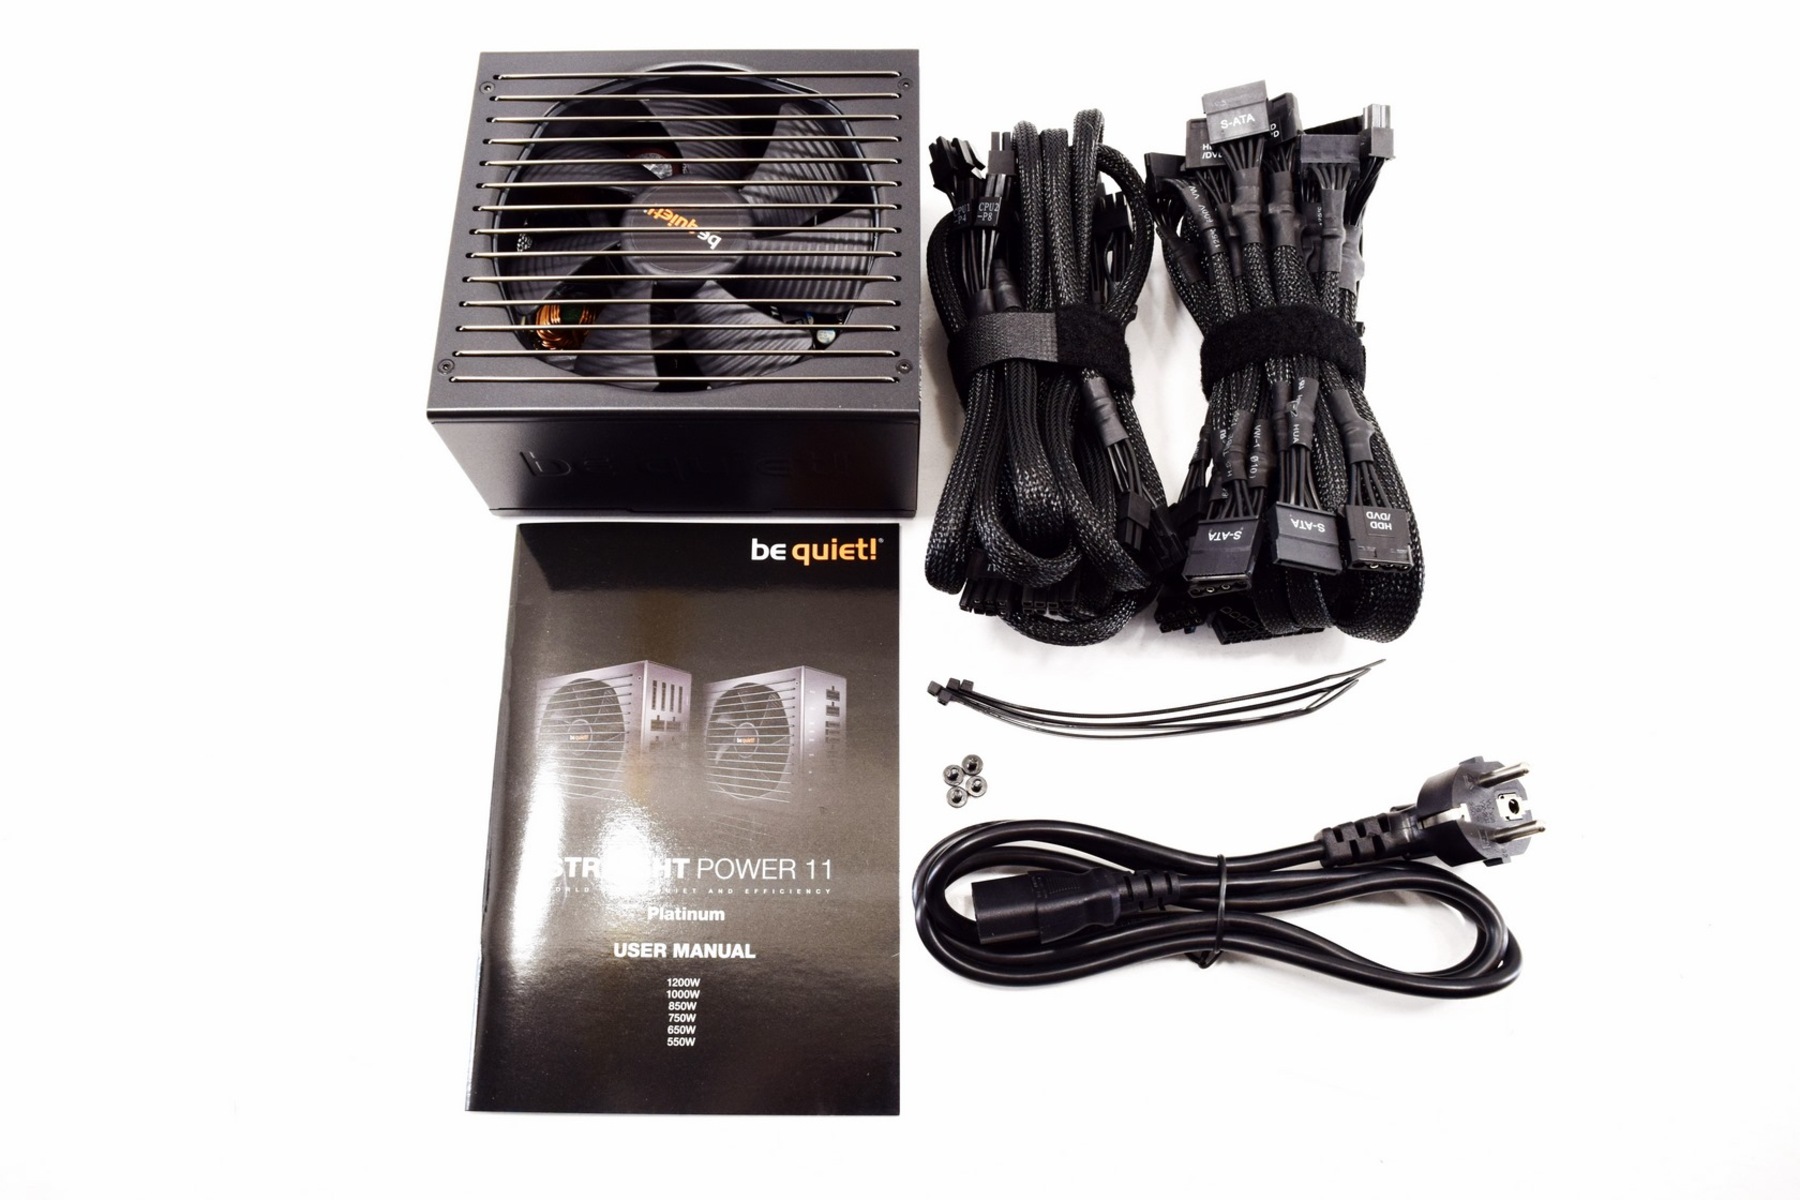
- Ensure that you have obtained a compatible power supply unit for your device. Check the wattage requirements, form factor, and any specific connectors needed.
- Turn off and unplug your device, and open the case to gain access to the internal components.
- Disconnect the power supply cables from all components, including the motherboard, graphics card, and any other devices.
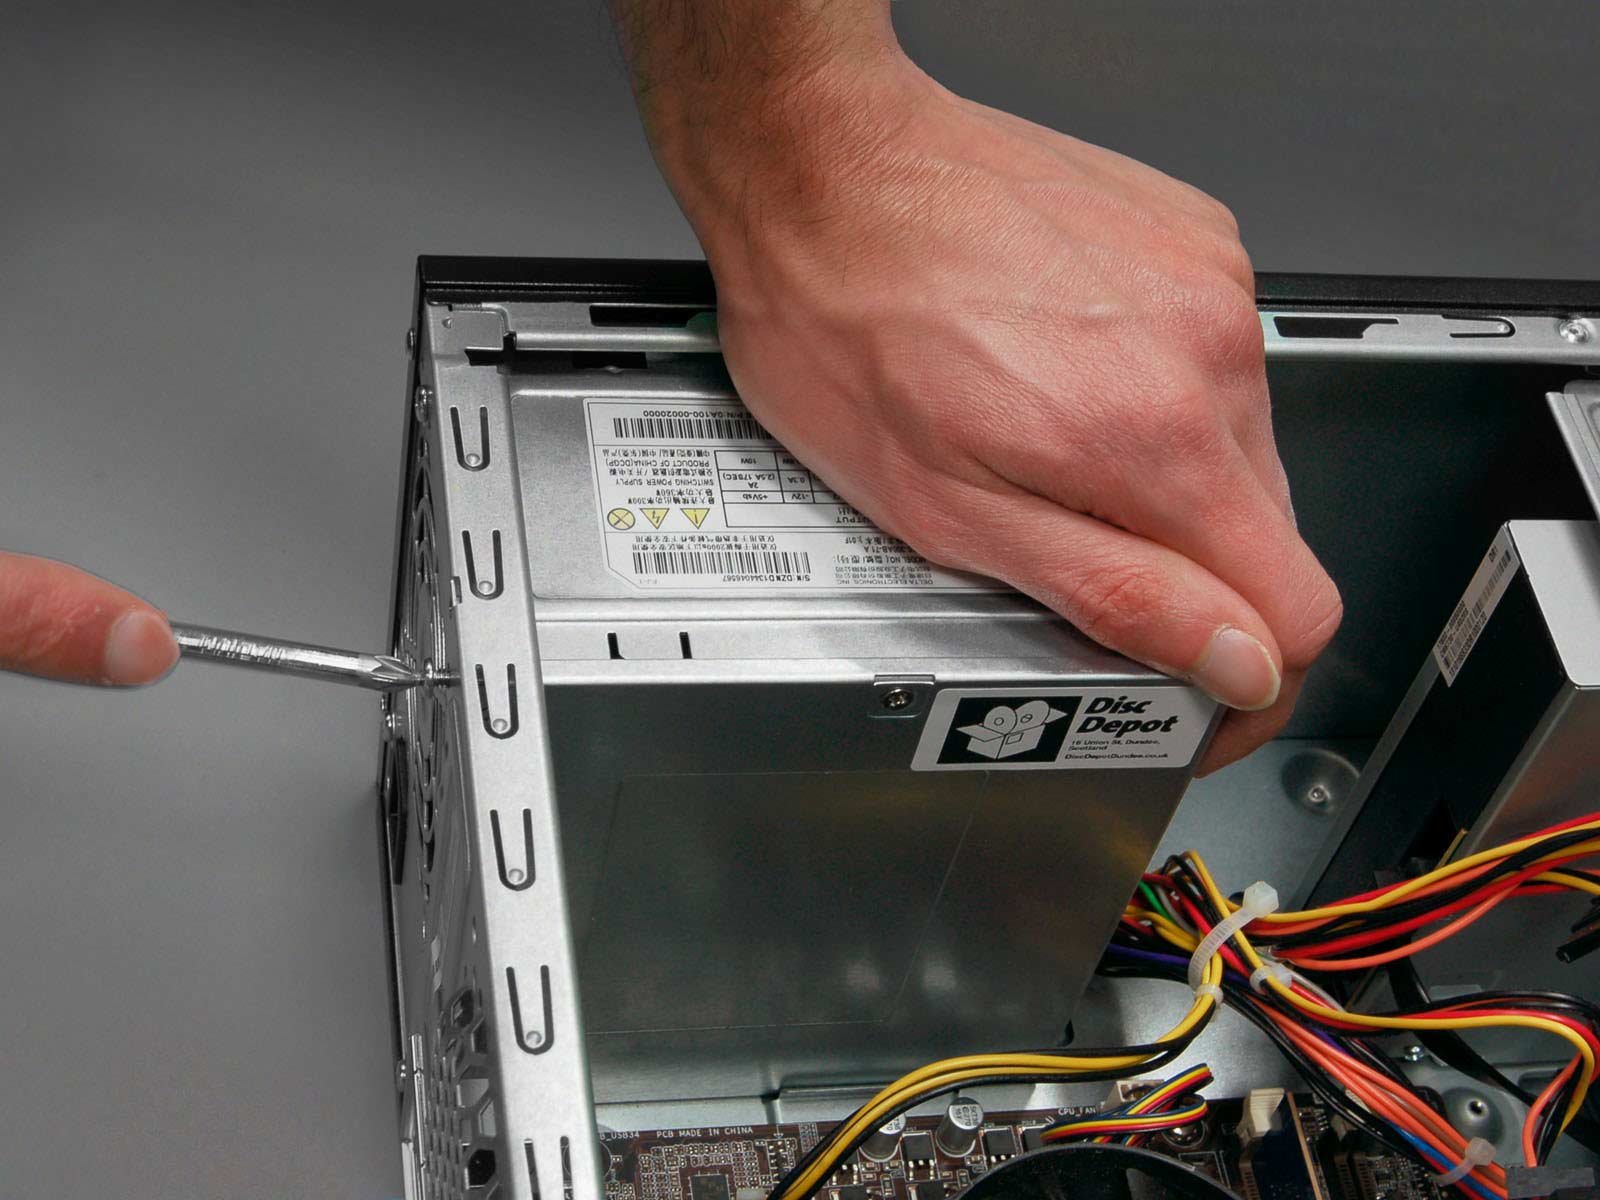
- Remove any screws or fastenings that secure the power supply unit to the case. Carefully slide out the old power supply unit.
- Insert the new power supply unit into the case, aligning it with the mounting holes. Secure it in place using the screws or fastenings.
- Connect the power supply cables to the corresponding components, ensuring a snug and secure connection.
- Double-check all connections to ensure they are properly seated and connected.
- Close the case of your device and plug it back into the power outlet.
- Turn on your device and observe if the power supply issue has been resolved. The system should now receive the necessary power for proper functionality.
Replacing the power supply unit can be a relatively straightforward process, but it’s important to exercise caution and take the necessary safety measures. Always refer to the manufacturer’s instructions and guidelines specific to your device.
If you are unsure about the replacement process or lack the technical expertise, it’s recommended to seek professional assistance from a qualified technician. They can ensure that the installation is done correctly and minimize the risk of any further issues.
By following these steps and replacing the power supply unit, you can restore proper power delivery to your electronic devices and overcome any power supply issues you were experiencing.
Conclusion
Having a properly functioning power supply unit is essential for the optimal performance of your electronic devices. When encountering power supply issues, it’s important to follow a systematic troubleshooting approach to identify and resolve the problem.
In this article, we discussed the importance of assessing the problem and checking the connections to ensure they are secure. We also explored the process of resetting the power supply unit to clear any internal faults and glitches. Additionally, we highlighted the significance of testing the power supply unit’s functionality to determine if it needs to be replaced.
If all else fails, replacing the power supply unit may be necessary. By following the proper steps and guidelines, you can safely install a new power supply unit and ensure the uninterrupted power supply to your electronic devices.
Remember, if you are unsure or uncomfortable with any of the troubleshooting steps or replacement process, it’s always advisable to seek the assistance of a professional technician. They have the expertise and knowledge to handle power supply issues effectively and minimize the risk of further complications.
By understanding how to jump start your power supply unit and troubleshoot common issues, you can save time and money by resolving the problem yourself. However, it’s important to prioritize safety and seek professional help when needed.
We hope this article has provided you with valuable insights and guidance to overcome power supply issues effectively. Now you can confidently tackle power supply problems and keep your electronic devices powered up and running smoothly.