Introduction
Welcome to the exciting world of laptops! Whether you are a student, professional, or simply a tech enthusiast, getting a new laptop is a significant milestone. But before you dive into using your new device, there are a few essential steps you need to take to ensure a smooth setup process. In this article, we will guide you through the process of setting up your new laptop, focusing particularly on the Ethernet connection and the power supply unit (PSU).
Setting up your new laptop involves more than just pressing the power button and logging in. It’s important to consider factors such as network connectivity and power requirements. By following our step-by-step guide and implementing our tips, your laptop will be up and running in no time.
Whether you’re connecting to the internet for remote work, online classes, or simply browsing the web, a reliable Ethernet connection can significantly enhance your experience. Additionally, understanding the power supply unit and its requirements is crucial for optimal performance and longevity of your laptop battery.
Before we jump into the technical details, make sure you have a stable internet connection and all the necessary cables and accessories handy. This will help streamline the setup process and avoid any unnecessary delays.
So, grab your new laptop, plug it in, and get ready to embark on an exciting journey of discovery and productivity. Let’s dive into the essential steps and ensure your laptop is set up to meet all your needs.
Things to Consider Before Setting Up Your New Laptop
Before you start setting up your new laptop, there are a few essential factors to consider. Taking the time to address these considerations will ensure that you have a smooth and hassle-free setup process. Let’s take a look at what you need to keep in mind:
- Operating System: Determine which operating system your new laptop comes with. Whether it’s Windows, macOS, or Linux, understanding the operating system is crucial for navigating through the setup process and using your laptop effectively.
- Hardware Specifications: Familiarize yourself with the hardware specifications of your laptop, such as the processor, RAM, and storage capacity. This knowledge will help you make informed decisions regarding software installations and ensure that your laptop meets your specific requirements.
- Network Connectivity Options: Identify the available network connectivity options on your laptop. Most laptops offer both Wi-Fi and Ethernet connectivity. Assess your needs and determine whether a wired Ethernet connection is necessary for a stable and reliable internet connection.
- Power Supply Requirements: Take note of the power supply requirements of your laptop. This includes the wattage of the power adapter and any specific power management settings. Understanding these requirements will help you optimize your laptop’s battery life and reduce the risk of damaging the battery.
- Data Transfer: If you are transitioning from an old laptop to a new one, consider how you will transfer your files and data. You can either use an external hard drive, cloud storage services, or utilize a file transfer utility to streamline the process.
By considering these factors before setting up your new laptop, you’ll be well-prepared and equipped to proceed with the setup process confidently. Understanding the technical aspects of your laptop and aligning them with your needs will ensure that your new device enhances your productivity and provides an optimal user experience.
Step-by-Step Guide to Setting Up Your Laptop
Setting up a new laptop may seem like a daunting task, but with our step-by-step guide, you’ll find it easy and straightforward. Just follow these instructions, and you’ll have your laptop up and running in no time:
- Unboxing and Inspection: Start by carefully unboxing your laptop and inspecting it for any physical damage. Check for loose parts or accessories, such as the power adapter, cables, and documentation.
- Connect the Power Adapter: Locate the power adapter and plug it into a wall socket. Connect the other end to your laptop’s charging port. Ensure that it fits securely and that the charging indicator lights up.
- Power On your Laptop: Press the power button to turn on your laptop. You will see the manufacturer’s logo and boot-up sequence. Be patient while it completes the initial setup process.
- Select Language and Region: Once your laptop boots up, you’ll be prompted to select your preferred language and region. Choose the appropriate options and proceed to the next step.
- Create User Account: Follow the on-screen instructions to create a new user account. Enter your name, password, and any other required information. This account will be your primary login for the laptop.
- Connect to Wi-Fi: If you prefer a wireless internet connection, click on the network icon in the system tray and select your Wi-Fi network. Enter the password if prompted, and your laptop will connect to the internet.
- Set Up Security Options: It’s essential to prioritize the security of your laptop. Set up a strong password or PIN for your user account, enable biometric authentication if available, such as fingerprint or facial recognition, and consider enabling a firewall and antivirus software.
- Install Software and Updates: Check for any available software updates from the manufacturer and install them. Additionally, install essential applications that you’ll need for your work or personal use, such as productivity software, web browsers, and media players.
- Customize Windows: Take some time to personalize your Windows environment. Adjust the display settings, desktop background, and taskbar preferences to suit your preferences. This will make your laptop feel more personalized and comfortable to use.
Following these steps will ensure that your laptop is set up correctly, and you’re ready to start using it for your various tasks and activities. Take the time to explore the different features and settings of your laptop to make the most out of your new device.
Setting Up the Ethernet Connection
If you require a stable and reliable internet connection, setting up your laptop’s Ethernet connection is a great option. Follow these steps to get your Ethernet connection up and running:
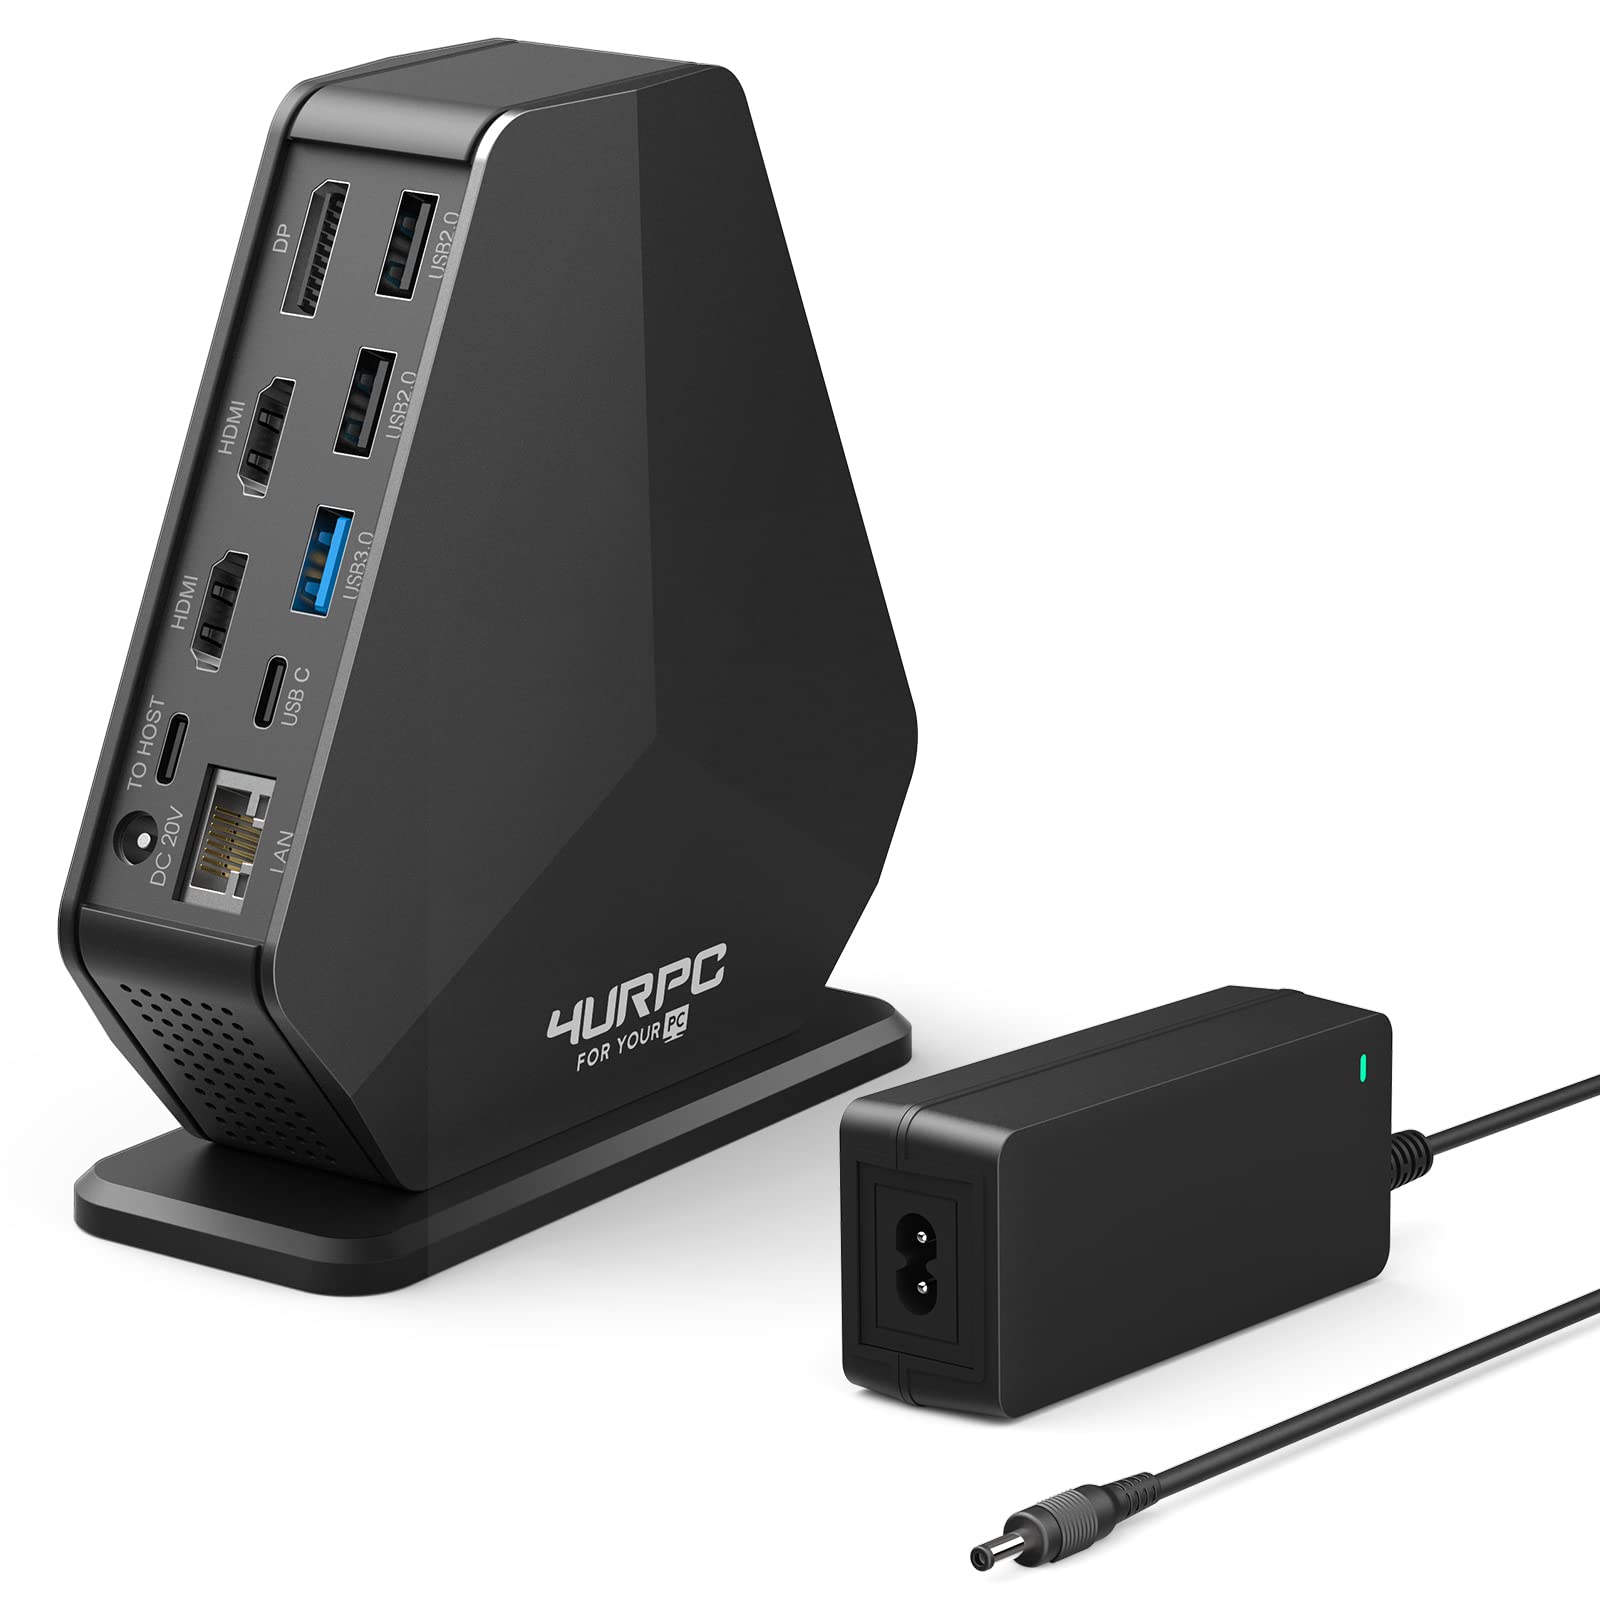
- Locate the Ethernet Port: Look for the Ethernet port on your laptop. It is usually a square-shaped port labeled with an icon that resembles three stacked horizontal lines.
- Connect the Ethernet Cable: Connect one end of the Ethernet cable to the Ethernet port on your laptop. Ensure that it fits securely into the port, and you may feel a slight click when it is properly inserted.
- Connect the other end to the Router or Modem: Take the other end of the Ethernet cable and plug it into one of the Ethernet ports on your router or modem. Again, ensure a secure connection.
- Check the Connection Status: Once the cable is connected, check the connection status on your laptop. Look for the network icon in the system tray or the network settings in the control panel. It should indicate a “wired” or “Ethernet” connection.
- Configure Network Settings: In most cases, your laptop will automatically detect and configure the network settings for the Ethernet connection. However, if you encounter any issues, you can manually configure the network settings by accessing the network settings or network adapter properties.
- Test the Connection: To ensure that your Ethernet connection is working correctly, open a web browser and try accessing a website. If the page loads without any issues, then your Ethernet connection is successfully set up.
Setting up the Ethernet connection provides a reliable and fast internet connection for tasks that require stable network connectivity, such as video conferencing, online gaming, or large file downloads. It is particularly useful in areas with weak Wi-Fi signals or crowded wireless networks.
Remember to keep your Ethernet cable properly connected and avoid pulling or twisting it excessively to prevent damage. Additionally, it’s a good practice to periodically check for firmware updates for your router or modem to ensure optimal performance.
With your Ethernet connection set up, you can enjoy a stable and lightning-fast internet experience on your new laptop.
Setting Up the Power Supply Unit (PSU)
Properly setting up the power supply unit (PSU) of your new laptop is essential for its reliable operation and longevity of the battery. Follow these steps to ensure that your laptop is appropriately connected to the power source:
- Identify the Power Adapter: Locate the power adapter that came with your laptop. It typically consists of a power brick and a cable with a plug on one end and a connector on the other that fits into your laptop’s charging port.
- Plug in the Power Adapter: Connect the plug of the power adapter to a wall socket or surge protector. Ensure that the power source is stable and has the appropriate voltage for your laptop.
- Connect the Adapter to Your Laptop: Take the connector end of the power adapter and plug it into the charging port of your laptop. Make sure it fits securely and that the charging indicator on your laptop lights up.
- Monitor the Charging Process: Once connected, keep an eye on the charging status. Your laptop may display a charging icon or indicate the battery percentage. Allow the battery to charge fully before using your laptop on battery power alone.
- Optimize Power Settings: To maximize your laptop’s battery life, navigate to the power settings menu in your operating system. Adjust the power plan to optimize either for performance or energy efficiency, depending on your needs.
- Battery Safety: To prolong the lifespan of your laptop’s battery, avoid exposing it to extreme temperatures and ensure that it is not overcharged or completely drained frequently. Consider unplugging the power adapter once the battery is fully charged.
Setting up the power supply unit correctly guarantees that your laptop has a steady source of power and is protected from power surges. This is important for maintaining the functionality and performance of your laptop over time.
Remember to handle the power adapter and cable carefully, avoiding bending or pulling them excessively. Regularly inspect the power adapter for any signs of wear or damage, and replace it if necessary.
Setting up the power supply unit correctly ensures that your laptop is always ready for use, whether you’re working on important tasks, watching videos, or enjoying your favorite games.
Tips for Optimizing Your Laptop’s Performance
To ensure that your new laptop delivers optimal performance and enhances your productivity, consider implementing the following tips:
- Keep Your Laptop Updated: Regularly check for software updates, including operating system updates and driver updates. These updates often provide bug fixes, security patches, and performance improvements.
- Manage Startup Applications: Review the list of applications that launch automatically when your laptop starts up. Disable any unnecessary startup programs to reduce the burden on system resources and improve boot times.
- Organize and Optimize Storage: Regularly clean up your hard drive by removing unnecessary files and applications. Consider using disk cleanup tools or third-party software to free up disk space and optimize storage performance.
- Utilize Antivirus and Malware Protection: Install reliable antivirus software and keep it up to date. Regularly scan your laptop for viruses, malware, and other security threats to ensure a safe and efficient computing experience.
- Manage Background Processes: Monitor and manage background processes and applications running on your laptop. Use the task manager to identify resource-hungry processes and close unnecessary ones to free up system resources.
- Enable Power Management Settings: Adjust the power management settings on your laptop to balance performance and energy efficiency. Choose power-saving modes when on battery power and performance modes when connected to a power source.
- Utilize Virtual Memory: If your laptop has limited physical RAM, consider adjusting the virtual memory settings to allocate additional space on your hard drive as virtual RAM. This can help improve multitasking capabilities.
- Regularly Restart Your Laptop: Restarting your laptop periodically helps clear temporary files, refresh system processes, and optimize overall performance. Aim to restart your laptop at least once a week.
- Keep Your Laptop Cool: Prevent your laptop from overheating by ensuring proper ventilation. Use a laptop cooling pad, elevate your laptop to allow airflow, and avoid blocking the vents. Overheating can negatively impact performance and cause hardware damage.
- Practice Safe Browsing Habits: Be cautious while browsing the internet and avoid downloading files from untrusted sources. Adhere to safe browsing practices to protect your laptop from malware and potential security threats.
Implementing these optimization tips will help keep your laptop running smoothly and efficiently. Remember to monitor your laptop’s performance regularly and make adjustments as needed to meet your specific requirements.
By taking care of your laptop and optimizing its performance, you’ll be able to enjoy a seamless computing experience, whether you’re working, studying, or enjoying your favorite multimedia content.
Troubleshooting Common Issues
While setting up and using your new laptop, you may encounter some common issues. Here are a few troubleshooting steps to help you overcome these challenges:
- Wi-Fi Connection Issues: If you’re experiencing connectivity problems with Wi-Fi, check if the Wi-Fi adapter is enabled, restart your router, or move closer to the wireless access point to improve the signal.
- Slow Performance: If your laptop is running slowly, close unnecessary applications and processes, perform a disk cleanup, and ensure that your laptop’s storage isn’t nearly full.
- Crashing or Freezing: Random crashes or freezes might be due to software conflicts or outdated drivers. Ensure that your laptop is up to date and consider uninstalling any recently installed programs that may be causing issues.
- Battery Draining Quickly: If your laptop’s battery is draining faster than expected, adjust the power settings to optimize energy efficiency, close unnecessary background applications, and check for any battery-consuming programs.
- Overheating: Excessive heat can impact your laptop’s performance. Ensure proper ventilation, use a laptop cooling pad, and avoid using your laptop on surfaces that block the vents, such as cushions or blankets.
- Blue Screen of Death (BSOD): If you encounter a blue screen error, note down the error code and restart your laptop. If the issue persists, search for the error code online or consult with technical support for further assistance.
- Peripheral Connectivity Issues: If you’re having trouble connecting external devices, ensure that the drivers are installed correctly, try different USB ports, or check for any firmware updates for the device.
- Unresponsive Touchpad or Keyboard: If your touchpad or keyboard stops responding, restart your laptop, clean the touchpad or keyboard, or check for any driver updates. Consider using an external mouse or keyboard to diagnose the issue.
- Software Compatibility Problems: Incompatibility issues may arise with certain software applications. Update the software to the latest version, check for compatibility requirements, or consider using alternative software.
- Internet Browser Troubles: If you’re experiencing issues with your internet browser, clear the cache and cookies, disable unnecessary extensions, or try using a different browser to determine if the problem lies with the browser itself.
Remember, if you’re unable to resolve an issue on your own, reach out to the laptop manufacturer’s support team or consult with a professional technician. They can provide further guidance and assistance in troubleshooting and resolving any complex issues.
By following these troubleshooting steps, you’ll be able to overcome common laptop issues and ensure a smooth and uninterrupted computing experience.
Conclusion
Congratulations! You have successfully set up your new laptop and are now equipped with essential knowledge to optimize its performance. By following the step-by-step guide, you have ensured that your laptop is connected to the Ethernet, and the power supply unit is correctly configured.
Before diving into your work, studies, or entertainment, it’s important to consider a few aspects. Be mindful of the operating system, hardware specifications, and network connectivity options. Understanding your laptop’s power supply requirements and data transfer methods will also contribute to a smooth setup process.
Throughout this article, we have provided several tips to optimize your laptop’s performance, troubleshoot common issues, and ensure a seamless computing experience. From keeping your laptop updated and managing startup applications to practicing safe browsing habits and monitoring system performance, these tips will help you make the most of your new laptop.
Remember to regularly check for software updates, manage your storage, and keep your laptop cool to avoid overheating. By implementing these tips and troubleshooting steps, you’ll be well-prepared to tackle any potential challenges that may arise.
Should you encounter any difficulties beyond the scope of this article, don’t hesitate to seek assistance from the laptop manufacturer’s support team or a professional technician. They can provide tailored guidance and resolutions for complex issues.
Now that your laptop is set up, optimized, and ready for action, make the most of its capabilities and enjoy a seamless and efficient computing experience. Whether it’s for work, study, or personal use, your new laptop is a valuable tool that empowers you to achieve your goals and explore the limitless possibilities of the digital world.
Embrace the power of your new laptop, unleash your creativity, and let it be your trusted companion in all your endeavors. Happy computing!


