Introduction
Turning on a PC is the first step towards unlocking a world of digital possibilities. Whether you’re starting your workday, settling in for a gaming session, or simply browsing the web, powering up your computer is the gateway to productivity, entertainment, and connectivity. In this guide, we will walk you through the simple steps to turn on your PC and get it up and running smoothly.
Starting your PC may seem like a straightforward task, but there are a few important things to keep in mind. From connecting the power cord to customizing your settings, each step plays a vital role in ensuring a seamless startup experience. By following these instructions, you can confidently power on your computer and be ready to dive into the digital world in no time.
Before we dive into the steps, it’s essential to note that the instructions provided here are general guidelines. The exact process may vary slightly depending on the make and model of your PC, but the overall concept remains the same. So, let’s get started and turn on your PC!
Step 1: Connect the Power Cord
The first step to turning on your PC is connecting the power cord. Locate the power cable that came with your computer and plug one end into the back of the computer tower. The power socket is typically at the top or bottom of the back panel and labeled with a power symbol.
Once you’ve connected the power cord to the computer, plug the other end into a power outlet. Ensure that the outlet is functioning properly by testing it with another device. It’s recommended to use a surge protector to protect your computer from power fluctuations and electrical surges.
Make sure the power cord is securely plugged into both the computer and the outlet. A loose connection can prevent the PC from receiving power, resulting in startup issues. Once everything is properly connected, you can move on to the next step in turning on your PC.
Note: If you are using a laptop, the power cord is typically connected directly to the device, so you can skip this step. Simply ensure that the power adapter is firmly plugged into an electrical outlet and that the other end is securely connected to your laptop.
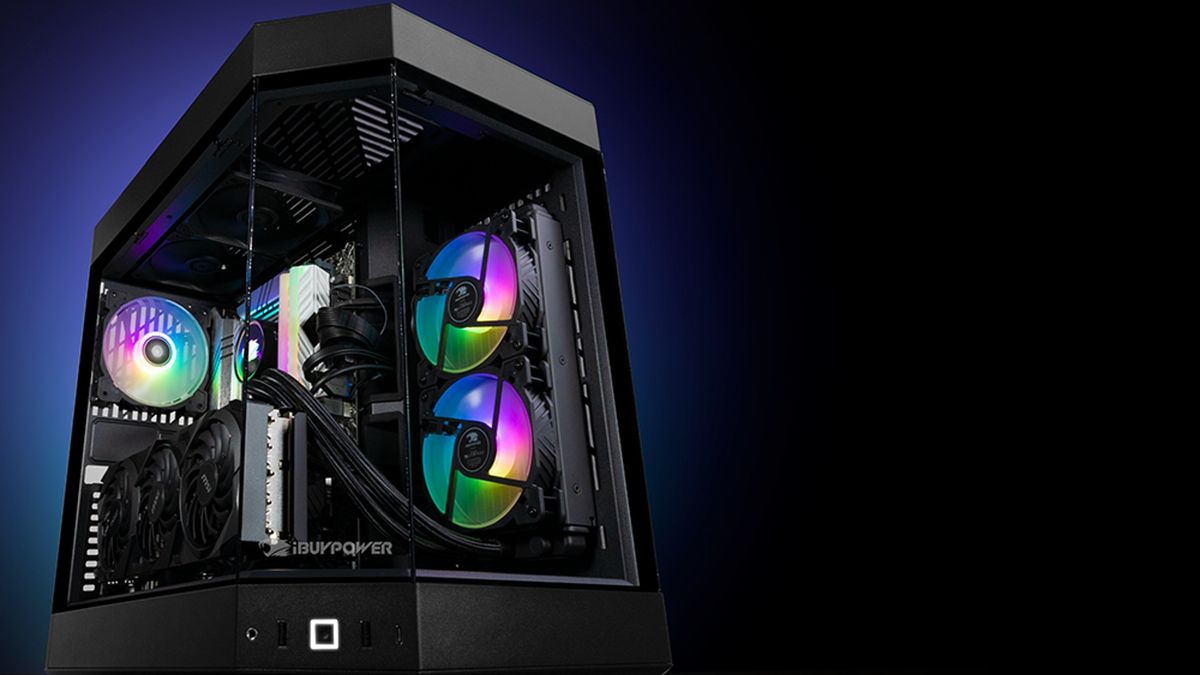
Step 2: Press the Power Button
After connecting the power cord, locate the power button on your computer. The location of the power button can vary depending on the make and model of your PC. It is typically found on the front panel of the computer tower, but it can also be on the side or the top.
Press and hold the power button for a few seconds until you see or hear signs of the computer powering on. This may include lights turning on or fans starting to spin. Be patient as it may take a few seconds for the PC to fully boot up.
If you are using a laptop, the power button is usually located above the keyboard or on the side of the device. Simply press and release the power button to turn on your laptop.
In some cases, the power button may be integrated with other buttons or keys on the keyboard. Refer to your computer’s user manual for specific instructions on how to turn on your PC if you are unsure about the location of the power button.
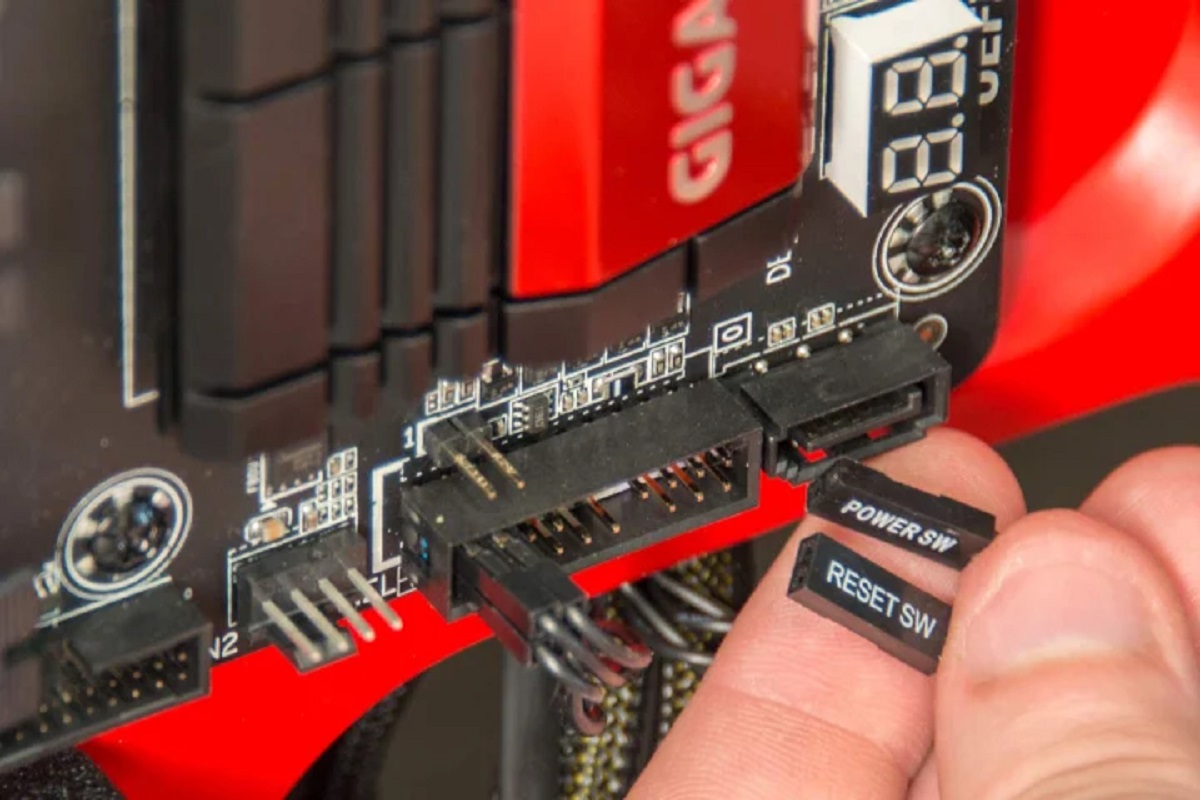
It’s important to note that some computers have a separate power supply unit (PSU) switch located at the back of the computer tower. This switch should be turned on before pressing the power button on the front. Without turning on the PSU switch, pressing the power button will have no effect.
Once you’ve pressed the power button and the PC starts to power on, you can move on to the next step in the startup process.
Step 3: Wait for the PC to Boot Up
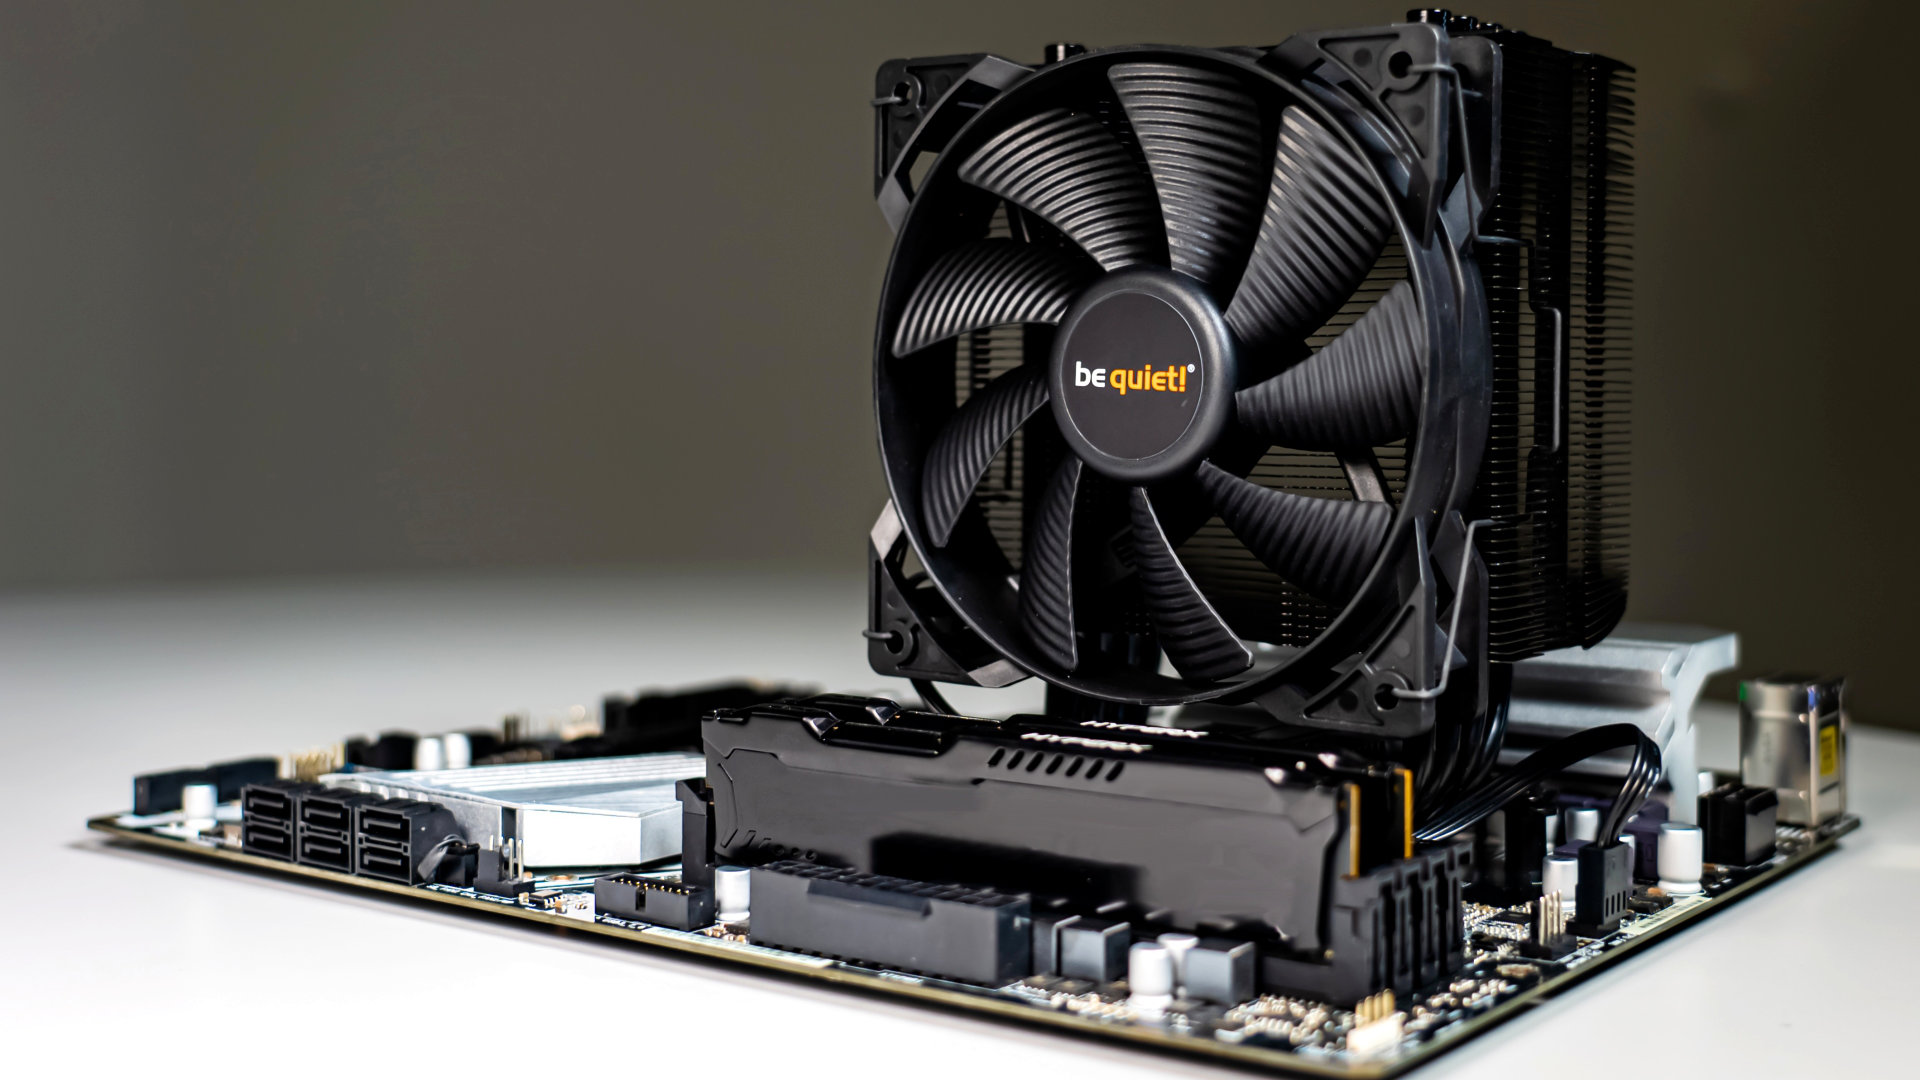
After you have pressed the power button, the next step is to wait patiently for your PC to boot up. During this process, the computer’s hardware and software components are initialized, allowing the operating system to start running. The time it takes for your PC to boot up may vary depending on its specifications and the number of programs installed.
As your PC boots up, you will typically see a manufacturer logo or a BIOS (Basic Input/Output System) screen displayed. The BIOS screen provides initial information about your computer’s hardware and allows you to access the BIOS settings if needed. After the BIOS screen, the operating system, such as Windows or macOS, will begin to load.
Be patient during this stage, as the booting process can take several seconds or even a few minutes. Avoid pressing any buttons or attempting to restart the computer, as this may disrupt the booting sequence and cause potential issues.
If your PC is taking an unusually long time to boot up or if you encounter any error messages, it may indicate an underlying problem. In such cases, it’s advisable to seek assistance from technical support or refer to your computer’s manual for troubleshooting steps.
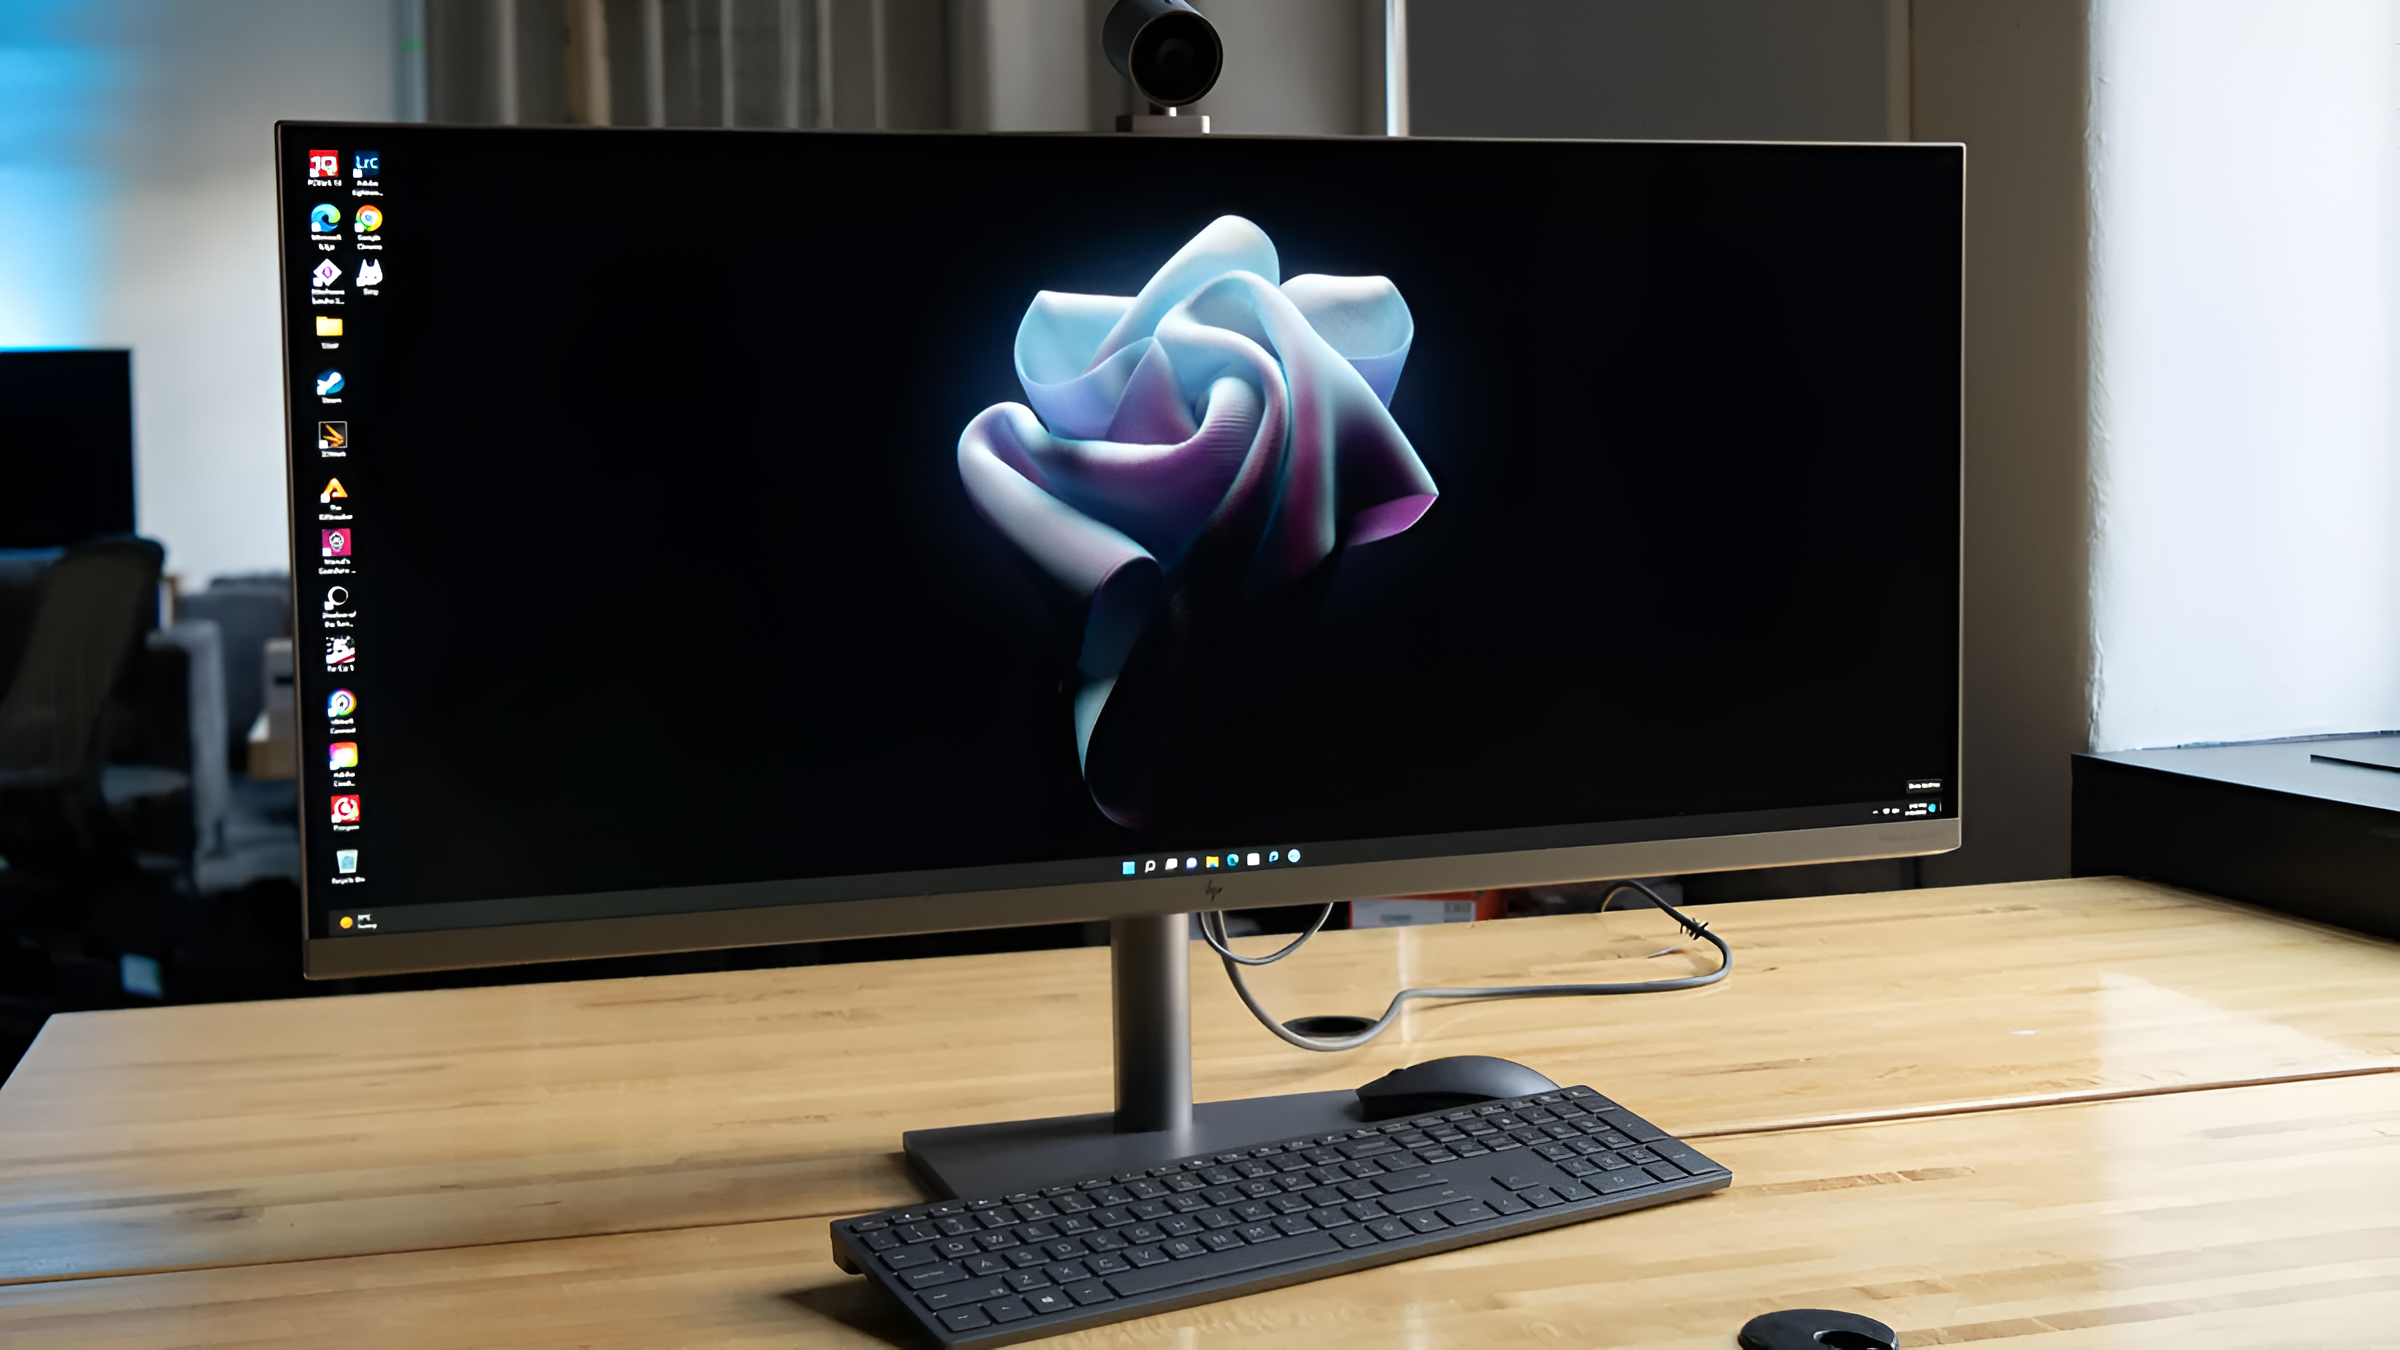
Once your PC has finished booting up, you will be presented with the login screen or the desktop interface, depending on your system settings. Now you are ready to move on to the next step and enter your login credentials to gain access to your computer.
Step 4: Enter Your Login Credentials
After your PC has finished booting up, you will be prompted to enter your login credentials to access the operating system. This is an essential step to ensure the security and privacy of your personal data on the computer.
On the login screen, you will typically see fields to enter your username or email address and your password. If you are the sole user of the computer, your username may already be displayed, and you just need to enter your password to proceed. For shared or multi-user systems, you may need to select your user account from a list before entering the password.
Carefully type in your username and password, ensuring that they are accurate and correctly capitalized. Keep in mind that passwords are case sensitive, so double-check the capitalization of letters if you encounter any login issues. If you have forgotten your password, most operating systems offer options to recover or reset it, usually through security questions or email verification.
Some computers may also offer alternative login methods, such as facial recognition or fingerprint authentication, if supported by the hardware and enabled in the settings. These methods provide an added layer of convenience and security.
Once you have entered your login credentials correctly, click the “Login” or “Enter” button, or press the “Enter” key on your keyboard. The operating system will validate your credentials, and if correct, grant you access to your user account and the desktop interface.
If you are using a public or shared computer, it’s important to remember to log out when you are done using the PC to prevent unauthorized access to your personal data. This can usually be done by clicking on the “Log Out” or “Sign Out” option in the operating system’s menu.
Now that you have successfully entered your login credentials, you are ready to move on to the next step and customize your settings to tailor your PC experience to your preferences.
Step 5: Customize Your Settings
Once you have logged into your PC, it’s time to customize your settings to make the computer truly your own. By personalizing various aspects of your PC, you can optimize it to suit your preferences and enhance your overall user experience.
Start by exploring the settings menu, which can usually be accessed by clicking on the “Settings” or “Control Panel” option in the operating system’s menu. Here, you will find a plethora of customization options, ranging from display settings to privacy preferences.
Begin with the display settings, where you can adjust the screen resolution, brightness, and color calibration to optimize the visual experience. You can also choose a desktop background and customize themes to give your PC a personal touch.
Next, delve into the sound settings to configure audio output and input devices. Adjust the volume levels and select your preferred playback and recording devices. This will ensure that your PC delivers high-quality sound according to your preferences.
Take some time to set up your internet connection by accessing the network settings. Connect to your Wi-Fi network or Ethernet cable and configure any additional network settings required. This will enable you to browse the web, access online services, and stay connected with others seamlessly.
It’s also a good idea to review the privacy and security settings of your PC. Customize the level of privacy you desire, including data sharing preferences, app permissions, and firewall settings. Ensure that your PC is equipped with reliable antivirus software to protect against malware and online threats.
Lastly, explore the system settings to make tweaks and optimizations that suit your needs. This includes options such as power management settings, notification preferences, language settings, and accessibility features. These settings can enhance your overall efficiency and comfort while using your PC.
Remember to save your changes after customizing each setting to ensure they take effect. If you have any doubts or questions about specific settings, consult the operating system’s help documentation or online resources for guidance.
By customizing your PC’s settings, you can maximize its potential and tailor it to your unique preferences. Enjoy exploring the various options and make adjustments as needed to create a personalized computing experience that suits you perfectly.
Conclusion
Congratulations! You have successfully learned how to turn on your PC and navigate through the startup process. By following the steps outlined in this guide, you can power up your computer with ease and customize it to meet your specific needs.
Remember to connect the power cord securely, press the power button, and patiently wait for your PC to boot up. Once it’s up and running, enter your login credentials to access your user account. From there, you can personalize your settings and make the computer truly yours.
Customizing your PC allows you to optimize its performance, personalize the interface, and enhance security measures. Take advantage of the various settings options available to tailor your PC experience to your preferences.
If you encounter any issues during the startup process or need further assistance, consult your computer’s user manual or reach out to technical support. They can provide specific guidance based on your PC’s make and model.
Now that you know how to turn on your PC and customize its settings, you can unleash its full potential. Explore the vast possibilities, whether it’s for work, entertainment, or simply staying connected with the world. Enjoy your digital journey and make the most of your PC experience!