To turn on a PC remotely, you need either Wake-on-LAN (WoL) software or a smart power strip that can cut and restore AC power. Both methods require a supported motherboard and network adapter, a stable network connection, and a secondary device (like a phone or laptop) to send the command. The most reliable approach is Wake-on-LAN, which sends a "magic packet" over your network to trigger a boot, while a smart power strip is a simpler hardware workaround that physically toggles the outlet.
What you need to turn on a PC remotely
Remote power-on is not a single feature but a combination of hardware support and software configuration. Before attempting any method, verify these three non-negotiables:
- Hardware support: Your motherboard and network adapter must support Wake-on-LAN (WoL). This is standard on most desktops and many laptops from the last decade, but check your motherboard manual or the adapter's specifications if you're unsure.
- Network connection: The PC must be connected to your router via an Ethernet cable for reliable WoL. Wi-Fi WoL is possible but less consistent because the wireless adapter often drops its connection in sleep or shutdown states.
- Power source: The PC must be plugged into a working outlet. WoL cannot work if the system is completely unplugged or if the power supply is switched off.
Method 1: Wake-on-LAN (the software solution)
Wake-on-LAN is the most common and flexible way to remotely power on a PC. It works by sending a specially formatted "magic packet" to the target machine's MAC address, which the network adapter recognizes even when the system is off. Here is the complete setup process.
Step 1: Enable Wake-on-LAN in BIOS/UEFI
Restart your PC and press the key to enter BIOS/UEFI (usually Del, F2, F10, or Esc). Navigate to the power management or advanced settings section. Look for options named "Wake on LAN," "Wake on PCI-E," "Power On By PCI-E," or "Resume By PCI-E Device." Set it to "Enabled." If you see multiple WoL options, enable all of them. Save changes and exit.
Step 2: Disable Windows Fast Startup
Windows 10 and 11 use "Fast Startup" by default, which performs a hybrid shutdown that puts your system into a deep sleep state (S4) rather than a full shutdown. This blocks WoL from waking the PC from a "shut down" state. To disable it:
- Open Control Panel → Hardware and Sound → Power Options.
- Click "Choose what the power buttons do" on the left sidebar.
- Click "Change settings that are currently unavailable."
- Uncheck "Turn on fast startup (recommended)."
- Click "Save changes."
Step 3: Configure the network adapter driver
Open Device Manager (right-click the Start button → Device Manager). Expand "Network adapters," right-click your Ethernet adapter (e.g., Realtek, Intel, or Killer), and select "Properties."
- Power Management tab: Check both "Allow this device to wake the computer" and "Only allow a magic packet to wake the computer." The second option prevents accidental wakes from other network activity.
- Advanced tab: Scroll through the property list and find "Wake on Magic Packet." Set its value to "Enabled." Also look for "Shutdown Wake-On-LAN" or "Wake on Shutdown" and enable it if present. This is crucial for waking from a full shutdown (S5) rather than just sleep.
Step 4: Find your PC's MAC address
Open Command Prompt (Win + R, type cmd) and run ipconfig /all. Look for your active Ethernet adapter and note the "Physical Address" (e.g., 00-1A-2B-3C-4D-5E). This is the MAC address you will target with the magic packet.
Step 5: Use a WoL app to send the magic packet
On your remote device (smartphone or laptop), install a Wake-on-LAN app. Popular options include "Wake On LAN" for Android, "Mocha Wake" for iOS, or "wakeonlan" for Windows/macOS. Press the wake button. The magic packet will be sent to the network, and your PC should power on.
How to wake your PC from anywhere with a VPN
WoL works natively only on your local network. To wake your PC from outside your home, you need to securely access your home network. The safest way is to set up a VPN server on your home router (or a dedicated device like a Raspberry Pi) and connect to it from your remote device. Once connected, your phone or laptop is virtually on your home LAN, so you can send the WoL packet exactly as if you were sitting next to the router.
This approach is far more secure than port-forwarding the WoL port (typically UDP 9) directly to the internet, which exposes your network to abuse. Use a VPN protocol like WireGuard or OpenVPN. After establishing the VPN connection, open your WoL app and send the magic packet to your PC's MAC address. The PC will wake, and you can then use Remote Desktop or SSH to access it.
Method 2: Smart power strip (the hardware workaround)
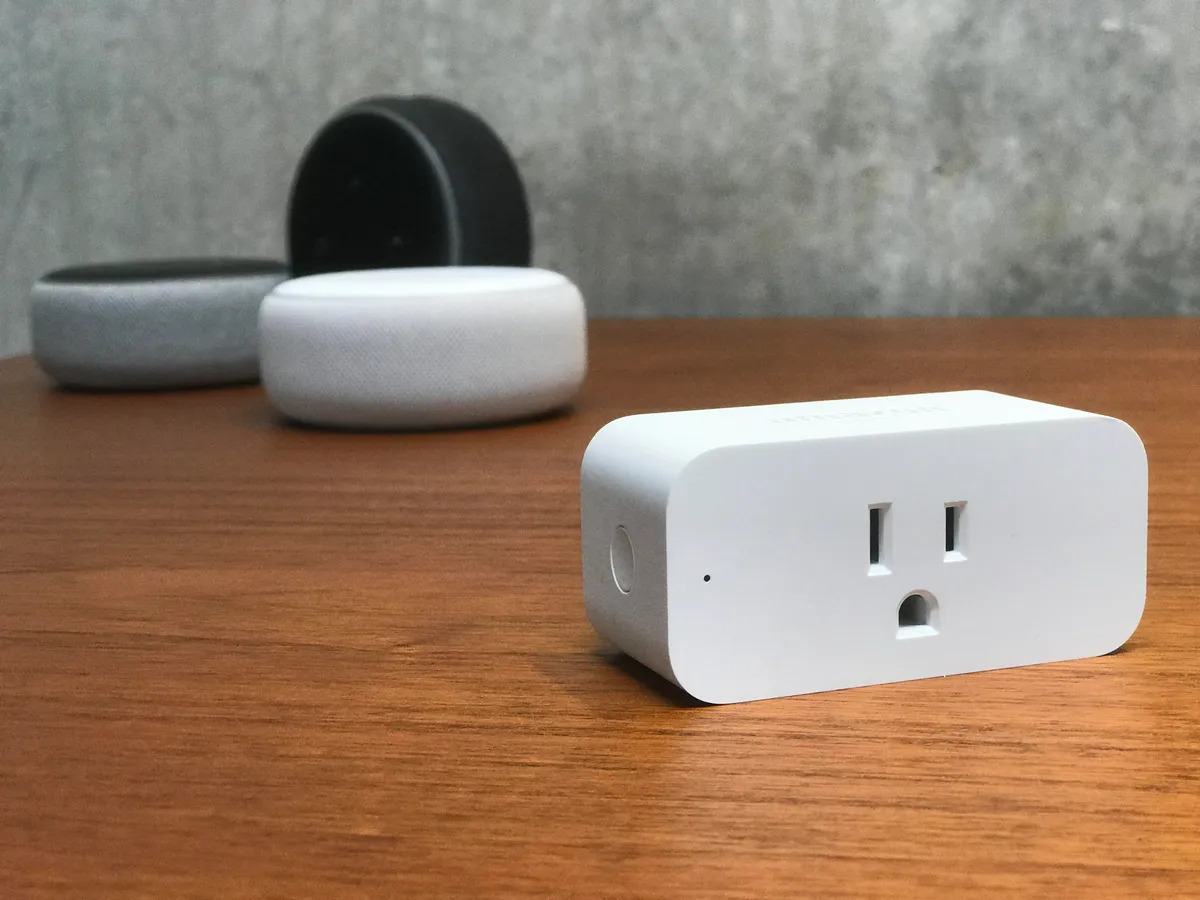
If your PC is too old for WoL, or if you simply want a plug-and-play solution without touching BIOS settings, a smart power strip is the easiest alternative. It works by cutting and restoring power to your PC's PSU, which triggers a boot when power returns (assuming your PC's BIOS is set to "Restore on AC Power Loss" or "Power On After Power Failure").
Step 1: Plug in the PC
Plug your PC's power cable into a smart power strip (e.g., TP-Link Kasa, Amazon Smart Plug, or a smart PDU). Ensure the strip is plugged into a wall outlet and powered on.
Step 2: Connect the strip to Wi-Fi
Download the manufacturer's mobile app and follow the setup instructions. Once connected, the strip appears in the app.
Step 3: Toggle the outlet remotely
Open the app from anywhere, find the outlet your PC is plugged into, and turn it off, then on again. The brief power interruption causes the PC to boot. Many smart strips also support scheduling, so you can set a timer to power on your PC at a specific time each day.
Enterprise solutions for remote power management
For IT administrators managing fleets of business PCs, Intel vPro with Active Management Technology (AMT) provides out-of-band management. This means you can power on, restart, or even access the BIOS remotely, regardless of the OS state, even if the OS is crashed or the hard drive is dead. vPro works over wired Ethernet or known Wi-Fi networks and does not require the PC to be running Windows. This is a business-grade feature found on Intel vPro-enabled business laptops and desktops, not typical consumer hardware. If you need this level of control, check your hardware for the vPro badge or the Intel AMT firmware settings.
Troubleshooting why Wake-on-LAN isn't working
If you've followed the steps but the PC won't wake, work through these common failure points:
- Fast Startup is still enabled: Even after disabling it in Power Options, Windows updates can re-enable it. Double-check the setting and disable it again.
- BIOS settings reverted: A BIOS update or CMOS reset can turn off WoL. Re-enter BIOS and confirm the WoL option is still enabled.
- Driver power settings reverted: Windows Update may reset your network adapter's Power Management and Advanced tab settings. Re-open Device Manager and re-apply the "Allow this device to wake the computer" and "Wake on Magic Packet" settings.
- Router port forwarding issues: If you're sending WoL from outside your network without a VPN, you might have forwarded UDP port 9 to your PC's IP address, but the router may discard the broadcast packet. Many routers do not forward broadcasts from WAN to LAN. Use a VPN instead of port forwarding.
- Ethernet cable unplugged: WoL requires the network cable to be connected. If you use Wi-Fi, the adapter may not receive the packet in sleep mode. Use Ethernet for reliable WoL.
- Power supply "ErP" or "Deep Sleep" mode: Some motherboards have an ErP or Deep Sleep setting that cuts power to the network adapter completely in S5 (shutdown). Disable this in BIOS to keep the NIC powered.
Related reading: How To Lock Kwikset Smart Lock, How To Remove A Yale Smart Lock, and How To Program Goovi Robot Vacuum.