Introduction
In today’s connected world, a stable and reliable internet connection is essential. Whether you’re browsing the web, streaming movies, or working remotely, having your PC connected to WiFi offers the freedom and convenience to access the internet without the need for wired connections. If you’re new to connecting a PC to WiFi or need a refresher, this guide will walk you through the steps to get your computer online wirelessly.
Connecting your PC to WiFi involves a few simple steps that can be completed in a matter of minutes. First, you’ll need to check if your computer is equipped with a wireless adapter, which enables wireless connections. Then, you’ll need to turn on the wireless adapter, search for available networks, and connect to the network of your choice. Lastly, if the network is secured, you’ll need to enter the password to establish a secure connection.
Whether you’re using Windows or Mac, the general process for connecting to WiFi remains largely the same. However, there may be slight variations in the steps depending on the operating system you’re using. By following this guide, you’ll be able to connect your PC to WiFi regardless of the specific device or operating system.
Having your PC connected to WiFi not only provides you with internet access but also enables you to take advantage of online services, collaborate with others, and stay connected with friends and family. With that said, let’s dive into the step-by-step instructions to connect your PC to WiFi and start enjoying the benefits of wireless internet.
Step 1: Check for a Wireless Adapter on Your PC
Before you can connect your PC to WiFi, you need to ensure that your computer is equipped with a wireless adapter. This adapter is what enables your computer to communicate with wireless networks and access the internet without the need for a physical connection.
To check if your PC has a wireless adapter, you can follow these steps:
1. Open the Start menu and type “Device Manager” in the search bar. Click on the “Device Manager” option that appears.
2. In the Device Manager window, look for a category called “Network Adapters” and expand it by clicking on the arrow next to it.
3. You should see a list of network adapters installed on your PC. Look for any adapter with “Wireless” or “WiFi” in its name, such as “Wireless LAN Adapter” or “WiFi Adapter.
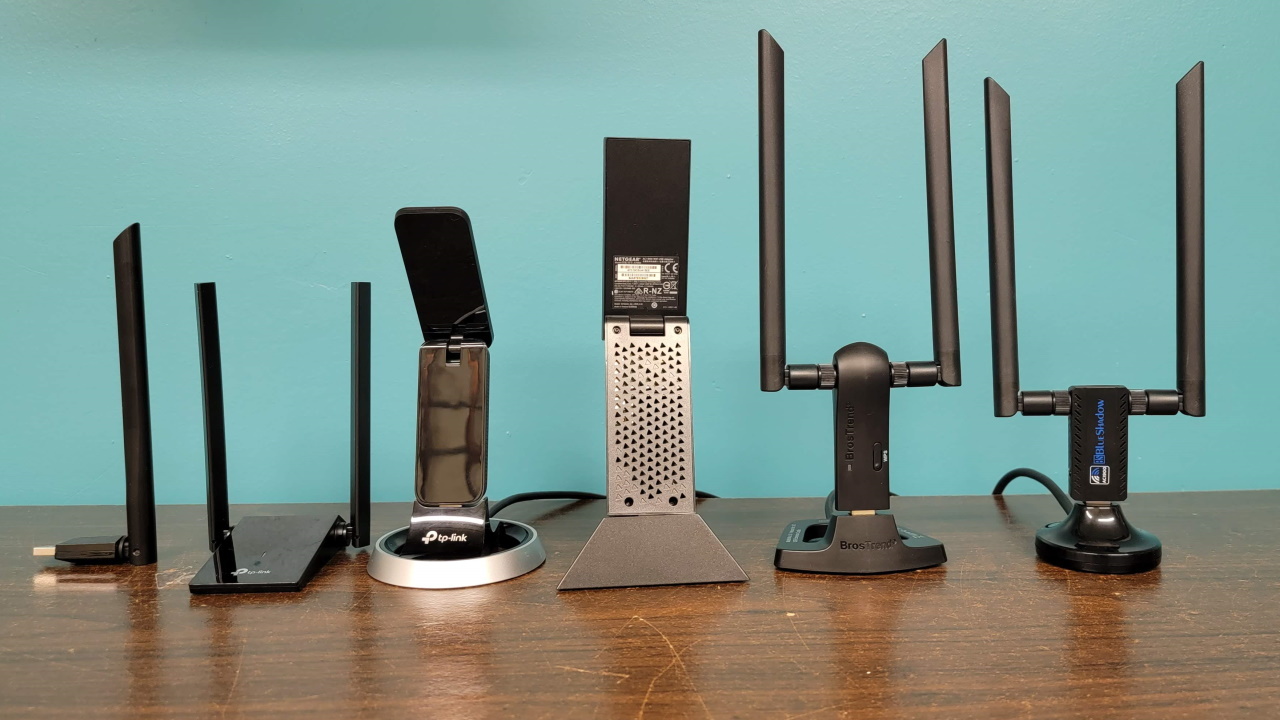
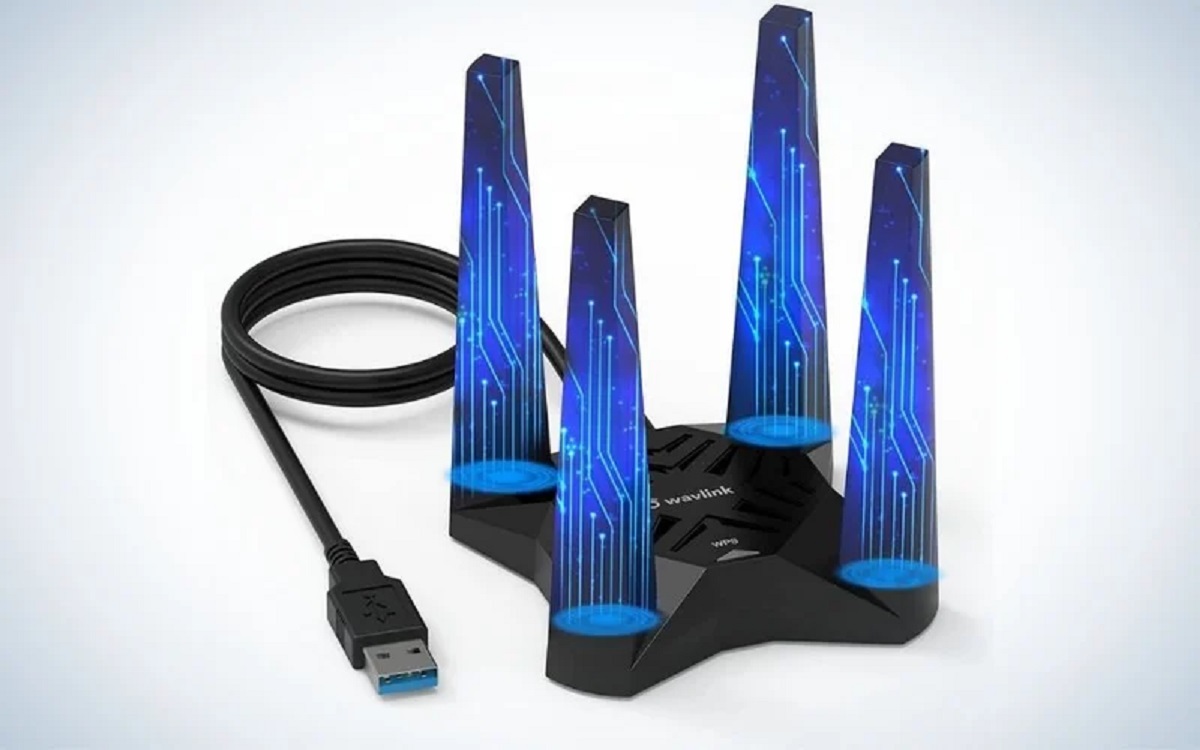
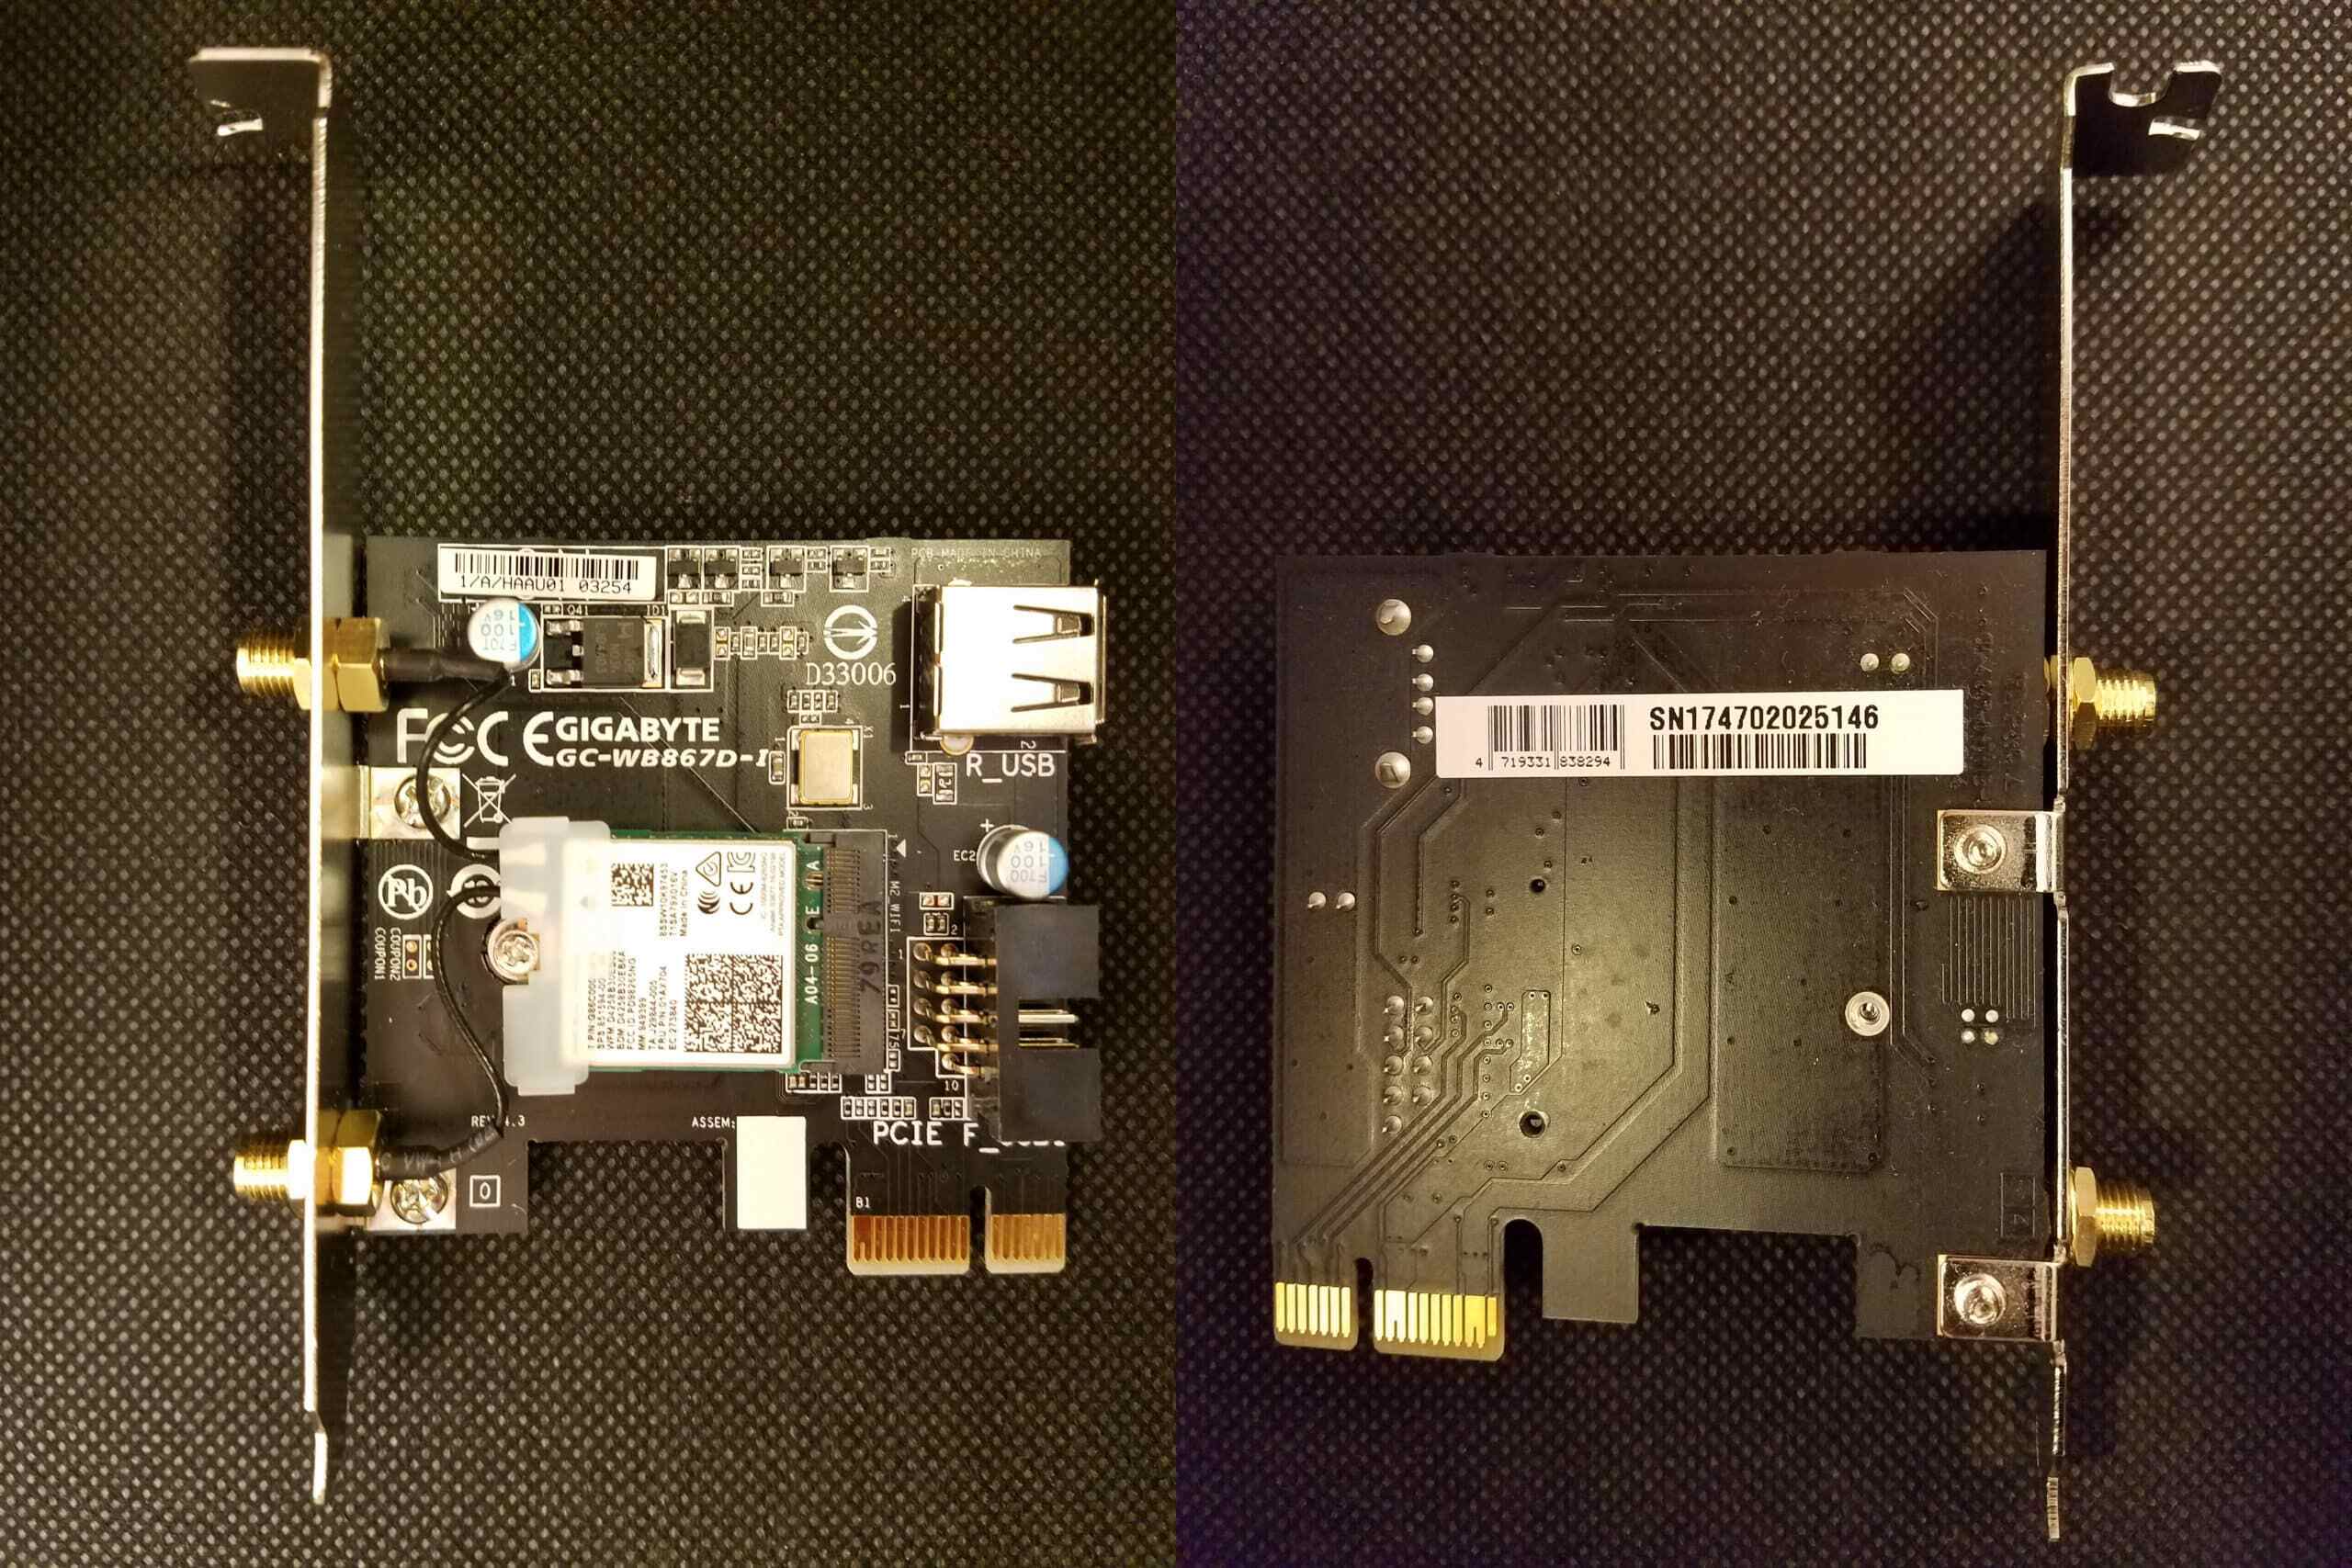
4. If you see a wireless adapter listed, it means your PC is equipped with the necessary hardware to connect to WiFi. If you don’t see any wireless adapter, it’s possible that your PC does not have one built-in. In that case, you can consider purchasing an external USB WiFi adapter to enable wireless connectivity.
It’s worth noting that most modern laptops come with built-in wireless adapters, so you’re likely to find one on your laptop. However, desktop computers may not always come with a built-in wireless adapter, especially if they are older models. Checking the Device Manager will quickly reveal whether your PC has a wireless adapter or not.
Once you’ve confirmed the presence of a wireless adapter on your PC, you can proceed to the next step to turn it on and start the process of connecting to WiFi.
Step 2: Turn on the Wireless Adapter
After confirming that your PC has a wireless adapter, the next step is to ensure that it is turned on. By enabling the wireless adapter, you activate the functionality that allows your PC to connect to WiFi networks.
Here’s how you can turn on the wireless adapter on your PC:
- Locate the wireless icon in the system tray, typically found in the bottom-right corner of the taskbar. The icon may resemble a signal strength bar or a computer monitor with radio waves.
- Right-click on the wireless icon to open a menu of options. Look for the option to “Enable” or “Turn On” the wireless adapter. Click on that option to activate the wireless functionality.
- Alternatively, you may see a physical switch or button on your laptop that controls the wireless adapter. It could be a toggle switch or a dedicated button with a wireless icon. Simply slide the switch to the “On” position or press the button to enable the wireless adapter.
Once you have turned on the wireless adapter, you may notice that the wireless icon in the system tray changes to indicate that it is now active. It could display as a series of curved lines or bars, representing the signal strength of available WiFi networks.
If you encounter any issues while trying to turn on the wireless adapter, ensure that the necessary drivers are installed on your PC. Drivers are software components that enable communication between hardware devices, such as the wireless adapter, and the operating system. You can usually find and install the appropriate drivers from the manufacturer’s website or by using Windows Update for Windows-based PCs.
With the wireless adapter enabled, you’re now ready to search for available WiFi networks and begin the process of connecting your PC to the desired network.
Step 3: Search for Available Networks
Once you have turned on the wireless adapter on your PC, the next step is to search for available WiFi networks in your vicinity. This allows you to identify and choose the network you want to connect to.
Here’s how you can search for available networks:
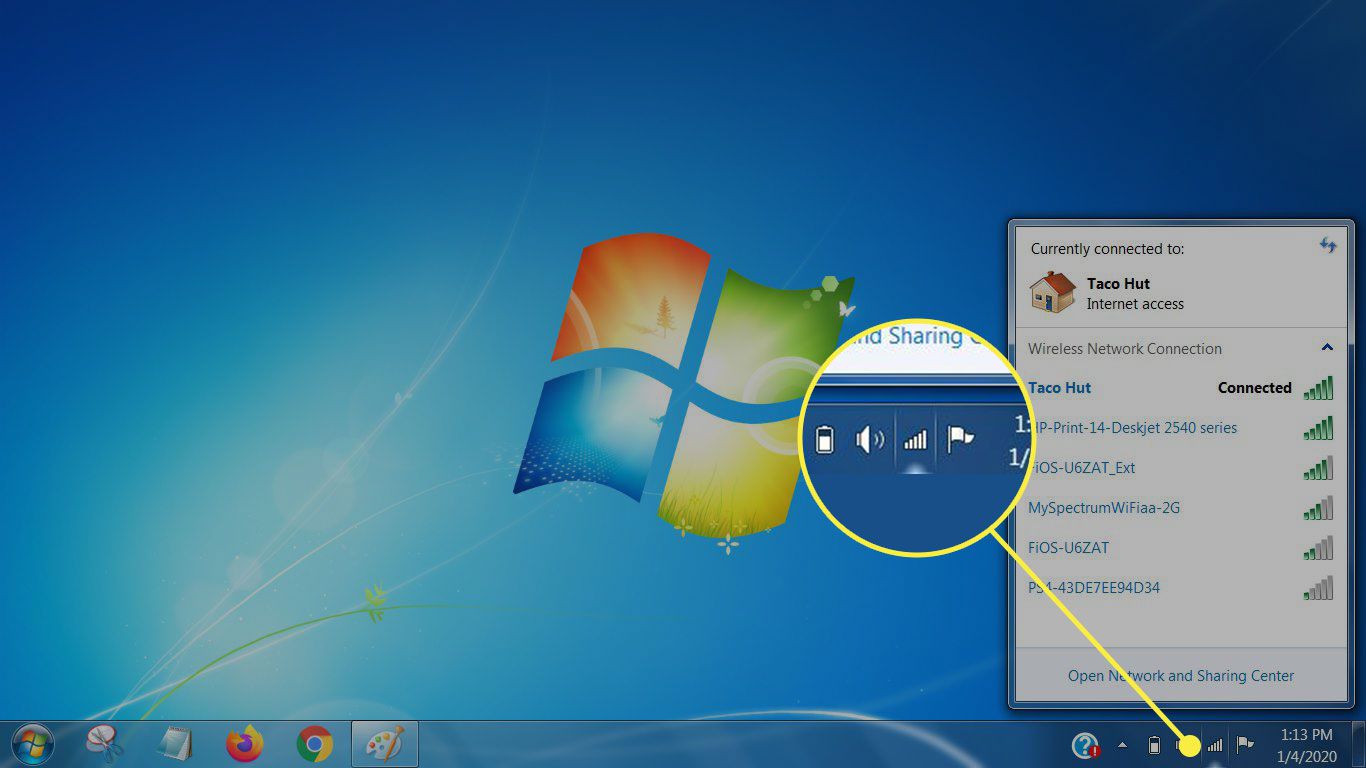
- Look for the wireless icon in the system tray, typically located in the bottom-right corner of the taskbar. It may resemble a signal strength bar or a computer monitor with radio waves.
- Left-click on the wireless icon to open the network menu. A list of available WiFi networks will be displayed, along with their signal strengths and names (also known as SSIDs).
- Take note of the network names that appear on the list. These are the WiFi networks that your PC can detect.
- If you don’t see any networks listed, it’s possible that either there are no WiFi networks in range or the wireless signal is disabled on your router. Ensure that the router is turned on and broadcasting a signal, and try moving closer to the router to improve reception.
- If you see a list of networks, find the one you want to connect to. The network names are usually recognizable and may correspond to the name of the router or the internet service provider (ISP).
It’s essential to choose a network that you have permission to use. Connecting to an unauthorized network can result in legal consequences. If you’re in a public place, look for WiFi networks provided explicitly for public use, such as those found in coffee shops, libraries, or airports.
Keep in mind that some networks may be password-protected to ensure privacy and security. If a network is secured, it will typically display a lock icon beside the network name. In such cases, you’ll need the correct password to establish a connection. We’ll cover the process of entering the network password in the next step.
By searching for available networks, you can identify the WiFi networks in your area and proceed to connect to the one that suits your needs. Let’s move on to the next step to learn how to establish a connection to the desired network.
Step 4: Connect to Your Desired Network
After searching for available WiFi networks, the next step is to connect your PC to the specific network you want to use. This involves establishing a connection between your computer and the WiFi router broadcasting the network.
Here’s how you can connect to your desired network:
- From the list of available networks, left-click on the network name you want to connect to. Ensure that you select the correct network you have permission to use.
- If the network is unsecured, meaning it doesn’t require a password, your PC will automatically attempt to connect to it. In a few moments, your PC should establish a successful connection, and you will be ready to browse the internet.
- If the network is secured, meaning it requires a password, you will be prompted to enter the network password. The password is case-sensitive, so ensure you enter it correctly.
- Type the network password in the provided field and click the “Connect” button. If the password is entered correctly, your PC will attempt to connect to the network. After a short moment, the connection should be established successfully.
- If you’re connecting to a network you have connected to in the past, and you’ve chosen the option to remember the network, your PC will automatically connect whenever it detects that network in range.
Once your PC is connected to the desired network, the wireless icon in the system tray should indicate a successful connection. It may display bars or signal strength to represent the strength of the connection.
If you encounter any connectivity issues or are unable to connect to a particular network even with the correct password, you may need to troubleshoot the problem. We’ll cover troubleshooting common connection issues in the next step.
Now that you’ve successfully connected your PC to the WiFi network, you can enjoy the benefits of wireless internet access and proceed with your online activities.
Step 5: Enter the Network Password (if Required)
If you’re connecting to a secured WiFi network, you will need to enter the correct network password to establish a connection. The network password, also known as the WiFi passphrase or security key, ensures that only authorized users can connect to the network.
Here’s how you can enter the network password on your PC:
- When you select a secured network from the available networks list, a dialog box will appear asking for the network password.
- Type the network password in the provided field. Make sure to enter it exactly as given, as passwords are case-sensitive.
- If you’re unsure of the network password, you can usually find it on the back or bottom of the WiFi router. In some cases, the password may have been provided to you by the network administrator or the person in charge of the network.
- Once you’ve entered the correct password, click the “Connect” or “Join” button to initiate the connection process.
- Your PC will attempt to connect to the network using the entered password. If the password is correct, the connection should be established successfully, and you’ll be able to access the internet.
If you enter an incorrect password, your PC will not be able to connect to the network. In such cases, you’ll need to re-enter the password correctly to establish a successful connection.
It’s important to note that the network password is meant to secure the WiFi network and protect it from unauthorized access. By entering the correct password, you demonstrate that you have permission to use the network and ensure the privacy and security of the connection.
Now that you’ve successfully entered the network password, your PC should be connected to the WiFi network, allowing you to enjoy the benefits of wireless internet access.
Step 6: Troubleshooting Common Connection Issues
While connecting your PC to WiFi is generally a straightforward process, there may be times when you encounter connectivity issues. These issues can range from a weak or unstable signal to difficulty establishing a connection. Fortunately, there are some common troubleshooting steps you can take to resolve these problems.
Here are some common connection issues and troubleshooting steps:
- Weak or no signal: If you’re experiencing a weak or no signal, try moving closer to the WiFi router. Objects like walls and appliances can interfere with the signal, so adjusting your physical position may improve reception.
- Power cycling the router: Power cycling the router can often resolve connectivity issues. To do this, unplug the power cable from the router, wait for about 10 seconds, and then plug it back in. Allow the router to fully reboot, and then try connecting to WiFi again.
- Restarting your PC: Sometimes, restarting your PC can help resolve connectivity problems. Close any programs or applications that may be using the network, and then restart your computer. Once it boots up, try connecting to the WiFi network again.
- Updating network drivers: Outdated or incompatible network drivers can cause connection problems. Visit the manufacturer’s website or use Windows Update to check for any available driver updates for your network adapter. Install any updates and then attempt to connect to WiFi.
- Resetting network settings: If you’re still having trouble connecting, you can try resetting the network settings on your PC. Open the network settings menu, find the option to reset or forget known networks, and then restart your PC. Afterward, you can re-enter the network password and attempt to connect again.
If you’ve tried these troubleshooting steps and are still unable to connect to WiFi, it may be helpful to consult with your internet service provider (ISP) or seek technical support. They can assist you in diagnosing and resolving any underlying issues specific to your network setup.
Remember, connectivity issues can vary depending on factors such as hardware, software, and network environment. By following these troubleshooting steps, you increase the chances of resolving your connection problems and enjoying a stable and reliable WiFi connection.
Conclusion
Connecting your PC to WiFi provides you with the convenience and flexibility of accessing the internet without the need for physical cables. By following the step-by-step guide outlined in this article, you can easily connect your computer to a WiFi network and enjoy the benefits of wireless internet access.
We started by checking if your PC has a wireless adapter, as this is crucial for establishing a wireless connection. Then, we turned on the wireless adapter to activate the functionality needed for wireless communication. Next, we searched for available networks and connected to the desired network, either with or without a password.
In the event of any connectivity issues, we explored troubleshooting steps to resolve common problems, such as weak signals or difficulty establishing a connection. These steps included moving closer to the router, power cycling the router, restarting your PC, updating network drivers, and resetting network settings.
Remember, wireless networks are a shared resource, and connecting to a network without authorization is prohibited. Always seek permission to use a network and enter the correct password when connecting to a secured network to ensure privacy and security.
By successfully connecting your PC to WiFi, you now have the freedom to browse the web, stream media, work remotely, and stay connected with friends and family. Enjoy the convenience and flexibility of wireless internet access!