Introduction
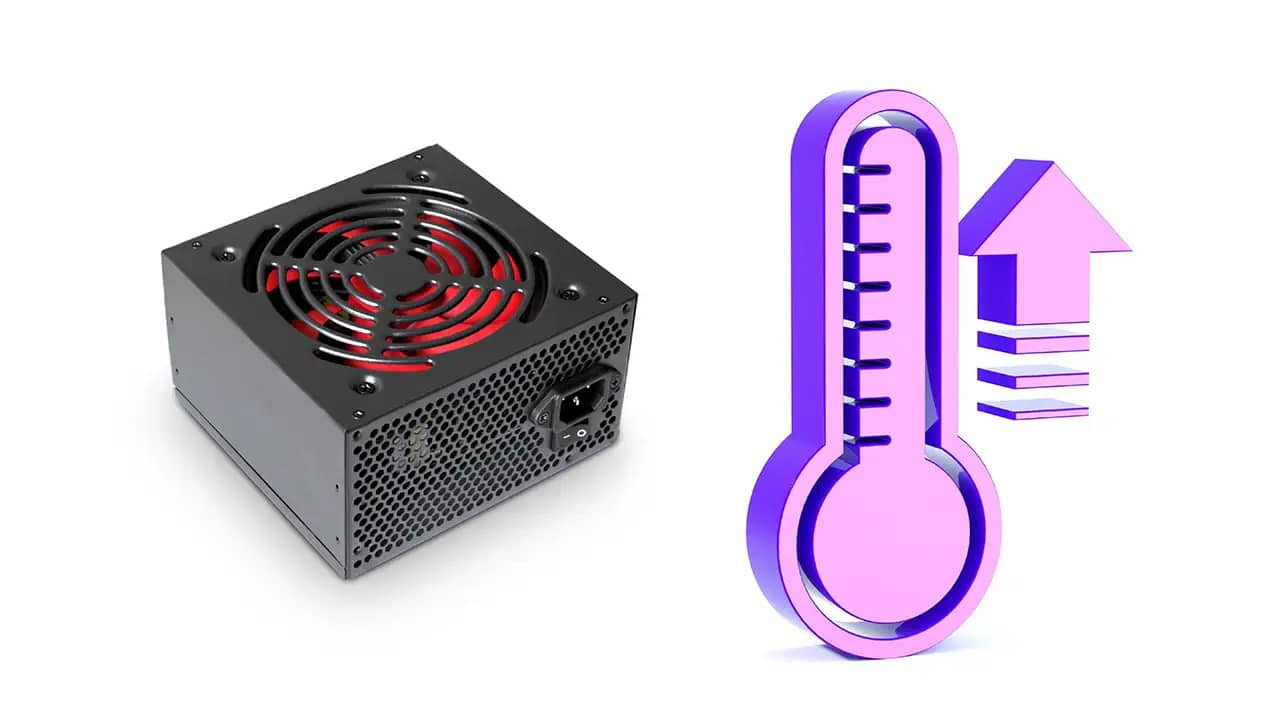
When it comes to maintaining and optimizing the performance of your computer, the power supply unit plays a crucial role. It provides the necessary power to all the components, ensuring smooth operation. However, over time, the fan in the power supply unit may wear out or become noisy, leading to decreased cooling efficiency and potentially causing damage to other components.
In this article, we will guide you through the process of changing the fan in your power supply unit. By following a few simple steps and with the right tools, you can replace the fan and restore optimal cooling performance to your computer.
Before you begin, it’s important to note that working with electronics can be hazardous if not done with caution. Always ensure that you are properly grounded and take appropriate safety measures.
Now, let’s get started with the step-by-step guide to changing the fan in your power supply unit. This straightforward process will help you enjoy a quieter and more efficient computer experience.
Step 1: Gather the tools and materials
Before you begin replacing the fan in your power supply unit, it’s essential to gather all the necessary tools and materials. Having everything ready beforehand will make the process smoother and more efficient. Here’s what you’ll need:
- A replacement fan: Make sure to choose a fan that is compatible with your power supply unit. Refer to the manufacturer’s specifications or consult your computer’s manual for the appropriate fan size and connector type.
- Screwdriver: Depending on the type of screws used to secure the power supply unit, you may need a Phillips or a flathead screwdriver. Check the screws beforehand to determine which screwdriver is required.
- Anti-static wrist strap: To protect your computer components from electrostatic discharge, it’s highly recommended to use an anti-static wrist strap. This will help prevent any accidental damage caused by static electricity.
- Clean cloth or compressed air canister: It’s important to keep the power supply unit and surrounding area clean during the replacement process. A clean cloth or a canister of compressed air will help you remove any dust or debris that may have accumulated.
- Tweezers: In some cases, you may need tweezers to handle small screws or to secure cables in tight spaces. These can be handy tools to have during the replacement process.
- Thermal paste (optional): If your power supply unit uses thermal paste to improve heat transfer, you might need to have some on hand. Check your power supply unit’s specifications to determine if thermal paste is necessary for reinstallation.
By gathering these tools and materials before you start, you’ll ensure a smooth and uninterrupted replacement process. Having everything within reach will save you time and prevent any unnecessary delays.
Step 2: Prepare the work area for safety
Before you begin replacing the fan in your power supply unit, it’s important to prepare the work area to ensure your safety and prevent any potential damage to your computer or yourself. Follow these steps to create a safe and organized workspace:
- Power off your computer: Before starting any work on your power supply unit, make sure to power off your computer and unplug it from the wall outlet. This will eliminate the risk of electric shock and protect you from any accidental damage.
- Choose a clean and well-lit work area: Find a clean and well-lit space where you can comfortably work on your computer. Make sure there’s ample room to maneuver and that the area is free from clutter.
- Use an anti-static mat or surface: To prevent electrostatic discharge, it’s recommended to work on an anti-static mat or surface. This will help dissipate any static electricity that could potentially damage your computer components.
- Wear an anti-static wrist strap: Attach one end of the anti-static wrist strap to your wrist and the other end to a metal object, such as the computer case or a grounded outlet. This will help ground you and reduce the risk of static electricity damaging your computer components.
- Organize your tools and materials: Arrange all the tools and materials you gathered in Step 1 in an organized manner. This will save you time and prevent any accidental misplacement or loss of important components.
- Provide adequate ventilation: Ensure that your work area has proper ventilation to prevent the buildup of heat during the replacement process. This will help keep your computer and yourself cool and comfortable.
By taking these preparatory steps, you’ll create a safe and organized work environment, reducing the risk of damage to your computer components and ensuring your personal safety throughout the fan replacement process.
Step 3: Disconnect the power supply unit
To safely replace the fan in your power supply unit, you need to disconnect it from your computer. Follow these steps to disconnect the power supply unit:
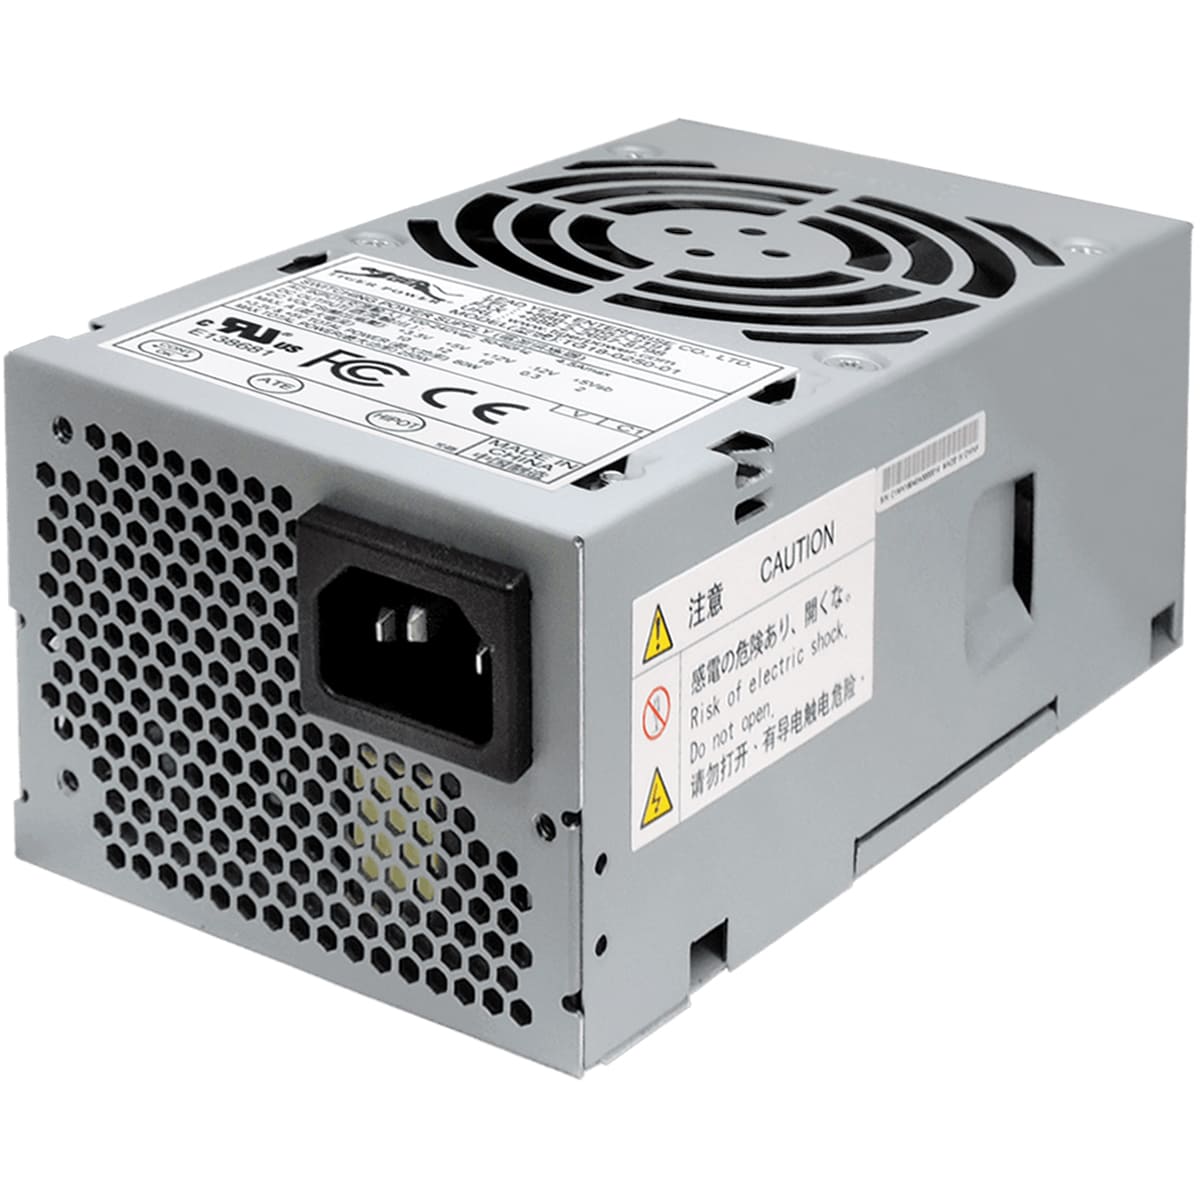
- Locate the power supply unit: The power supply unit is typically located at the back of your computer, near the top. It is a rectangular box with cables connected to various components.
- Switch off the power supply: Many power supplies have an on/off switch on the back. Flip the switch to the off position to cut off the power supply to your computer. This is an important safety measure to prevent any electrical mishaps during the replacement process.
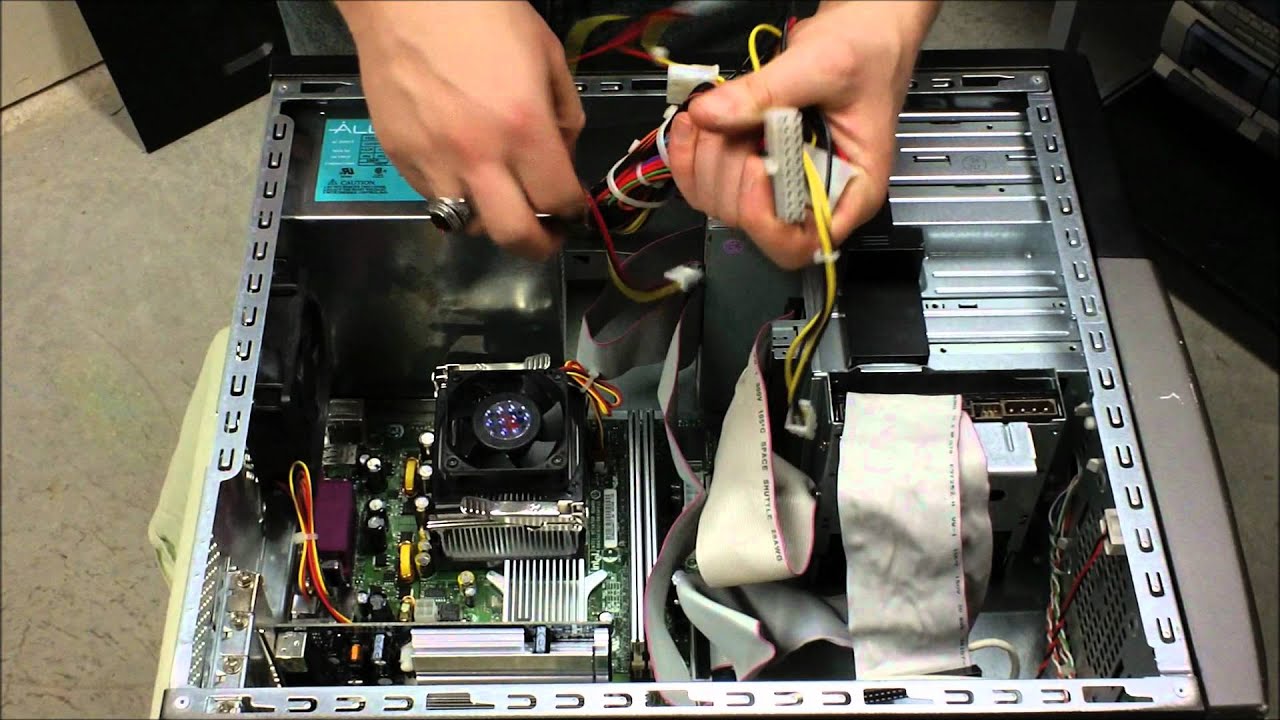
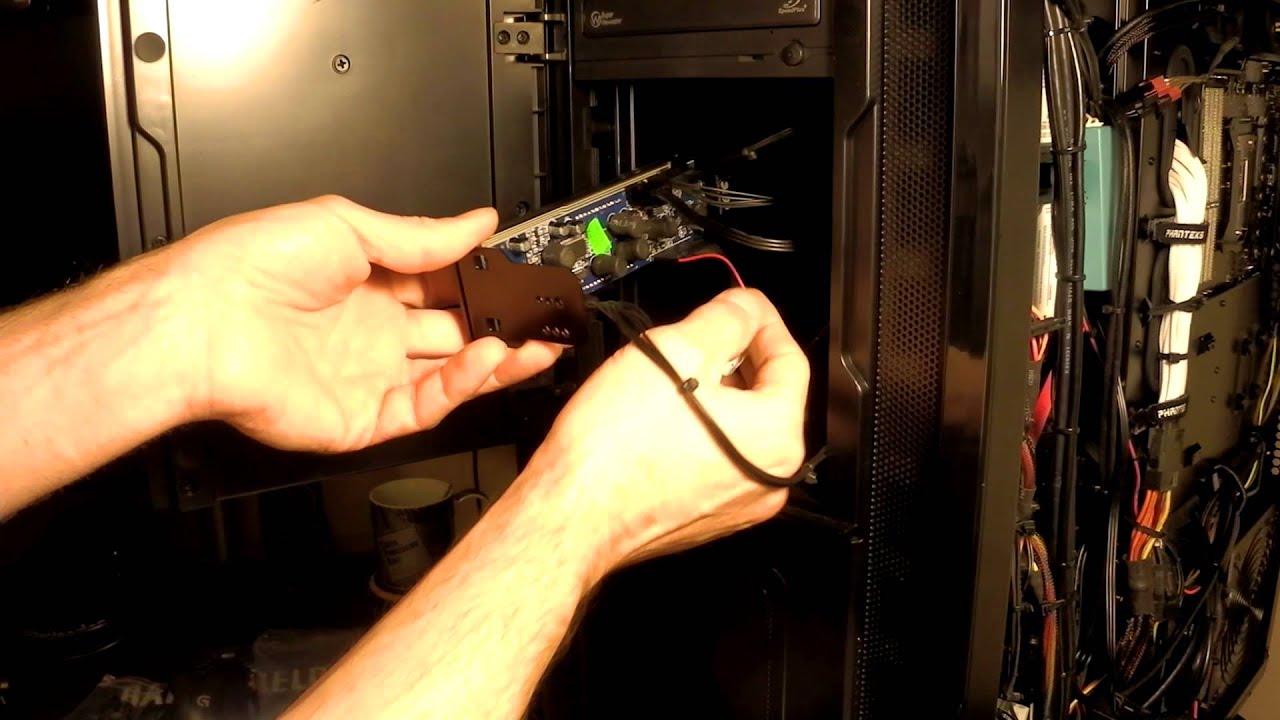
- Unplug the power cords: Remove the power cords that are connected to the power supply unit. These cords usually provide power to the motherboard, hard drives, and other components. Gently unplug them from the power supply connectors.
- Disconnect the other cables: Identify and disconnect any other cables that are connected to the power supply unit. These may include the cables attached to the graphics card, CPU, and other peripherals. Make sure to handle the cables carefully and gently pull them out of their connectors.
- Remove the power supply unit: Depending on how the power supply unit is secured, you may need to unscrew it from the computer case. Most power supplies have screws that hold them in place. Use a screwdriver to remove the screws and carefully detach the power supply unit from the case.
By following these steps, you will safely disconnect the power supply unit from your computer, allowing you to proceed with the fan replacement process without any risk of electrical issues.
Step 4: Locate and remove the old fan
Now that the power supply unit is disconnected, you can proceed to locate and remove the old fan. Follow these steps to complete this task:
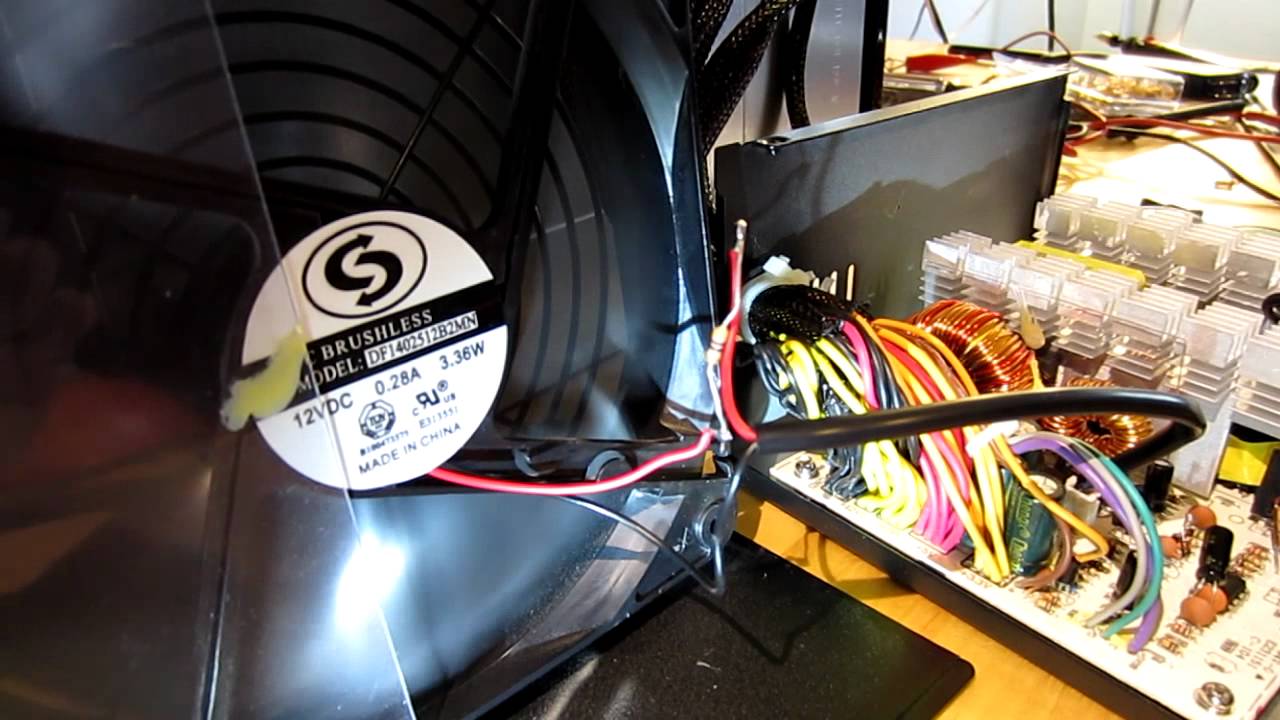
- Inspect the power supply unit: Take a close look at the power supply unit and locate the fan. It is usually found at the back of the unit, near the opening where the cables are connected.
- Identify the fan mounting mechanism: Determine how the fan is mounted in the power supply unit. It may be secured with screws or clips. Observe the fan carefully to understand the mounting mechanism.
- Remove any fan covers or guards: In some cases, there may be covers or guards protecting the fan. If present, remove these covers by gently unscrewing or unclipping them. This will expose the fan for easy removal.
- Unplug the fan connector: Locate the connector that connects the fan to the power supply unit. Carefully unplug the connector by gently pulling it away from the socket. Take note of how the connector is attached so that you can easily reconnect the new fan later.
- Remove the old fan: If the fan is secured with screws, use a screwdriver to carefully unscrew them and remove the old fan from the power supply unit. If the fan is held in place by clips, carefully unclip them to release the fan.
Be cautious while handling the old fan, as it may have accumulated dust and debris over time. You may want to place it aside for proper disposal later.
By following these steps, you will successfully locate and remove the old fan from your power supply unit. This will pave the way for the installation of a new and efficient fan, ensuring optimal cooling performance for your computer.
Step 5: Clean the power supply unit
After removing the old fan from your power supply unit, it’s important to take a moment to clean any dust or debris that may have accumulated. Proper cleaning will ensure optimal performance and longevity for your new fan. Follow these steps to clean your power supply unit:
- Inspect the power supply unit: Take a close look at the inside of the power supply unit. Check for any visible dust or debris that may have accumulated over time.
- Use compressed air: If you have a canister of compressed air, carefully aim it at the power supply unit and blow away any dust or debris. Start from one end and move in a steady, sweeping motion across the unit. Pay extra attention to the fan blades and the vent areas to ensure thorough cleaning.
- Wipe with a clean cloth: If there are stubborn dust particles or if you don’t have compressed air, use a clean cloth to gently wipe away any residue. Make sure the cloth is clean and free from any moisture that can cause damage to the power supply unit.
- Check the fan filter (if applicable): Some power supply units have a removable fan filter that collects dust. If your unit has a filter, carefully remove it and clean it separately. Use a soft brush or rinse it under mild running water, if applicable. Allow the filter to dry completely before reattaching it.
Proper cleaning of your power supply unit will not only improve cooling efficiency but also extend the lifespan of your new fan. A clean power supply unit will minimize the risk of dust buildup and potential heat-related issues.
Once you have finished cleaning the power supply unit, you are ready to proceed with the installation of the new fan in the next step.
Step 6: Install the new fan
With the old fan removed and the power supply unit cleaned, you are now ready to install the new fan. Follow these steps to successfully install the new fan in your power supply unit:
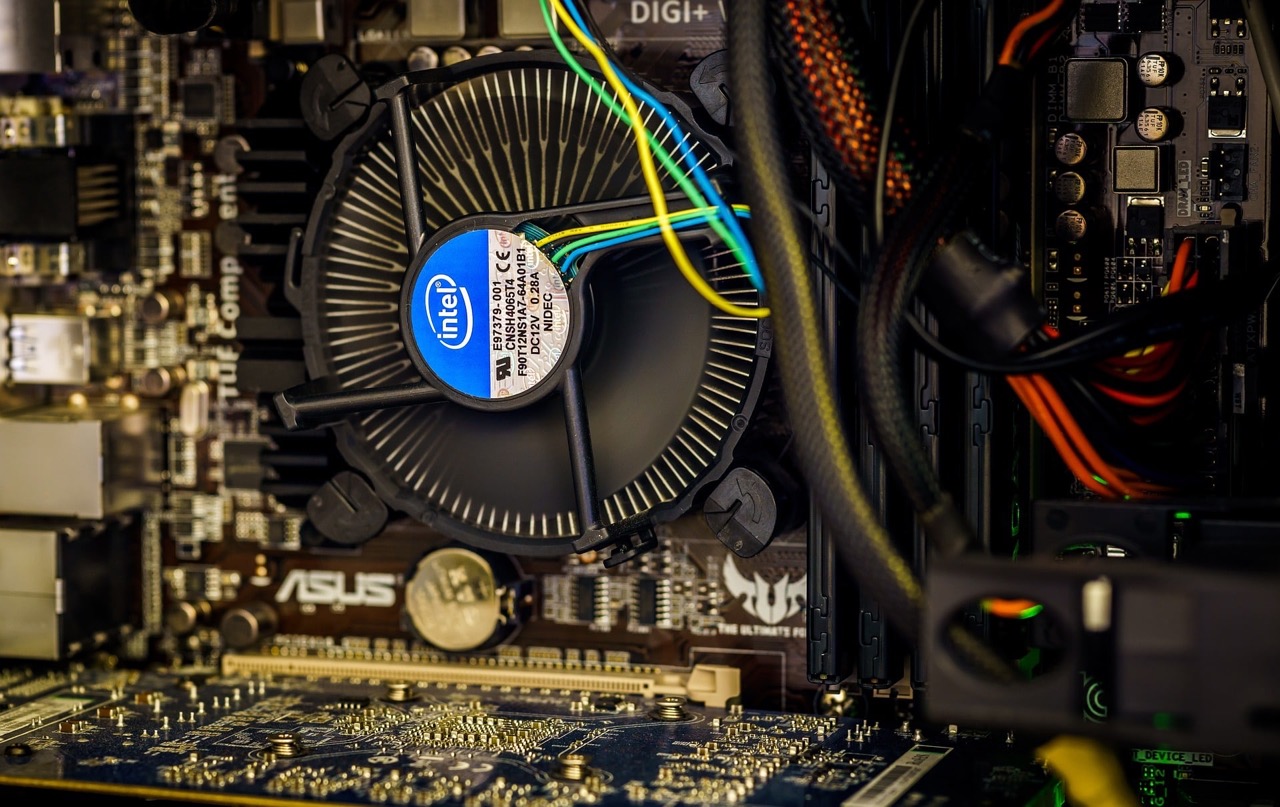
- Check the fan orientation: Before installing the new fan, make sure to check its orientation. Look for any arrows or indicators on the fan that show the direction of airflow. Align the fan accordingly to ensure proper cooling efficiency.
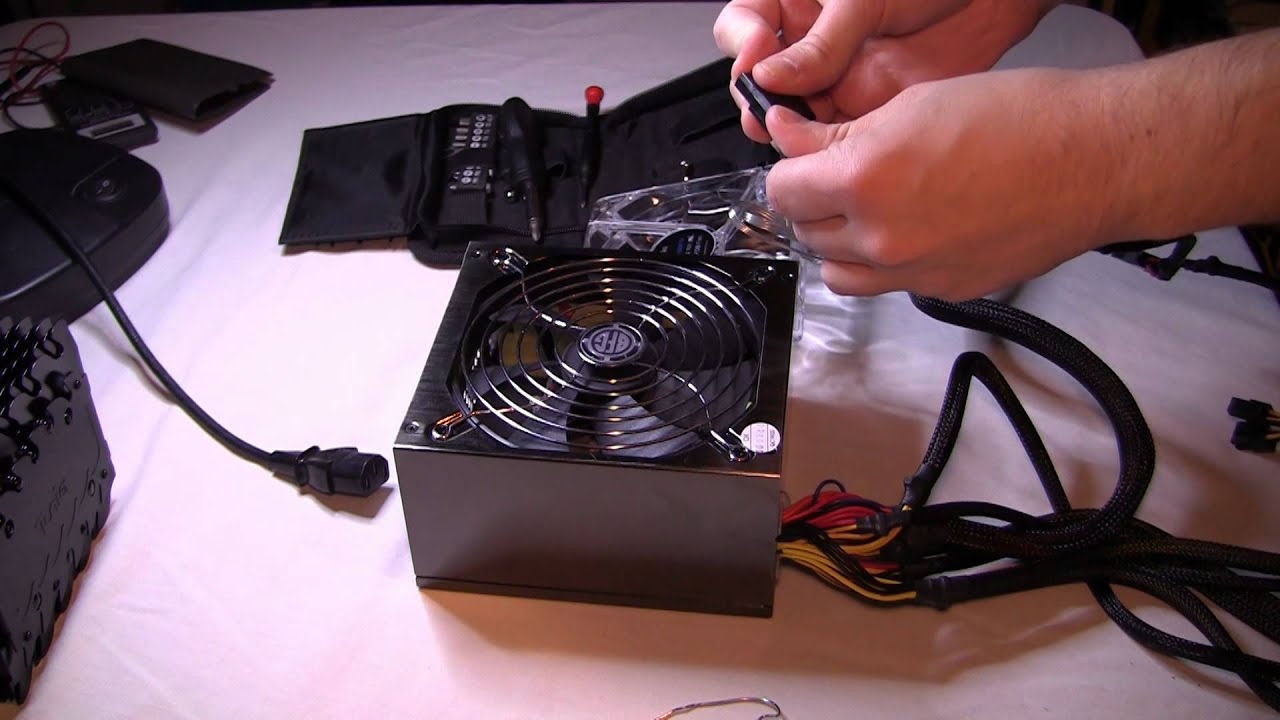
- Position the new fan: Carefully position the new fan in the power supply unit. Make sure it aligns with the screw holes or mounting clips, depending on the fan’s design.
- Secure the new fan: If the new fan requires screws, use a screwdriver to carefully secure it in place. If it uses mounting clips, follow the manufacturer’s instructions to properly attach them.
- Connect the fan cable: Locate the fan connector on the power supply unit. Plug the fan cable from the new fan into the appropriate socket. Ensure a secure and snug connection.
- Reattach any covers or guards: If you removed any covers or guards earlier, now is the time to reattach them. Align them properly and use screws or clips to secure them in place.
During the installation process, ensure that all the connections are secure and the fan is properly aligned. Double-check that no cables or components are obstructing the fan’s movement. This will ensure optimal cooling performance for your power supply unit.
Once you have successfully installed the new fan, you’re ready to move on to the next step of reconnecting the power supply unit.
Step 7: Reconnect the power supply unit
Now that you have installed the new fan in your power supply unit, it’s time to reconnect it to your computer. Follow these steps to ensure a proper and secure reconnection:
- Position the power supply unit: Carefully position the power supply unit back into its original place in the computer case. Make sure it aligns with the screw holes or mounting brackets.
- Secure the power supply unit: If the power supply unit requires screws to secure it in place, use a screwdriver to tighten them. Ensure that the unit is firmly secured but not overly tightened, as this can cause damage to the case or the unit itself.
- Reconnect the power cords: Take the power cords that you had disconnected earlier and plug them back into their respective connectors on the power supply unit. Ensure a snug and secure connection.
- Reattach any other cables: Identify any other cables that were disconnected in Step 3, such as those connected to the graphics card, CPU, or peripherals. Carefully reconnect each cable, ensuring that they are securely plugged in.
During the reconnection process, double-check that all the cables are correctly aligned and properly connected. Pay attention to any cable management clips or routes within the computer case to keep the cables organized and prevent any obstruction to airflow.
Once you have reconnected the power supply unit and all the necessary cables, you’re ready to move on to the final step to test the new fan.
Step 8: Test the new fan
After completing the installation and reconnection of the power supply unit, it’s important to test the new fan to ensure that it is functioning properly. Follow these steps to test the new fan:
- Power on your computer: Plug in your computer and turn it on. Allow it to boot up fully.
- Listen for fan operation: Pay close attention to the power supply unit area and listen for the sound of the new fan spinning. It should be running smoothly and quietly.
- Monitor fan speed: Use appropriate monitoring software or BIOS settings to check the speed of the new fan. It should be within the normal range specified by the fan manufacturer.
- Check for airflow: Feel for airflow coming out of the power supply unit. Place your hand near the vent area to ensure that air is flowing smoothly. It should feel consistent and provide adequate ventilation.
- Monitor system temperature: Use monitoring software or BIOS settings to check the temperature of your computer components. Ensure that the temperature remains within acceptable limits even during extended periods of computer usage.
If you notice any issues during the testing process, such as unusual noise, inadequate airflow, or high system temperatures, it may indicate a problem with the new fan installation. In such cases, you may need to double-check the connections or seek professional assistance if necessary.
If the new fan is operating smoothly, providing adequate airflow, and keeping the system temperature within normal limits, congratulations! You have successfully replaced the fan in your power supply unit and optimized the cooling performance of your computer.
By following this step-by-step guide, you have taken the necessary steps to ensure the smooth and efficient operation of your power supply unit. Remember to periodically clean your power supply unit and monitor the fan’s performance to maintain optimal cooling and prolong the lifespan of your computer components.
Conclusion
Replacing the fan in your power supply unit is a necessary step in maintaining the performance and longevity of your computer. By following the step-by-step guide in this article, you have learned how to safely and effectively change the fan in your power supply unit.
Throughout the process, we emphasized the importance of safety precautions, such as disconnecting the power supply, wearing an anti-static wrist strap, and working in a clean and well-ventilated area. These precautionary measures ensure the protection of your computer components and your personal safety.
Gathering the necessary tools and materials beforehand, preparing the work area for safety, disconnecting the power supply unit, locating and removing the old fan, cleaning the power supply unit, installing the new fan, reconnecting the power supply unit, and testing the new fan were the key steps covered in this guide.
Remember, it is essential to pay attention to detail during each step and ensure proper alignment, secure connections, and smooth fan operation. Regularly monitoring the fan’s performance and system temperature will help maintain efficient cooling and reduce the risk of component damage due to overheating.
With the knowledge and skills gained from this guide, you can confidently replace the fan in your power supply unit, enabling your computer to operate smoothly and optimally. By taking care of your power supply unit and its fan, you are investing in the continued performance and longevity of your computer.
We hope that this guide has provided you with the necessary information and guidance to successfully change the fan in your power supply unit. Happy computing!