Introduction
Power supply units (PSUs) are an integral part of any computer system, ensuring a steady and reliable flow of power to all components. However, the PSU fan plays a crucial role in maintaining optimal performance and preventing overheating. The PSU fan helps dissipate heat generated by the power supply, keeping it running within safe temperature limits and safeguarding your entire system from potential damage.
As a computer enthusiast or a professional, you may be interested in adjusting the fan speed of your PSU. Adjusting the fan speed of your PSU can help you achieve a better balance between cooling performance and noise levels, depending on your specific needs and preferences.
In this article, we will explore different methods to adjust the PSU fan speed, discuss the factors to consider, and provide insights to help you make informed decisions. By the end of this article, you will have a better understanding of how to optimize the fan speed of your PSU to create an optimal cooling solution for your computer system.
Understanding PSU Fans
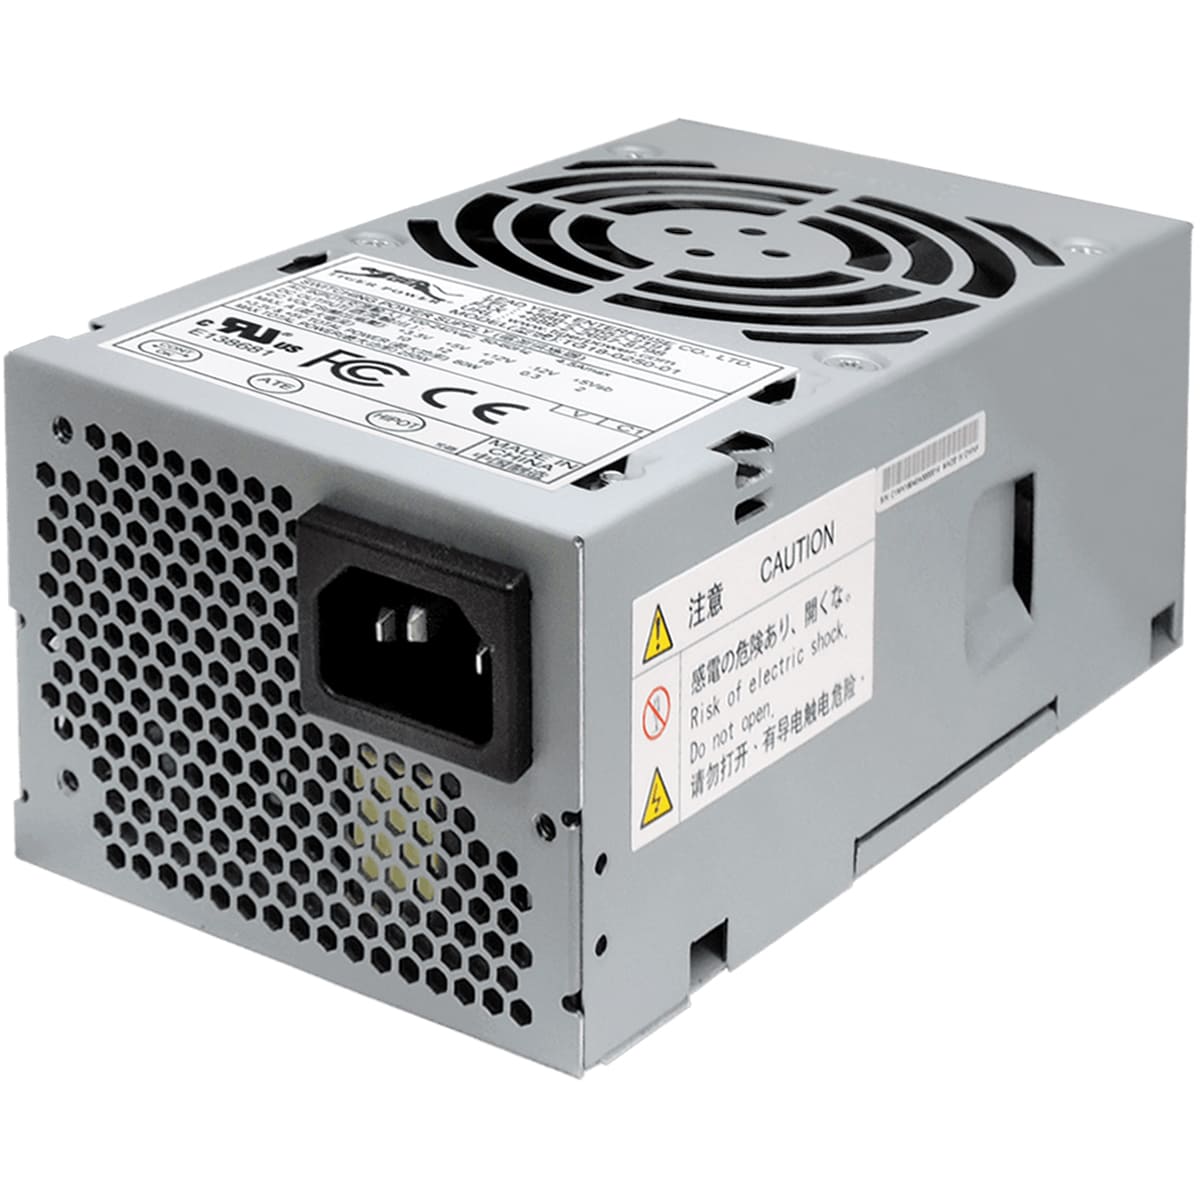
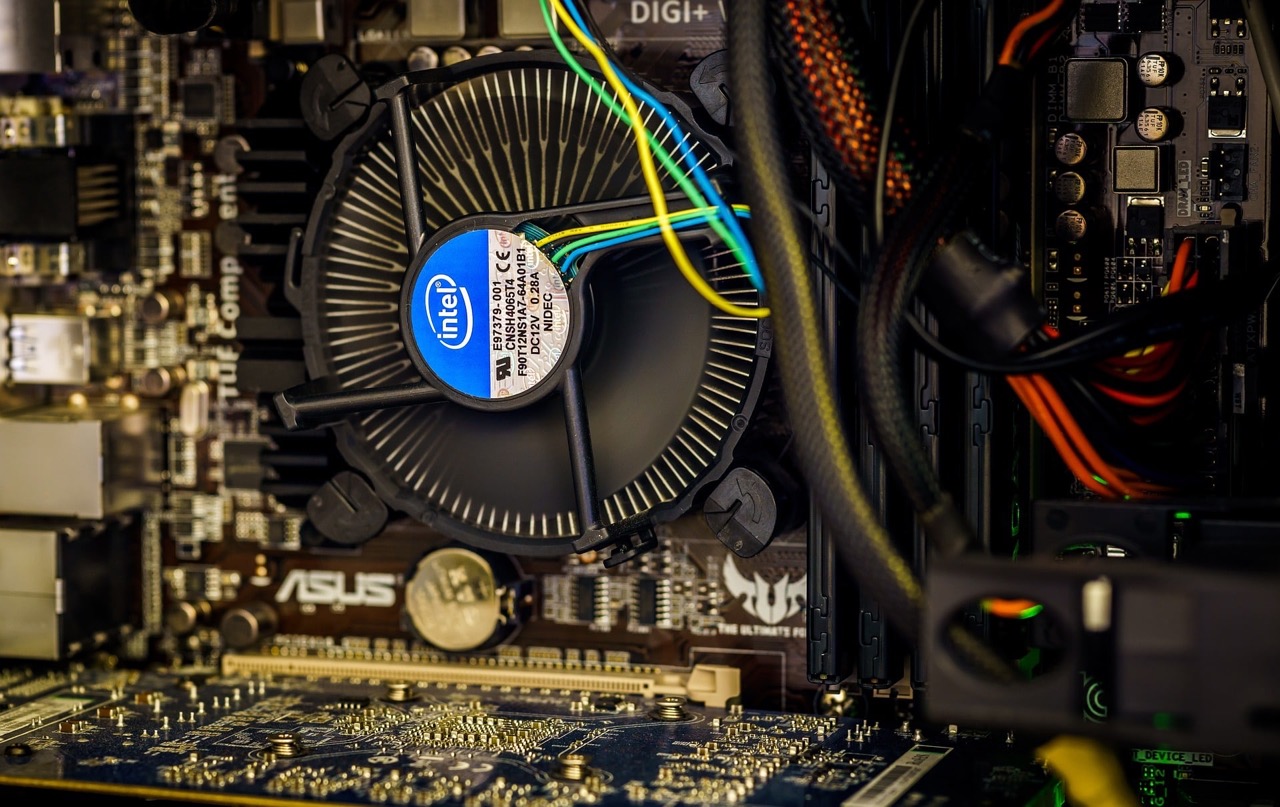
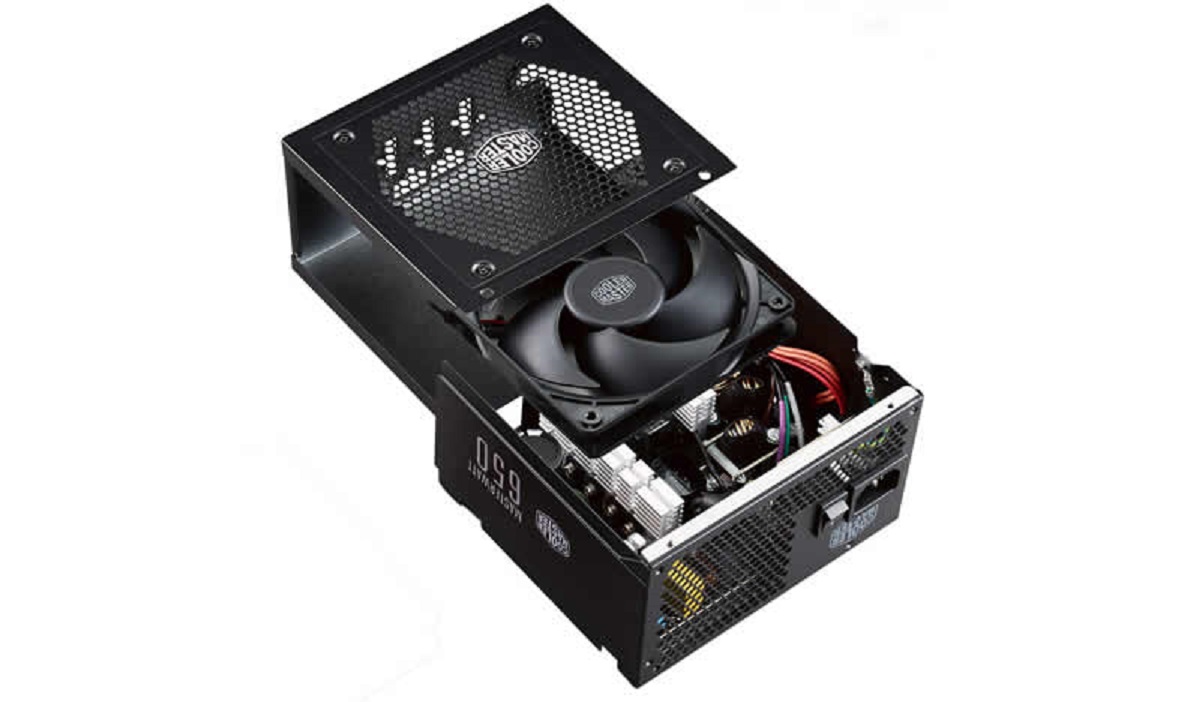
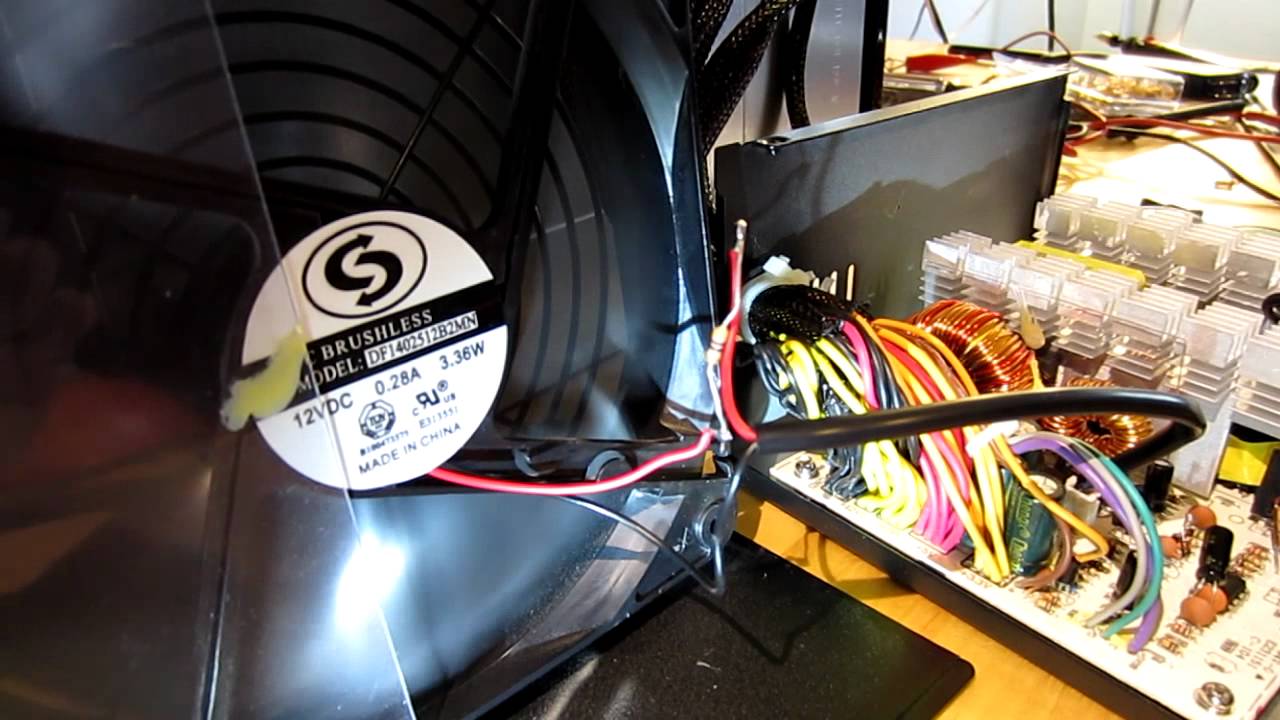
Before diving into methods for adjusting PSU fan speed, it’s essential to have a basic understanding of how PSU fans work. PSU fans are typically located at the rear of the power supply unit and are designed to pull in cool air and direct it over the internal components to dissipate heat.
PSU fans are commonly of two types: ball-bearing fans and sleeve-bearing fans. Ball-bearing fans are known for their durability and longevity, making them a popular choice for high-end PSUs. Sleeve-bearing fans, on the other hand, are generally considered quieter but have a shorter lifespan.
The speed of a PSU fan is measured in RPM (revolutions per minute) and can vary depending on factors such as temperature, system load, and fan control settings. Higher RPMs result in more cooling capacity but also produce more noise, while lower RPMs provide quieter operation at the cost of reduced cooling performance.
Modern PSUs often feature intelligent fan control mechanisms that automatically adjust the fan speed based on the system’s thermal requirements. These mechanisms help strike a balance between cooling efficiency and noise levels, ensuring optimal performance while keeping noise to a minimum.
Understanding how PSU fans function and the different types available will allow you to make more informed decisions when it comes to adjusting the fan speed. Now let’s explore the various methods you can utilize to customize your PSU’s fan speed according to your needs.
Methods for Adjusting PSU Fan Speed
When it comes to adjusting the fan speed of your PSU, there are various methods you can employ depending on the capabilities of your power supply unit and your desired level of control. Let’s take a look at three common methods:
- Method 1: BIOS Settings: Some newer motherboards offer BIOS options to control the fan speed of the PSU. By accessing the BIOS settings, you can adjust parameters such as fan curve, temperature thresholds, and fan control modes. This method provides a straightforward and reliable way to adjust the PSU fan speed, as it allows for system-level control.
- Method 2: Hardware Control Software: Many PSU manufacturers provide software utilities that enable users to monitor and control the fan speed of their PSU. These software tools typically provide an intuitive interface where you can adjust fan profiles, set temperature thresholds, and even customize fan curves. Compatibility may vary depending on the PSU model, so make sure to check if your power supply is supported by the software.
- Method 3: Fan Controller: If you want more granular control over your PSU fan speed or your PSU does not offer built-in control options, you can consider using an external fan controller. These devices are designed to connect to the PSU and provide manual control over the fan speed. Fan controllers typically come with knobs or buttons that allow you to adjust the fan speed on the fly. Keep in mind that this method requires additional hardware and may not be compatible with all PSUs.
Each method offers a different level of control over your PSU fan speed, so choose the one that best suits your needs and hardware compatibility. It’s important to note that adjusting the fan speed may impact the cooling performance of your system, so be sure to monitor the temperature to ensure it remains within safe limits.
Now that we have explored the various methods for adjusting PSU fan speed, let’s discuss the factors you should consider before making any changes.
Method 1: BIOS Settings
One of the most common methods for adjusting the fan speed of your PSU is through the BIOS settings. This method offers system-level control over fan speed and is widely available on newer motherboards. Here’s how you can adjust the fan speed using the BIOS:
- Access the BIOS: Restart your computer and enter the BIOS settings by pressing the designated key during the boot process. This key varies depending on your motherboard manufacturer but is often the Delete, F2, or F12 key.
- Navigate to the Fan Control section: Once inside the BIOS, locate the fan control or hardware monitor section. The exact location and naming may vary between BIOS versions and manufacturers.
- Adjust fan settings: Within the fan control section, you will find options to set the fan mode, fan curve, and temperature thresholds. These options differ depending on your motherboard, but common settings include PWM control, voltage control, and percentage-based fan curves.
- Save and exit: After adjusting the fan settings, save the changes and exit the BIOS. Your computer will restart, and the new fan speed settings will be applied.
BIOS settings allow for fine-tuning the fan speed of your PSU based on temperature thresholds and fan control modes. For example, you can set the fan curve to increase the fan speed gradually as the temperature rises, or you can set fixed fan speeds at different temperature ranges.
It’s important to note that not all motherboards offer extensive fan control options in the BIOS, so be sure to check your motherboard’s manual or consult the manufacturer’s website for specific instructions.
Additionally, constantly running the PSU fan at slower speeds may result in higher temperatures, so ensure that your system’s cooling is adequate, and monitor the temperature regularly to avoid any overheating issues.
Now that we’ve covered adjusting PSU fan speed using BIOS settings, let’s explore another method: hardware control software.
Method 2: Hardware Control Software
If your PSU manufacturer provides dedicated software utilities, you can utilize hardware control software to adjust the fan speed of your power supply. This method offers a user-friendly interface and allows for more nuanced control over the PSU fan. Here’s how you can use hardware control software to adjust PSU fan speed:
- Download and install the software: Visit the website of your PSU manufacturer and download the appropriate hardware control software for your power supply model. Install the software on your computer following the provided instructions.
- Launch the software: Once the software is installed, launch it, and you should be greeted with an interface that displays information about your PSU, such as fan speed, temperature, and power usage.
- Adjust fan settings: Explore the software’s settings menu to find options for adjusting the fan speed. The software may provide different profiles, fan curves, and temperature thresholds that you can customize according to your preferences.
- Apply changes: After making the desired changes to the fan settings, apply the changes. The software should update the fan speed of your PSU accordingly.
Hardware control software offers a more intuitive and user-friendly approach to adjusting the PSU fan speed. It often provides real-time monitoring of temperature and fan speed, allowing you to optimize the cooling performance of your system. Additionally, some software may offer additional features like RGB lighting control and power monitoring.
It’s important to note that not all PSU models have dedicated control software available. Make sure to check the manufacturer’s website for software compatibility and availability.
Using hardware control software allows for convenient and precise adjustment of the PSU fan speed, delivering a balance between cooling performance and noise levels customized to your specific needs.
Now that we’ve covered hardware control software, let’s move on to another method you can use to adjust PSU fan speed: using a fan controller.
Method 3: Fan Controller
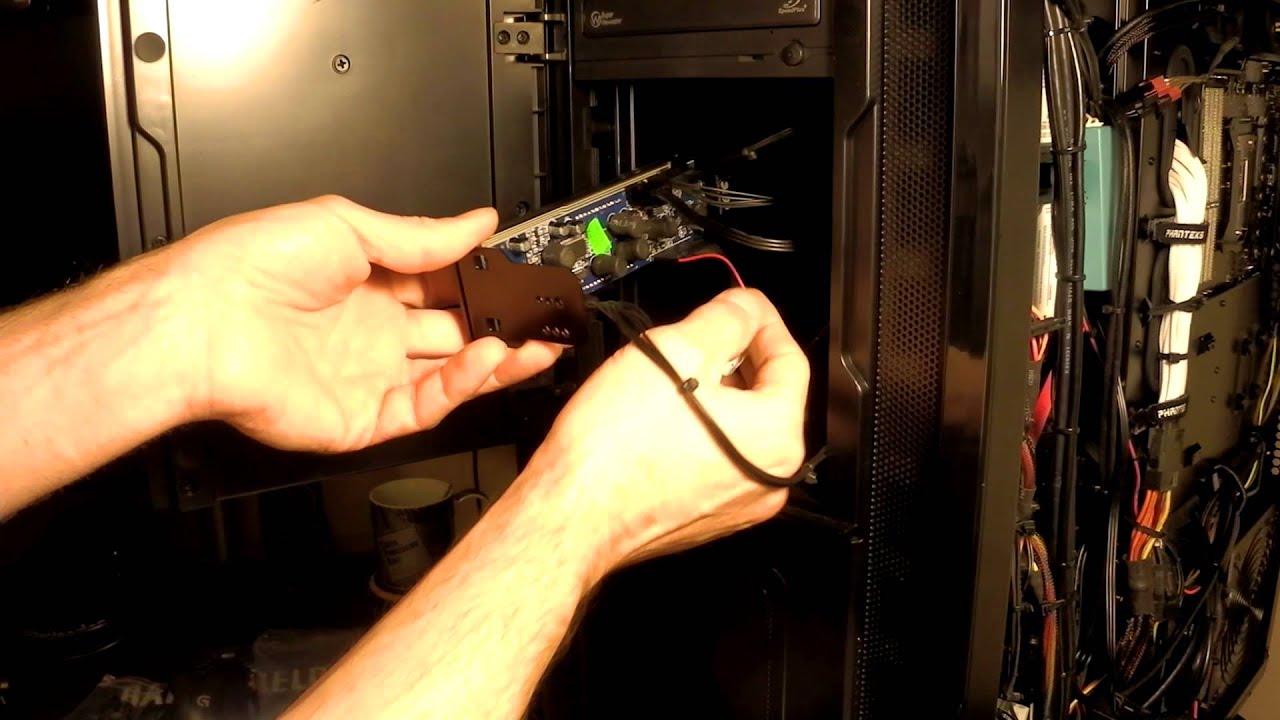
If you want more control over the fan speed of your PSU or your power supply unit does not offer built-in control options, you can consider using an external fan controller. A fan controller is a separate device that allows manual adjustment of fan speeds. Here’s how you can use a fan controller to adjust PSU fan speed:
- Choose a fan controller: Explore the market for a fan controller that suits your needs and is compatible with your power supply unit. Look for controllers with sufficient fan headers and control options.
- Install the fan controller: Connect the fan controller to your PSU and ensure proper power supply. The installation process may vary depending on the specific fan controller you choose. Refer to the manufacturer’s instructions for guidance.
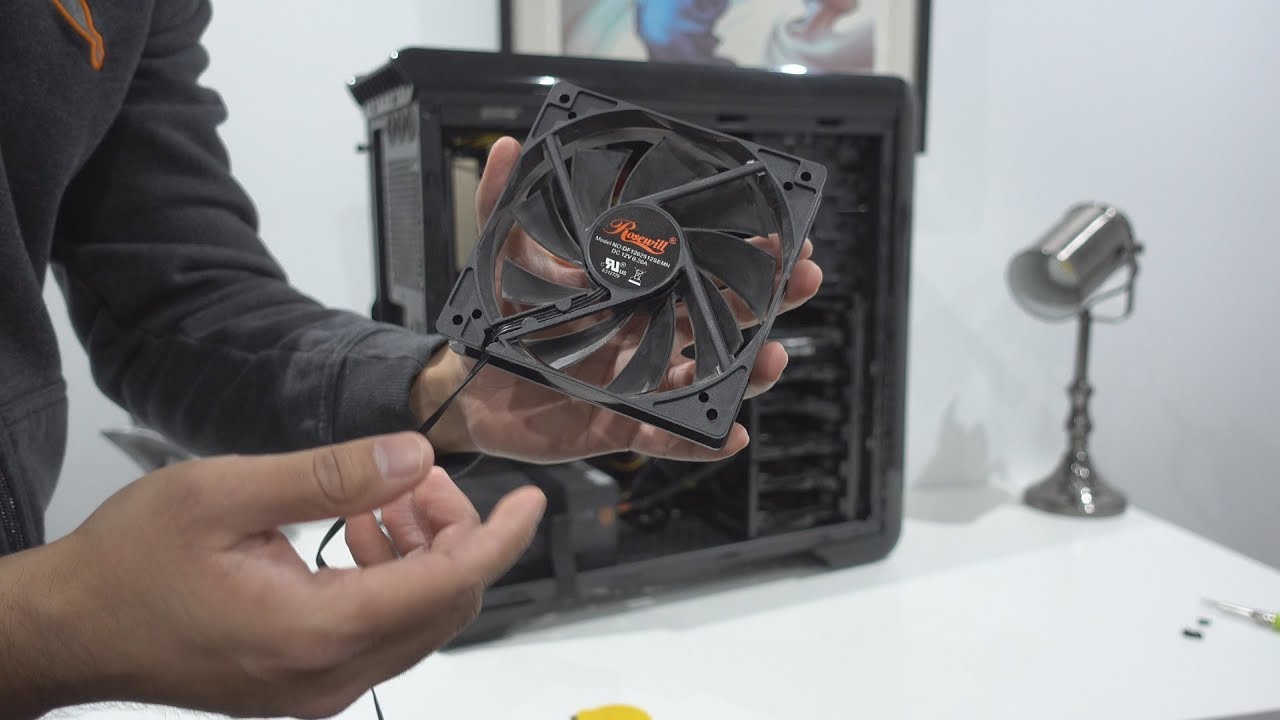
- Connect the PSU fan to the fan controller: Connect the PSU fan to one of the available fan headers on the fan controller. This allows the fan controller to regulate the fan speed.
- Adjust the fan speed: Use the controls provided on the fan controller to manually adjust the fan speed. This can typically be done through knobs, switches, or buttons on the controller that allow you to increase or decrease the RPM of the fan.
Using a fan controller gives you precise, hands-on control over the fan speed of your PSU. You can easily adjust the fan speed to strike the perfect balance between cooling performance and noise levels based on your specific requirements.
It’s important to note that using a fan controller means that you will have to manually adjust the fan speed whenever necessary. This method requires regular monitoring of the system’s temperature to ensure it remains within safe limits.
Additionally, not all power supply units are compatible with fan controllers, so ensure that your PSU has the necessary connections and voltage support before investing in a fan controller.
Now that we’ve explored different methods for adjusting PSU fan speed, let’s move on to discussing the factors you should consider when making adjustments.
Factors to Consider when Adjusting PSU Fan Speed
When adjusting the fan speed of your PSU, it’s crucial to consider several factors to ensure optimal performance and reliability. Here are some key factors to keep in mind:
- Cooling requirements: Assess the cooling requirements of your system components, such as the CPU and graphics card. Different components have varying cooling needs, and adjusting the PSU fan speed should be done to maintain safe operating temperatures for all components.
- Noise levels: Consider the noise levels produced by the PSU fan. Higher fan speeds generally result in more cooling performance but also generate more noise. Strike a balance between cooling efficiency and noise levels that align with your preferences.
- Ambient temperature: Take into account the ambient temperature of your environment. Higher ambient temperatures may require increased fan speeds to maintain optimal cooling, while lower ambient temperatures may allow for slower fan speeds without compromising performance.
- System load: Monitor the system load and adjust the fan speed accordingly. Intensive tasks like gaming or rendering may generate more heat, necessitating higher fan speeds, while lighter tasks may allow for lower fan speeds for quieter operation.
- Power supply unit capacity: Consider the capacity and efficiency rating of your power supply unit. Higher wattage PSUs can generally handle increased heat output, allowing for more flexibility in adjusting fan speeds. Ensure that adjusting the fan speed does not impact the PSU’s ability to deliver stable power to your system.
- Longevity: Keep in mind that adjusting the fan speed can potentially affect the lifespan of the PSU. Running the fan at higher speeds for extended periods may shorten its lifespan, while running it at lower speeds may result in higher temperatures that could impact reliability. Strike a balance that promotes longevity without compromising performance.
Regularly monitor the system’s temperature and performance after making adjustments to ensure everything is functioning within safe limits. If you notice any unusual behavior, consider reverting to default fan settings or consult the PSU manufacturer’s guidelines for further assistance.
By taking these factors into account, you can make informed decisions when adjusting the fan speed of your PSU, ensuring a well-balanced system that meets your cooling and noise requirements.
Now that we’ve discussed the factors to consider, let’s conclude the article.
Conclusion
Adjusting the fan speed of your PSU is an effective way to optimize the cooling performance and noise levels of your computer system. By understanding PSU fans, exploring different methods of adjustment, and considering important factors, you can achieve a balance that suits your specific needs.
We discussed three common methods for adjusting PSU fan speed: using BIOS settings, utilizing hardware control software, and employing a fan controller. Each method offers varying levels of control and flexibility, allowing you to customize the fan speed according to your preferences.
When making adjustments, consider factors such as cooling requirements, noise levels, ambient temperature, system load, PSU capacity, and longevity. Striking the right balance between cooling performance and noise levels is crucial to ensure a stable and reliable system.
Remember to monitor the temperature of your system regularly, especially after making adjustments, to ensure it remains within safe limits and that the cooling solution is adequate.
Ultimately, adjusting the fan speed of your PSU enhances the overall performance and longevity of your computer system, while also providing a quieter and more comfortable user experience.
We hope this article has provided valuable insights into the methods and factors involved in adjusting PSU fan speed. Experiment with different settings and find the optimal configuration that suits your specific needs. Happy computing!