Introduction
Coil whine is a common issue that many PC enthusiasts and gamers encounter when using their computers. It can be a frustrating problem, as the high-pitched buzzing or squealing noise emitted by the power supply unit (PSU) can be quite distracting and annoying. While coil whine does not typically indicate a major malfunction or damage, it can still disrupt your computing experience and affect the performance of your system.
In this article, we will explore what PSU coil whine is, its common causes, and steps you can take to diagnose and resolve the issue. Whether you are a professional gamer, content creator, or simply a computer enthusiast, understanding how to tackle PSU coil whine can help you optimize the performance and longevity of your system.
It is important to note that while coil whine can affect various components of the computer, such as the CPU, GPU, and motherboard, we will primarily focus on the power supply unit. A faulty PSU is often the main culprit behind coil whine noise.
By following the steps outlined in this article, you can identify the root cause of your PSU coil whine and implement effective solutions to minimize or eliminate the noise. Let’s dive in and explore the world of PSU coil whine and how to overcome its challenges.
What is PSU Coil Whine?
PSU coil whine refers to the high-pitched noise emitted by the components of a power supply unit (PSU) when under load. It is characterized by a buzzing, humming, or squealing sound, which can be quite noticeable, especially in quiet environments. This phenomenon occurs due to the vibration and resonance of the coils within the PSU.
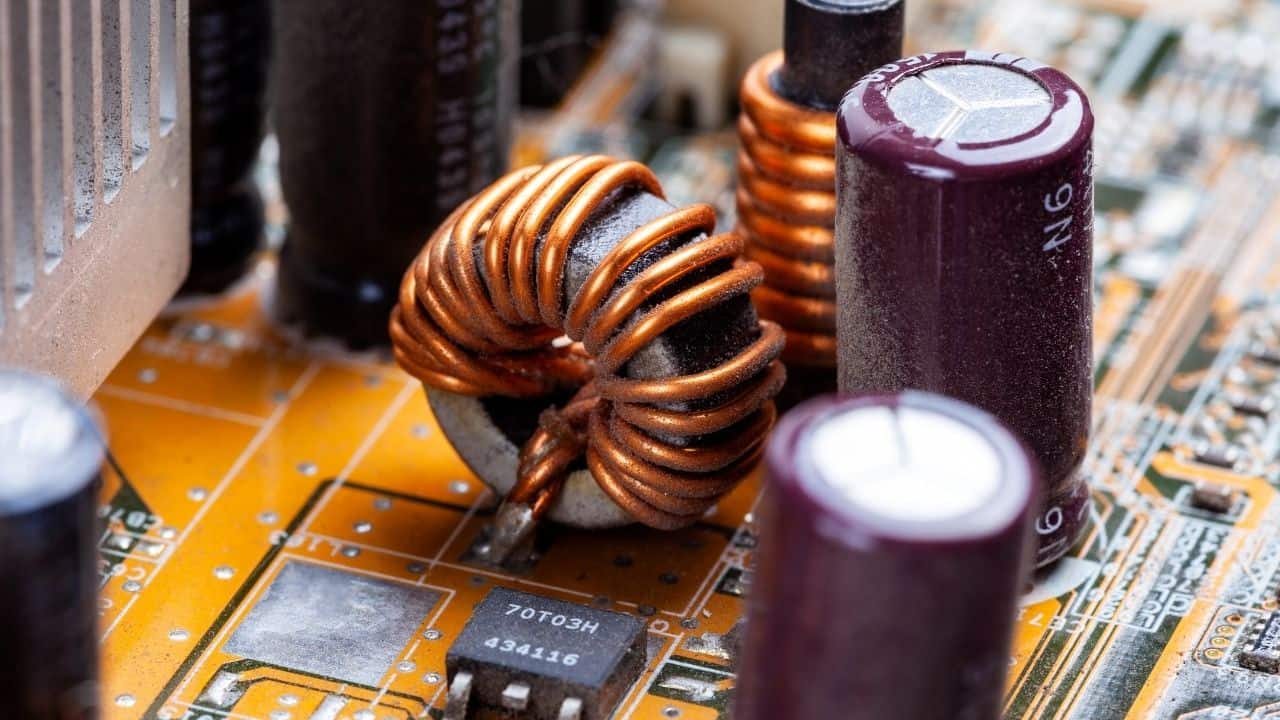
The coils in a PSU are responsible for regulating the flow of electricity, converting AC power from the wall outlet into the DC power required by the computer’s components. When electricity passes through these coils, they can vibrate at a frequency that is within the audible range for humans, resulting in the coil whine noise.
Coil whine can be present in various electronic devices, not limited to just power supplies. However, since the PSU is a crucial component of a computer system, it tends to be more prevalent and noticeable in this context.
It’s important to note that coil whine is not necessarily a sign of a defective or faulty power supply. In fact, many high-quality PSUs may still exhibit this noise to some extent. However, excessive coil whine can indicate poor manufacturing or design quality, which can affect the overall performance and stability of your system.
Coil whine noise typically becomes more pronounced during demanding tasks like gaming or running resource-intensive applications that draw a significant amount of power from the PSU. It may also vary in intensity depending on factors such as the specific components in your system, the level of power draw, and the quality of the PSU itself.
While coil whine noise can be bothersome, it is important to remember that it does not pose a direct threat to your computer’s functionality or long-term health. However, it is still worth addressing the issue to optimize the performance and acoustics of your system.
Common Causes of PSU Coil Whine
PSU coil whine can have several underlying causes, and identifying the specific reasons for the noise can help in implementing appropriate solutions. Here are some common factors that contribute to PSU coil whine:
- Electromagnetic Interference (EMI): Electrical components in a PSU can generate electromagnetic fields, and when these fields interact with one another, they can produce vibrations and audible noise. High-frequency switching of electrical currents can exacerbate EMI and lead to coil whine.
- Poor Component Quality: Low-quality or poorly manufactured components within the PSU, such as capacitors, coils, or transformers, can contribute to coil whine noise. Inaccurate winding of coils or substandard materials may cause vibrations and resonance, leading to audible noise.
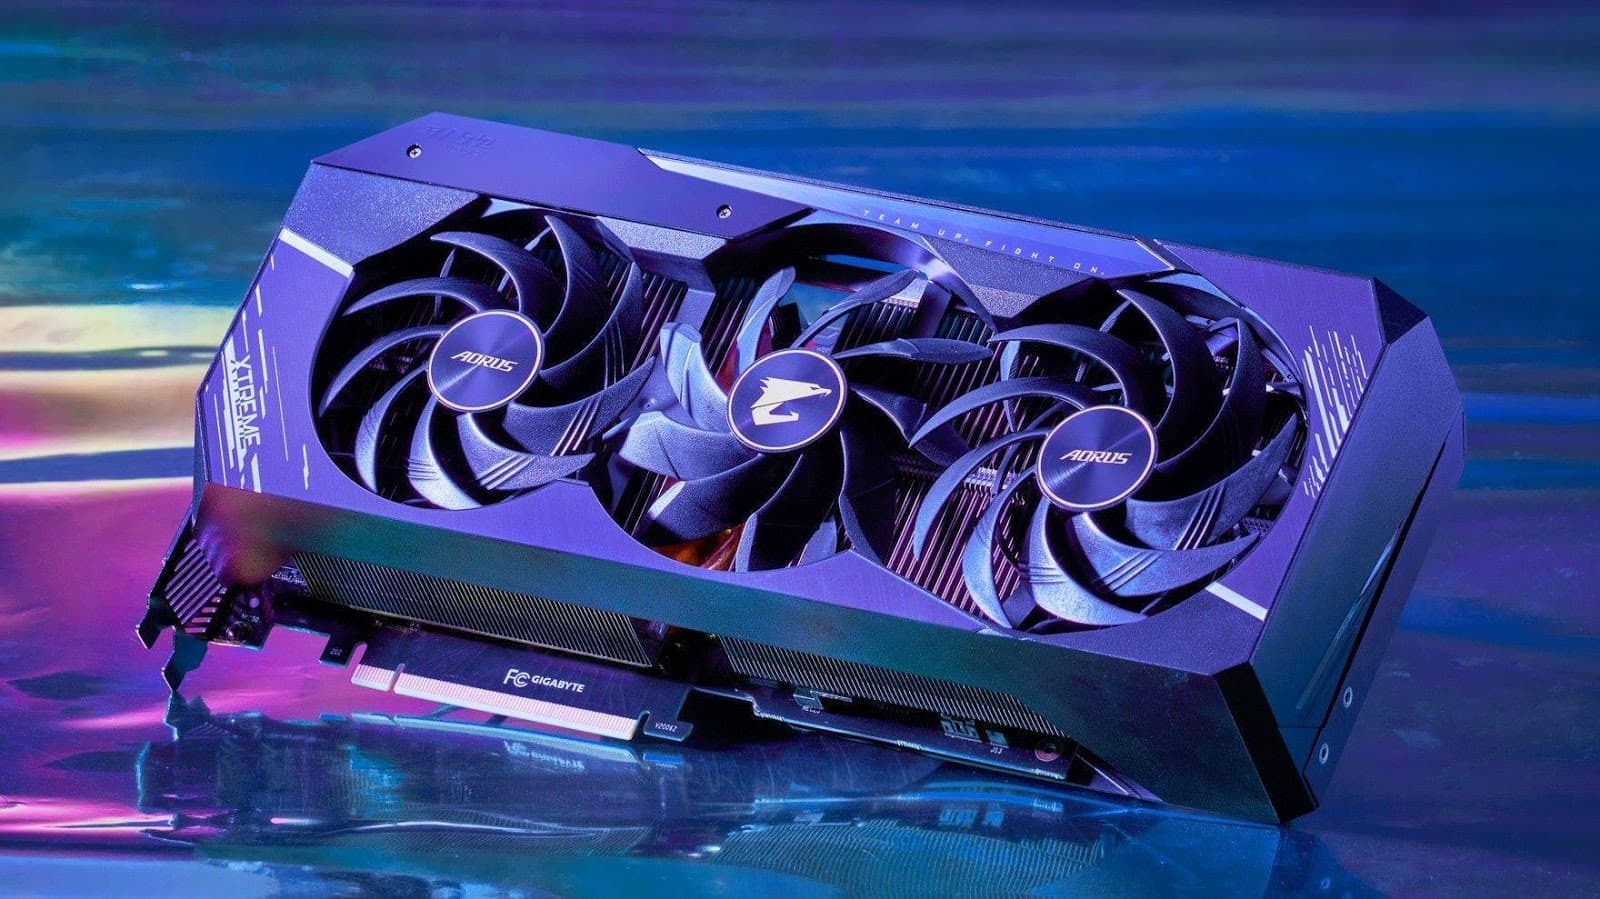
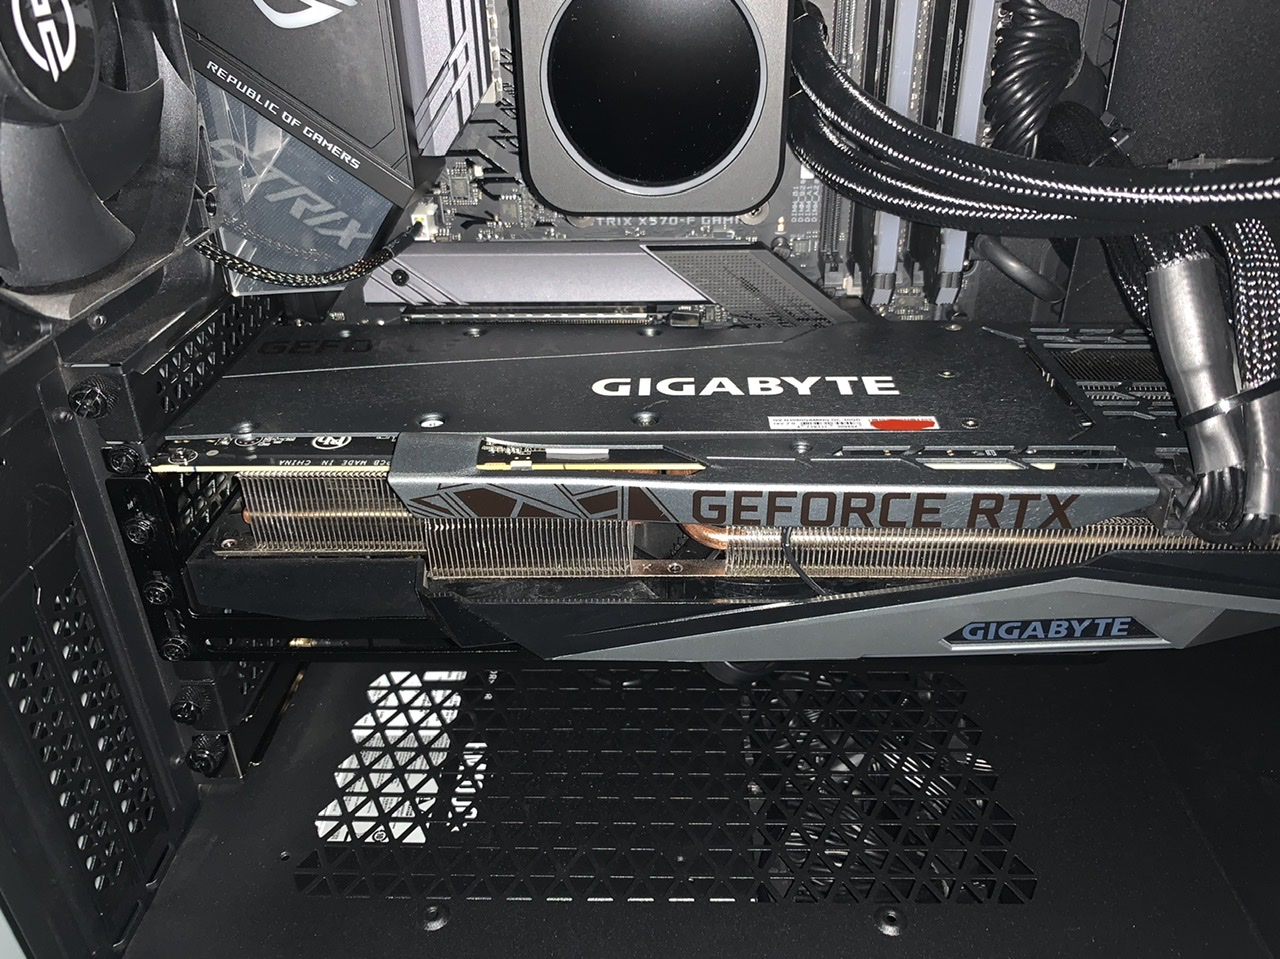
- Power Load: PSU coil whine can be more noticeable when the system is under heavy power load. Components like graphics cards and processors that draw substantial power can put more strain on the PSU, increasing the chances of coil whine occurrence.
- Age and Wear: Over time, the performance of certain PSU components may deteriorate, causing them to vibrate or resonate more. This wear and tear can lead to the onset or increased intensity of coil whine.
- Incompatibility: Sometimes, compatibility issues between the PSU and other computer components can contribute to coil whine. For example, using an insufficiently powerful PSU or one that is not compatible with your system’s components may result in coil whine noise.
Understanding the potential causes of PSU coil whine can help you pinpoint the underlying issue and determine the most appropriate course of action. In the following sections, we will explore steps to diagnose and resolve coil whine problems effectively.
Steps to Diagnose PSU Coil Whine
If you suspect that your power supply unit (PSU) is responsible for the coil whine noise in your system, follow these steps to diagnose the issue:
- Identify the Source: Start by confirming that the coil whine is indeed coming from the PSU. Listen closely to locate the source of the noise. You can use a stethoscope or your ear to isolate the PSU area and determine if it’s the primary culprit.
- Monitor System Performance: Pay attention to when the coil whine noise becomes more noticeable. Is it during intense gaming sessions, while running specific applications, or even when the system is idle? Note any patterns that might help establish a connection between system load and coil whine.
- Check for Component Interference: Disconnect unnecessary peripherals or devices connected to your system to rule out any potential interference causing the coil whine. Sometimes, other components in the system can generate electrical noise that may be mistaken for PSU coil whine.
- Benchmark Stress Testing: Run stress tests or benchmarks to put a high load on your system and observe if the coil whine becomes more pronounced. Tools like Prime95 or FurMark can help stress the CPU or GPU, respectively, and potentially trigger or exacerbate coil whine noise.
- Compare with Known Good PSU: If possible, try swapping the PSU with a known good one to see if the coil whine issue persists. This step can help determine if the problem lies specifically with your PSU.
- Consult with Technical Support: If none of the above steps provide a clear diagnosis or resolution, consider reaching out to the manufacturer’s technical support. They may have additional troubleshooting steps or recommendations tailored to your specific PSU model.
By following these steps, you can gain a better understanding of the source and nature of the PSU coil whine noise. This diagnosis process will help guide you in determining the appropriate measures to resolve the issue effectively.
How to Resolve PSU Coil Whine Issues
Once you have diagnosed your power supply unit (PSU) as the source of coil whine noise in your system, you can implement various solutions to minimize or eliminate the issue. Here are some effective steps to resolve PSU coil whine problems:
- Update Your Graphics Card Drivers: Outdated or incompatible graphics card drivers can sometimes contribute to coil whine. Ensure that you have the latest drivers installed from the manufacturer’s website to optimize performance and potentially mitigate coil whine noise.
- Adjust Your Power Settings: Fine-tuning your power settings can have a significant impact on coil whine. Try adjusting the power management options in your operating system to reduce power consumption during idle or low-demand situations, potentially minimizing coil whine noise.
- Install a Quality Power Supply Unit (PSU): Upgrading to a high-quality PSU with better manufacturing and component quality can help alleviate or eliminate coil whine. Look for PSUs with good reviews and reputable brands known for their reliable performance.
- Use a Power Supply Noise Filter: Adding a power supply noise filter or conditioner can help suppress electromagnetic interference (EMI) and reduce the likelihood of coil whine. These filters help clean the power signal, leading to more stable and quieter operation.
- Implement Proper Cable Management: Messy and unorganized cables can obstruct airflow and increase EMI, potentially worsening coil whine. Arrange your cables neatly and use cable management solutions to improve overall system airflow and minimize potential interference.
- Consider Using a UPS (Uninterruptible Power Supply): A UPS can provide stable and clean power to your system, acting as a buffer against fluctuations or surges that might contribute to coil whine. This added layer of protection can help reduce both coil whine noise and potential damage to your components.
- Apply Damping Materials: Adding sound-dampening materials like rubber or foam between the PSU and the case can help absorb and reduce the vibrations that cause coil whine. This can be particularly effective in minimizing the audible noise emitted by the PSU coils.
- Modify Fan Curves and Speeds: Adjusting the fan curves and speeds on your PSU can help manage heat dissipation and potentially reduce coil whine. Experiment with different fan settings to find an optimal balance between cooling performance and noise reduction.
- Replace Faulty Inductors or Capacitors: If you have identified specific faulty components within the PSU contributing to coil whine, consider replacing them. This step should only be attempted by experienced individuals or professionals familiar with electronics and PSU repair.
By implementing these steps, you can effectively address PSU coil whine issues and create a more enjoyable computing experience. Remember to consider the underlying causes of the noise and tailor the solutions accordingly to achieve the best results.
Update Your Graphics Card Drivers
One of the first steps to take when resolving PSU coil whine issues is to update your graphics card drivers. Outdated or incompatible drivers can contribute to system instability and potentially worsen coil whine noise. By ensuring you have the latest drivers installed, you can optimize the performance of your graphics card and potentially reduce or eliminate coil whine.
To update your graphics card drivers, follow these steps:
- Identify Your Graphics Card: Determine the manufacturer and model of your graphics card. You can usually find this information in the Device Manager on Windows or the System Profiler on macOS.
- Visit the Manufacturer’s Website: Go to the official website of the graphics card manufacturer, such as NVIDIA, AMD, or Intel. Look for the support or drivers section.
- Select Your Graphics Card Model and Operating System: Locate the specific model of your graphics card and choose the correct operating system version. This ensures you download the appropriate drivers for your setup.
- Download and Install the Latest Drivers: Download the latest drivers for your graphics card and follow the manufacturer’s instructions to install them. This process may involve running an installer or extracting the driver files and manually updating the drivers through the Device Manager.
- Restart Your Computer: After the driver installation is complete, restart your computer to apply the changes effectively.
Updating your graphics card drivers can address potential software-related issues that contribute to coil whine. Newer driver versions often include bug fixes, performance enhancements, and improved power management, which can help minimize the power fluctuations that cause coil whine.
If you experience coil whine specifically while running graphics-intensive applications such as games or video editing software, updating your graphics card drivers may have a noticeable impact on reducing the noise. However, it’s important to note that updating drivers alone may not always completely eliminate coil whine, especially if the root cause lies elsewhere in the system.
Keep in mind that regularly updating your graphics card drivers is generally considered a good practice, as it ensures you have the latest features, performance enhancements, and compatibility improvements for your graphics card.
Adjust Your Power Settings
Adjusting your power settings can be an effective way to address PSU coil whine issues. Fine-tuning these settings can help optimize power consumption and potentially reduce the strain on your power supply, minimizing the occurrence or intensity of coil whine noise.
Here are steps to adjust your power settings:
- Open Power Options: On Windows, access the Power Options panel by searching for “Power Options” in the Start menu and clicking on the corresponding result. On macOS, navigate to “System Preferences” and open the “Energy Saver” settings.
- Select Power Plan: On Windows, choose the power plan that suits your needs. If available, select a power plan specifically designed for power efficiency or focus on minimizing power consumption. On macOS, adjust the settings within the Energy Saver preferences.
- Customize Power Plan: Customize the advanced power settings according to your requirements. Look for options that can help reduce power consumption during idle periods, such as lowering the processor performance or extending the idle timeout.
- Disable Power-hungry Features: Within the power settings, disable any power-hungry features or settings that might place additional strain on your power supply. This may include disabling USB charging when the system is in sleep mode or adjusting display brightness.
- Schedule Automatic Sleep: Set your system to automatically enter sleep or hibernation mode after a certain period of inactivity. This helps conserve power and reduces the load on the power supply, potentially minimizing the occurrence of coil whine.
By adjusting your power settings, you can lower the power demand on your system and mitigate potential power fluctuations that contribute to coil whine. These adjustments can be particularly effective in reducing coil whine noise during idle periods when the power draw is relatively low.
Keep in mind that tweaking your power settings may lead to a slight decrease in performance or response time. However, the impact is usually minimal and worth the reduction in coil whine noise. Adjust the power settings to a level that strikes a balance between power efficiency and your specific computing needs.
Regularly reviewing and adjusting your power settings is beneficial not only for minimizing coil whine noise but also for energy conservation and extending the overall lifespan of your system components.
Install a Quality Power Supply Unit (PSU)
Installing a high-quality power supply unit (PSU) is essential for minimizing or eliminating PSU coil whine issues. A reliable and well-built PSU can provide stable and clean power to your computer components, reducing the likelihood of power fluctuations that contribute to coil whine noise.
Here is a step-by-step guide for installing a quality PSU:
- Research and Choose a Reliable PSU: Before purchasing a new PSU, research reputable brands known for their quality and reliability. Read reviews and consider the power requirements of your system to select an appropriate PSU wattage.
- Prepare your Workspace: Ensure you have a clean and well-lit workspace. Disconnect the power source and any connected devices from your computer.
- Remove the Old PSU: Open your computer case by removing the side panel. Locate the old PSU and disconnect all cables connected to it carefully. Unscrew the PSU from its mounting bracket and gently remove it from the case.
- Prepare the New PSU: Unbox the new PSU and ensure all the necessary cables and accessories are included. If required, adjust the PSU’s fan direction to match your system’s airflow configuration.
- Install the New PSU: Carefully place the new PSU into the case’s mounting bracket and secure it with screws. Connect the necessary power cables to the respective components, ensuring a secure and proper connection.
- Manage Cables: Organize and manage the cables to optimize airflow and reduce potential interference. Use cable ties or cable management solutions to keep the cables neat and tidy.
- Double-check Connections: Before closing the case, double-check all connections to ensure they are secure. Verify that no cables interfere with any fans or components.
- Close the Case: Once you are confident that everything is properly connected and secured, close the computer case and fasten the side panel.
- Power Up and Test: Reconnect the power source and any peripherals. Power on your computer and ensure that it boots up properly. Monitor the system for any signs of coil whine noise.
Investing in a quality PSU can significantly reduce or eliminate coil whine noise. High-quality PSUs are typically designed with better manufacturing standards and components, resulting in cleaner and more stable power delivery to your system components.
When selecting a new PSU, consider factors such as wattage, efficiency ratings, and the manufacturer’s reputation. A reliable PSU not only helps mitigate coil whine but also ensures the overall stability and longevity of your system.
Use a Power Supply Noise Filter
To further reduce PSU coil whine, you can consider using a power supply noise filter. These filters help suppress electromagnetic interference (EMI) and improve the overall quality of the power signal delivered to your system components, thereby minimizing the chances of coil whine occurrence.
Here are the steps to use a power supply noise filter:
- Research and Purchase a Suitable Filter: Look for power supply noise filters designed specifically to reduce EMI. Check for compatibility with your power supply unit and available connection options.
- Prepare Your Workspace: Before installing the filter, ensure your workspace is clean and well-lit. Additionally, disconnect the power source and any peripherals from your computer.
- Locate the Power Supply Unit: Open your computer case by removing the side panel. Locate the power supply unit (PSU) within the case.
- Identify the Power Input: Locate the power input on the PSU. This is where the power cable from your wall outlet is connected.
- Connect the Noise Filter: Connect one end of the power supply noise filter to the power input on the PSU using the appropriate connectors. Ensure a secure and proper connection.
- Connect the Power Cable: Connect the power cable from the wall outlet to the other end of the noise filter, completing the circuit.
- Manage Cables: Organize and manage the cables to maintain good cable management practices. This helps optimize airflow and prevent any interference or strain on the cables.
- Close the Case: After ensuring all connections are secure, close the computer case and fasten the side panel.
- Power Up and Test: Reconnect the power source and any peripherals. Power on your computer and observe if there is any reduction in coil whine noise.
Power supply noise filters work by reducing the interference that can result from electrical noise and fluctuations. They act as an additional layer of protection against EMI, minimizing the potential impact on sensitive components and reducing coil whine noise.
Remember to choose a power supply noise filter that is compatible with your PSU and offers appropriate filtering capabilities. While a power supply noise filter may not completely eliminate coil whine, it can significantly decrease its intensity and improve overall system performance.
Implement Proper Cable Management
Implementing proper cable management is an essential step in minimizing PSU coil whine. Well-organized cables help improve system airflow, reduce electromagnetic interference (EMI), and prevent cables from coming into contact with components, all of which can contribute to coil whine noise.
Follow these steps to implement proper cable management:
- Prepare Your Workspace: Ensure your workspace is clean and well-lit. Shut down your computer and disconnect the power source and any connected devices.
- Plan Your Cable Routing: Before connecting any cables, plan the optimal route for each cable. Consider the length and flexibility of the cables, as well as the locations of the components they need to connect.
- Use Cable Ties or Velcro Straps: Bundle cables together using cable ties or Velcro straps to keep them organized and reduce clutter. Grouping cables together also helps improve airflow and prevent them from interfering with fans or other components.
- Avoid Excessive Cable Length: Trim excess cable length as much as possible to avoid unnecessary cable clutter and obstruction. Be careful not to cut the cables too short, ensuring they can still reach their respective components comfortably.
- Route Cables Behind Motherboard Tray: Utilize cable routing holes and channels behind the motherboard tray to conceal excess cables. This not only improves aesthetics but also enhances airflow and reduces the chances of cables interfering with components.
- Separate Power and Data Cables: Keep power cables separate from data cables to minimize potential electromagnetic interference. Routing them apart from each other reduces the likelihood of noise or signal degradation that can contribute to coil whine.
- Secure Cables to Case: Use adhesive-backed cable clips or cable management anchors to secure cables to the case. This prevents them from shifting around and potentially coming into contact with fans or other moving parts.
- Regularly Check and Adjust: Periodically check your cable management to ensure cables are still organized and properly secured. Over time, cables can become tangled or shift out of place, so it’s important to maintain good cable management practices.
Proper cable management helps create a clean and organized system interior, improving both aesthetics and functionality. By reducing cable clutter and ensuring cables don’t interfere with components or obstruct airflow, you can minimize potential sources of noise, including coil whine.
Investing time and effort in implementing and maintaining proper cable management not only helps reduce coil whine but also enhances overall system cooling, performance, and the longevity of your components.
Consider Using a UPS (Uninterruptible Power Supply)
Using an Uninterruptible Power Supply (UPS) can be an effective solution to minimize PSU coil whine issues. A UPS provides a consistent and stable power supply to your computer, protecting it from power surges, fluctuations, and potential causes of coil whine.
Here are the steps to consider when using a UPS:
- Research and Choose the Right UPS: Select a UPS model that matches the power requirements of your computer and provides sufficient backup time. Consider factors such as power capacity, outlets, and additional features like automatic voltage regulation (AVR).
- Prepare Your Workspace: Ensure your workspace is clean and well-lit. Disconnect the power source and any peripherals from your computer.
- Connect the UPS to a Power Source: Plug the UPS into a grounded power outlet and ensure it is turned off or in standby mode.
- Connect Your Computer and Peripherals: Connect your computer, monitor, and other essential peripherals to the outlets on the UPS. Use appropriate power cables and ensure a secure connection.
- Turn on the UPS: Turn on the UPS using the power button or switch provided. Allow the UPS to go through its initialization process.
- Configure UPS Settings: Optionally, configure the UPS settings using the provided software or interface. You may be able to customize shutdown parameters, set up battery test schedules, or monitor power usage.
- Test the UPS: Perform a test to ensure that the UPS functions as expected. Safely unplug the UPS from the power source and verify that your computer continues to receive power without interruption.
- Maintain and Replace the UPS Battery: Regularly monitor the UPS battery health and replace it when necessary. Most UPS units have a replaceable battery that typically needs to be replaced every 2-3 years.
A UPS acts as a buffer between your computer and the power source, providing backup power to prevent abrupt shutdowns during power outages and smoothing out fluctuations that can cause coil whine. This ensures a clean and stable power supply to your system, reducing the chances of coil whine noise.
In addition to reducing coil whine, a UPS offers the added benefit of protecting your computer from potential damage caused by power surges or sudden power loss. It gives you time to save your work and safely shut down your system during a power outage, minimizing the risk of data loss or hardware damage.
Consider investing in a UPS to not only address coil whine but to also provide added power protection and peace of mind for your computer system.
Apply Damping Materials
Applying damping materials is an effective method to minimize PSU coil whine. These materials help absorb vibrations and reduce resonance, which are major contributors to the audible noise produced by the power supply unit (PSU) coils.
Here are the steps to apply damping materials:
- Identify the Source of Noise: Determine the specific area of the PSU where the coil whine noise originates. Use a stethoscope or carefully listen to isolate the noise.
- Purchase Damping Materials: Research and purchase appropriate damping materials designed for reducing vibrations and noise. Common options include rubber grommets, foam padding, or vibration-damping sheets.
- Prepare Your Workspace: Ensure your workspace is clean and well-lit. Shut down your computer and disconnect the power source and any connected devices.
- Access the PSU: Open your computer case by removing the side panel. Locate the PSU within the case.
- Apply Damping Materials: Carefully apply the damping materials to the targeted areas of the PSU. Focus on areas where coil vibrations are most likely to occur, such as around the coils or on the PSU housing.
- Avoid Blocking Ventilation: Ensure that the damping materials do not obstruct airflow or cover any ventilation holes or fan intakes on the PSU. Adequate airflow is necessary for proper cooling and preventing overheating.
- Reassemble and Test: Once the damping materials are applied, reassemble the computer case and reconnect all power cables. Power on your computer and monitor if there is any reduction in coil whine noise.
Damping materials help absorb and dissipate vibrations, preventing them from radiating as audible noise. By reducing resonance and vibrations in the PSU, these materials effectively minimize coil whine noise.
It’s important to note that the effectiveness of damping materials can vary depending on the specific PSU and the intensity of the coil whine. While damping materials may significantly reduce coil whine in some cases, they may have a more subtle impact in others.
Proper application of damping materials, along with other solutions like cable management and component isolation, can collectively contribute to a noticeable reduction in PSU coil whine noise.
Modify Fan Curves and Speeds
Modifying fan curves and speeds can help address PSU coil whine by optimizing airflow and cooling performance. Adjusting the fan settings can help manage heat dissipation and potentially reduce the intensity of coil whine noise.
To modify fan curves and speeds effectively, follow these steps:
- Access Fan Control Settings: Depending on your computer’s motherboard and BIOS, you can typically access fan control settings through the BIOS menu or dedicated fan control software provided by the motherboard manufacturer.
- Identify PSU Fan Control: Locate the specific fan control settings for the power supply unit (PSU) fan. The location of these settings may vary depending on your motherboard’s BIOS layout.
- Adjust Fan Curves: Modify the fan curves by adjusting the fan speed at different temperature thresholds. A steeper curve will result in higher fan speeds at lower temperatures, while a flatter curve can keep the fans running at lower speeds until higher temperatures are reached.
- Monitor Temperature and Noise Levels: While adjusting the fan curves, monitor both the temperature of the PSU and the noise levels emitted by the PSU fan. The goal is to strike a balance between efficient cooling and acceptable noise levels.
- Find the Optimal Settings: Experiment with different fan curve profiles to determine the settings that provide adequate cooling performance while minimizing coil whine noise. Fine-tune the fan speeds to achieve the desired balance.
- Save and Apply Settings: Once you have found the optimal fan curve and speed settings, save the changes in the BIOS or fan control software. Reboot your computer to apply the new settings.
- Monitor and Adjust as Needed: After applying the new fan settings, monitor the PSU temperature and coil whine noise. If necessary, make further adjustments to the fan curves to achieve the desired results.
Modifying fan curves and speeds allows you to customize the cooling performance of your PSU, which can indirectly help reduce coil whine noise. By managing heat dissipation more efficiently, you can potentially minimize temperature-related factors that contribute to coil whine.
It’s important to find a balance between cooling performance and noise levels. While increasing fan speed may help with cooling, it can also result in increased noise. Experimentation with different fan settings will enable you to find the optimal configuration that suits your specific needs.
Keep in mind that different motherboards and fan control software may offer varying levels of customization. Ensure compatibility with your system before making modifications, and always monitor temperature and noise levels to ensure proper operation and prevent any potential overheating issues.
Replace Faulty Inductors or Capacitors
If you have identified specific faulty components within the power supply unit (PSU) as the cause of coil whine, replacing them can be an effective solution. Faulty inductors or capacitors can contribute to voltage fluctuations and electromagnetic interference (EMI), leading to coil whine noise.
Here are the steps to replace faulty inductors or capacitors:
- Identify the Faulty Component(s): Use visual inspection or diagnostic tools to identify the specific faulty inductor(s) or capacitor(s) within the PSU. Look for any signs of physical damage, bulging, leaking, or other abnormalities.
- Research and Purchase Replacement Components: Research the exact specifications and model numbers of the faulty inductor(s) or capacitor(s) and purchase suitable replacements. It’s crucial to ensure compatibility with your PSU.
- Prepare Your Workspace: Ensure your workspace is clean and well-lit. Shut down your computer and disconnect the power source and any connected devices.
- Open the PSU Casing: Open your PSU casing by removing the screws and carefully access the internal components. Take note of the proper precautions and safety measures when working with electronics.
- Remove the Faulty Component(s): Desolder or carefully remove the faulty inductor(s) or capacitor(s) from the PSU. Follow proper soldering and desoldering techniques to avoid damage to the surrounding components.
- Install the Replacement Component(s): Solder the replacement inductor(s) or capacitor(s) into the PSU, ensuring a secure and proper connection. Take care to align the replacement component(s) correctly, following any polarity markings.
- Double-Check Connections and Reassemble: Check that all connections are secure, and double-check for any potential soldering errors. Reassemble the PSU, ensuring everything is aligned and fastened appropriately.
- Test the Repaired PSU: Reconnect the power source and any peripherals. Power on your computer and monitor if there is any reduction or elimination of coil whine noise.
Replacing faulty inductors or capacitors can effectively address coil whine caused by specific component issues within the PSU. However, it’s essential to note that replacing components within a PSU can be complex and should only be attempted by experienced individuals or professionals familiar with electronics and PSU repair.
If you are uncertain or uncomfortable working with PSU components, it is recommended to seek assistance from a qualified technician or contact the manufacturer for repair options. Incorrect handling or installation of components can lead to further damage or safety hazards.
By replacing faulty inductors or capacitors, you can address specific component-related issues that contribute to coil whine noise, potentially providing a long-term solution to the problem.
Conclusion
PSU coil whine can be a frustrating issue for many computer users, but by implementing the steps outlined in this article, you can effectively diagnose and resolve the problem. Understanding the nature and causes of coil whine is the first step to finding the right solutions.
Updating your graphics card drivers, adjusting power settings, and installing a quality PSU are fundamental steps in minimizing coil whine noise. These measures optimize power delivery, reduce strain, and decrease the likelihood of power fluctuations that contribute to the issue.
Additionally, using a power supply noise filter, implementing proper cable management, and applying damping materials are practical solutions that can help reduce vibrations, electromagnetic interference, and resonance. These steps work together to minimize noise and create a more stable computing environment.
Considering a UPS for consistent and clean power supply, modifying fan curves and speeds for better airflow and cooling, and replacing faulty components when necessary are more advanced solutions that can provide a greater level of control over coil whine noise.
It’s important to note that the effectiveness of these solutions may vary depending on the specific hardware and circumstances. Experimentation and a combination of approaches might be needed to find the most suitable resolution for your particular situation.
By addressing PSU coil whine, you can enhance the overall performance, stability, and acoustics of your computer system. Remember to always prioritize safety and consult professionals or the manufacturer if you are unsure about performing any advanced repairs or modifications.
Implementing the steps outlined in this article will help you create a more enjoyable computing experience, free from the distractions of PSU coil whine noise. Take control over your system’s performance and optimize its functionality for a smooth and quiet operation.