Introduction
Welcome to the digital world of gaming, where graphics cards serve as the driving force behind immersive and visually stunning gameplay. However, it is not uncommon for these powerful devices to generate noise while running intensive games. While some amount of noise is to be expected, excessive or unusual sounds can be a cause for concern. In this article, we will explore the reasons behind graphics card noise and discuss common causes and possible solutions.
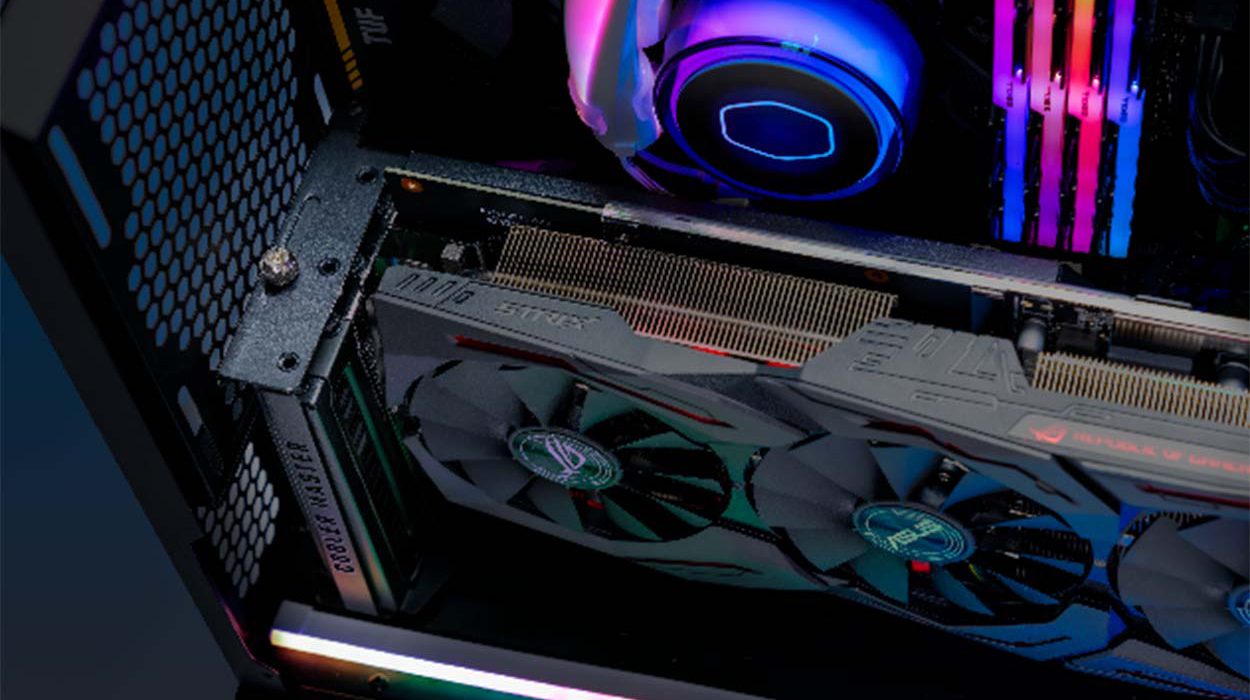
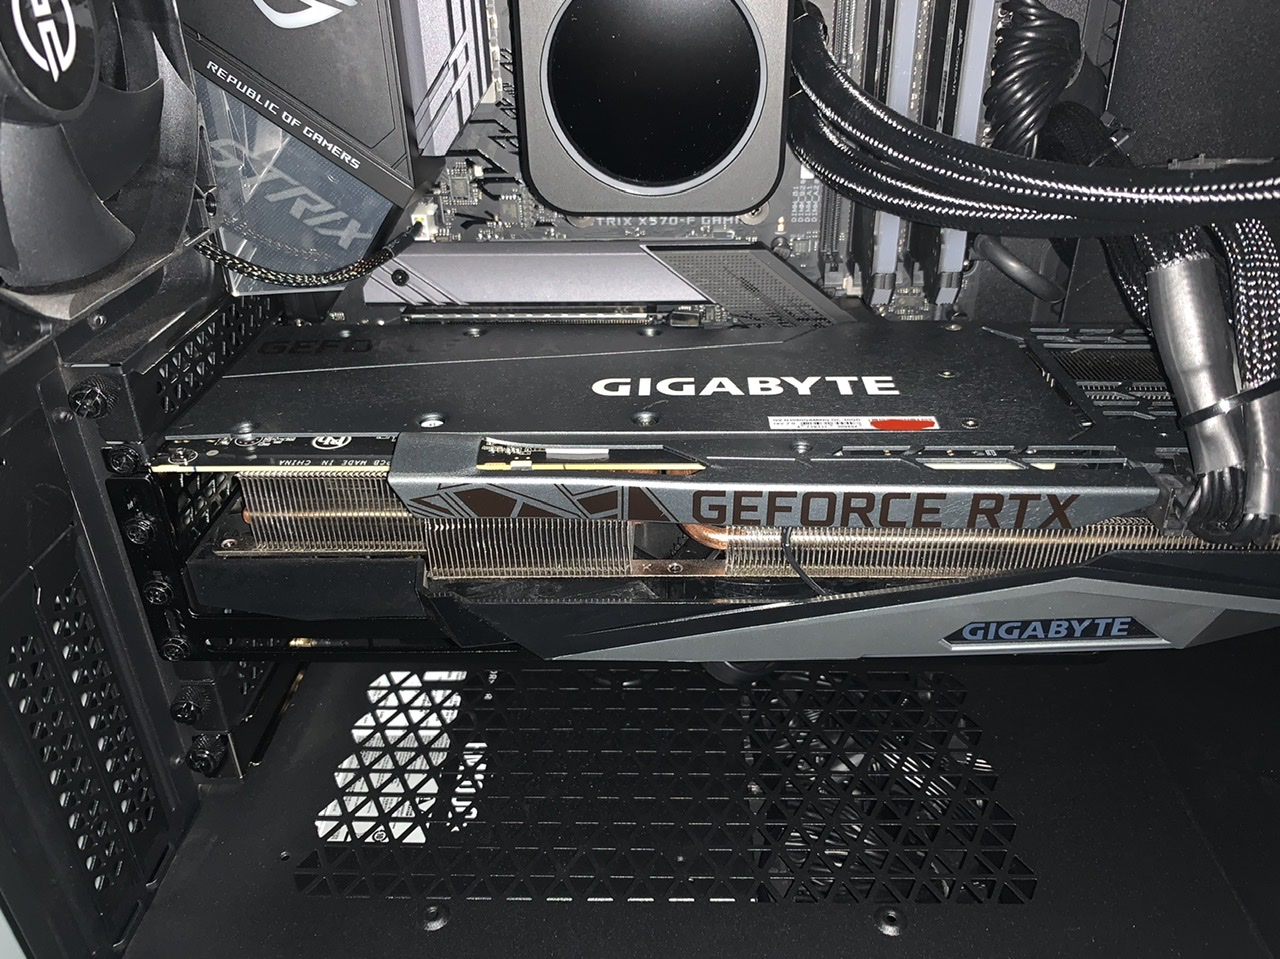
A graphics card is responsible for rendering images, animations, and videos on your computer screen. It consists of various components, such as a GPU (Graphics Processing Unit), VRAM (Video RAM), fans, and other cooling mechanisms. As the graphics card performs resource-intensive tasks, it generates heat, which needs to be dissipated to prevent overheating. This heat dissipation process often involves the use of fans, which can generate noise as they spin at high speeds. Additionally, other factors, such as dirt accumulation and coil whine, can also contribute to the overall noise produced by the graphics card.
The noise generated by a graphics card can range from a gentle hum to a noticeable whir or buzzing sound. While some people may not be bothered by this background noise, others may find it distracting or annoying, especially during quieter moments in gaming. Furthermore, excessive noise can indicate underlying issues with the graphics card’s performance or cooling system.
In the following sections, we will delve into common causes of graphics card noise, including dust and dirt build-up, insufficient cooling, fan issues, coil whine, and overclocking. We will also discuss various solutions and fixes to help address these problems and minimize noise levels. By the end of this article, you will have a better understanding of why your graphics card might be making noise and how to resolve the issue.
Why do Graphics Cards Make Noise?
Graphics cards are complex devices that play a crucial role in providing a seamless gaming experience. However, they can produce noise due to several different factors. Understanding why graphics cards make noise is essential in addressing any potential issues and ensuring optimal performance. Let’s explore some of the common reasons:
1. Heat Dissipation: One of the primary reasons graphics cards make noise is the need to dissipate heat. As the GPU and other components process and render graphics, they generate heat. To prevent overheating, graphics cards are equipped with cooling mechanisms, such as fans and heatsinks. The fans spin rapidly to expel hot air from the graphics card, generating noise in the process.
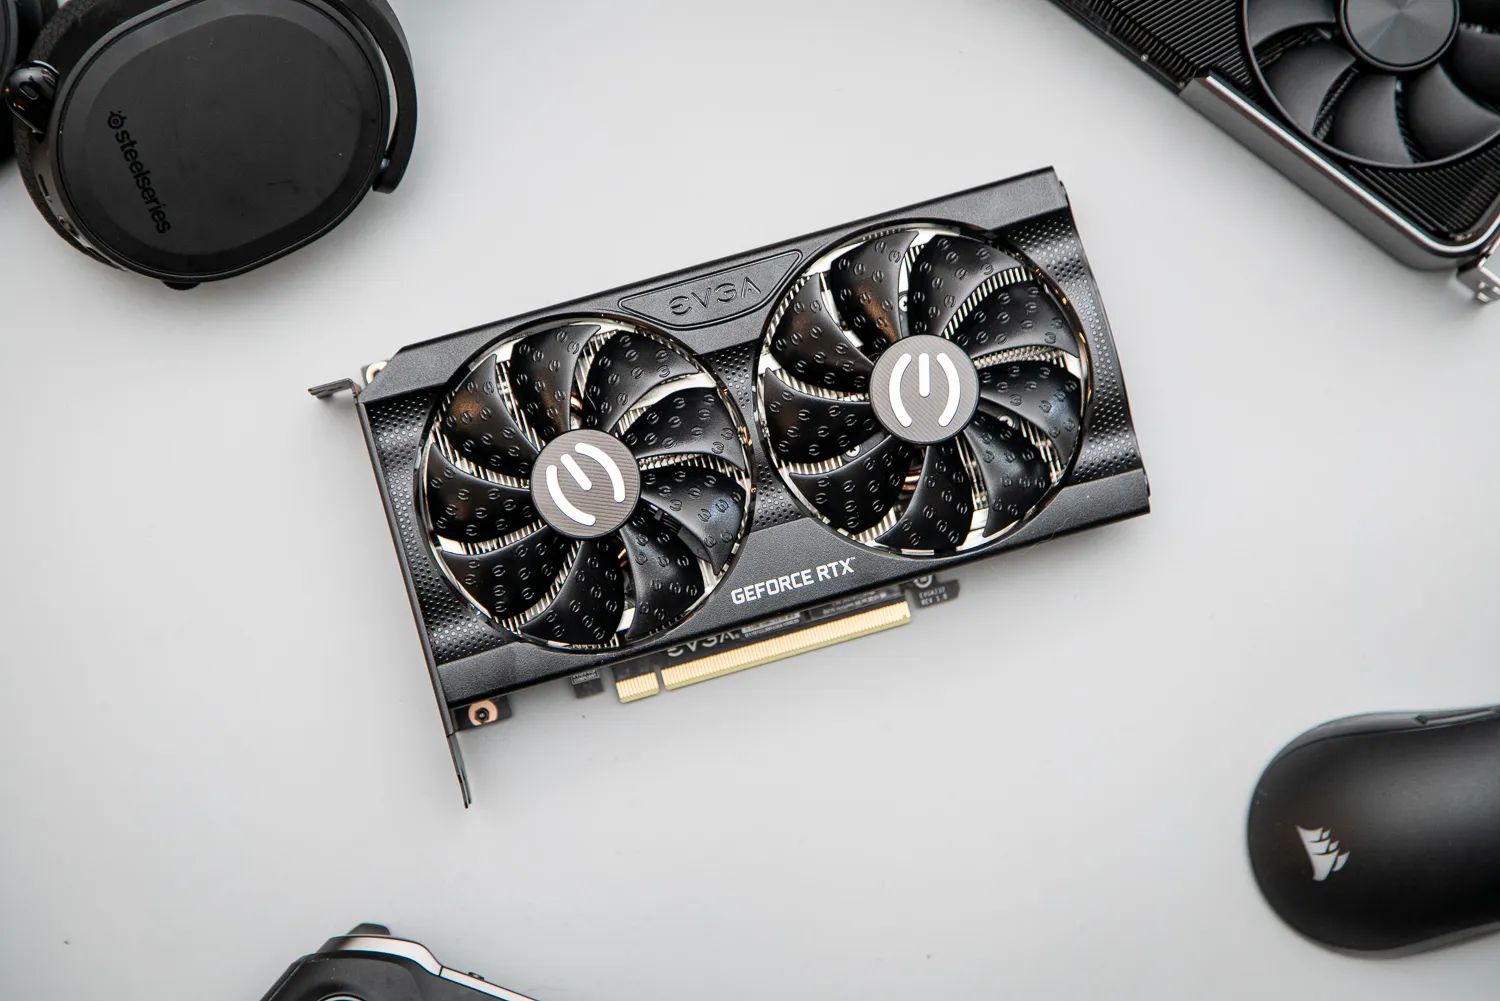
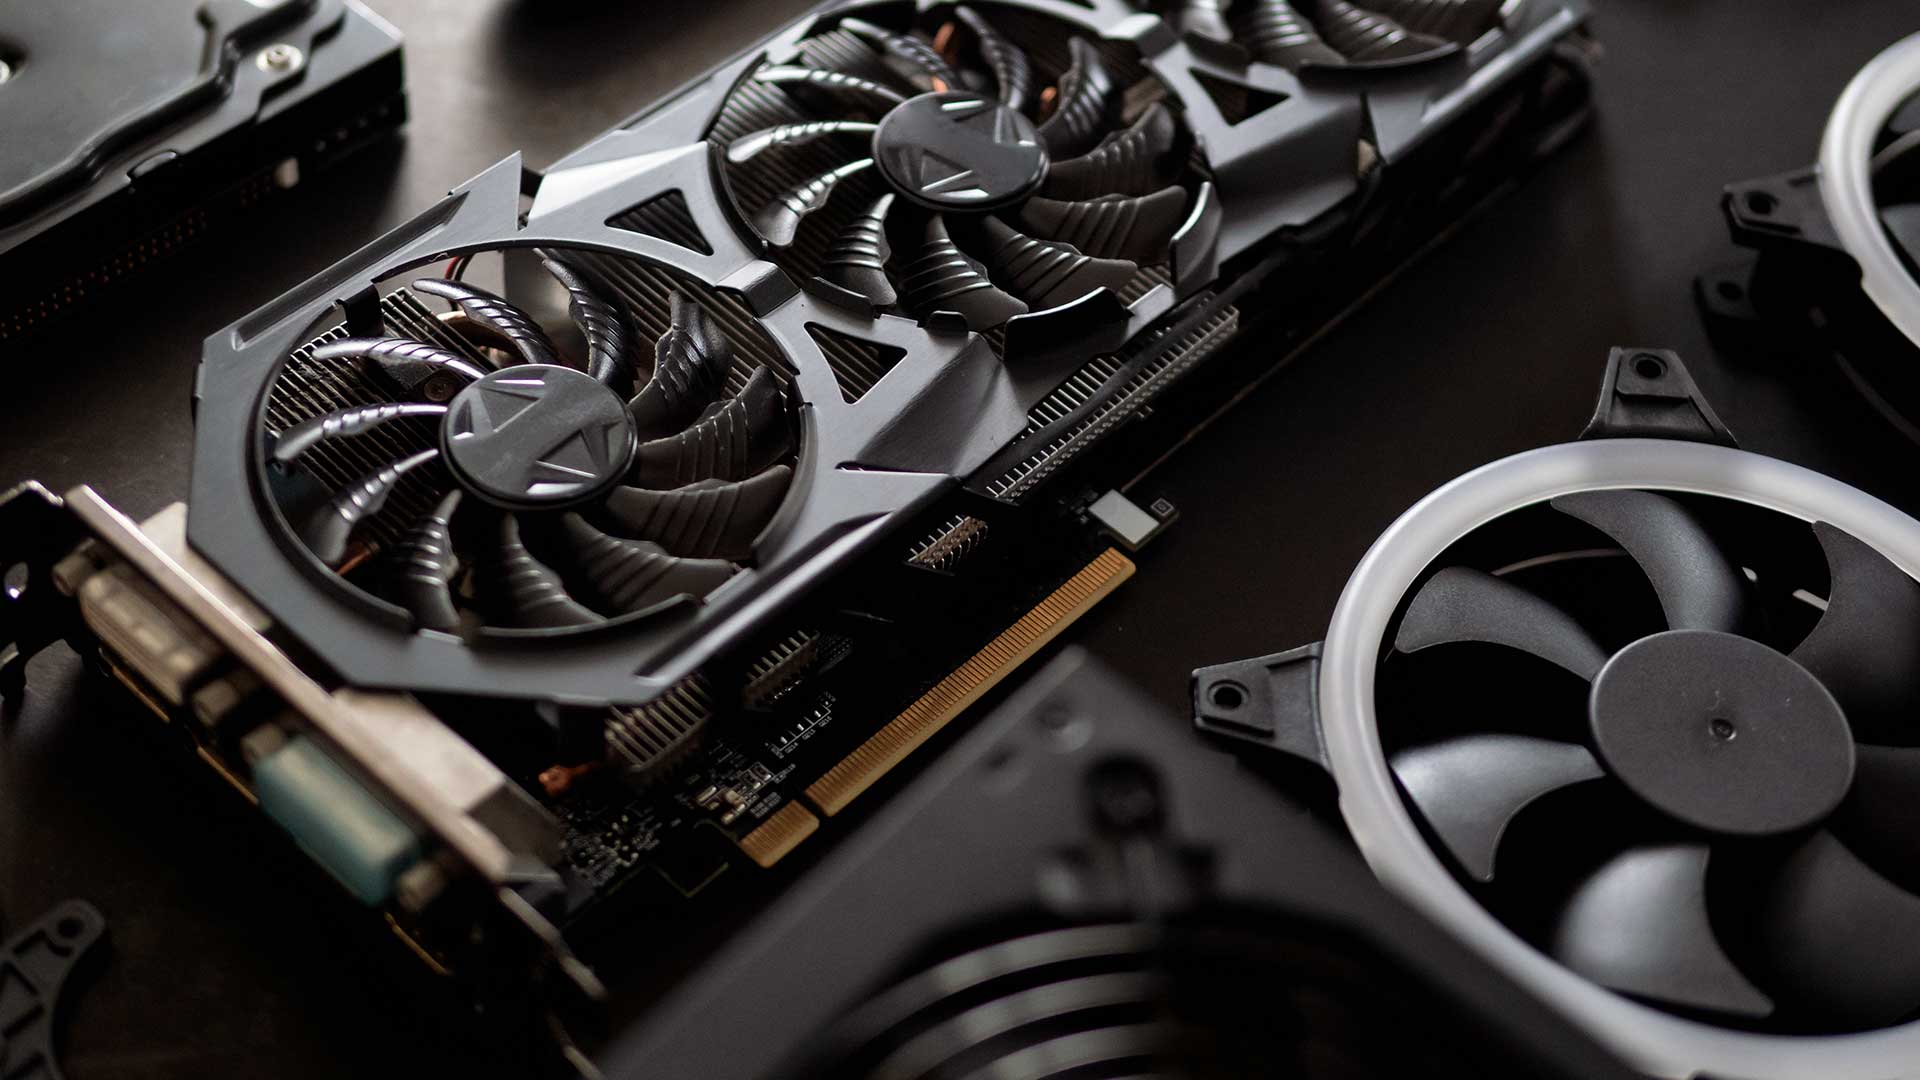
2. Fan Speed: The fan speed of a graphics card can significantly impact noise levels. When running resource-intensive games, the fans ramp up to higher speeds to keep the temperatures in check. Higher fan speeds result in more significant noise output. Graphics cards with more advanced cooling systems, like dual or triple-fan designs, can distribute the workload across multiple fans, reducing noise compared to single-fan configurations.
3. Dust and Dirt Accumulation: Over time, dust and dirt can accumulate on the graphics card’s fans and heatsinks, impeding proper airflow and causing the fans to work harder to cool the GPU. This accumulation not only increases noise levels but can also lead to higher operating temperatures and reduced performance.
4. Coil Whine: Coil whine is a phenomenon that occurs when electrical components vibrate at specific frequencies, resulting in a high-pitched noise. Graphics cards can exhibit coil whine, especially when under heavy load or during specific operations. While coil whine doesn’t necessarily indicate a defect, it can be bothersome to some users.
5. Overclocking: Overclocking is the process of increasing a graphics card’s clock speed and voltage beyond the manufacturer’s specifications to gain performance benefits. While overclocking can enhance graphics card performance, it can also increase power draw and generate more heat, leading to louder fan noise. Additionally, unstable overclocks can cause artifacts and crashes, further impacting the gaming experience.
In the next sections, we will explore common causes of noise in more detail and discuss various solutions and fixes to address these issues. By understanding the reasons behind your graphics card’s noise, you can take appropriate steps to minimize it and enjoy a quieter gaming experience.
Common Causes of Noise
Noise emitted by a graphics card can be attributed to various factors that affect its performance and cooling capabilities. Let’s delve into the most common causes of noise and their impact on the overall gaming experience:
1. Dust and Dirt Build-up: Over time, dust and dirt particles can accumulate on the graphics card, particularly on the fans and heatsinks. This build-up restricts airflow, causing the fans to work harder and produce more noise. Regular cleaning is essential to remove the accumulated dust and maintain optimal cooling efficiency.
2. Insufficient Cooling: Inadequate cooling can cause the fans to spin at higher speeds to compensate for the increased temperatures. This not only results in more noise but also reduces the lifespan of the fans. Insufficient cooling can be caused by poor ventilation in the computer case, improper fan placement, or a malfunctioning cooling system.
3. Fan Issues: Graphics card fans can develop issues over time, such as bearing wear, misalignment, or excessive vibration. These issues can lead to increased noise levels. In some cases, fans may become loose or unbalanced, causing them to scrape against other components, resulting in a loud grinding noise. Addressing fan-related problems may involve repairing or replacing the fans.
4. Coil Whine: Coil whine is a phenomenon caused by the vibrations of electrical components, particularly inductors and capacitors, that create a high-pitched noise. While coil whine does not typically indicate a defective graphics card, it can be annoying to some users. Reducing coil whine may involve tweaking power settings or using compatible power supply units.
5. Overclocking: Overclocking a graphics card can provide a performance boost, but it also increases power consumption and heat generation. This leads to the fans ramping up to higher speeds, resulting in increased noise levels. If noise is a concern, reverting the graphics card to its default clock speeds and voltages can help minimize the noise without compromising performance.
By understanding the common causes of noise in graphics cards, you can troubleshoot and identify the specific issue affecting your gaming experience. In the next sections, we will delve into specific solutions and fixes for addressing these causes of noise and ensuring a quieter gaming environment.
Dust and Dirt Build-up
Dust and dirt accumulation is a common cause of noise in graphics cards. Over time, these particles can settle on the fans and heatsinks, obstructing airflow and causing the fans to work harder to cool the GPU. This increased workload not only leads to higher noise levels but also affects the overall performance and lifespan of the graphics card. Addressing dust and dirt build-up is crucial for maintaining optimal cooling efficiency and reducing noise output.
Regular cleaning is the most effective solution for combating dust and dirt build-up. Here are some steps to help you clean your graphics card and restore its cooling capabilities:
1. Power Off and Disconnect: Before cleaning your graphics card, ensure that your computer is turned off and disconnected from the power source. This will prevent any potential electrical accidents and ensure your safety.
2. Open the Case: Depending on your computer case, you may need to remove a panel or open a side door to access the internal components. Consult your computer’s manual or manufacturer’s instructions for the proper procedure.
3. Ground Yourself: To avoid any potential damage due to static electricity, it’s essential to ground yourself. You can do this by touching a metal part of the computer case or wearing an anti-static wristband.
4. Locate the Graphics Card: Identify the graphics card inside your computer. It is usually connected to the motherboard and located in a PCI-Express slot. Once located, carefully remove any necessary screws or latches that secure the graphics card in place.
5. Clean the Fans and Heatsinks: Use compressed air or a small brush to remove the accumulated dust and dirt from the fans and heatsinks. Ensure that you clean the fans from both sides and remove any debris that may be caught between the blades. Be gentle to avoid damaging the components.
6. Reinstall the Graphics Card: Once you have thoroughly cleaned the fans and heatsinks, reinsert the graphics card back into its PCI-Express slot. Make sure it is securely fastened and that any connectors are properly reattached.
7. Close the Case: Securely close the computer case, ensuring that all panels and latches are properly aligned and fastened. This will help maintain proper airflow and prevent dust from entering the system.
Regularly cleaning your graphics card every few months, or as needed, will help prevent excessive dust and dirt build-up and ensure optimal cooling efficiency. By maintaining a clean graphics card, you can reduce noise levels, improve overall performance, and extend the lifespan of your valuable gaming hardware.
Insufficient Cooling
Proper cooling is crucial for the optimal performance and longevity of a graphics card. When a graphics card isn’t adequately cooled, it can lead to increased temperatures, which in turn can result in higher fan speeds, louder noise output, and potential performance issues. Insufficient cooling can be caused by various factors, including poor ventilation, improper fan placement, or a malfunctioning cooling system.
Here are some common scenarios that can contribute to insufficient cooling and tips to address them:
1. Poor Ventilation: Inadequate airflow within your computer case can impede the cooling abilities of your graphics card. Ensure that your computer case has proper ventilation, including intake and exhaust fans. Check for any blocked vents or obstructions and clear them to allow for better air circulation.
2. Fan Placement: Graphics cards often come with multiple fans that are strategically placed to provide efficient cooling. Verify that the fans are correctly positioned and that they’re spinning freely without any obstructions. If your graphics card has multiple fans, check if they’re evenly distributing the airflow across the entire card.
3. Cooling System Malfunction: If you suspect that your graphics card’s cooling system is malfunctioning, ensure that all cables and connectors are securely attached. If the fans are not spinning at all or are spinning inconsistently, it may indicate a faulty cooling system. In this case, you may need to seek professional assistance or consider replacing the cooling system entirely.
4. Thermal Paste Replacement: Over time, the thermal paste between the graphics card’s GPU and heatsink can dry out and lose its effectiveness, compromising heat dissipation. If you’re experienced with computer hardware, consider removing the heatsink, cleaning the old thermal paste, and applying fresh thermal paste to improve heat transfer and cooling efficiency.
5. Upgrading the Cooling System: If your graphics card consistently runs hot and produces excessive noise, it may be worth considering upgrading its cooling system. Aftermarket cooling solutions, such as aftermarket heatsinks or liquid cooling systems, can provide more efficient heat dissipation and lower noise levels.
By addressing and optimizing cooling conditions for your graphics card, you can reduce noise levels, improve overall performance, and prolong the lifespan of your hardware. Remember to regularly monitor temperatures during gaming sessions and address any cooling issues promptly to ensure a smooth and quiet gaming experience.
Fan Issues
Graphics card fans play a critical role in maintaining optimal cooling by effectively dissipating heat generated during gaming sessions. However, over time, these fans can develop issues that impact their performance, leading to increased noise levels. Identifying and addressing fan issues promptly is essential for minimizing noise and ensuring proper cooling. Here are some common fan-related problems and potential solutions:
1. Bearing Wear: The bearings in graphics card fans can wear out over time, resulting in increased friction and noise. If you notice a grinding or rattling sound coming from your graphics card, it may indicate bearing wear. In such cases, replacing the affected fan or the entire cooling system might be necessary to resolve the issue.
2. Misalignment: Fans can become misaligned due to various factors, such as accidental bumps or vibrations. This misalignment can cause the fan blades to scrape against other components or the fan housing, resulting in a loud buzzing or scraping noise. Carefully inspect the fan and adjust it if misalignment is detected. Alternatively, replacing the fan may be required if the misalignment is severe.
3. Excessive Vibration: Excessive vibration in graphics card fans can also contribute to increased noise levels. Ensure that the fans are securely mounted and that any loose or unbalanced fan blades are addressed. In some cases, adding rubber washers or dampening materials between the fan and the mounting points can help minimize vibration and reduce noise.
4. Dust and Debris: Dust and debris can accumulate on the fan blades, causing an imbalance and resulting in increased noise. Regularly cleaning the fans by gently wiping away any dust or using compressed air can help restore their performance and reduce noise output. Be cautious when cleaning to avoid damaging the delicate fan blades or other components.
5. Fan Replacement: If the fan issues persist or cannot be resolved through adjustments or cleaning, replacing the fan with a new one is often the best solution. It is essential to ensure compatibility with your graphics card model and follow proper installation procedures.
When dealing with fan issues, it is crucial to consider your level of technical expertise. If you are uncomfortable or unsure about performing any fan-related repairs or replacements yourself, it is recommended to seek assistance from a professional technician to avoid causing further damage to your graphics card.
Addressing fan issues promptly not only reduces noise but also helps maintain optimal cooling efficiency, contributing to the overall longevity and performance of your graphics card.
Coil Whine
Coil whine is a common phenomenon that can occur in graphics cards, particularly during intensive tasks like gaming or when the GPU is under heavy load. It is characterized by a high-pitched noise that can be quite noticeable, though it does not indicate a defect in the graphics card. Coil whine is caused by the vibrations of electrical components, particularly inductors and capacitors, as they adjust to varying currents.
While coil whine doesn’t typically affect the performance or lifespan of the graphics card, it can be bothersome to some users. Here are a few tips to minimize coil whine:
1. Power Supply Compatibility: In some cases, coil whine can be caused by an incompatibility between the graphics card and the power supply unit (PSU). Upgrading to a higher-quality PSU or using a PSU with better voltage regulation may help reduce or eliminate coil whine.
2. Power Settings: Adjusting the power settings of your graphics card can sometimes have a positive impact on coil whine. Experiment with different power management modes, such as selecting the “balanced” or “power saver” mode in your graphics card control panel, to see if it makes a difference.
3. Stress Testing: Performing stress tests or benchmarking your graphics card can sometimes exacerbate coil whine. While it’s not recommended to constantly stress your GPU, running stress tests occasionally can help identify if coil whine is present. If the noise is not bothersome during regular use, there may be no need for further action.
4. Requesting a Replacement: In some cases, coil whine can be more pronounced or excessive. If the noise is significantly affecting your gaming experience or causing significant distress, you may consider contacting the manufacturer’s customer support to discuss the possibility of a replacement graphics card. However, it’s important to note that coil whine may still be present in the replacement unit due to the nature of the phenomenon.
It’s essential to understand that coil whine is not a defect but rather a characteristic of the electrical components in the graphics card. While it can be irritating, it does not pose any significant harm to your hardware. If the noise is tolerable and does not impact the overall performance and stability of your system, it may be best to accept the coil whine as a normal part of operating your graphics card.
Minimizing coil whine is primarily a matter of trial and error, and the effectiveness of each approach can vary from system to system. Remember to consider your specific situation and tolerance for the noise before deciding to pursue any solutions or replacements.
Overclocking
Overclocking is a popular practice among gaming enthusiasts who seek to push the limits of their graphics cards and extract additional performance. By increasing the clock speeds and voltages of the GPU, users can achieve higher frame rates and smoother gameplay. However, overclocking can contribute to increased heat generation, power consumption, and consequently, higher fan speeds and noise output.
If you’ve overclocked your graphics card and are experiencing excessive noise, here are some steps you can take to address the issue:
1. Revert to Default Settings: The simplest solution to minimizing noise caused by overclocking is to revert your graphics card back to its default clock speeds and voltage settings. This can be done through your graphics card control panel or software. Returning to default settings ensures that the graphics card operates within its intended specifications, reducing heat generation and noise levels.
2. Optimize Overclocking Settings: If you’re determined to continue overclocking, there may be ways to optimize your settings to strike a better balance between performance and noise. Experiment with slightly lower clock speeds and voltages until you find a stable configuration that minimizes noise while still providing satisfactory performance.
3. Enhanced Cooling: Overclocking generally leads to increased heat production, which can contribute to higher fan speeds and noise output. Enhancing your graphics card’s cooling system, such as installing additional fans, using aftermarket coolers, or improving case airflow, can help dissipate heat more effectively and reduce noise levels.
4. Monitor Temperatures: Always keep an eye on your graphics card’s temperatures when overclocking. Excessive heat can not only increase noise but also lead to instability and potential damage. Using monitoring software, ensure that your temperatures are within safe limits, and take necessary precautions if they exceed recommended thresholds.
5. Consider Aftermarket Solutions: If you find that the noise levels from overclocking are still excessive even after optimizing settings and enhancing cooling, you might want to explore aftermarket solutions. Third-party cooling solutions, such as aftermarket heatsinks or liquid cooling systems, can provide more efficient heat dissipation and lower noise levels, enabling more aggressive overclocking without sacrificing acoustic comfort.
It’s important to approach overclocking with caution and understand the potential trade-offs, including increased noise levels. Proper cooling, monitoring, and consideration for system stability should always be a priority. Remember that the performance gains achieved through overclocking may vary depending on the specific hardware and can come with associated risks and compromises.
Solutions and Fixes
Excessive noise from a graphics card can be bothersome and impact your overall gaming experience. Fortunately, there are several solutions and fixes available to address the common causes of noise. Let’s explore some practical steps you can take to minimize noise levels:
1. Cleaning the Graphics Card: Regularly cleaning your graphics card is essential to remove dust and dirt build-up, which can restrict airflow and cause the fans to work harder. Using compressed air or a small brush, carefully clean the fans and heatsinks to restore optimal cooling efficiency and reduce noise.
2. Improving Cooling: Enhancing your graphics card’s cooling system can significantly impact noise levels. Consider installing additional case fans, improving airflow within your computer case, or upgrading to aftermarket cooling solutions like heatsinks or liquid cooling. These measures help dissipate heat more effectively and reduce the workload on the fans.
3. Replacing or Repairing Fans: If your graphics card fans are malfunctioning or making abnormal noise, consider replacing them with new ones. Ensure compatibility and follow proper installation procedures. Alternatively, professional repair services may be an option if you prefer not to perform the replacement yourself.
4. Minimizing Coil Whine: Although coil whine is a normal occurrence, it can be bothersome for some users. Improving power supply compatibility and adjusting power settings can help reduce the effects of coil whine. However, it’s important to note that complete elimination of coil whine may not always be possible.
5. Reverting Overclocking Settings: Overclocking can increase heat generation and contribute to higher fan speeds and noise output. If noise is a concern, consider reverting your graphics card settings to their default values. This ensures that the card operates within its intended specifications, reducing noise and potential stability issues.
These solutions and fixes can help minimize noise levels and optimize the performance of your graphics card. However, it’s essential to approach each issue with caution and consider your own technical proficiency and comfort level. If you’re unsure, seeking professional assistance from a technician can provide peace of mind and ensure that the solutions are implemented correctly.
Remember that noise reduction is a continuous process, and regular maintenance is crucial to preventing noise issues from reoccurring. By adopting proactive measures and staying attentive to your graphics card’s performance, you can create a quieter and more enjoyable gaming environment.
Cleaning the Graphics Card
Regularly cleaning your graphics card is vital for both its performance and longevity. Dust and dirt build-up can restrict airflow and cause the fans to work harder, leading to increased noise levels. By following a few simple steps, you can effectively clean your graphics card and restore optimal cooling efficiency:
1. Power Off and Disconnect: Before starting the cleaning process, make sure your computer is turned off and disconnected from the power source. This ensures safety and prevents any electrical accidents.
2. Open the Case: Depending on your computer case, you may need to remove a panel or open a side door to access the internal components. Consult your computer’s manual or manufacturer’s instructions for the correct procedure.
3. Ground Yourself: To avoid static electricity damaging your graphics card, ground yourself by touching a metal part of the computer case or by using an anti-static wristband. This prevents any potential static discharge that could harm sensitive components.
4. Locate the Graphics Card: Identify the graphics card inside your computer. It is typically connected to the motherboard and situated in a PCI-Express slot. Once located, carefully remove any screws or latches that secure the graphics card in place.
5. Clean the Fans and Heatsinks: The fans and heatsinks are critical components that require regular cleaning. Use a can of compressed air or a soft brush to carefully remove dust and debris from the fans. Ensure that you clean both sides of the fans and remove any debris that may be caught between the blades. Additionally, gently remove dust from the heatsinks using compressed air or a brush. Avoid using excessive force to prevent damage to the fins.
6. Clean the PCB: The PCB (Printed Circuit Board) of the graphics card can also accumulate dust and dirt. Use an anti-static brush or a clean microfiber cloth to gently wipe away any visible dust particles. Be cautious not to put pressure on any sensitive components while cleaning.
7. Reinstall the Graphics Card: Once you have thoroughly cleaned the fans, heatsinks, and PCB, carefully reinsert the graphics card back into its PCI-Express slot. Make sure it is secured properly and that any connectors are attached securely.
8. Close the Case: Finally, close the computer case, ensuring that all panels and latches are properly aligned and fastened. This helps maintain proper airflow and prevents dust from entering the system again.
Regularly cleaning your graphics card every few months or as needed will help prevent excessive dust and dirt build-up. By doing so, you can ensure optimal cooling efficiency, reduce noise levels, and extend the lifespan of your valuable gaming hardware.
Improving Cooling
Efficient cooling is crucial for maintaining optimal performance and reducing noise levels in your graphics card. By improving the cooling system, you can effectively dissipate heat and create a quieter gaming environment. Here are some steps you can take to enhance the cooling capabilities of your graphics card:
1. Case Airflow: Proper airflow within your computer case is essential in maintaining cool temperatures for your graphics card. Ensure that your case has adequate intake and exhaust fans in the correct positions. Optimize cable management to prevent obstructions to the airflow and consider using fan filters to reduce dust accumulation.
2. Additional Case Fans: If your case has available fan mounts, consider installing additional fans to enhance airflow. Placing fans strategically near the graphics card can help expel hot air effectively and reduce overall temperatures. Ensure that the fans are correctly oriented for optimal airflow direction.
3. Aftermarket GPU Cooling: Upgrading to aftermarket cooling solutions can significantly improve the cooling performance of your graphics card. Aftermarket GPU coolers often offer larger heatsinks, improved fan designs, and more efficient heat dissipation capabilities. Ensure compatibility with your specific graphics card model before considering an upgrade.
4. Liquid Cooling: Liquid cooling systems, also known as AIO (All-in-One) or custom loops, can provide superior cooling performance compared to traditional air cooling. These systems use liquid to transfer heat away from the GPU more efficiently. Implementing a liquid cooling solution may require additional hardware and installation expertise.
5. Thermal Paste Replacement: Over time, the thermal paste between the GPU and the heatsink can degrade, reducing its effectiveness in transferring heat. Carefully removing the old thermal paste and applying a fresh layer can improve heat transfer and cooling efficiency. Follow proper procedures and ensure compatibility with your graphics card.
6. GPU Undervolting: Undervolting involves reducing the voltage supplied to the GPU, resulting in lower power consumption and heat generation. By optimizing the voltage settings, you can achieve a balance between performance and temperature reduction. Undervolting may require adjustments and stability testing to find the optimal settings for your specific graphics card.
7. Environmental Factors: Consider the physical location of your computer system. Ensure that it is placed in a well-ventilated area, away from heat sources, and in a room with reasonable ambient temperatures. These simple adjustments can contribute to overall cooling efficiency.
Implementing these cooling improvements can help stabilize temperatures, reduce fan speeds, and subsequently minimize noise levels. Remember to monitor temperatures regularly and conduct stress tests to ensure the stability of your system after making any cooling enhancements.
Depending on your expertise and comfort level, some cooling solutions may require professional installation or guidance. Proper cooling measures will help maintain a quieter and more efficient graphics card, allowing you to enjoy your gaming sessions without unnecessary noise distractions.
Replacing or Repairing Fans
If you’re experiencing excessive noise from your graphics card fans, it may be necessary to replace or repair them. Malfunctioning or damaged fans can contribute to increased noise levels and hamper the cooling performance of your graphics card. Here are some steps to help you address fan-related issues:
1. Diagnosis: Start by identifying the problematic fan by closely listening to the noise and locating which fan is causing it. Remove the side panel of your computer case and observe the fans in action while your graphics card is under load. Look for any physical damage or obstructions that may be affecting their operation.
2. Replacement Fans: If your fan is beyond repair, you can choose to replace it with a new one. Ensure that the replacement fan is compatible with your graphics card model and has the appropriate connector. You can find compatible replacement fans from the manufacturer or third-party vendors.
3. Repairs: In some cases, the issue with the fan might be repairable. For example, the fan may have become loose or unbalanced. Inspect the fan carefully and tighten any loose screws if applicable. If the blades are misaligned, gently adjust them to ensure they do not scrape against other components.
4. Professional Assistance: If you are unsure about repairing or replacing the fans yourself, or if the issue seems complex, consider seeking professional assistance. Technicians experienced in hardware repairs can diagnose the problem accurately and perform the necessary repairs or replacements for you.
5. Fan Safety Measures: When working with fans, be mindful of safety precautions. Ensure that the computer is turned off and disconnected from the power source before removing or replacing any fans. Ground yourself to prevent static discharge, and handle the components with care to avoid damage.
6. Proper Installation: If you are replacing a fan, carefully follow the manufacturer’s instructions for installation. Make sure the fan is properly connected to the graphics card’s fan headers and fastened securely. Improper installation can lead to unbalanced operation or even damage to the graphics card.
7. Warranty Considerations: If your graphics card is still under warranty, check with the manufacturer before attempting any repairs or replacements yourself. Opening the graphics card or tampering with the fans may void the warranty. Contacting the manufacturer or authorized service centers can ensure you receive proper support and guidance.
Addressing fan-related issues is crucial for reducing noise levels and maintaining optimal cooling performance. Whether you choose to replace the fans or attempt repairs, it is important to pay attention to compatibility, safety, and proper installation. By taking proactive steps to resolve fan issues, you can extend the lifespan of your graphics card and enjoy a quieter gaming experience.
Minimizing Coil Whine
Coil whine is a common occurrence in graphics cards and can be particularly bothersome due to the high-pitched noise it produces. While coil whine does not necessarily indicate a defect in the hardware, there are measures you can take to minimize its impact and reduce the noise levels. Here are some steps to help you minimize coil whine:
1. Power Supply Compatibility: In some cases, coil whine can be more pronounced if the graphics card and power supply unit (PSU) are not well-matched. Consider using a high-quality PSU that provides stable power delivery, as it can help reduce or eliminate coil whine.
2. Power Settings: Adjusting the power settings of your graphics card can sometimes have an effect on coil whine. Some users have reported success in reducing coil whine by adjusting the power management settings in their graphics card control panel. Experiment with different power profiles, such as selecting the “balanced” or “power saver” mode, to find the setting that works best for your system.
3. GPU Load Balance: Coil whine can be more pronounced during heavy GPU loads, such as in certain games or applications. Running games with capped frame rates or enabling V-Sync can help reduce the workload on the GPU, potentially minimizing coil whine. Experiment with different settings to find the balance between performance and noise reduction.
4. Quality Power Supply Cables: Using high-quality power supply cables, especially for higher power-draw GPUs, can reduce electrical impedance and minimize potential coil whine. Ensure that the cables are properly seated and connected tightly to provide a secure and stable power connection for your graphics card.
5. Requesting a Replacement: In some cases, coil whine may persist despite your best efforts to minimize it. If the noise is significantly affecting your gaming experience or causing considerable distress, you may consider contacting the manufacturer’s customer support to discuss the possibility of a replacement. However, be aware that coil whine can still exist in replacement units due to the nature of the phenomenon.
It’s important to note that coil whine does not typically impact the performance or lifespan of the graphics card. While minimizing coil whine is desirable, it may not be completely eliminated depending on factors like the individual graphics card and power supply combination.
By implementing some of these measures, you can potentially reduce the impact of coil whine and create a more comfortable gaming environment. However, it’s essential to keep realistic expectations and understand that coil whine may persist to some extent despite your efforts.
Reverting Overclocking Settings
Overclocking is a common practice among gamers and PC enthusiasts to push the performance limits of their graphics cards. However, overclocking can lead to increased heat generation, higher fan speeds, and subsequently, louder noise output. If you’re experiencing excessive noise due to overclocking, consider reverting your graphics card to its default settings. Reverting overclocking settings can help minimize noise without sacrificing performance. Here’s how you can do it:
1. Graphics Card Control Panel: Most graphics card manufacturers provide control panels or software that allow you to adjust clock speeds, voltages, and other settings. Open the control panel for your specific graphics card model.
2. Reset to Default: Look for the option to reset or revert your graphics card settings to their default values. This option is usually labeled as “reset,” “default,” or “restore to factory settings.” Click on it to restore the original specifications of your graphics card.
3. Save and Apply: After resetting the settings, make sure to save the changes and apply them. This ensures that the new settings take effect and that your graphics card operates within its intended specifications.
4. Power Cycle: To ensure the changes are properly applied, it’s recommended to power down your computer completely, then turn it back on. This power cycle helps to initialize the graphics card with the default settings.
By reverting your overclocking settings, you bring your graphics card back to its intended performance levels, reducing power draw, heat generation, and subsequently, fan speeds and noise output. It’s important to note that reverting settings may result in a slight decrease in performance compared to the overclocked state, but the impact is generally not significant.
If you still want to achieve better performance without the associated noise, consider alternative solutions such as upgrading your graphics card to a more powerful model or exploring noise-reducing aftermarket coolers and heat sinks.
Remember to monitor temperatures and test your system stability after reverting overclocking settings. Ensuring that your graphics card operates at safe temperatures and remains stable during demanding tasks is crucial for a smooth and quiet gaming experience.
Conclusion
Noise from a graphics card can be a nuisance, particularly during intense gaming sessions when the fans are working hard to dissipate heat. Understanding the common causes of noise and implementing the appropriate solutions can help create a quieter and more enjoyable gaming experience.
We explored various factors that can contribute to graphics card noise, including dust and dirt build-up, insufficient cooling, fan issues, coil whine, and overclocking. Through regular cleaning and maintenance, you can minimize dust and dirt accumulation, ensuring optimal cooling and reducing noise levels.
Improving cooling through measures like enhancing airflow, adding case fans, upgrading cooling systems, and replacing or repairing fans can help stabilize temperatures and decrease noise output. Taking steps to address coil whine, such as optimizing power supply compatibility, adjusting power settings, and managing GPU load, can also help reduce the high-pitched noise associated with this phenomenon.
Reverting overclocking settings to their default values can help minimize noise without compromising performance, while ensuring the stability of your graphics card. By finding the right balance between performance and noise reduction, you can create an optimal gaming environment.
Ultimately, it’s important to evaluate each solution based on your specific situation and technical expertise. Seek professional assistance when unsure or uncomfortable with performing repairs or replacements yourself.
In conclusion, understanding the causes of graphics card noise and implementing the appropriate solutions are key to reducing noise levels and improving the overall gaming experience. By ensuring optimal cooling, addressing fan issues, minimizing coil whine, and carefully managing overclocking settings, you can create a quieter system that allows you to fully immerse yourself in your favorite games without the distraction of excessive noise.