Introduction
Installing a computer power supply unit (PSU) is an essential task when building or upgrading a computer. The PSU is responsible for supplying power to all the components in your system, ensuring their smooth and efficient operation. Whether you’re a DIY enthusiast or a computer technician, knowing how to install a PSU can save you money and provide you with the necessary skills to maintain and troubleshoot your computer.
In this step-by-step guide, we will walk you through the process of installing a computer power supply unit. From gathering the necessary tools and equipment to troubleshooting common issues, we’ll cover all the essential steps to ensure a successful PSU installation.
Before we begin, it’s important to note that working inside a computer’s chassis requires caution. Make sure you take necessary precautions, such as grounding yourself to prevent static electricity, and always refer to your computer’s documentation for specific instructions.
Now, without further ado, let’s jump into the world of computer hardware and learn how to install a power supply unit!
Step 1: Gathering the necessary tools and equipment
Before you begin the installation process, it’s important to gather all the tools and equipment you’ll need. Having everything prepared beforehand will streamline the process and ensure that you have everything you need at your fingertips.
Here are the tools and equipment you’ll need:
- Power supply unit (PSU): The first item on your list is, of course, the power supply unit itself. Make sure you purchase a PSU that is compatible with your computer’s motherboard and has sufficient wattage to power your components.
- Screwdriver: You’ll need a screwdriver, preferably a Phillips head screwdriver, to remove and secure the screws that hold the PSU in place.
- Anti-static wrist strap: To protect your computer’s components from static electricity, it’s highly recommended to use an anti-static wrist strap. This will prevent any damage caused by static discharge.
- Documentation: Keep your computer’s documentation handy, including the motherboard manual. This will help you identify the location of the power supply connector on your motherboard and any specific requirements.
- Cable ties or zip ties: These will come in handy for organizing and securing the cables inside your computer’s chassis, ensuring a neat and tidy cable management.
Make sure to gather all these tools and equipment before you proceed with the installation. Having everything readily available will save you time and ensure a smoother process.
Step 2: Preparing the computer for installation
Before you can begin installing the new power supply unit, you need to prepare your computer by taking a few necessary steps. These steps will not only make the installation easier but also help to ensure the safety of your computer and yourself.
Here’s what you need to do to prepare your computer:
- Shut down your computer: Make sure your computer is completely powered off and disconnected from the power source. This will prevent any electrical accidents during the installation process.
- Unplug all cables and peripherals: Disconnect all cables connected to your computer, including the power cord, keyboard, mouse, monitor, and any other peripheral devices. This will give you better access to the internal components.
- Ground yourself: Grounding yourself is crucial to prevent any static electricity discharge that could damage your computer’s sensitive components. You can do this by either wearing an anti-static wrist strap or by touching a grounded metal surface.
- Open the computer case: Depending on the design of your computer case, you may need to remove one or more side panels to access the internal components. Refer to your computer’s documentation or check for screws or latches that hold the panels in place.
- Familiarize yourself with the interior: Take a moment to familiarize yourself with the inside of your computer case. Identify the current power supply unit and locate the power supply connector on the motherboard. This will help you easily identify and disconnect the necessary cables later on.
By following these steps, you’ll be well-prepared and ready to move on to the next stage of the installation process. Taking the time to properly prepare your computer will ensure a smoother and safer installation experience.
Step 3: Removing the old power supply unit
Now that your computer is prepared, it’s time to remove the old power supply unit (PSU) from your system. Removing the old PSU is necessary before installing the new one. Follow these steps to safely remove the old power supply:
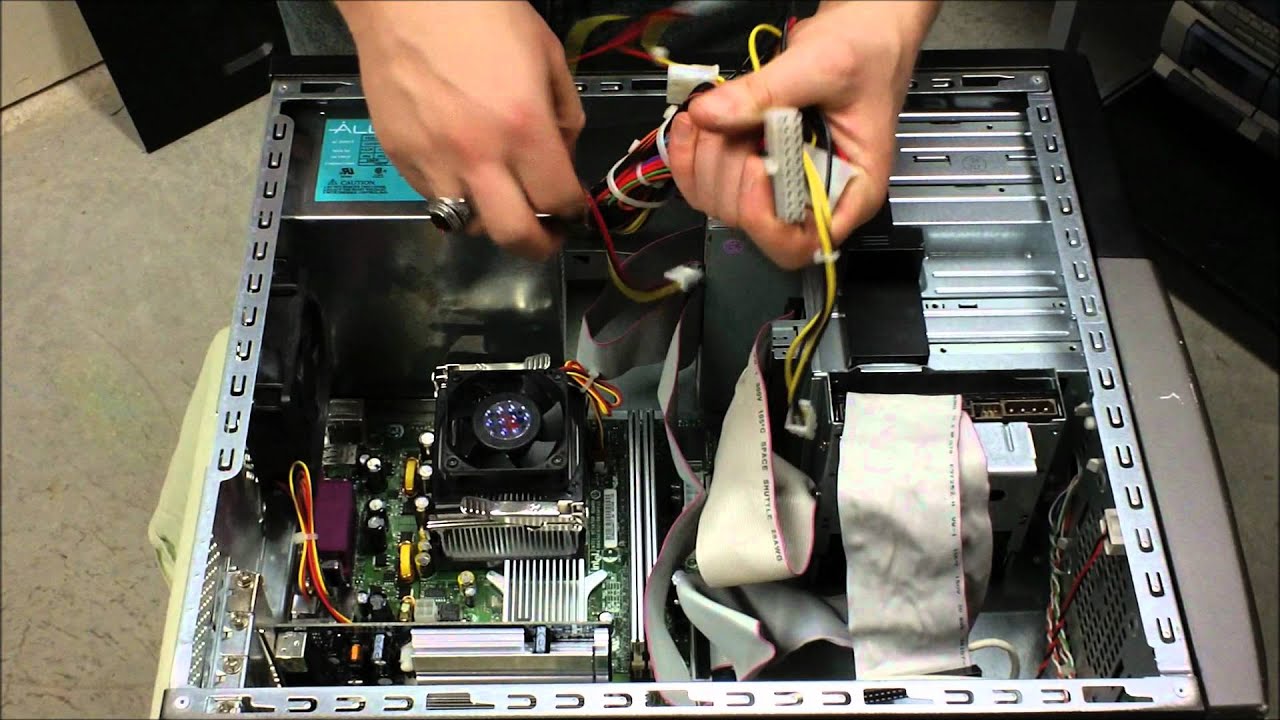
- Disconnect all cables: Start by disconnecting all the cables from the old PSU. This includes the main power connector, SATA power cables, peripheral power connectors, and any other cables that are connected to the PSU. Take note of the cables and their positions to make it easier when connecting them to the new unit.
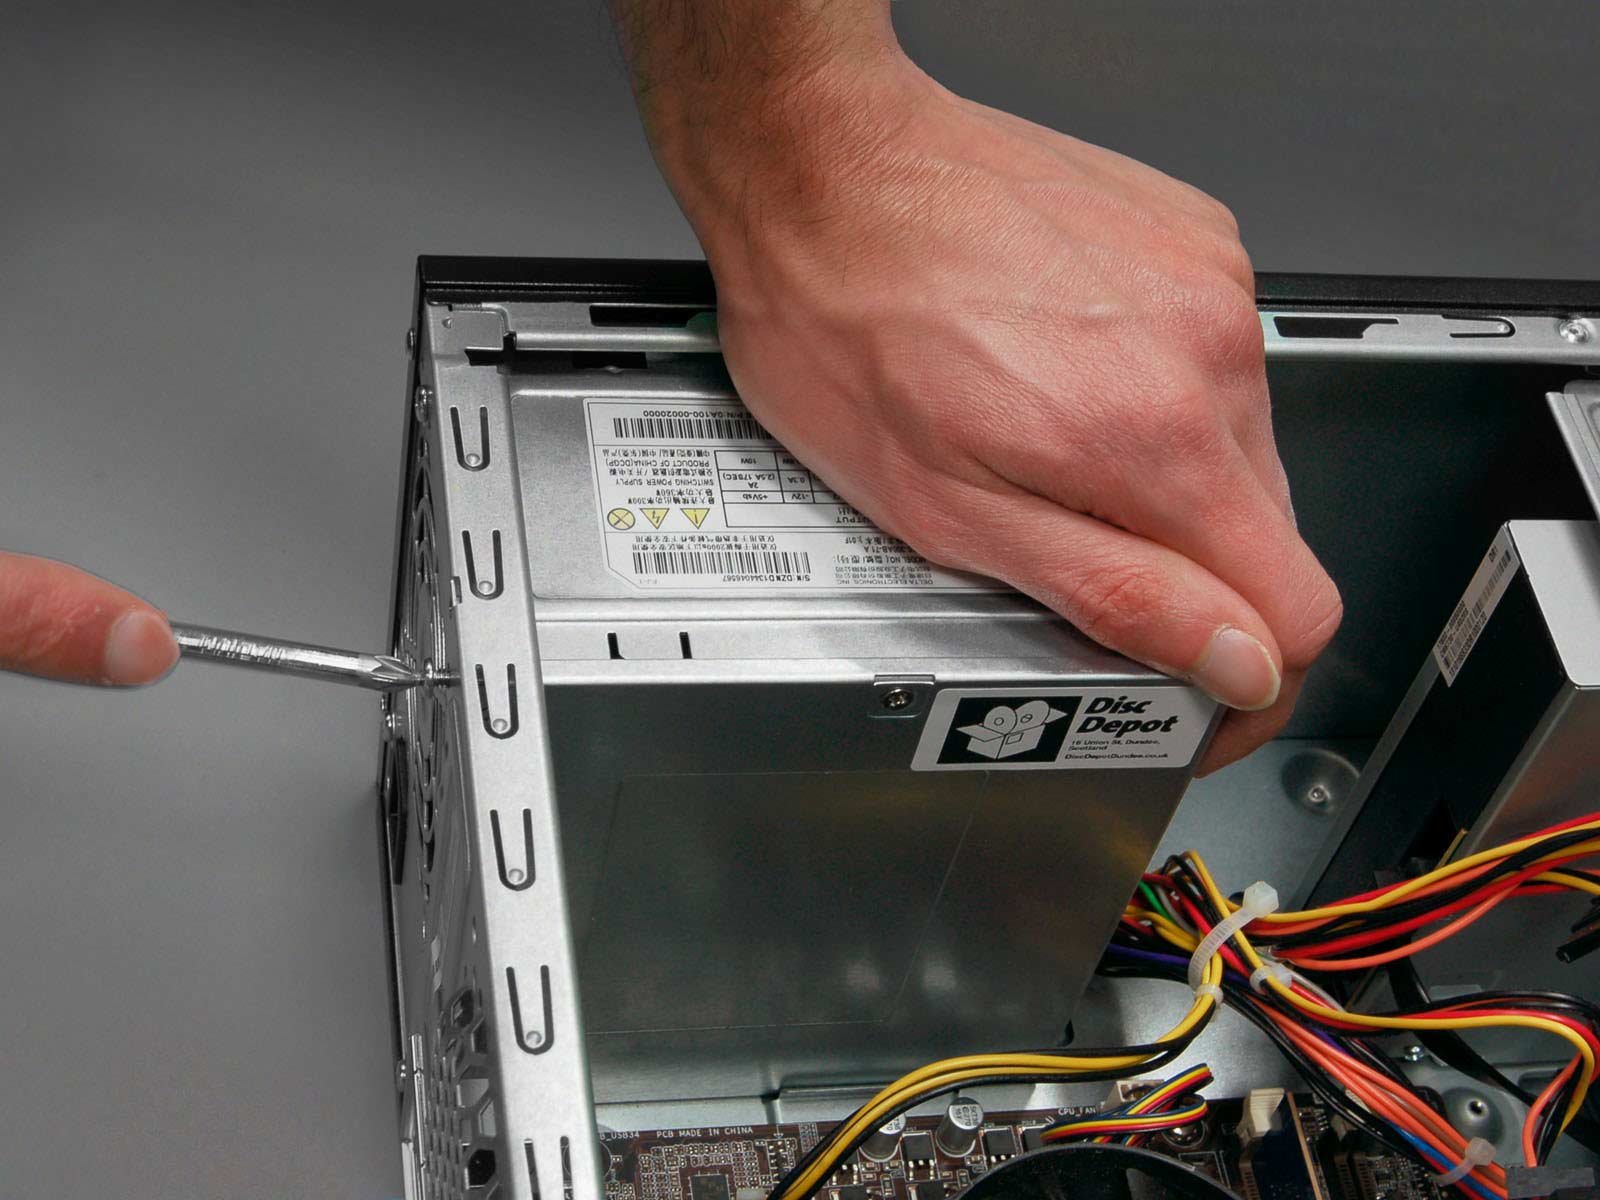
- Remove the PSU screws: Next, locate the screws that are holding the PSU in place. There are typically four screws securing the PSU to the back of the computer case. Use a screwdriver to remove these screws carefully. Set them aside as you will need them later.
- Slide out the old PSU: Once the screws are removed, gently slide out the old PSU from the computer case. Be careful not to tug on any cables that may still be connected to the motherboard or other components. If needed, use one hand to support the cables and prevent any strain on the connectors.
- Keep the old PSU aside: After removing the old PSU, set it aside in a safe place. It’s good practice to keep the old unit as a backup or for future use if it is still in working condition.
By following these steps, you’ll be able to safely remove the old power supply unit from your computer. Keep the screws and the old unit in a secure place as you will need them when installing the new PSU in the upcoming steps.
Step 4: Checking the power supply compatibility
Before installing the new power supply unit (PSU), it’s important to check its compatibility with your computer’s hardware. Ensuring compatibility will prevent any issues and ensure that the new PSU is the right fit for your system. Follow these steps to check the power supply compatibility:
- Check the form factor: The first thing you’ll want to check is the form factor of your current power supply unit. Common form factors include ATX, Micro ATX, and Mini ITX. Make sure the new PSU has the same form factor as the old one to ensure a proper fit.
- Verify the wattage: Check the wattage rating of your current PSU and compare it to the wattage rating of the new PSU. The wattage should be equal to or greater than the old power supply to ensure it can adequately power your computer’s components.
- Consider the connectors: Take a look at the connectors on your current power supply and compare them to the connectors on the new PSU. Ensure that the new PSU has all the necessary connectors required by your computer’s components, such as the motherboard, graphics card, storage drives, and peripherals.
- Check for modular or non-modular design: Modular power supplies allow you to detach and connect only the necessary cables, which can help with cable management. Determine whether you prefer a modular or non-modular design and choose a PSU accordingly.
- Research compatibility with your motherboard: Some motherboards have specific requirements or compatibility restrictions for the power supply unit. Consult your motherboard’s documentation or manufacturer’s website to verify compatibility with the new PSU.
By following these steps and ensuring the power supply compatibility, you’ll have peace of mind knowing that the new PSU is the right fit for your computer. This will help avoid any potential issues and ensure a smooth installation process in the next steps.
Step 5: Installing the new power supply unit
Now that you’ve checked the compatibility of the new power supply unit (PSU), it’s time to install it into your computer. Follow these steps to ensure a proper and secure installation:
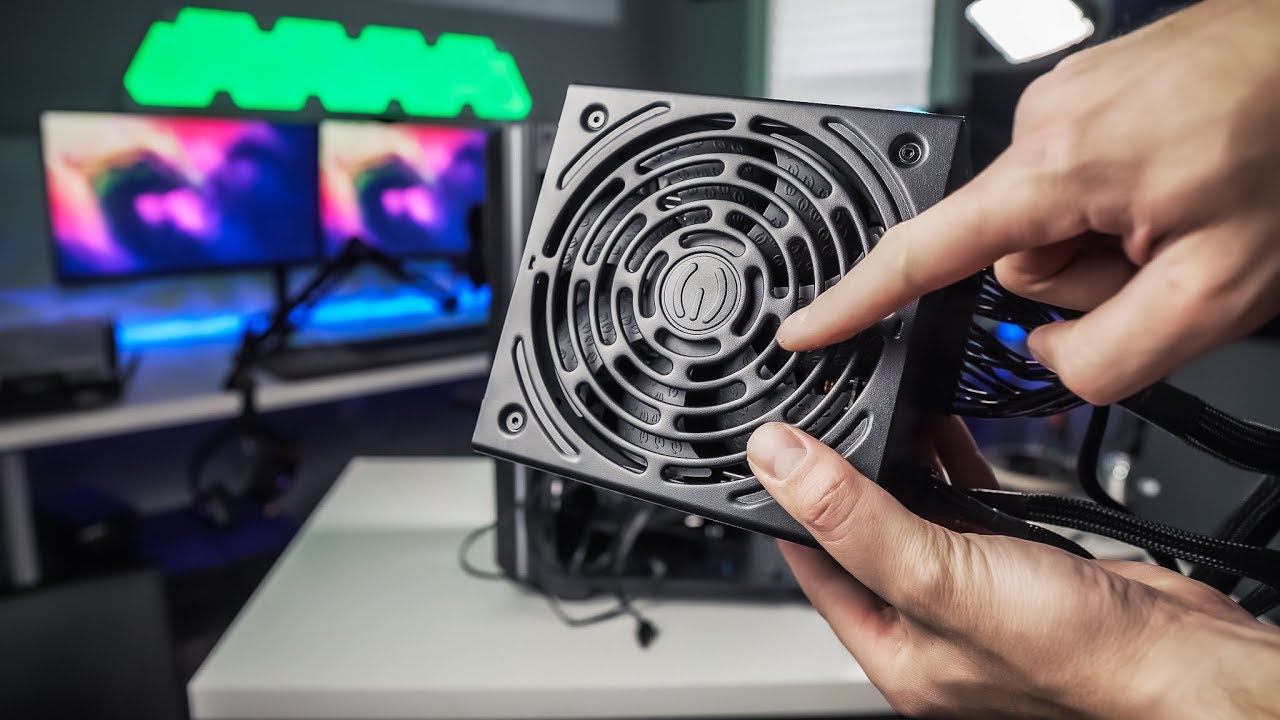
- Place the new PSU in the computer case: Position the new PSU in the same location where the old PSU was located. Align the screw holes on the PSU with the corresponding holes on the back of the computer case. Ensure that the fan is facing the correct direction, typically facing downward or toward the rear of the case for optimal airflow.
- Secure the PSU with screws: Use the screws that you removed from the old PSU to secure the new PSU in place. Insert the screws through the screw holes on the back of the computer case and into the corresponding holes on the PSU. Tighten them gently, but be careful not to overtighten, as this may damage the PSU or the computer case.
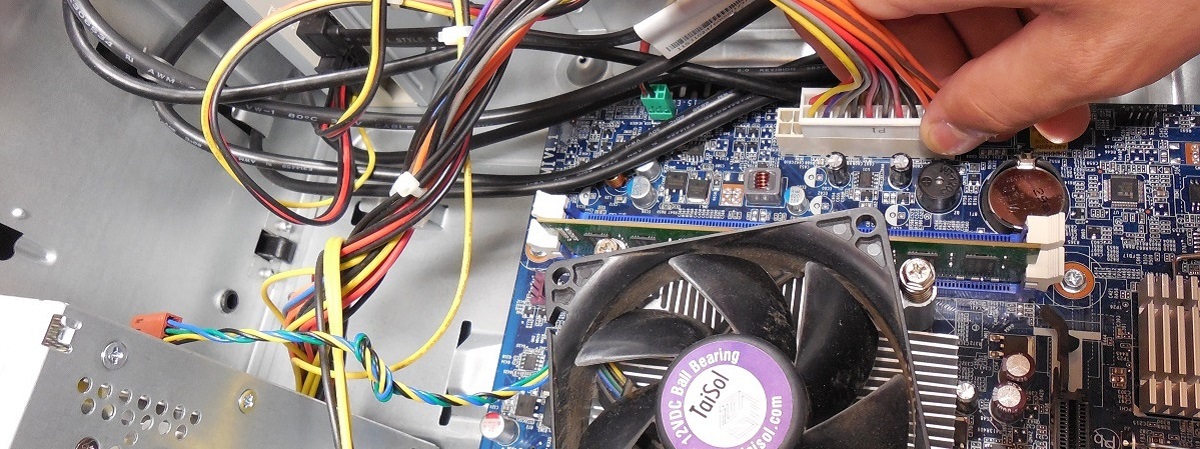
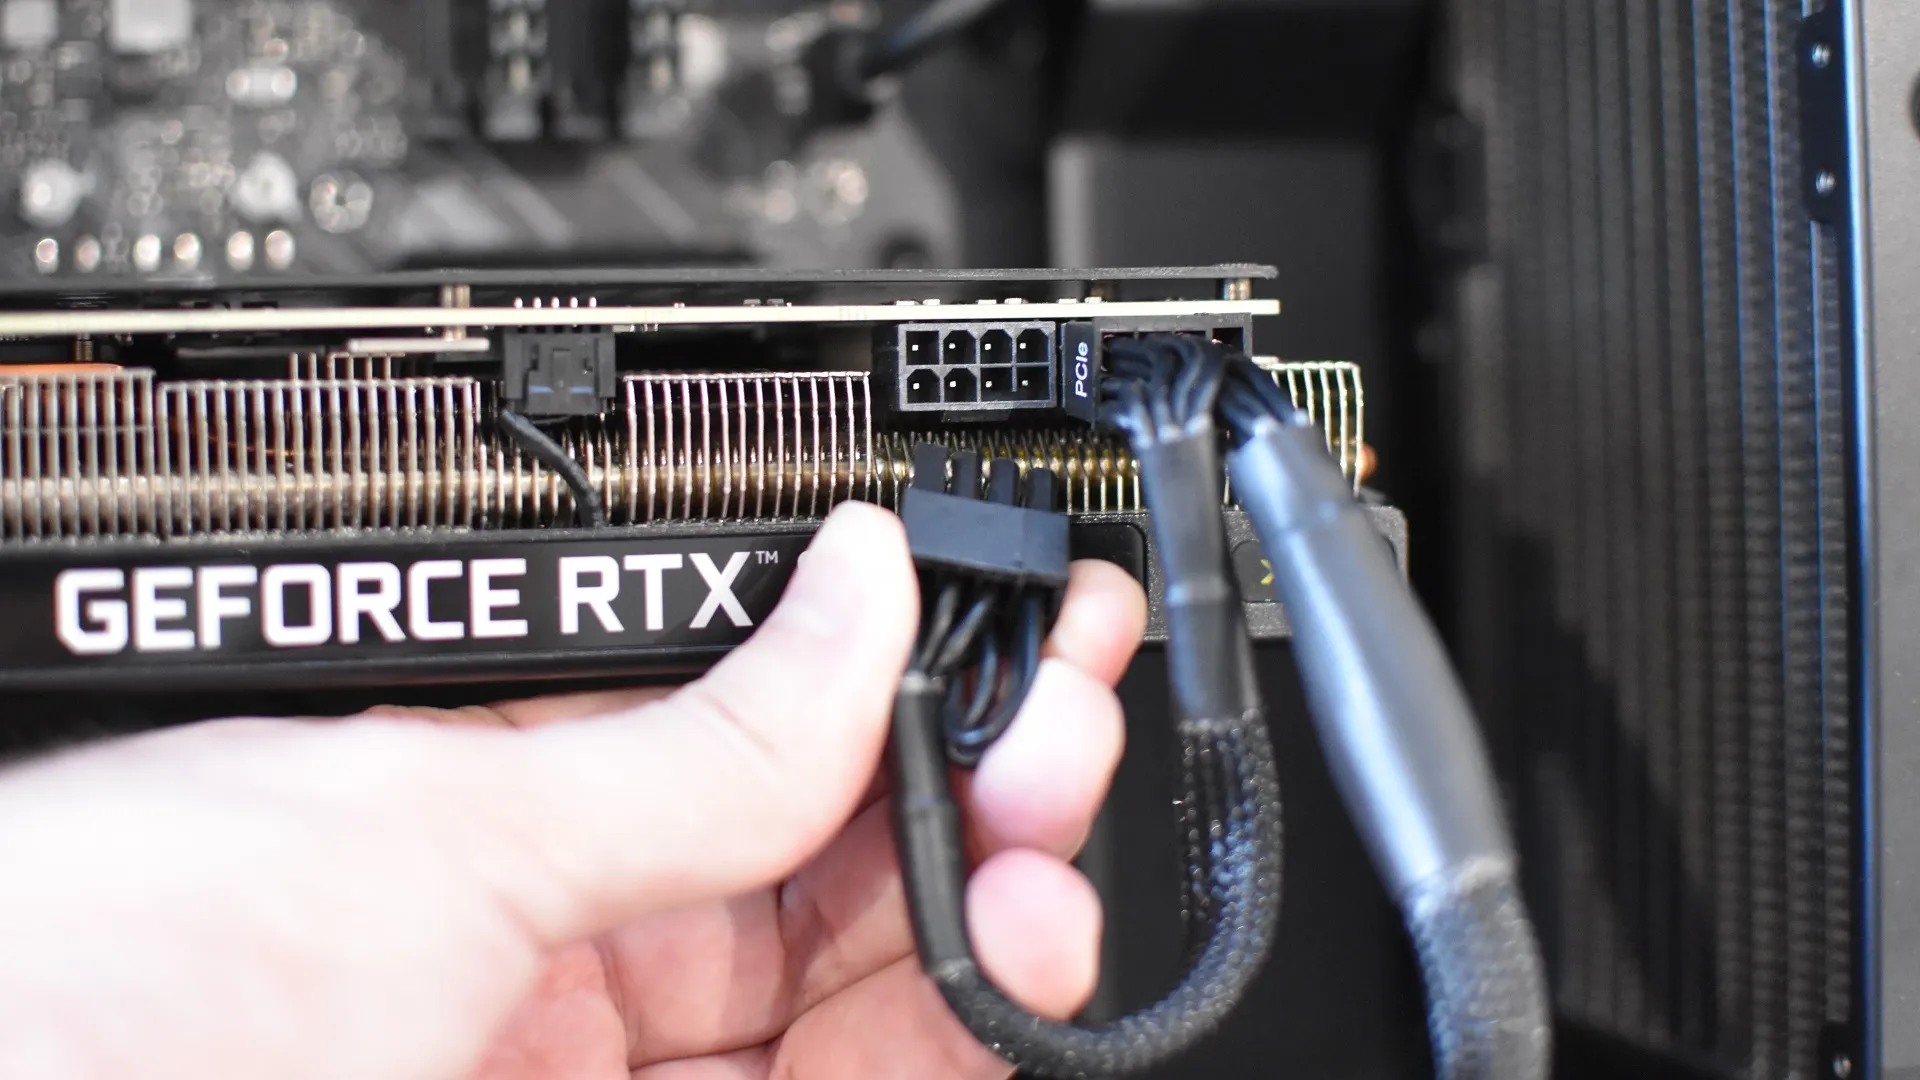
- Connect the necessary cables: Start by connecting the main power connector from the PSU to the motherboard. Ensure that it is inserted correctly and securely. Next, connect any necessary power cables to other components, such as the graphics card, storage drives, and optical drives. Refer to your computer’s documentation or the component manuals to ensure you connect the cables properly.
- Manage the cables: Once all the necessary cables are connected, take a moment to manage the cables for better airflow and aesthetics. Use cable ties or zip ties to secure and organize the cables, keeping them away from fans and other components. This will help improve the overall airflow inside the computer case and make future maintenance easier.
- Close the computer case: Finally, once everything is properly connected and secured, close the computer case by replacing any side panels that were removed earlier. Make sure all screws or latches are properly fastened to ensure a secure closure.
By following these steps, you’ll successfully install the new power supply unit into your computer. Take your time during this step to ensure everything is connected securely and the cables are managed properly. A well-installed PSU will provide stable power to your system and contribute to its overall performance and longevity.
Step 6: Connecting cables and peripherals
With the new power supply unit (PSU) installed, it’s time to connect the necessary cables and peripherals to ensure your computer is fully operational. Follow these steps to connect the cables and peripherals:
- Connect the main power cable: Plug the power cable from the PSU into a wall outlet or power strip. Ensure it is securely connected.
- Connect the monitor: Connect the monitor cable to the appropriate port on your graphics card or the motherboard’s integrated graphics, depending on your setup. Use the necessary adapters if required.
- Connect the keyboard and mouse: Connect the keyboard and mouse to the appropriate USB or PS/2 ports on the computer.
- Connect additional peripherals: If you have any additional peripherals such as speakers, printers, or external storage devices, connect them to the corresponding ports on your computer.
- Double-check all connections: Take a moment to double-check all the connections you’ve made. Ensure that all cables are securely plugged in and that there are no loose connections.
Once you’ve connected all the necessary cables and peripherals, you’re ready to power on your computer and test the new power supply unit. Before doing so, it’s a good idea to perform a quick visual inspection of your computer’s interior to ensure everything is properly connected and in place.
Now, proceed to the next step to test the new power supply unit and ensure it’s functioning as expected.
Step 7: Testing the new power supply unit
After connecting all the necessary cables and peripherals, it’s crucial to test the new power supply unit (PSU) to ensure it is functioning properly. Testing the PSU will help identify any potential issues early on and ensure the stability and reliability of your computer. Follow these steps to test the new power supply unit:
- Double-check all connections: Before testing the PSU, double-check all the connections you’ve made to ensure they are secure and properly seated. Pay close attention to the main power connector, as well as any other power cables connected to components such as the motherboard, graphics card, and storage drives.
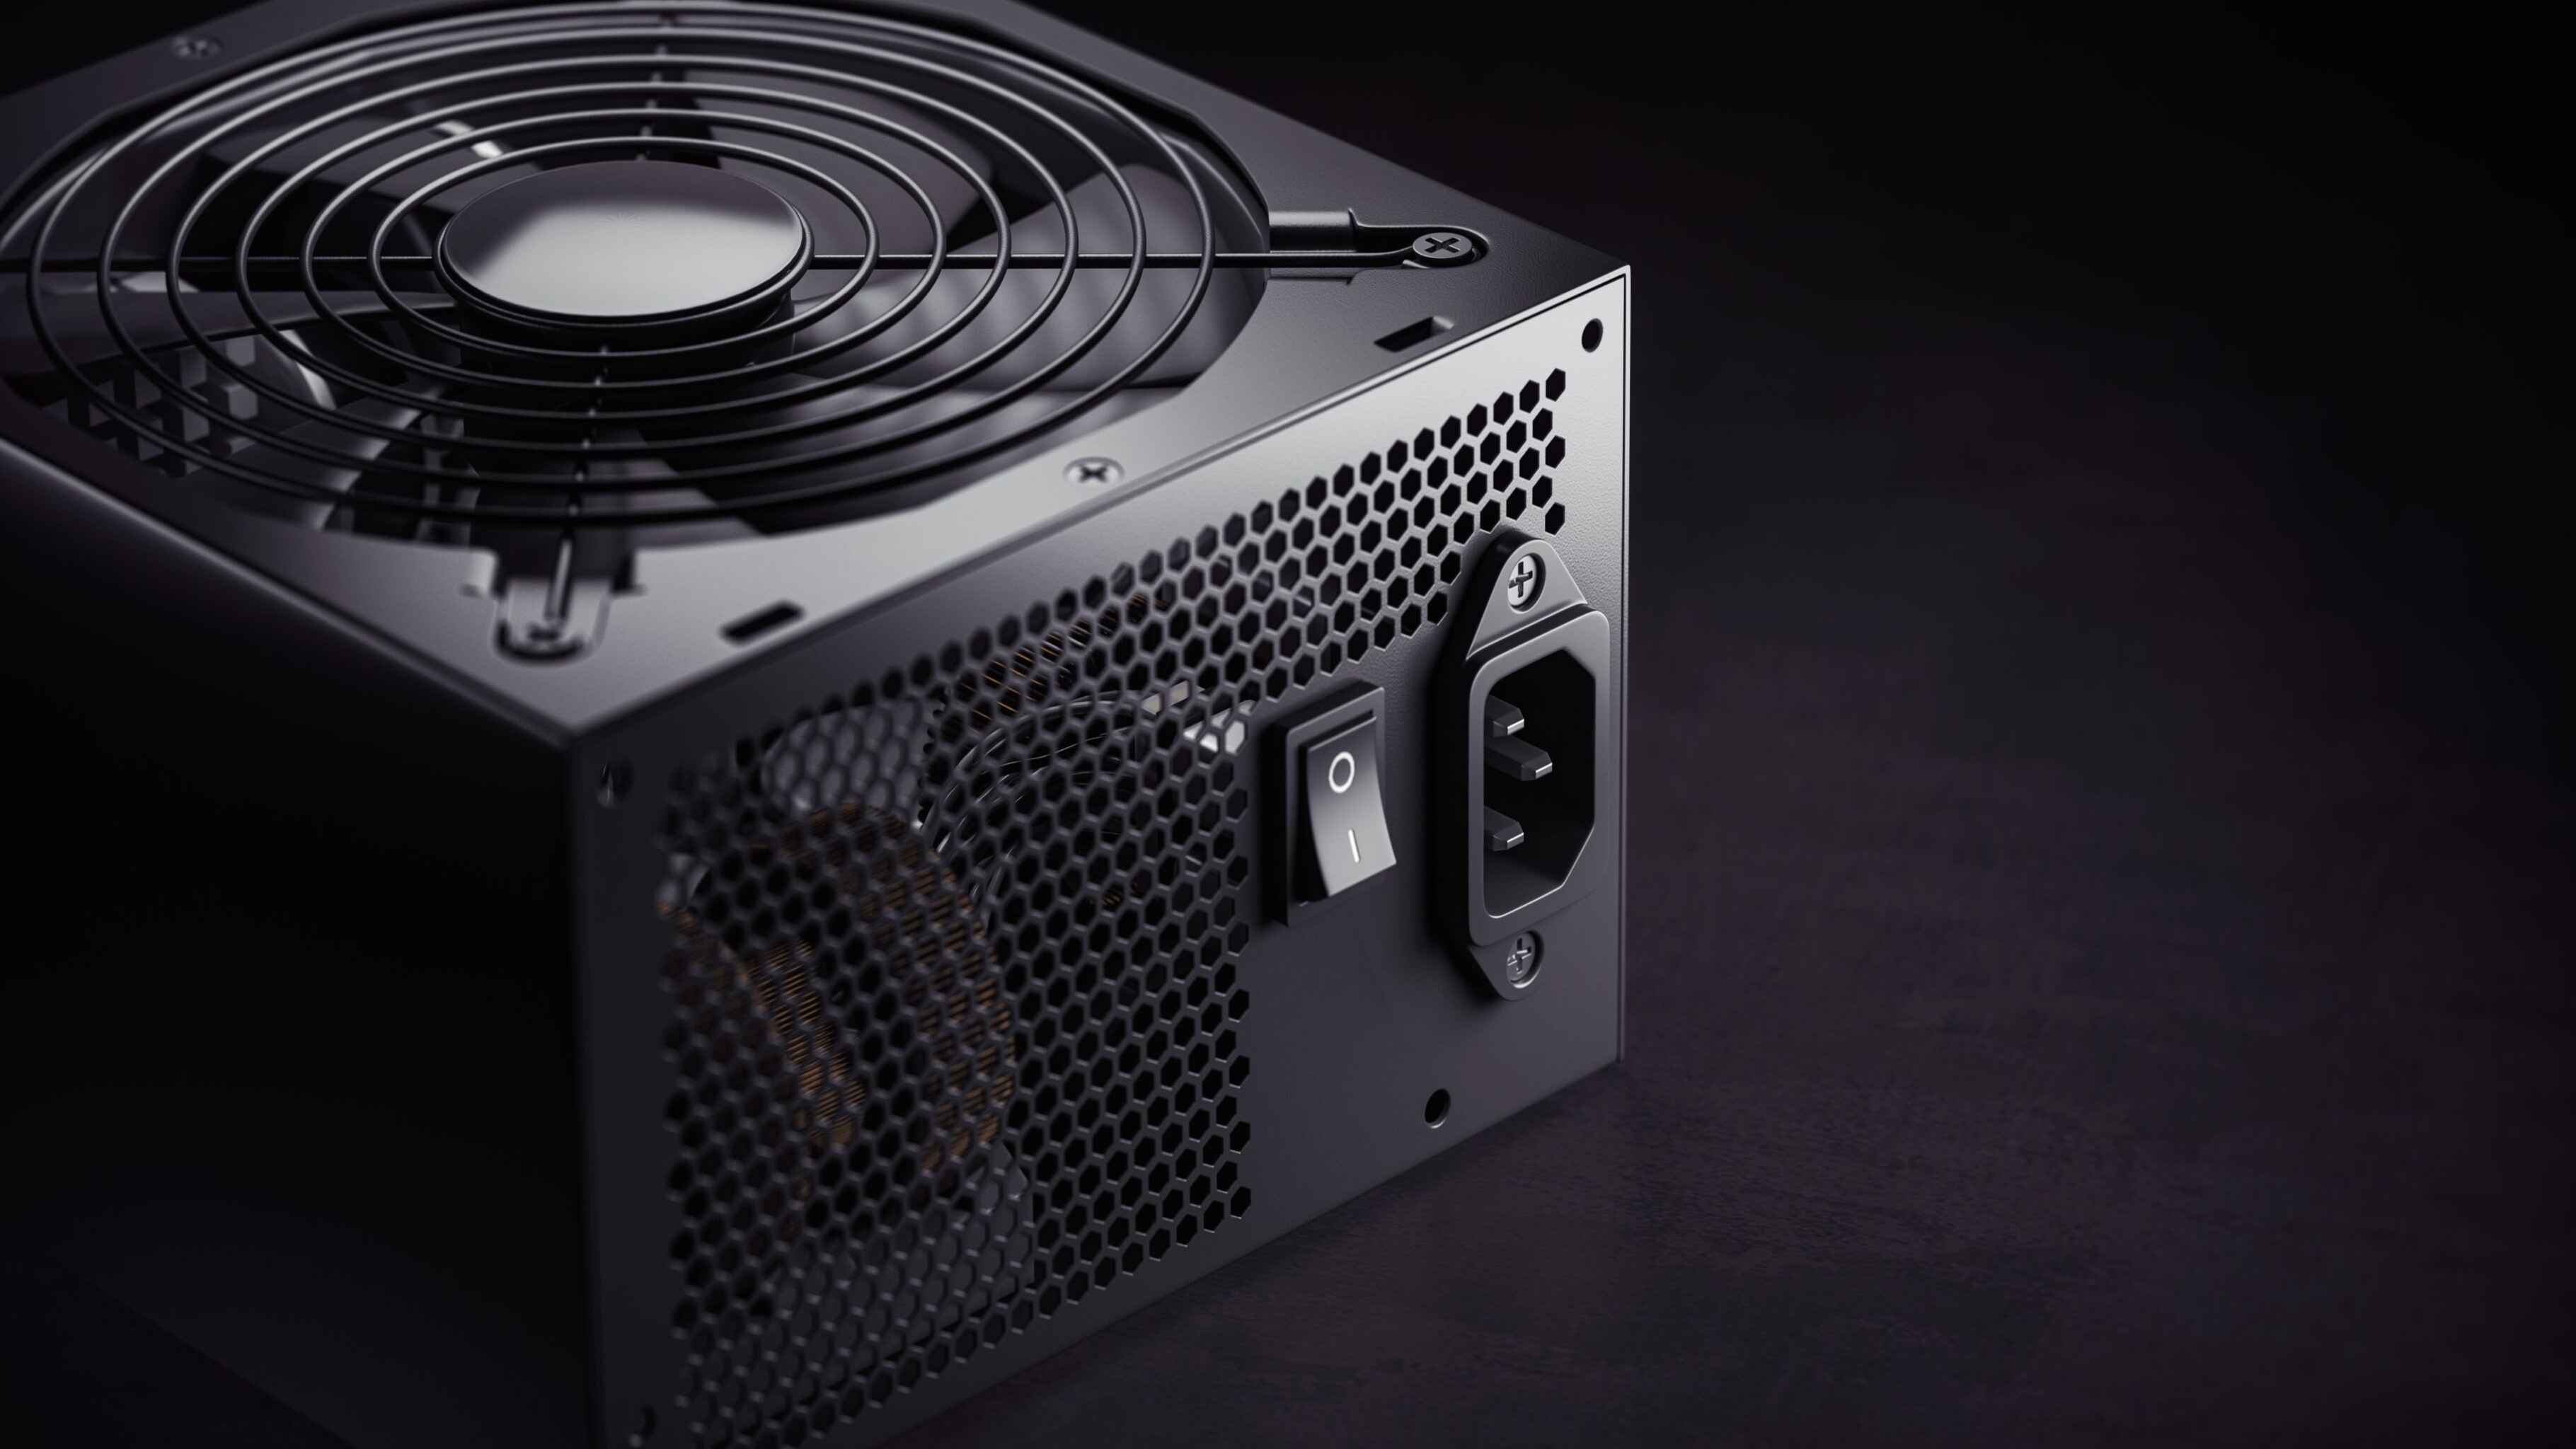
- Flip the power switch: Locate the power switch on the back of the power supply and ensure it is in the “off” position.
- Plug in and power on: Plug the power cable into the PSU and then into a wall outlet or power strip. Flip the power switch to the “on” position.
- Listen for fans and check for lights: Upon powering on, listen for the sounds of the PSU fan spinning and other fans in your system. Additionally, check for any indicator lights on the motherboard or other components to confirm they are receiving power.
- Verify computer startup: Press the power button on your computer’s case to start up the system. Listen for any unusual noises or grinding sounds. Monitor your computer’s startup process to ensure it proceeds without any errors or unexpected shutdowns.
- Monitor stability: After your computer has booted up, monitor its stability by running a few stress tests or performing typical tasks such as browsing the internet or running applications. Watch for any unexpected shutdowns, errors, or performance issues that could be indicative of a faulty power supply.
If everything appears to be functioning properly and your system is stable, then congratulations! You have successfully tested the new power supply unit. However, if you notice any issues or abnormalities during testing, it may be necessary to troubleshoot further or consider consulting a professional.
Now that you’ve tested the PSU and confirmed its functionality, you can proceed with using your computer for all your computing needs with the peace of mind that comes with a reliable power supply unit.
Step 8: Troubleshooting common issues
Even with careful installation and testing, you may encounter common issues when installing a new power supply unit (PSU). Troubleshooting these issues can help identify and resolve any problems that may arise. Follow these steps to troubleshoot common issues:
- No power: If your computer does not turn on at all after installing the new PSU, double-check that all cables are securely connected and that the power switch on the back of the PSU is in the “on” position. Also, ensure that the power outlet or power strip is functioning correctly.
- Intermittent shutdowns: If your computer turns on but experiences spontaneous shutdowns or restarts, it could indicate a faulty PSU. Check the connections and ensure that the PSU is providing enough power to meet the requirements of your components. Also, monitor the CPU temperature to rule out any overheating issues.
- Fan or coil whine: Sometimes, a new power supply unit may produce an audible fan or coil whine. This is generally normal, but if the noise is particularly loud or irritating, you may consider contacting the manufacturer for support or replacing the unit if it’s still under warranty.
- Inadequate power: If you experience system instability, crashes, or unexpected shutdowns even after installing a new PSU, it’s possible that it’s not providing enough power for your components. Double-check the wattage rating and ensure it matches your system requirements. Consider upgrading to a higher wattage PSU if needed.
- Compatibility issues: If your computer does not boot up or encounters errors after installing the new PSU, it’s advisable to verify the compatibility with your motherboard and all other components. Check for any firmware updates available for your motherboard that may address compatibility issues with certain PSU models.
- Seek professional help: If you continue to experience issues or are unsure about how to troubleshoot, it may be best to seek professional help from a computer technician. They will have the expertise and tools to diagnose and resolve any complex issues that you may encounter.
By following these troubleshooting steps, you can identify and resolve common issues that may occur during the installation of a new power supply unit. Remember to exercise caution and consult relevant resources or professionals when needed to ensure a successful resolution.
Conclusion
Installing a new power supply unit (PSU) is an important task when building or upgrading a computer. By following the step-by-step guide outlined in this article, you can successfully install a PSU and ensure the proper functioning of your computer’s components.
Throughout the installation process, we covered the essential steps, starting from gathering the necessary tools and equipment, preparing the computer, removing the old PSU, checking power supply compatibility, installing the new PSU, connecting cables and peripherals, testing the new PSU, and troubleshooting common issues. Each step is crucial in ensuring a smooth and effective installation experience.
Remember, always prioritize safety when working with computer hardware. Take precautions such as grounding yourself, referring to documentation, and carefully handling components to prevent any potential damage or accidents.
If you encounter any issues during the installation process, don’t hesitate to troubleshoot and seek professional assistance if needed. Having a properly installed and functional power supply unit will provide stable power delivery to your computer’s components, enhancing performance and longevity.
With the completion of this guide, you are now equipped with the knowledge to confidently install a new power supply unit in your computer. So go ahead, upgrade your power supply, and enjoy a reliable and efficient computing experience!